
After installing all pre-requisites, the next step is to prepare our Active Directory forest for Exchange Server 2019 installation.
Check out the first part of this blog series on How to Install Pre-requisites on Windows Server 2019 to install Exchange 2019.
Exchange 2019 setup will complete these tasks for us automatically, but we want to prepare AD Forest manually by using setup.exe command.
We need to make sure that we have sufficient permission to perform these tasks.
Understanding the Test Lab:
- WS2K19-DC01: Domain Controller and DNS (mylab.local domain).
- WS2K19-EX19MBX01: Member Server for mylab.local domain.
Prepare Active Directory Forest for Exchange 2019 Installation:
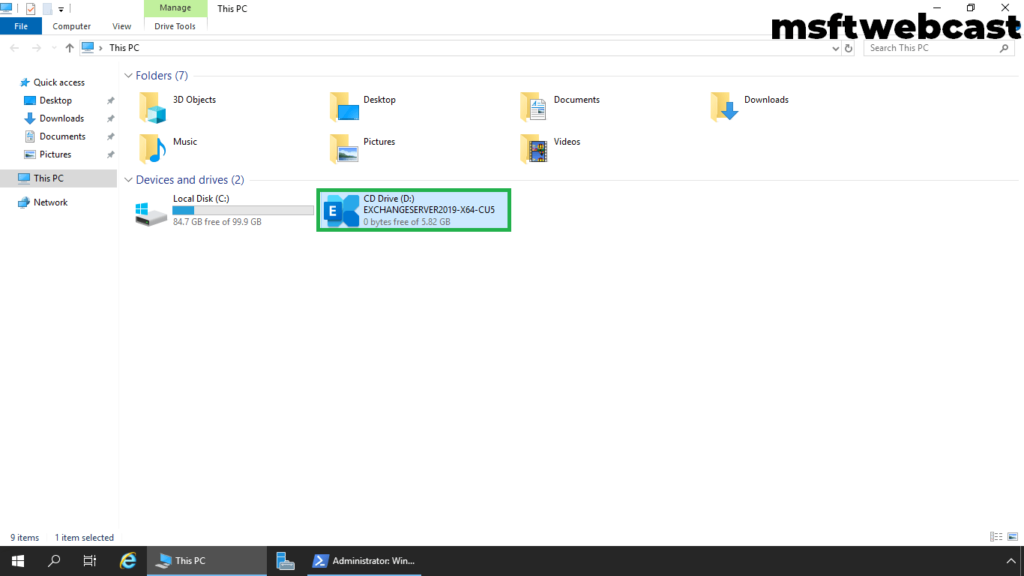
On the WS2K19-EX19MBX01 member server. Right-click on the Exchange ISO image file that we have downloaded, and then select Mount. Note the virtual DVD drive letter that’s assigned.
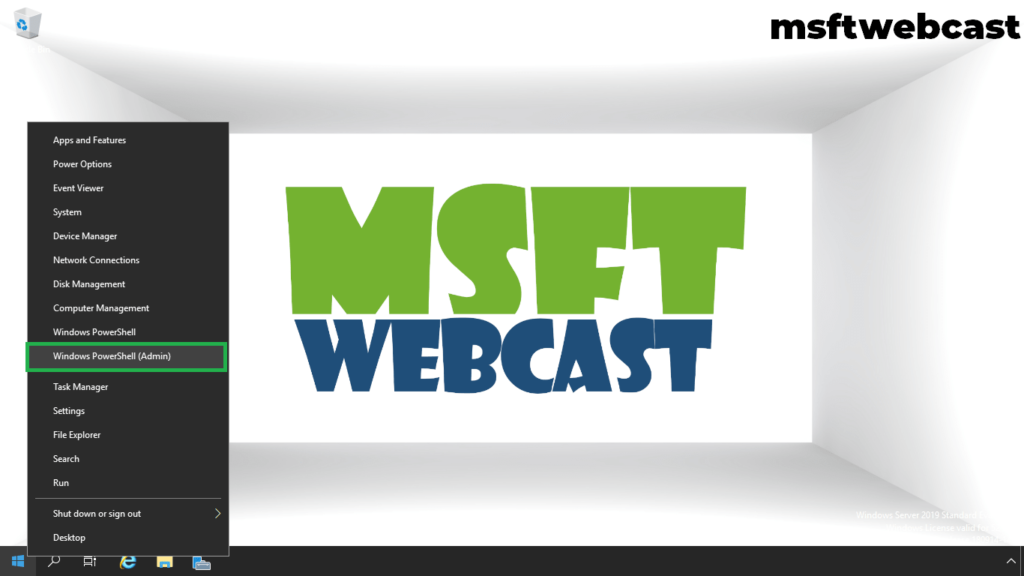
Open Windows PowerShell (admin).
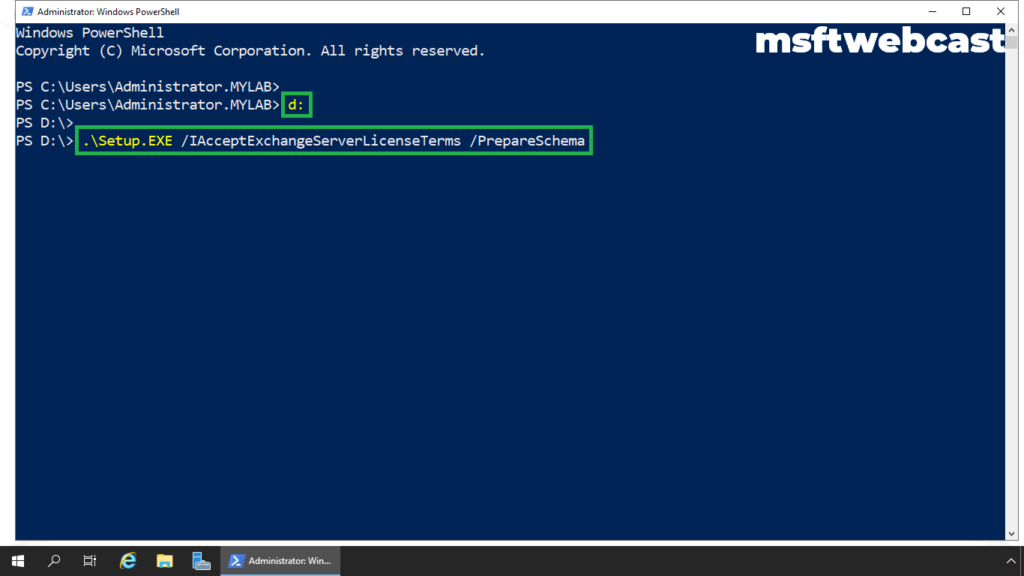
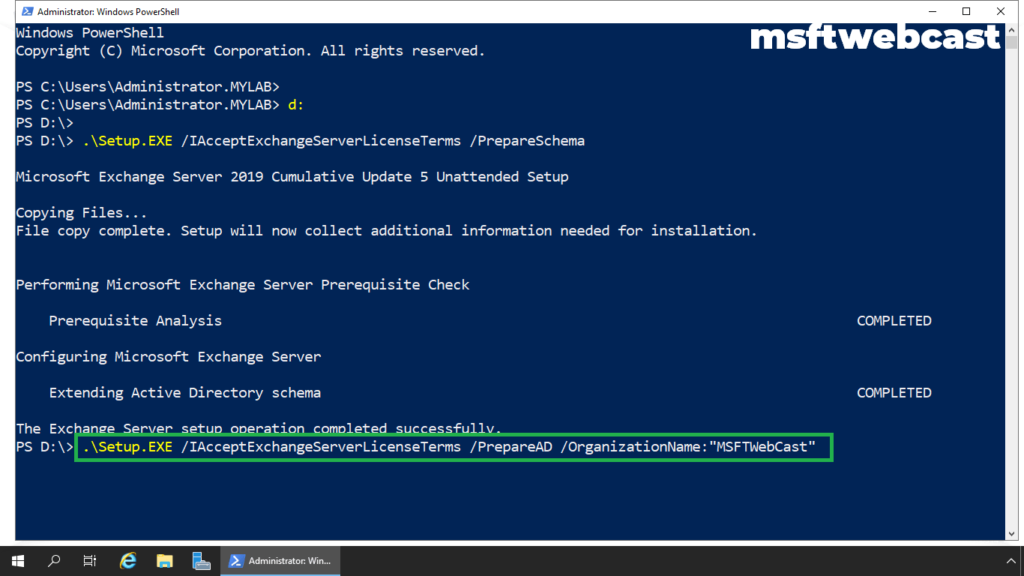
Step 1: Extend the Active Directory schema:
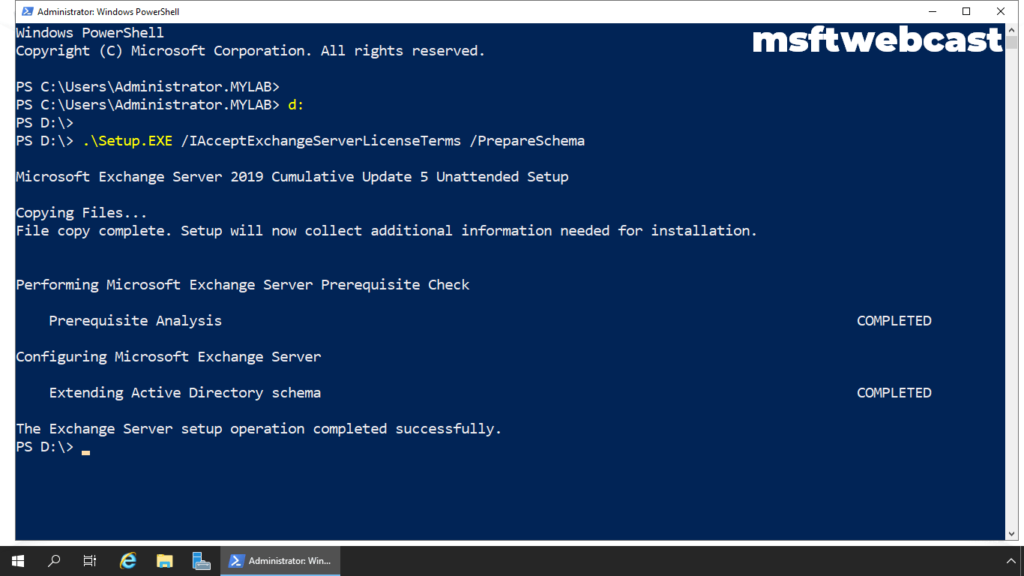
To extend the AD schema for Exchange 2019, run the below command in a Windows PowerShell.
D:\Setup.exe /IAcceptExchangeServerLicenseTerms /PrepareSchema
Notes:
- Your account needs to be a member of the Schema Admins and Enterprise Admins security groups to run the above command.
- After Setup finishes extending the schema, you’ll need to wait while Active Directory replicates the changes to all of your domain controllers before you proceed.
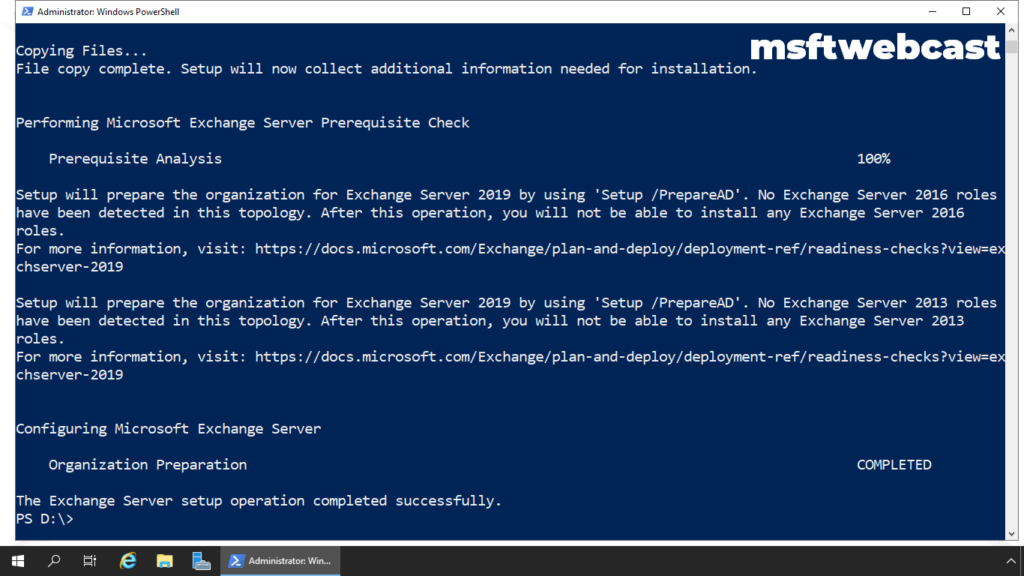
Step 2: Prepare Active Directory
After the Active Directory schema has been extended, you can prepare other parts of Active Directory for Exchange. During this step, Exchange will create containers, objects, and other items in Active Directory to store information. Run below cmdlet in Windows PowerShell.
D:\Setup.exe /IAcceptExchangeServerLicenseTerms /PrepareAD /OrganizationName:”MSFTWEBCAST”
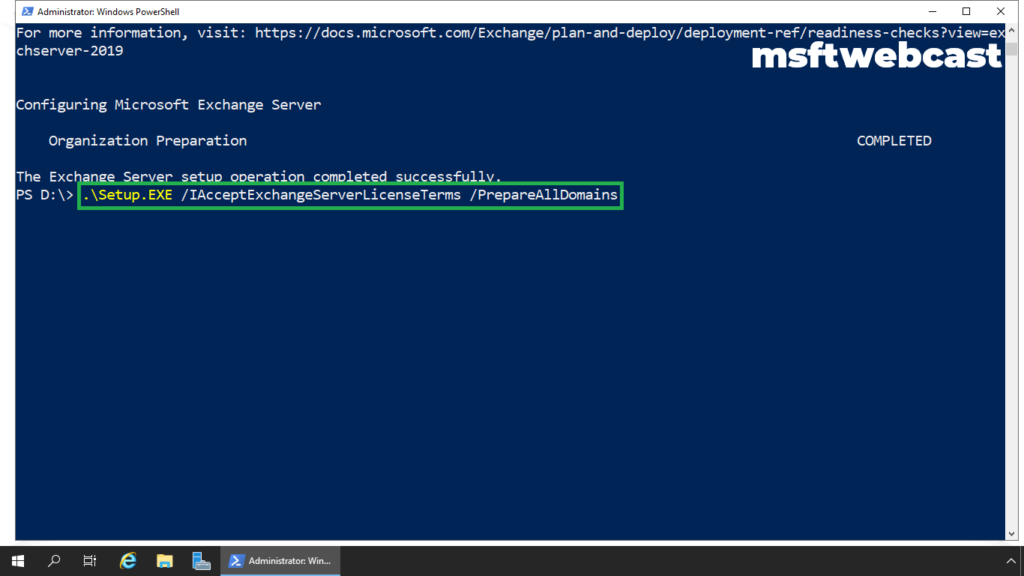
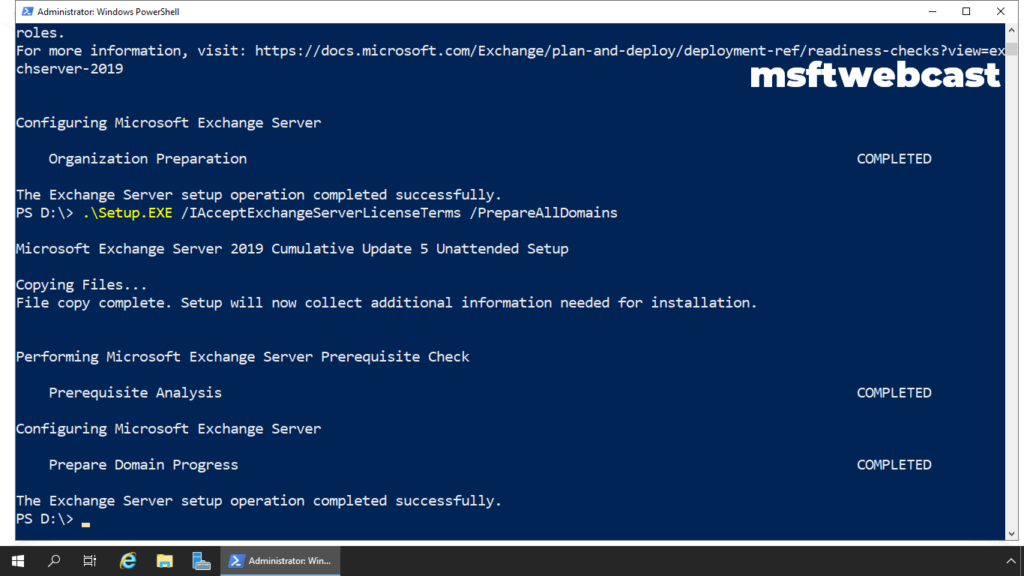
Step 3: Prepare Active Directory domains:
This step creates additional containers and security groups in Active Directory and sets the permissions so Exchange can access them. Run below cmdlet in PowerShell.
D:\Setup.exe /IAcceptExchangeServerLicenseTerms /PrepareAllDomains
Install MS Exchange 2019 on Windows Server 2019:
At this point, we are ready to install our first Exchange 2019 server on Windows Server 2019 (with desktop experience) VM created in the virtual test lab.
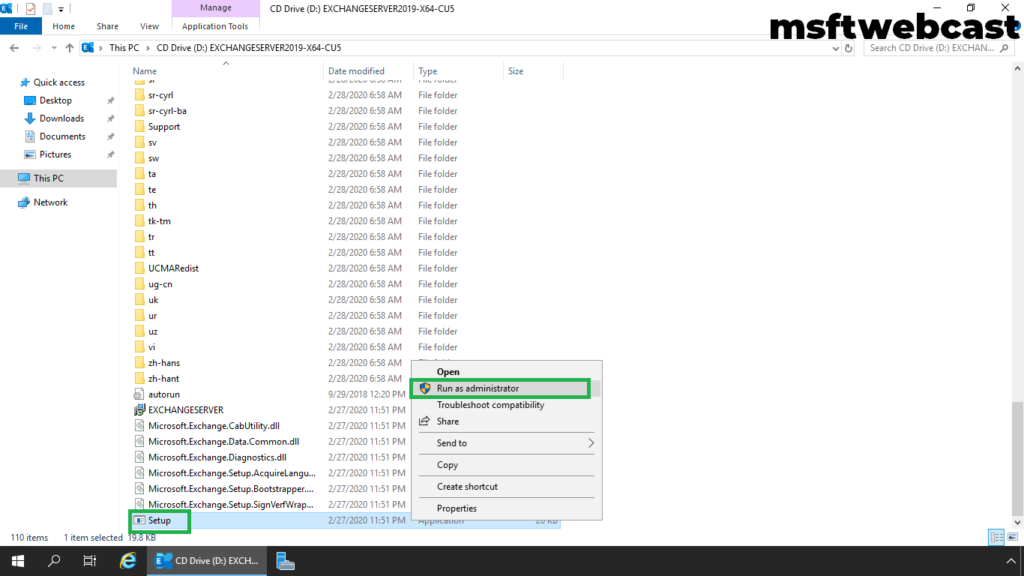
Go to Exchange 2019 Setup folder.
Double-click on the Setup.exe. It will start the installation procedure.
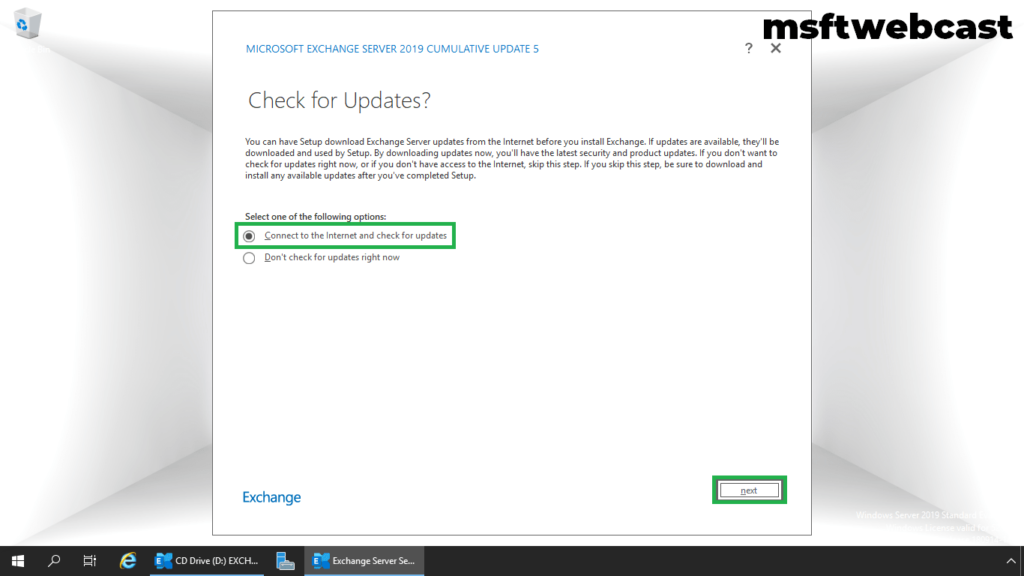
Select Connect to the Internet and check for the updates option to download the latest Exchange 2019 updates and install it during the setup. Click Next.
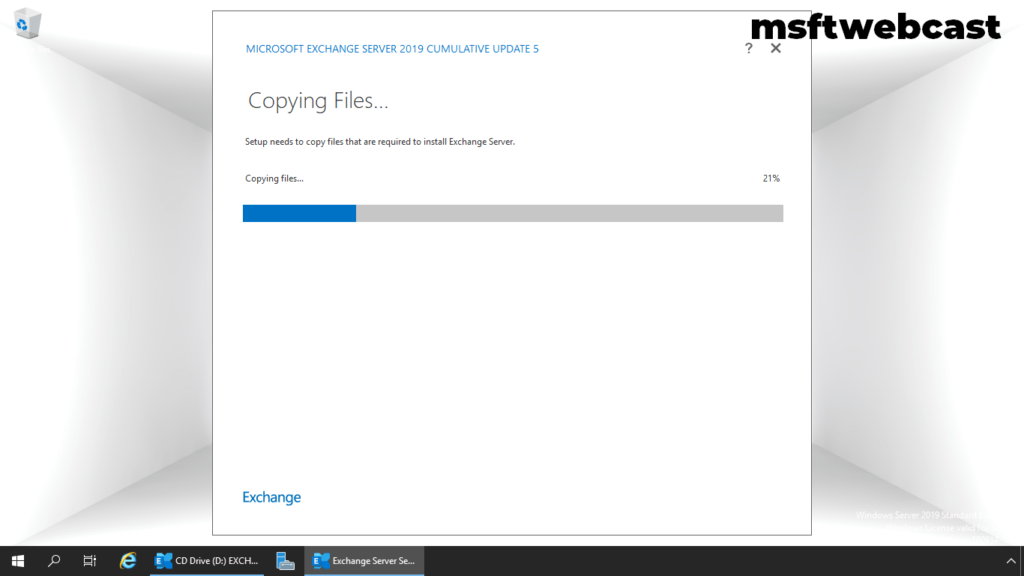
The setup will copy the Exchange setup files to the local drive.
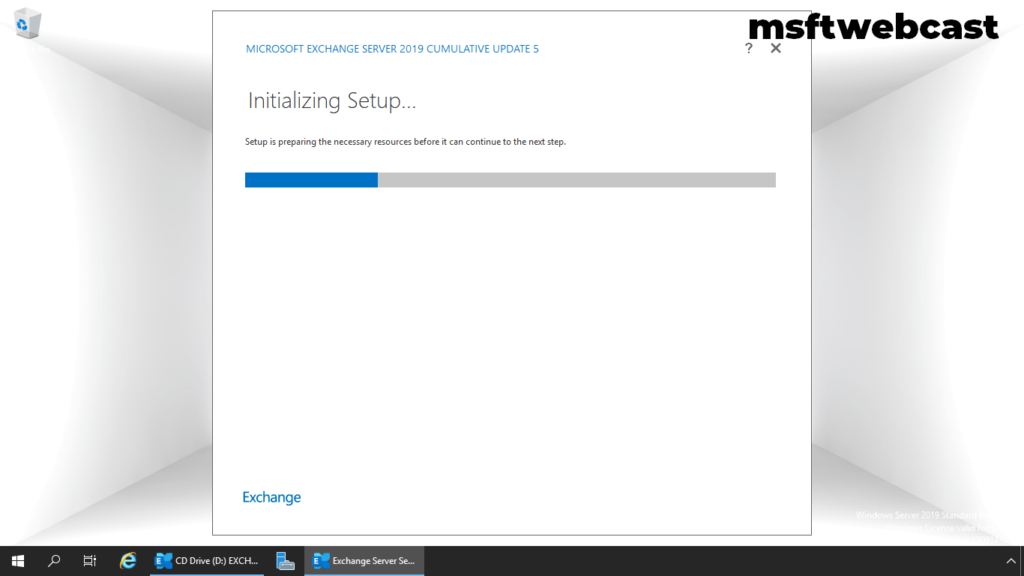
After copying the files, the setup will be initialized.
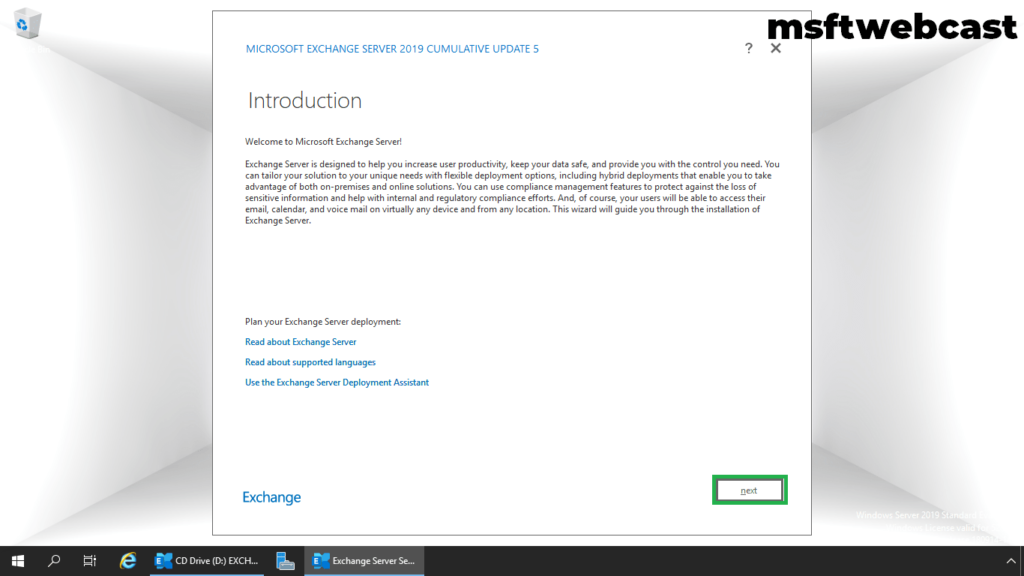
On the Information page, click Next after reading the brief overview of Exchange Server.
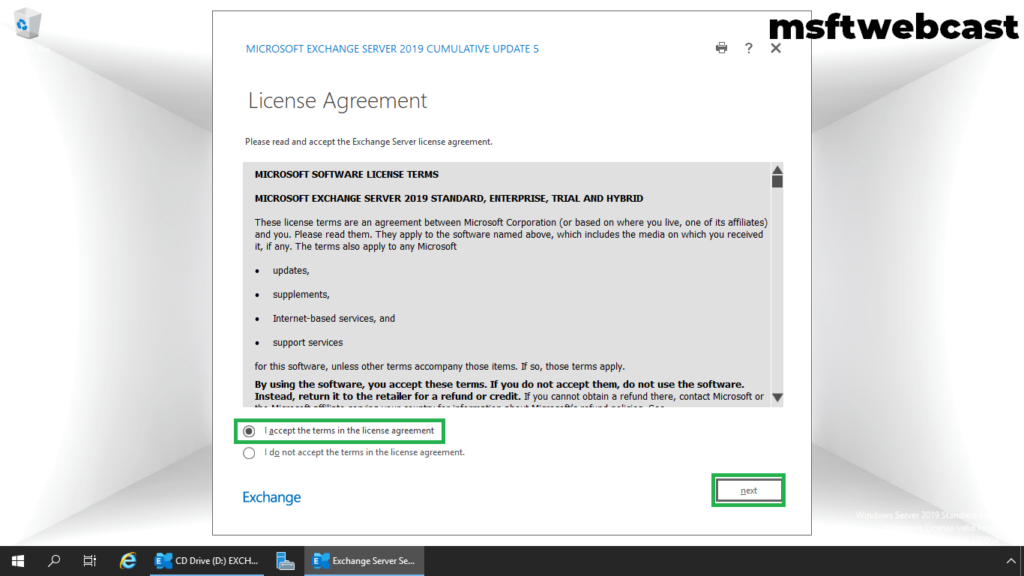
Choose I accept the terms in the license agreement. Then click Next.
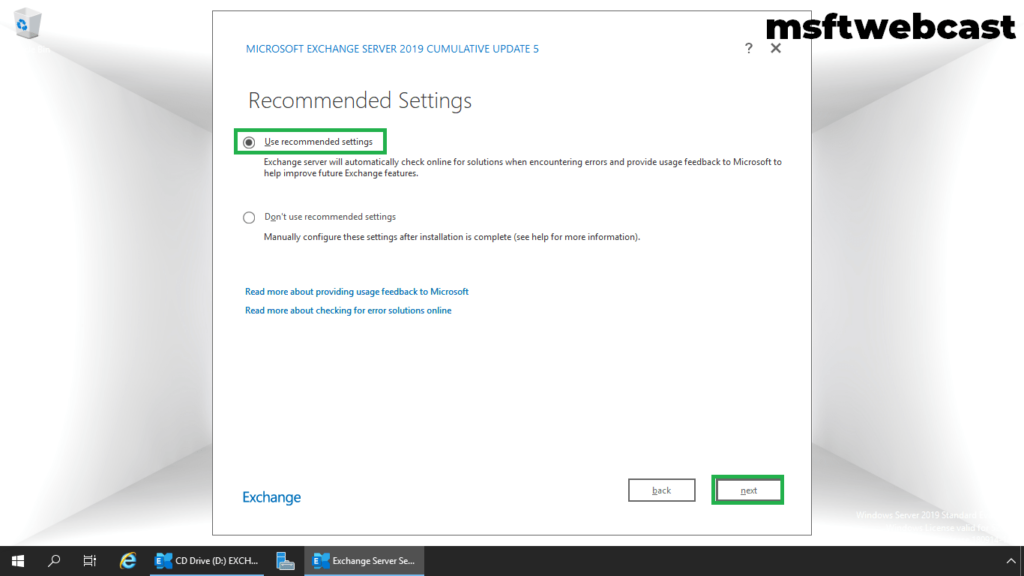
Choose Use recommended settings for the deployment. Click Next.
In Server Role Selection, Choose Mailbox Role.
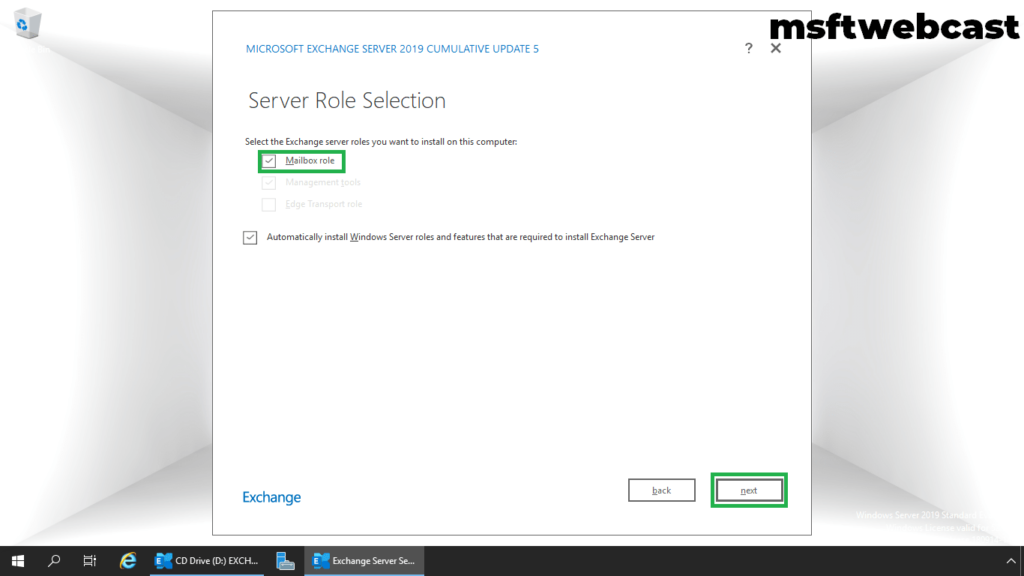
Note: Verify the second option of the automatic installation of required roles and features. This feature is helpful in case the required roles and features are not installed.
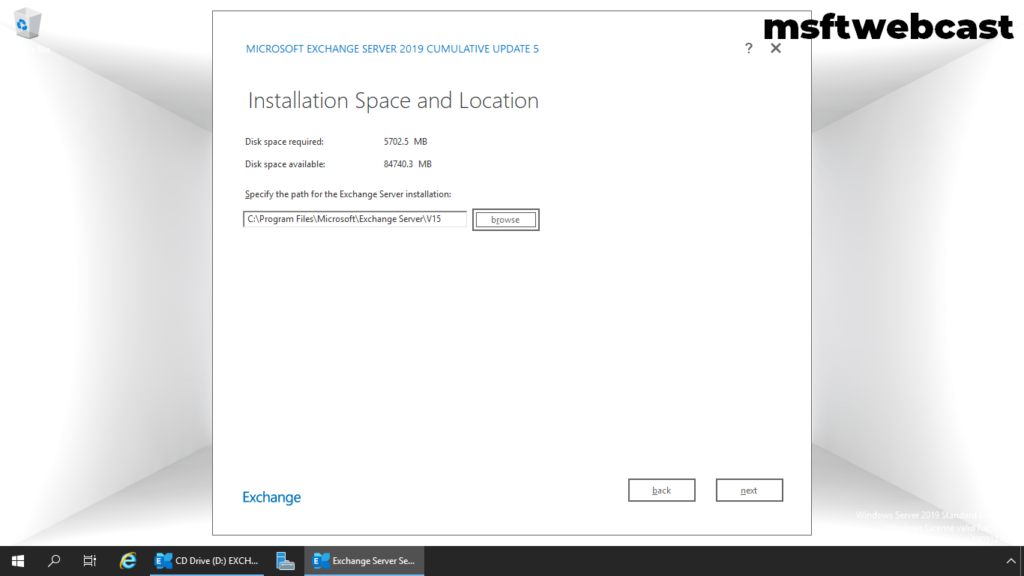
Browse the location where Exchange 2019 will install. We will go with the default location. Then click Next.
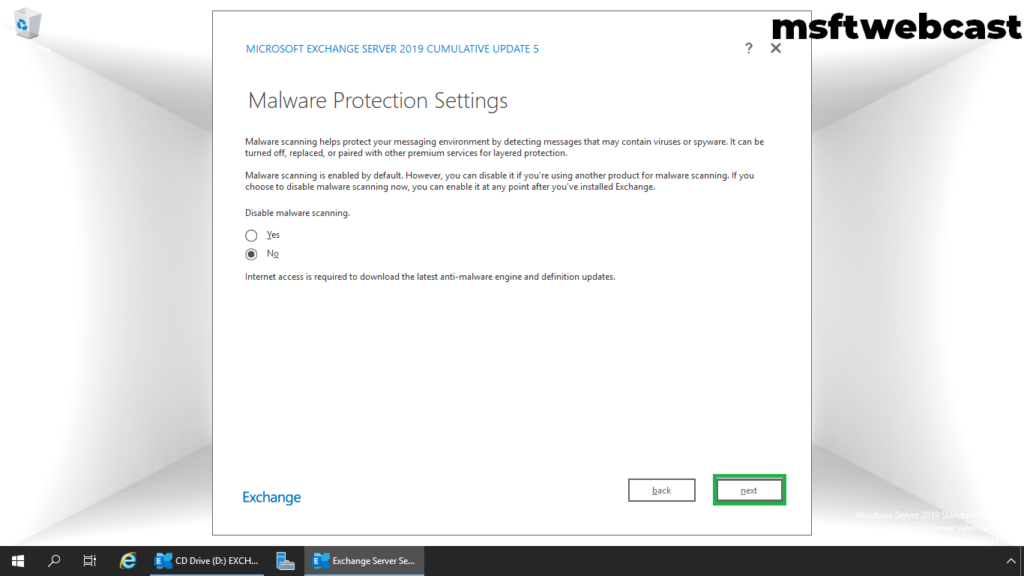
Choose Malware Protection Settings and click Next.
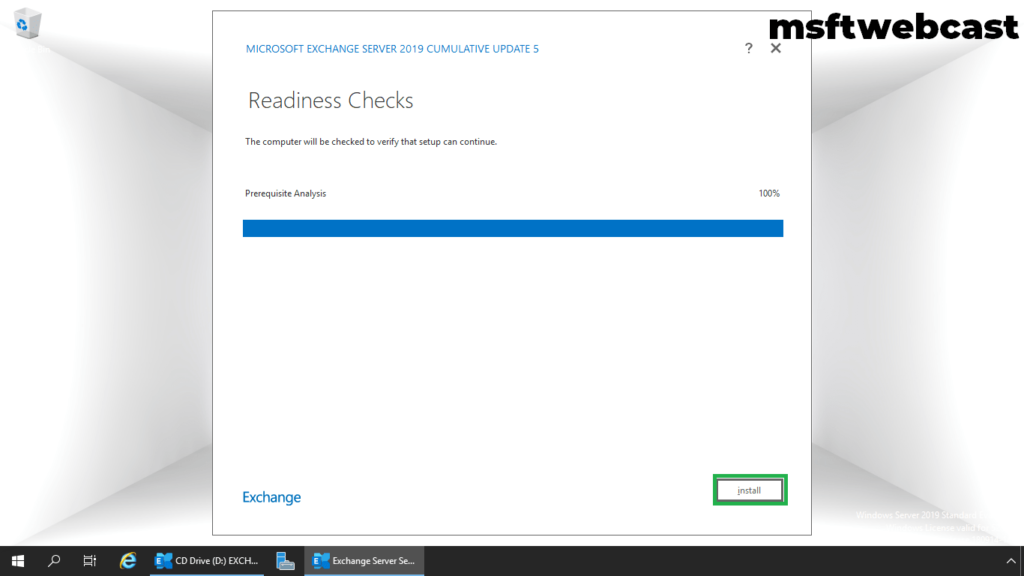
Click on Install once Setup passed all readiness checks.
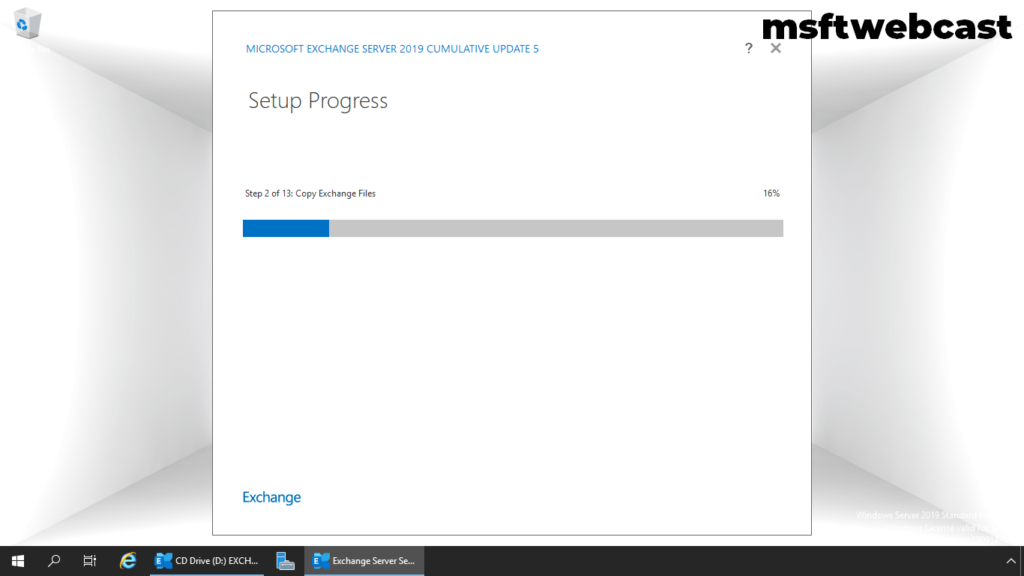
Now the installation will start, note that this will take some time to finish the setup based on the environment.
Once the setup completes the installation, on the Completion page, click Finish.
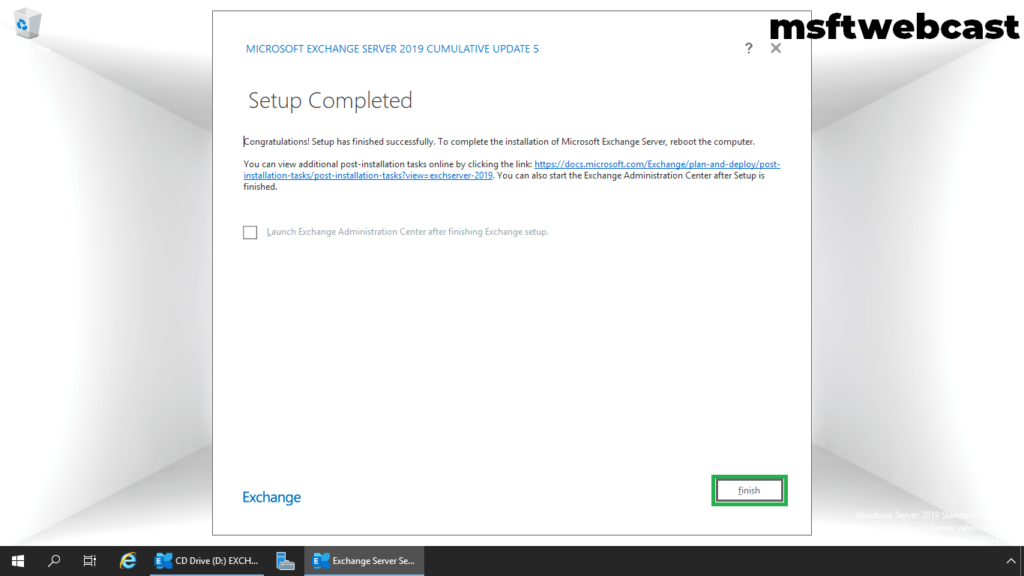
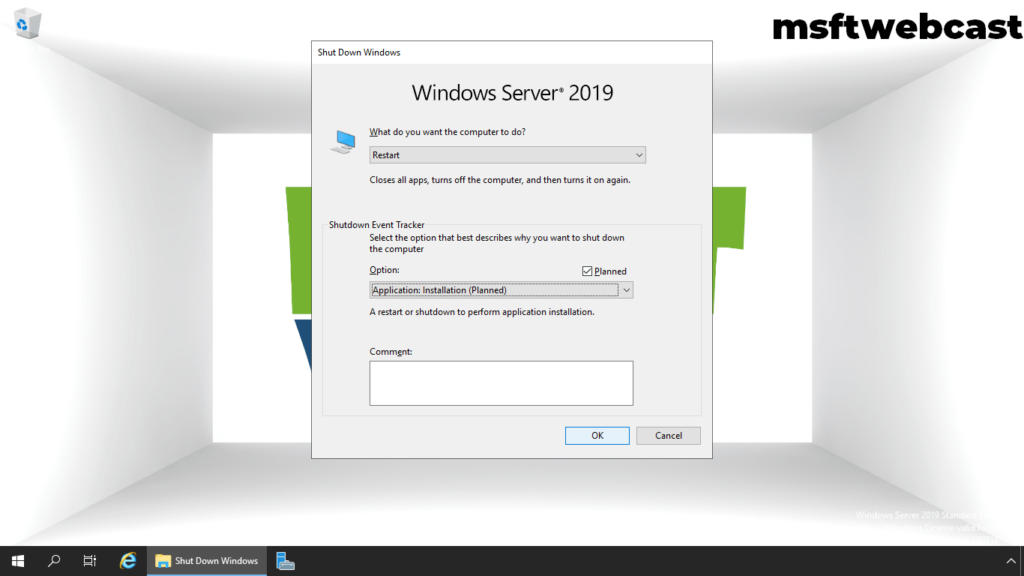
It’s recommended to restart the server after installing Exchange Server.
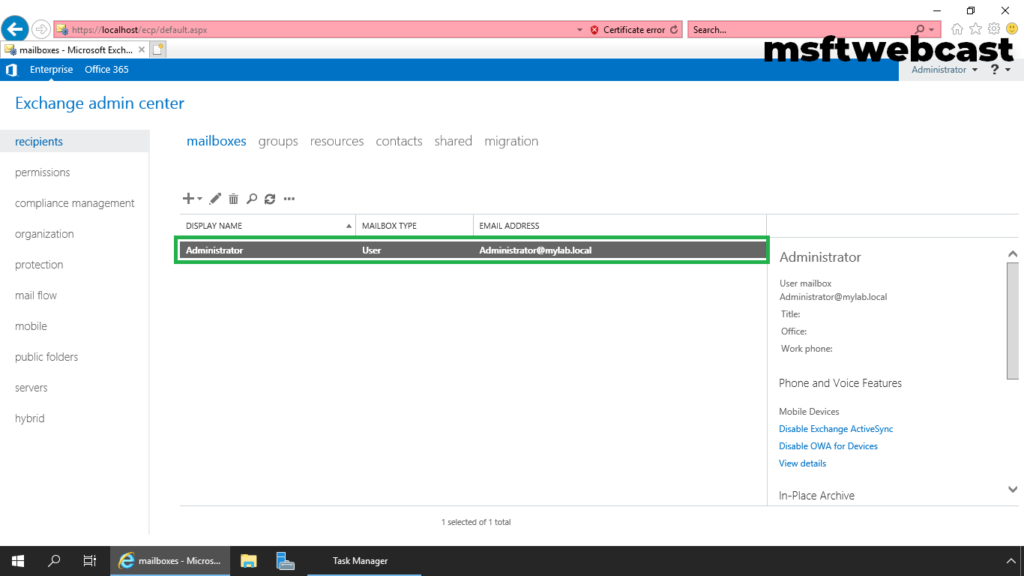
Verify Exchange 2019 Installation:
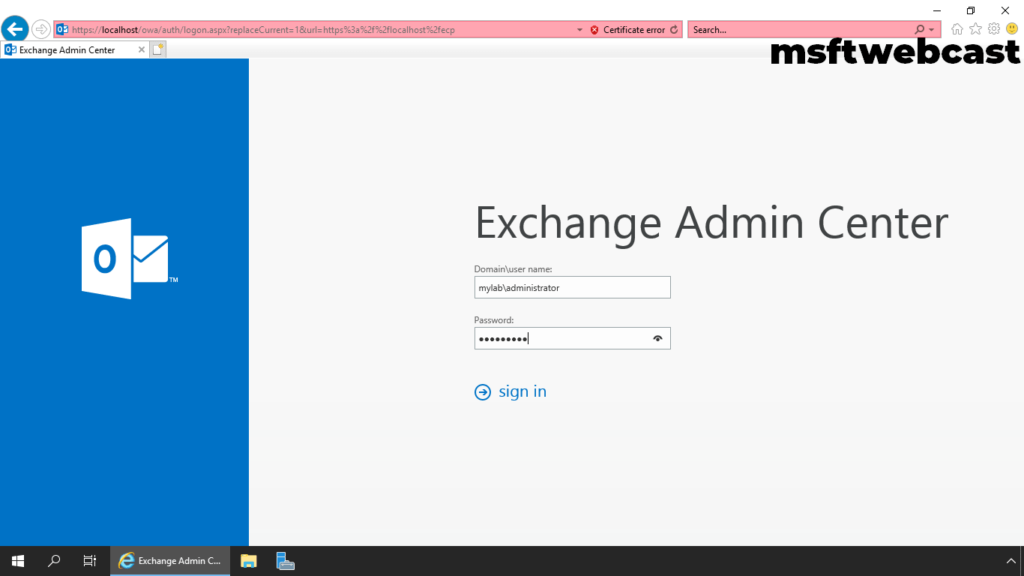
Open the web browser.
Access Exchange Admin Center by navigating to the URL https://localhost/ecp. Provide the user credentials and then click sign in.
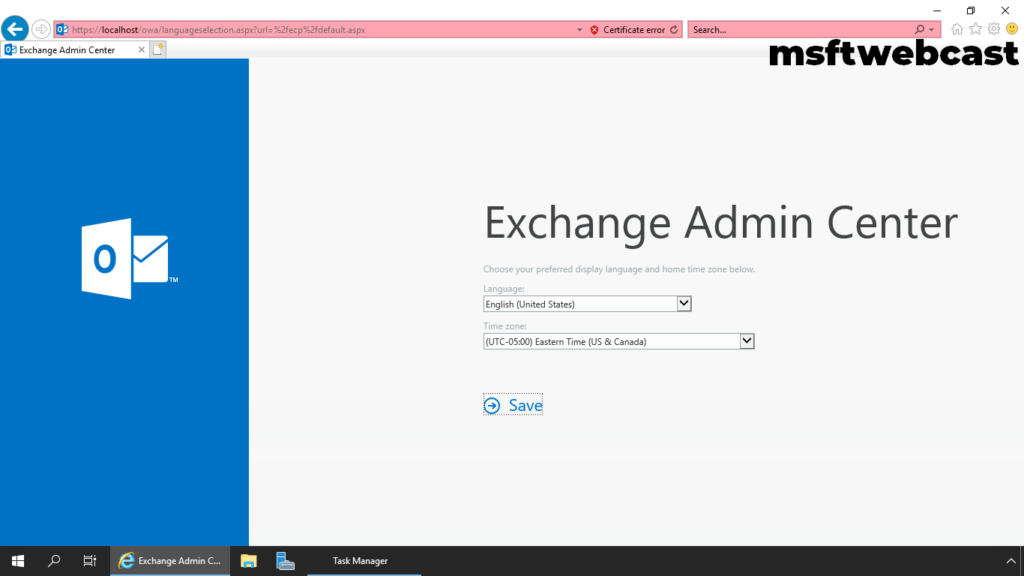
Verify the Administrator user Mailbox under the recipient section.
That’s all for this guide on How to Install Exchange 2019 on Windows Server 2019. Hope this will be helpful.
6 Comments
Leave a Reply
You must be logged in to post a comment.
[…] 24 hours ago 3 min read […]
[…] 2 days ago 3 min read […]
[…] Step by Step Installation of Exchange 2019 on Windows Server […]
[…] Step by Step Installation of Exchange 2019 on Windows Server 2019 […]
[…] Step by Step Installation of Exchange 2019 on Windows Server 2019 […]
Thanks a lot for the detailed guide.
Can you please also share the Exchange Server ISO fle with me.
serajahmad34@gmail.com