
In this post, we will learn the steps to create a new Mailbox Database in Microsoft Exchange Server 2019.
After installing the Exchange Server, the next step is to create a new mailbox database to store different types of mailboxes and related data.
What is Mailbox Database in Exchange Server?
A Mailbox database is a storage to store mailboxes and related data in Exchange Server 2019. Mailbox databases store data that is private to an individual mailbox and contain mailbox data and folders for that mailbox.
A mailbox database is stored as an Exchange database (.edb) file. However, .edb is not the only file related to the mailbox database. Exchange Server uses the set of data files to store and maintain the mailbox database like log files, reserved log files, and checkpoint files.
With the Fresh installation of Exchange Server 2019, a default mailbox database is created automatically in default Exchange installation location.
We can use the Exchange Admin Center (EAC) and Exchange Management Shell (EMS) to create the Mailbox Database in Exchange Server 2019.
Create a Mailbox Database in Exchange Server 2019:
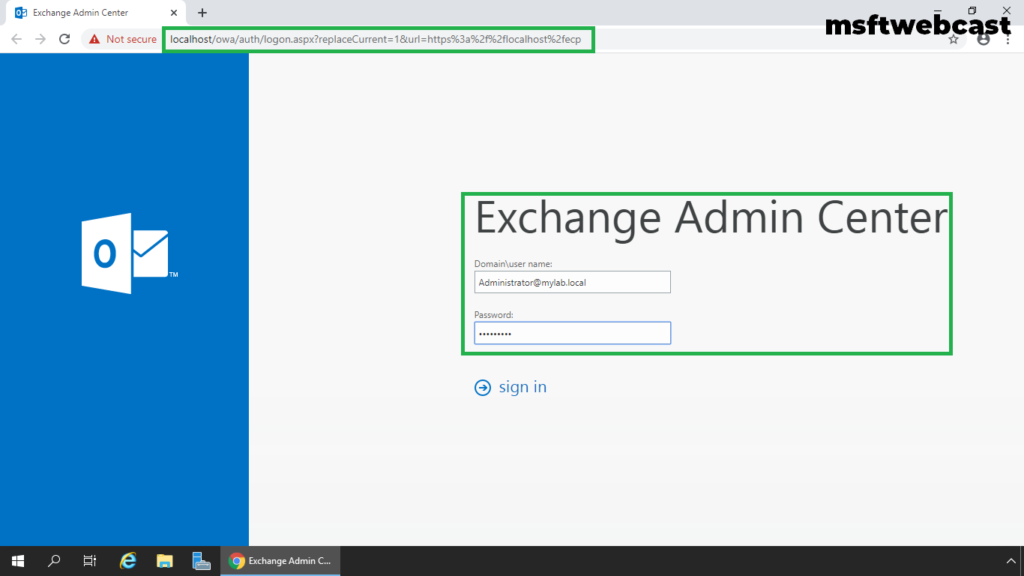
To create a new mailbox database in Exchange Server 2019, log on to Exchange Admin Center (EAC) with sufficient permission.
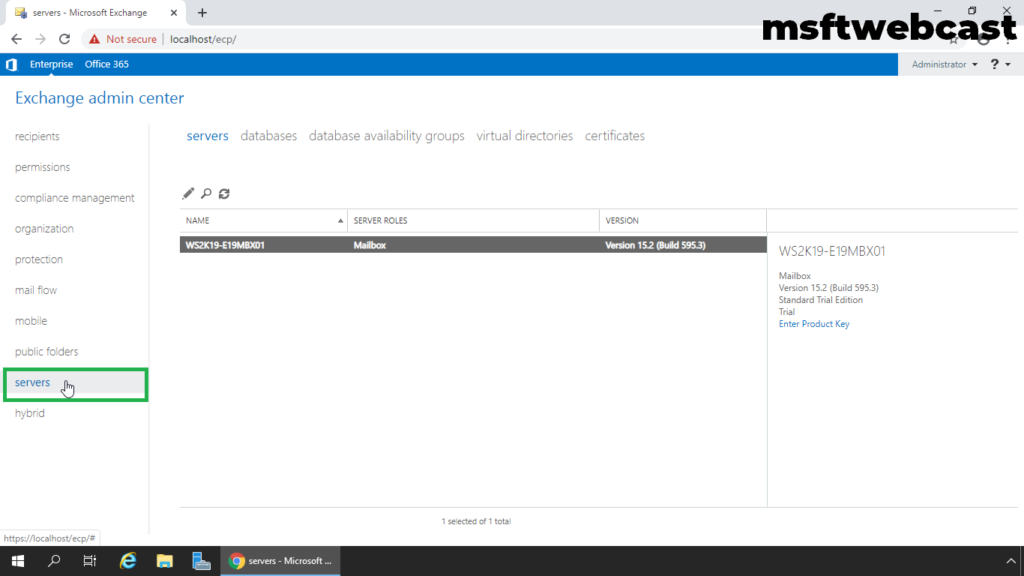
1. On Exchange Admin Center, navigate to the servers section.
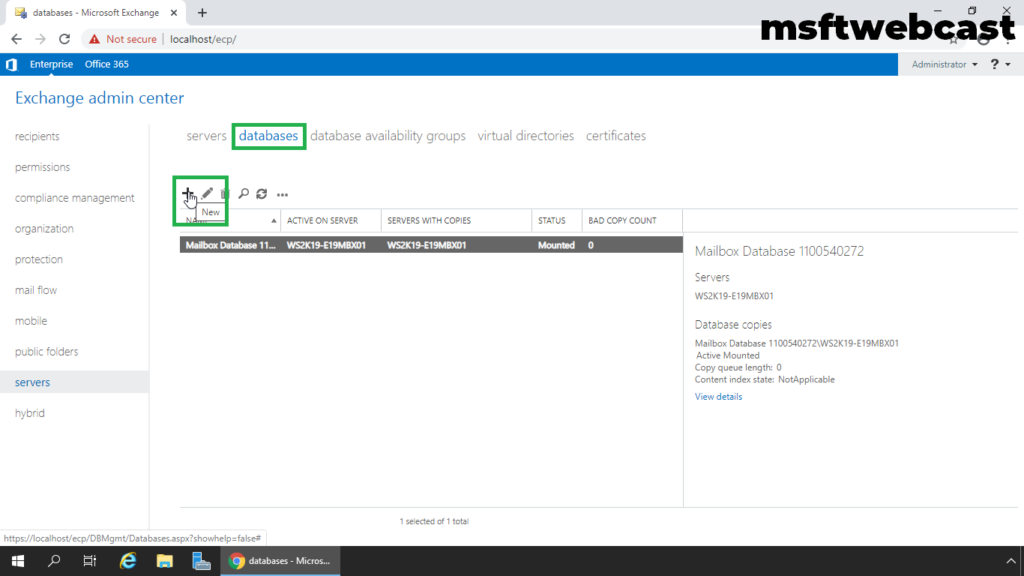
2. Select Databases, and then click the + (plus) symbol to create a new database.
3. Use this new database wizard to create a new mailbox database. Type name of the database and click on Browse button to select mailbox server.
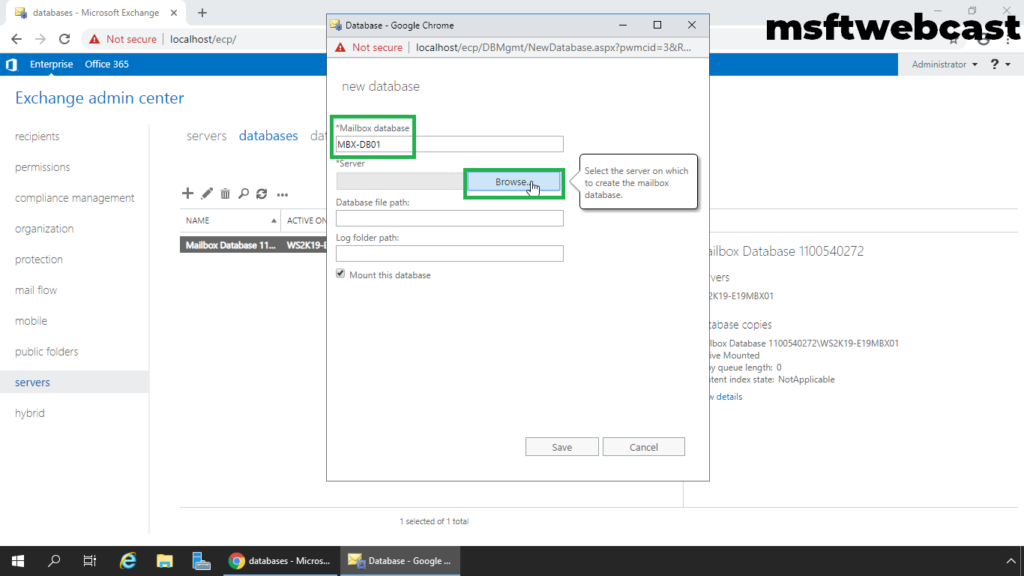
4. Browse the mailbox server to store the database. Specify the location for the database and log files.

5. Make sure that mount this database checkbox is selected. It is best practice to store database files and log files in different drives or different hard disk.
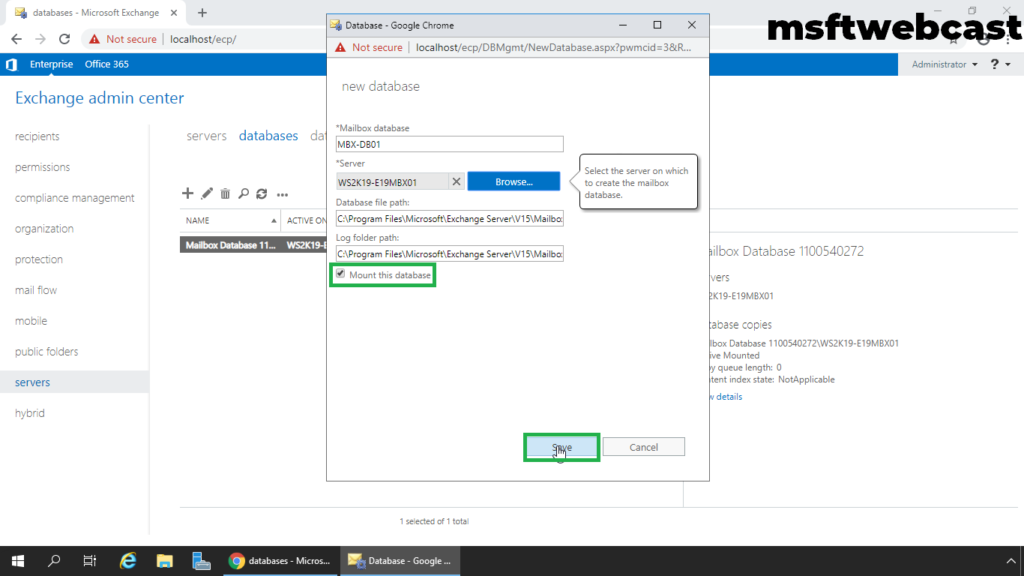
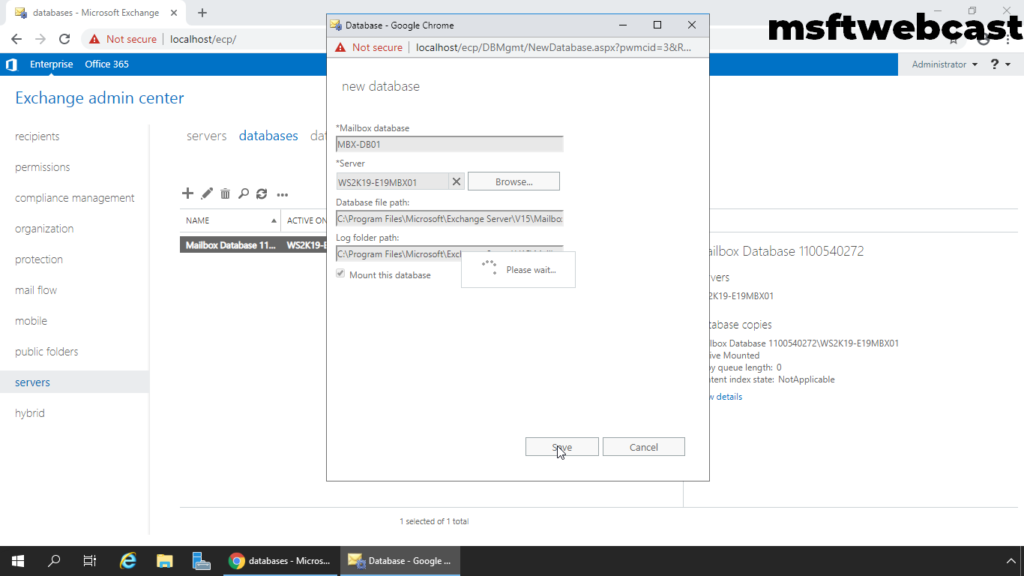
6. Click on Save.
7. Click OK on the warning dialog box as we need to restart the Microsoft Information Store service.
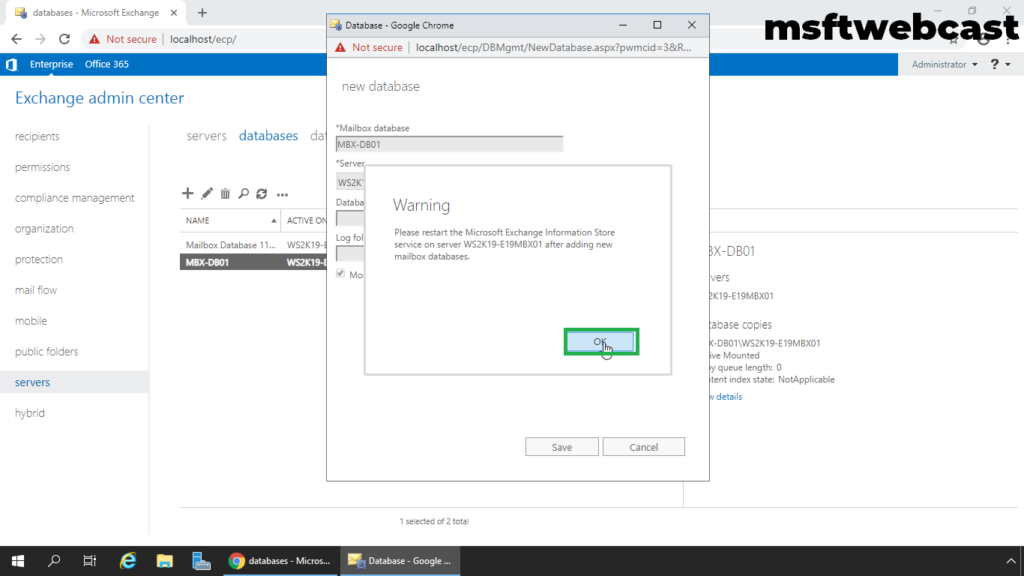
8. Verify that the mailbox database has been created successfully.
Restart Exchange Information Store Service:
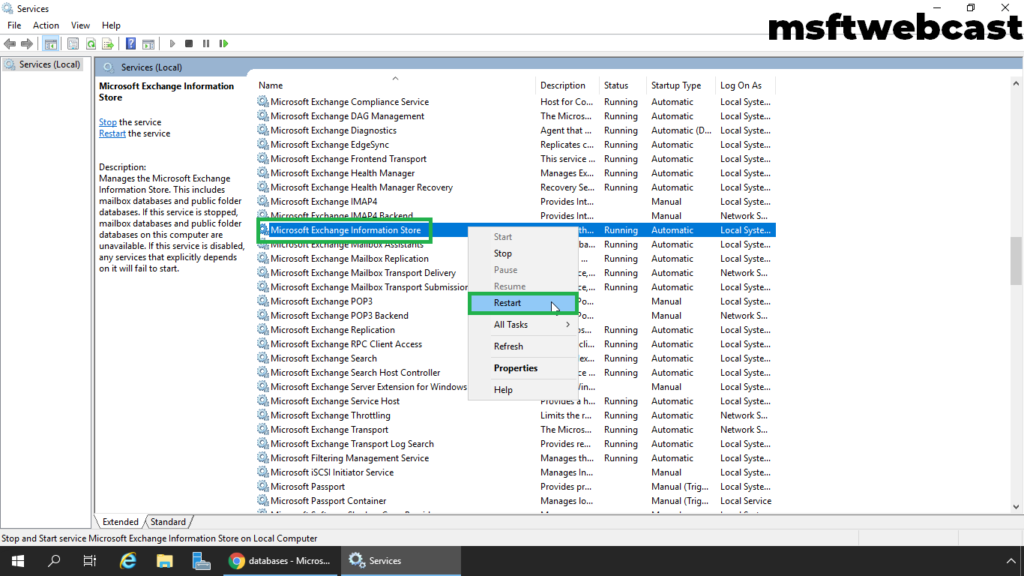
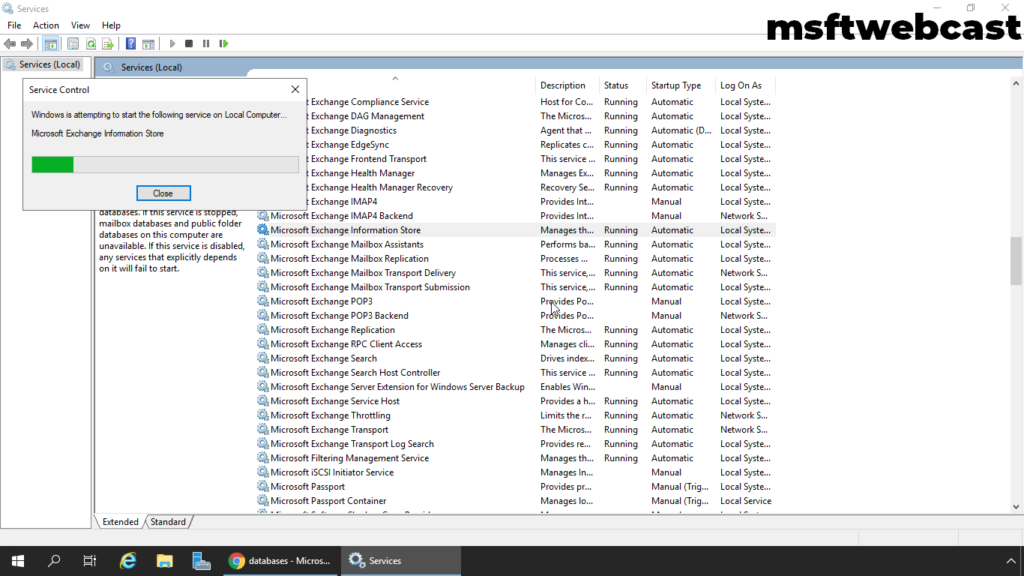
9. Open Services management console.
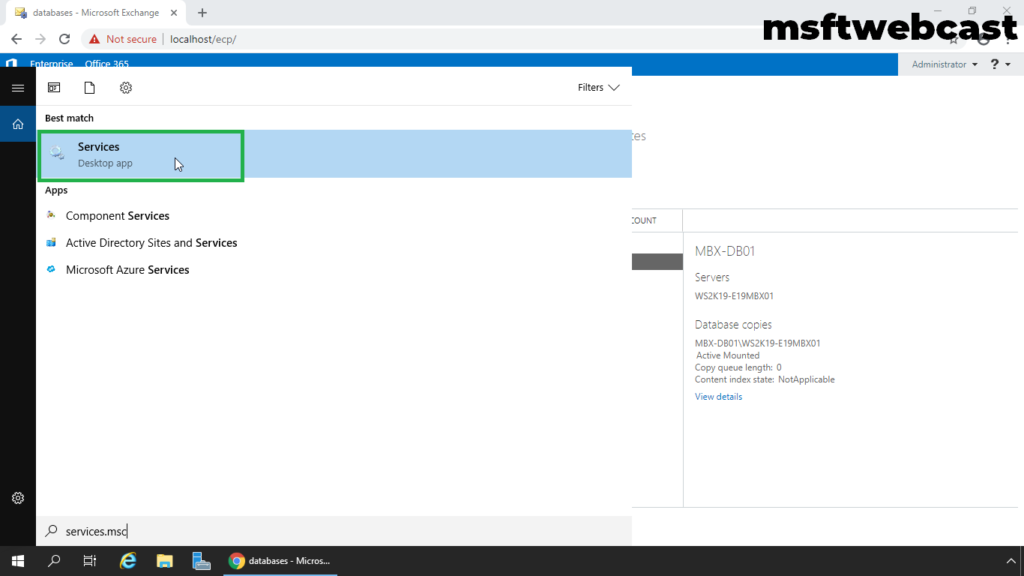
10. Right-click Microsoft Exchange Information store and click Restart.
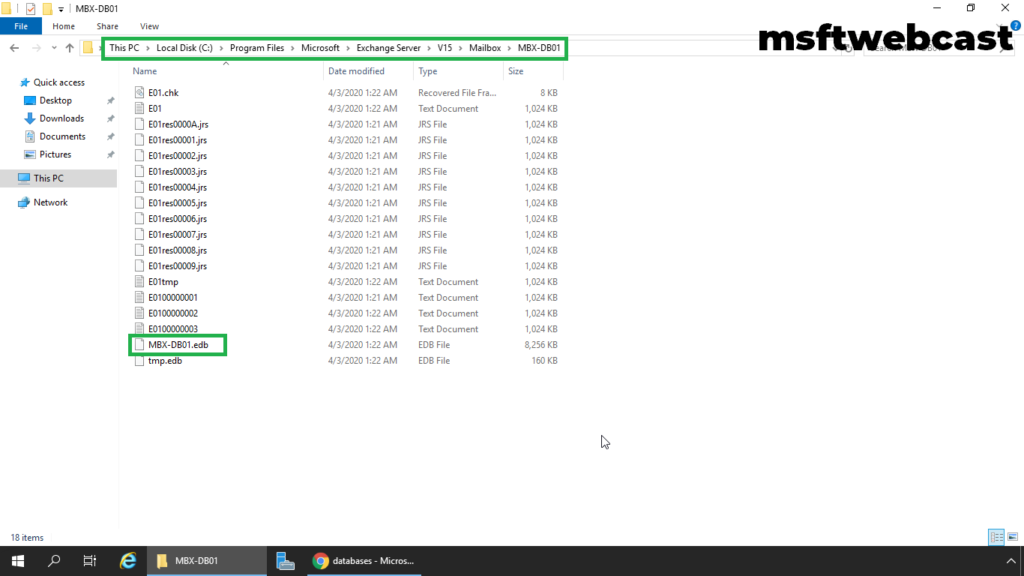
11. Verify the Mailbox Database .edb file and log files in File Explorer.
Now we are ready to create new mailboxes in the newly created mailbox database in Exchange Server 2019.
That’s all for this guide. In this article we have learned the steps to create Mailbox Database in Exchange 2019 using Exchange Admin Center.
Related Articles:
4 Comments
Leave a Reply
You must be logged in to post a comment.
[…] 1 day ago 2 min read […]
[…] How to Create Mailbox Database in Exchange 2019 […]
[…] How to Create Mailbox Database in Exchange 2019 […]
[…] Create Mailbox Database in Exchange 2019 […]