In this blog post, you will learn the steps to configure Email forwarding in Microsoft 365 using Microsoft 365 Admin Center and Exchange Admin Center.
What is Email Forwarding in Microsoft 365?
As the admin of an organization, you might have company requirements to set up email forwarding for a user’s mailbox. Email forwarding lets you set up a mailbox to forward email messages sent to a user’s mailbox to another user’s mailbox inside or outside of your organization.
You can also use the Exchange admin center (EAC) to set up email forwarding to a single internal recipient, a single external recipient (using a mail contact), or multiple recipients (using a distribution group).
Before you set up email forwarding, note the following:
- You must be an Exchange administrator or Global administrator in Microsoft 365 to do these steps.
- Once you set up email forwarding, only new emails sent to the from mailbox will be forwarded.
- Email forwarding requires that the from account has a license.
Steps to configure email forwarding using Microsoft 365 admin center.
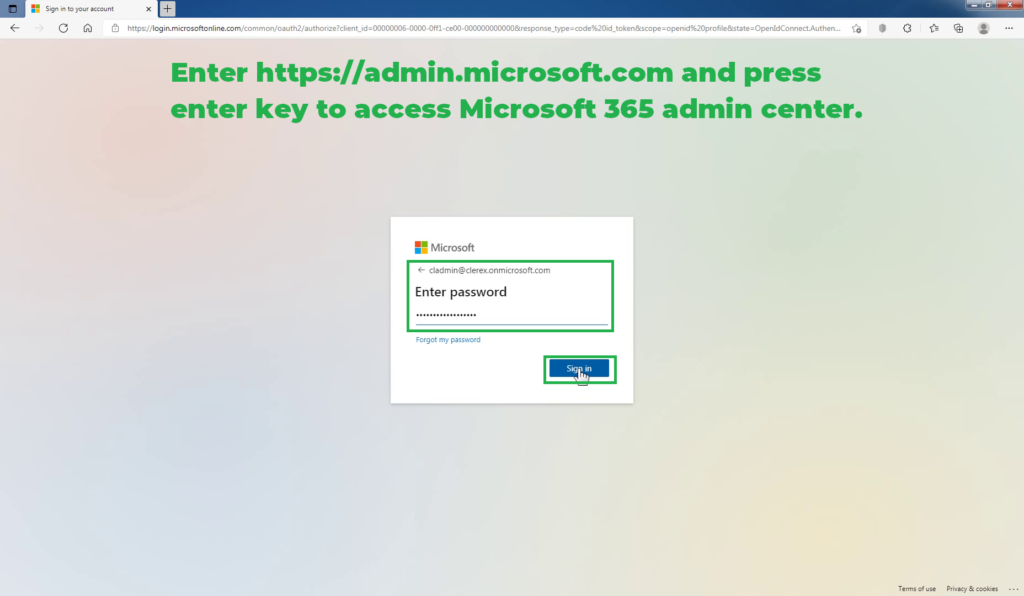
Open your favorite web browser and go to https://admin.microsoft.com and sign in to the Microsoft 365 admin center using a global administrator account.
In the left part of the window, expand the Users drop-down menu and click the Active users button.
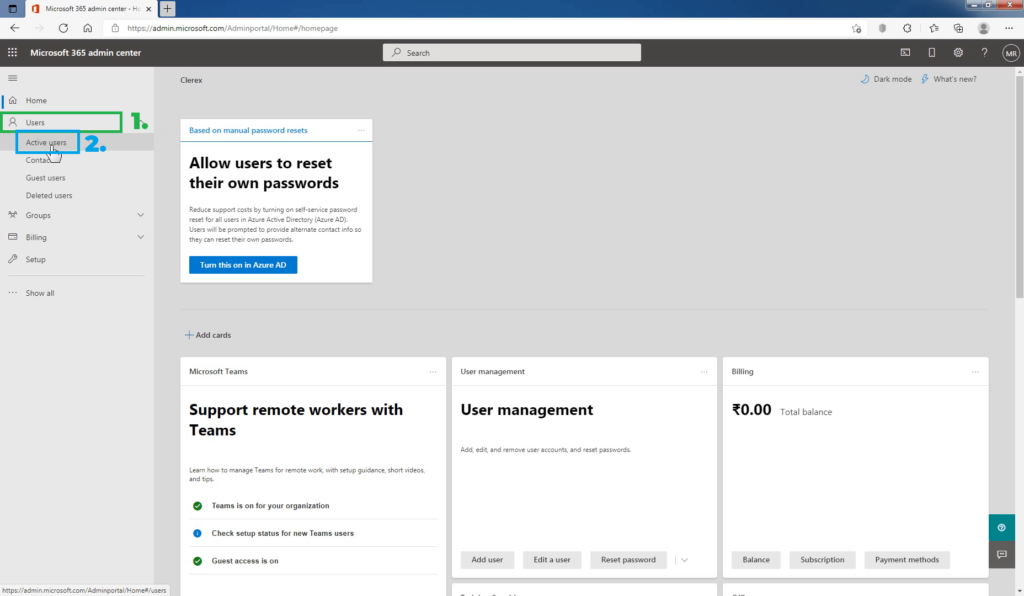
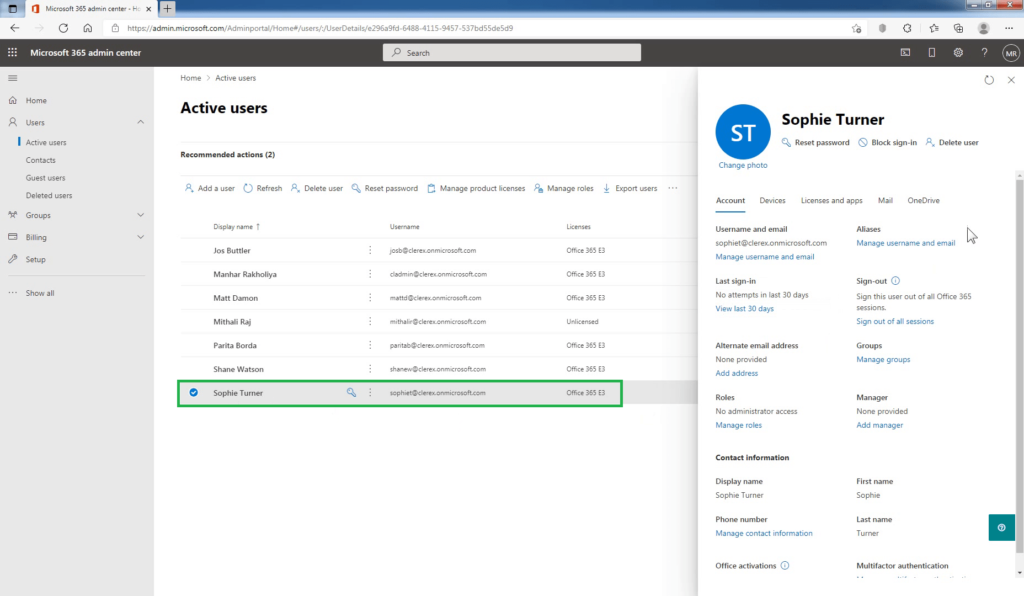
The Active users operation pane will be displayed on the right side of the window. Select the name of the user whose email you want to forward, then open the properties page.
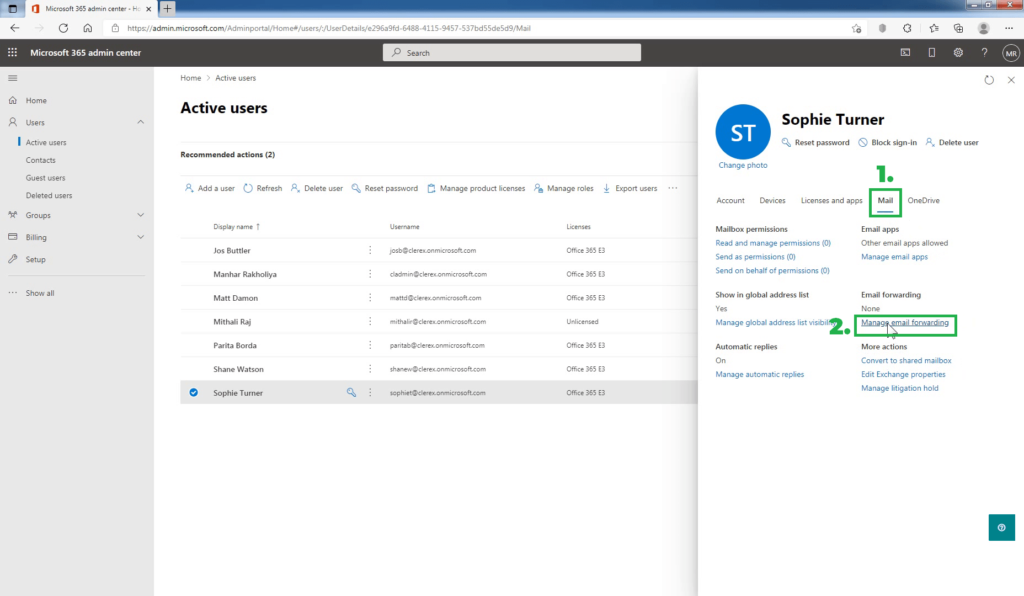
On the Mail tab, select Manage email forwarding link.
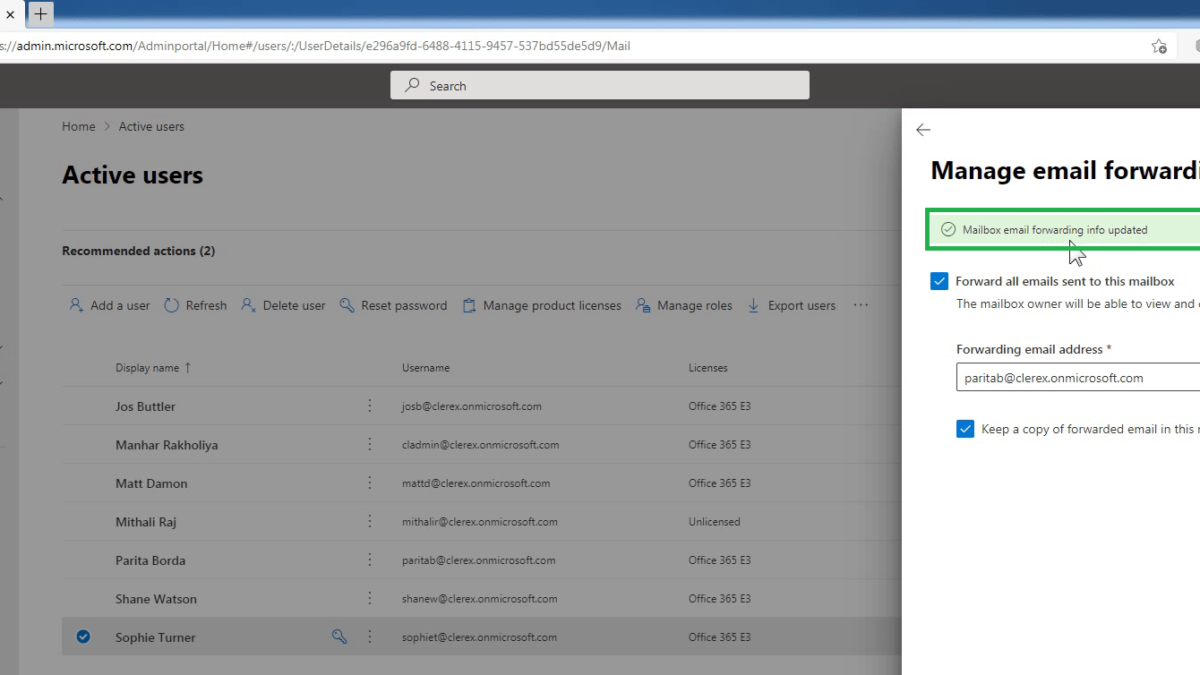
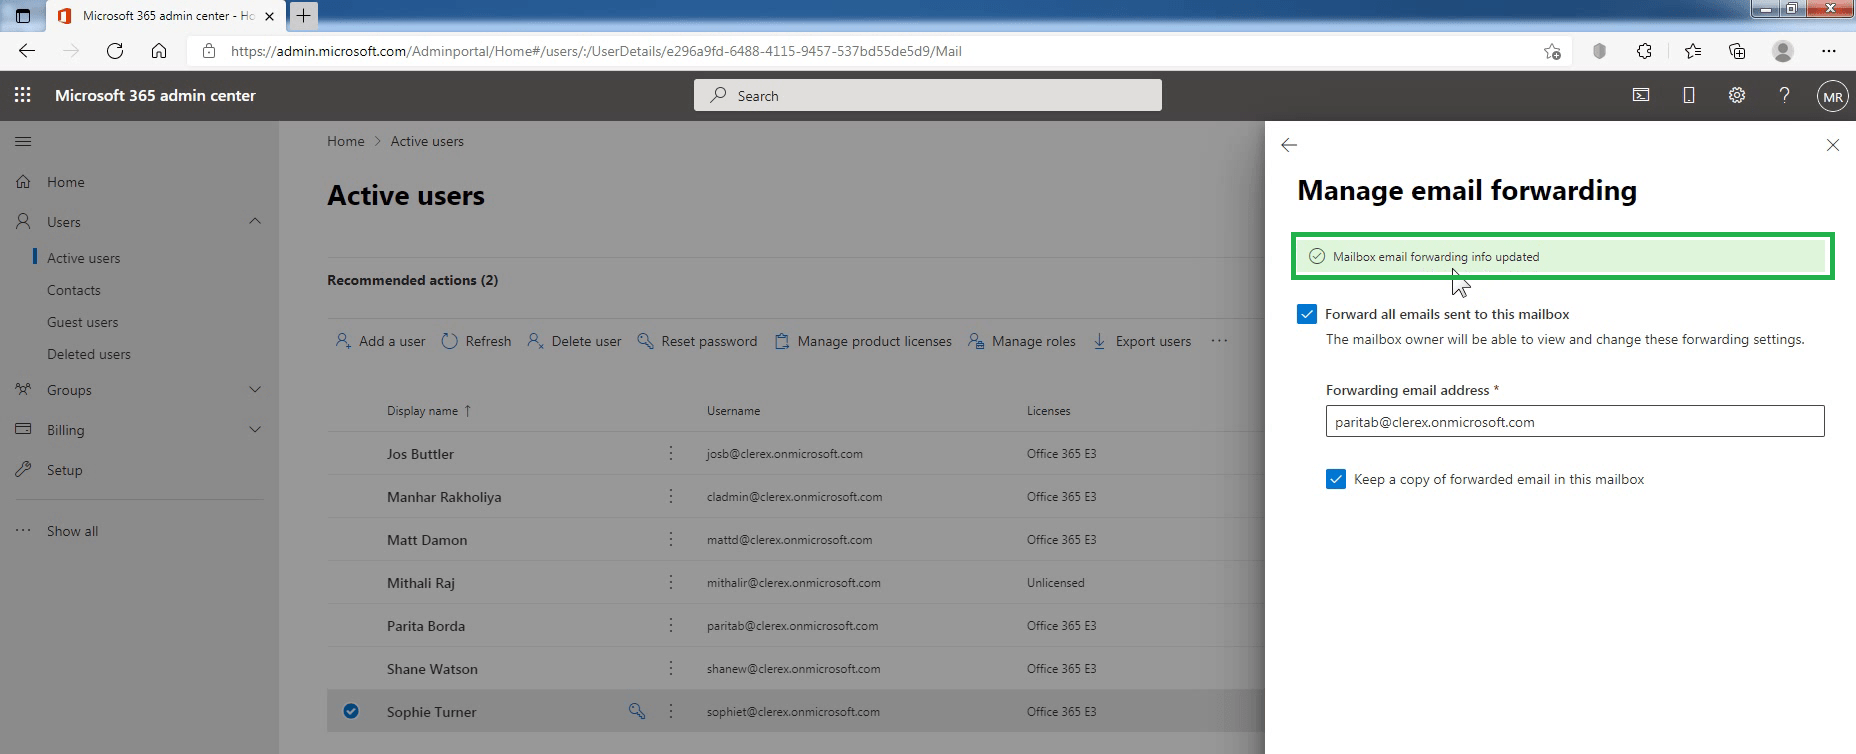
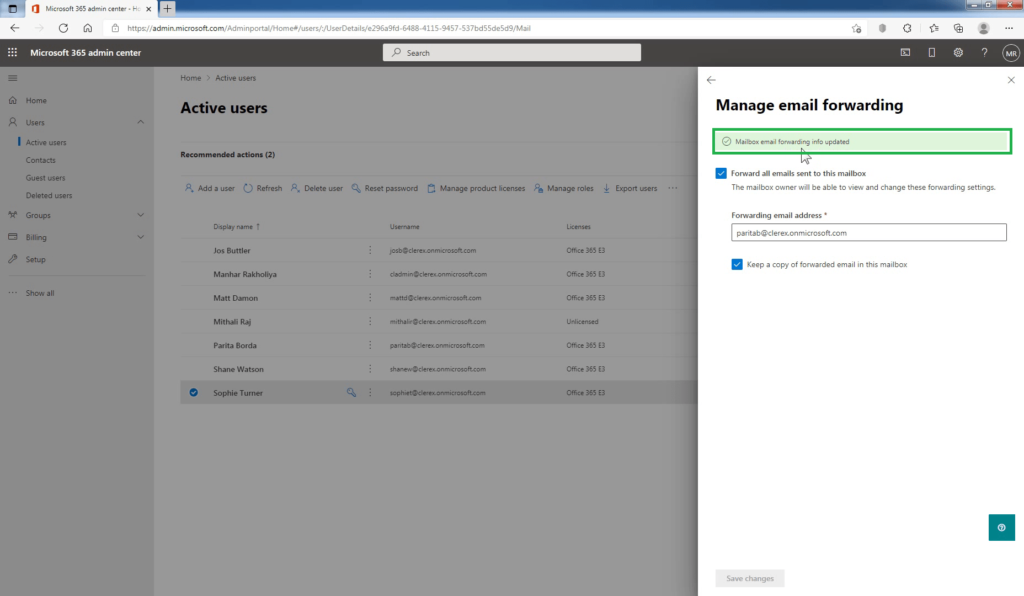
On the email forwarding page, select Forward all emails sent to this mailbox, enter the forwarding address, and choose whether you want to keep a copy of forwarded emails.
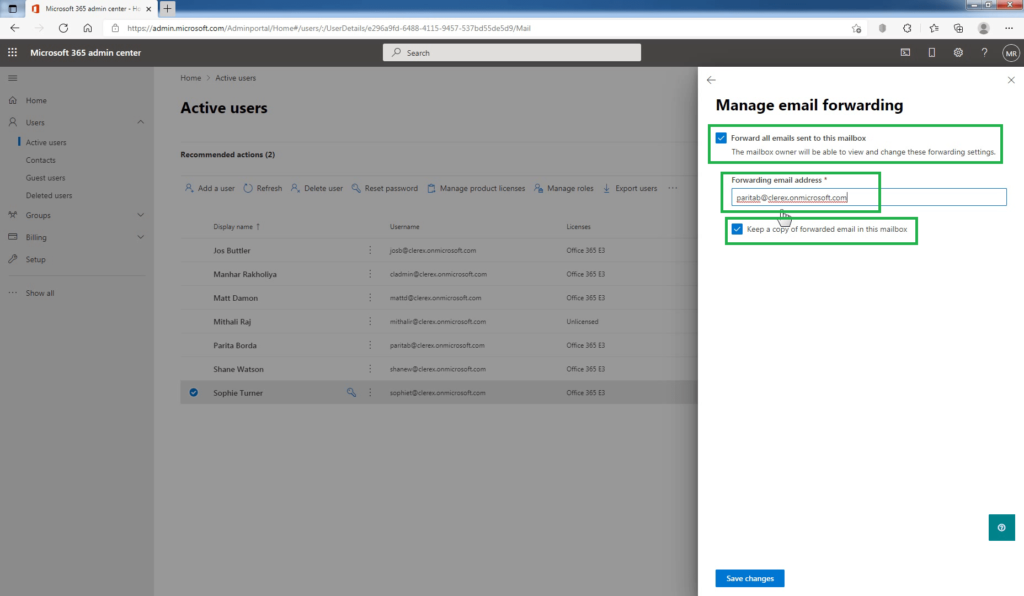
If you don’t see this option, make sure a license is assigned to the user account.
Select Save Changes.
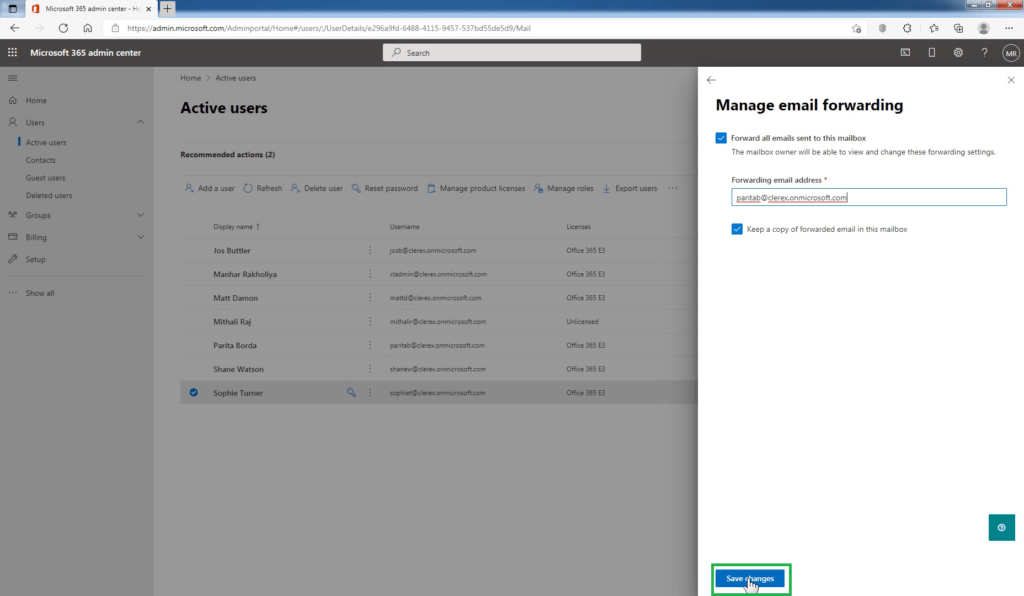
Verify that the email forwarding information has been successfully updated.
Steps to configure email forwarding using Exchange admin center:
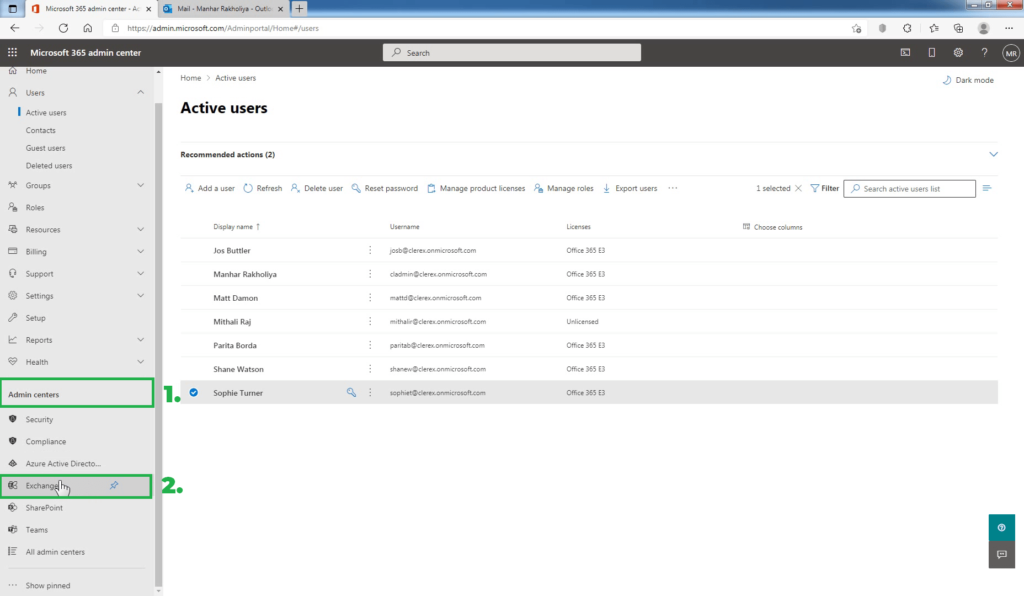
Go to https://admin.exchange.microsoft.com and sign in to the Exchange admin center using the Exchange administrator account.
In the left part of the window, expand the Recipients drop-down menu and click the Mailboxes button.
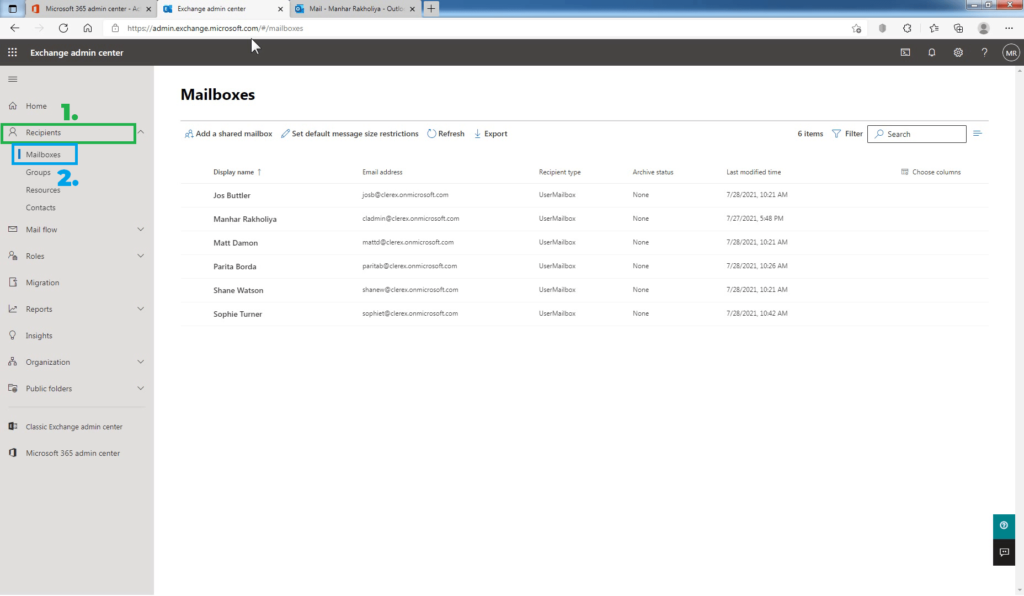
In the list of user mailboxes, click the mailbox that you want to configure mail forwarding for.
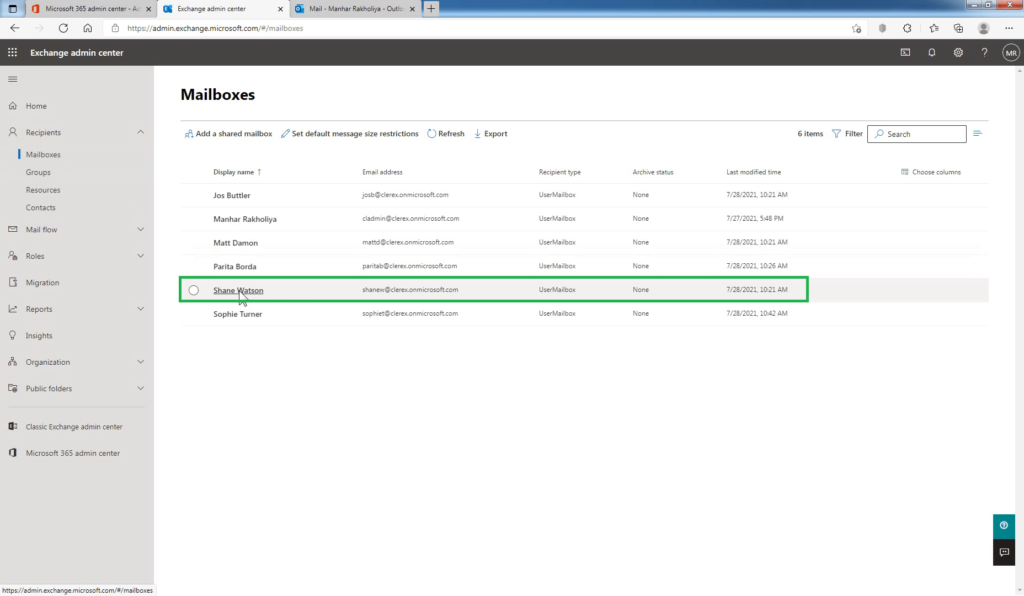
A display pane is shown for the selected user mailbox.
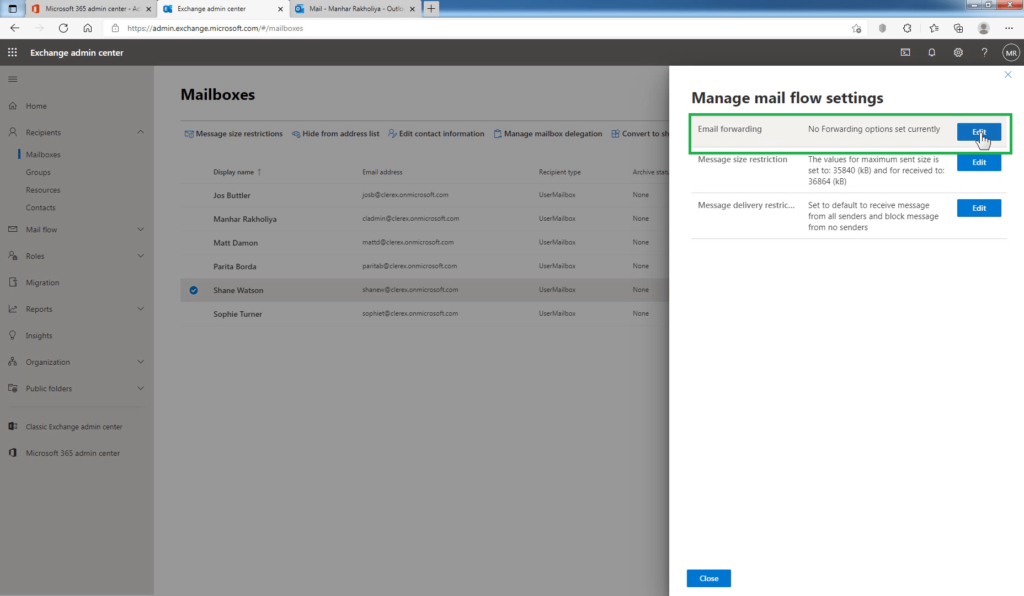
On the Mailbox tab, under Mail flow settings, click the Manage mail flow settings link.

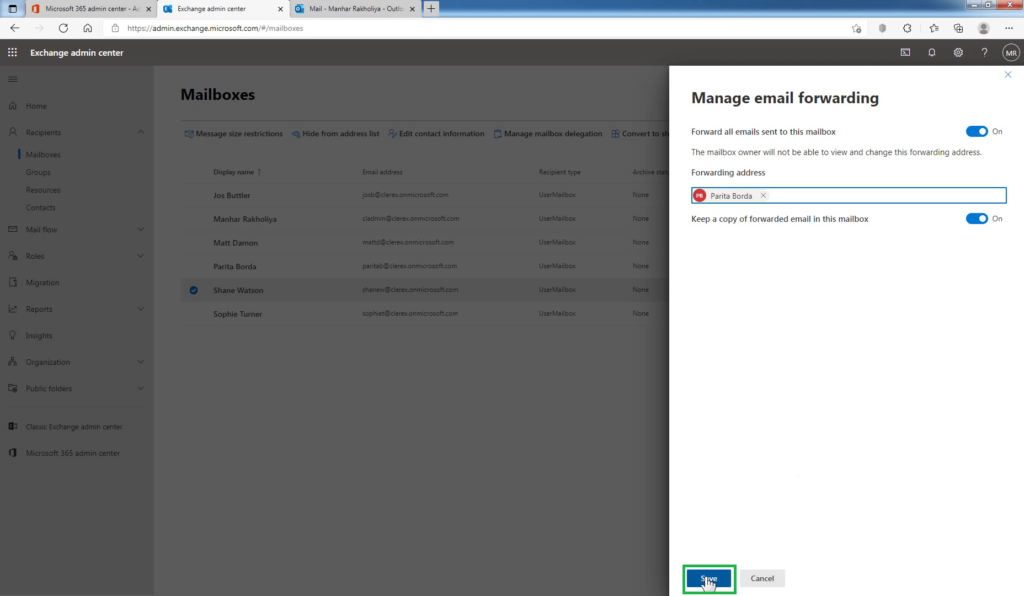
In the Manage mail flow settings display pane, you will see the Email forwarding option. Click the Edit button next to this option to view or change the setting for forwarding email messages.
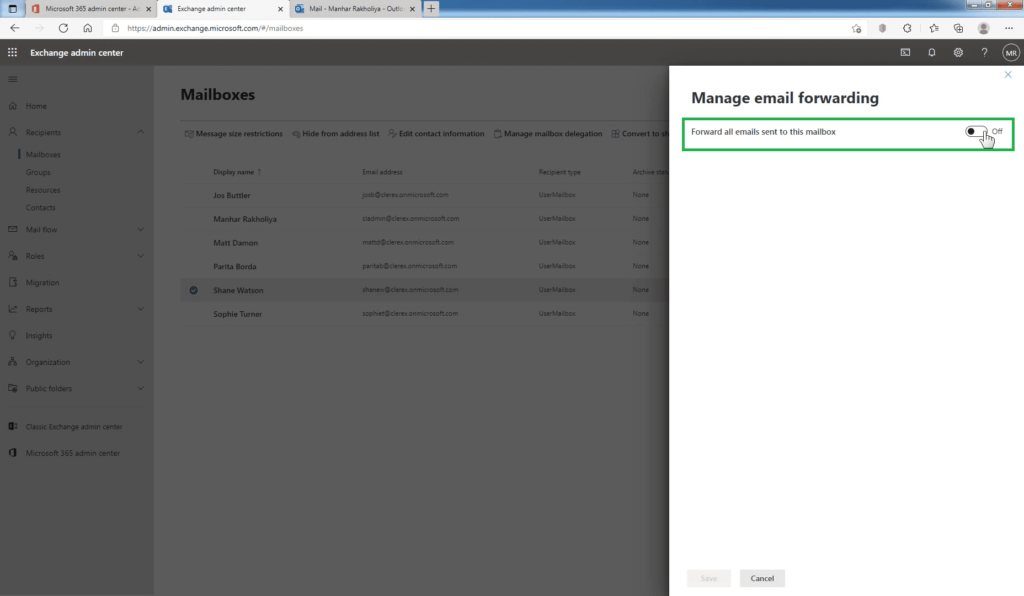
By default the Forward all emails sent to this mailbox setting is OFF. Turn it ON.
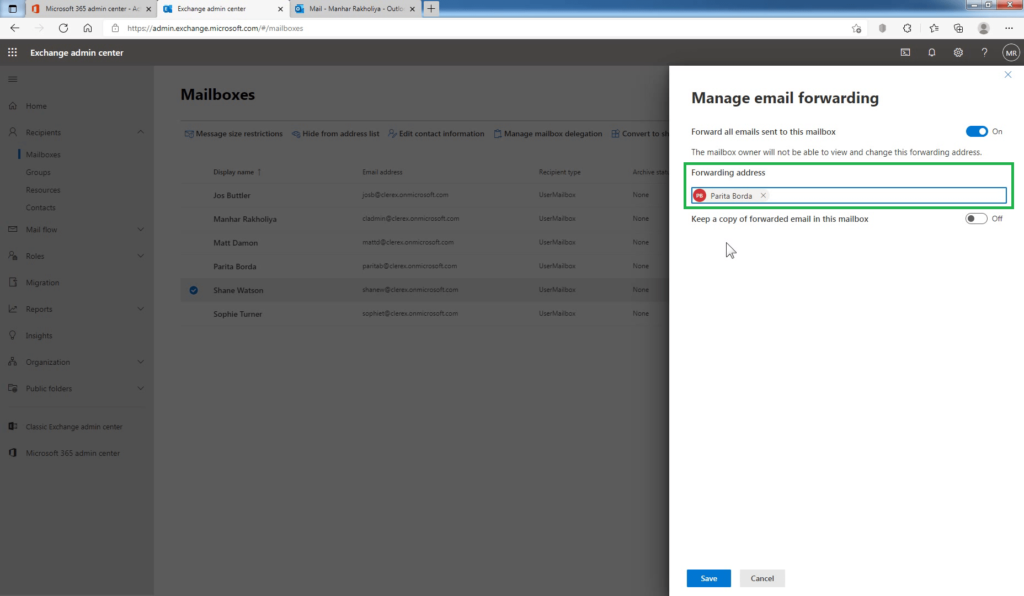
Under Forwarding address text box, enter the forwarding email address. The text box allows a search option for searching email addresses by partially entering the keyword.
You can turn ON the Keep a copy of forwarded email in this mailbox option if you wish to keep a copy of the forwarded email.
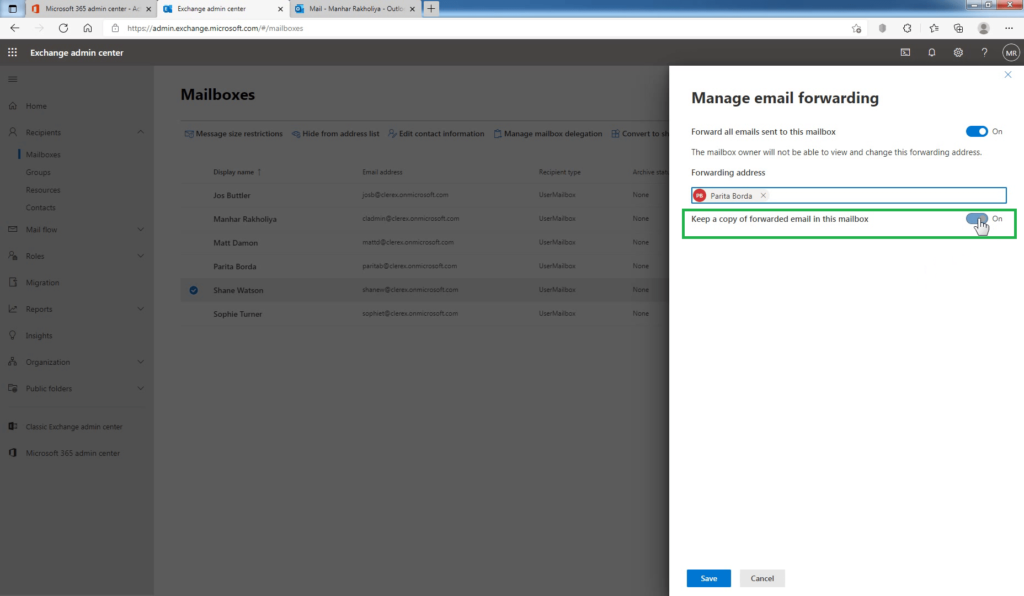
Click Save to save your changes.
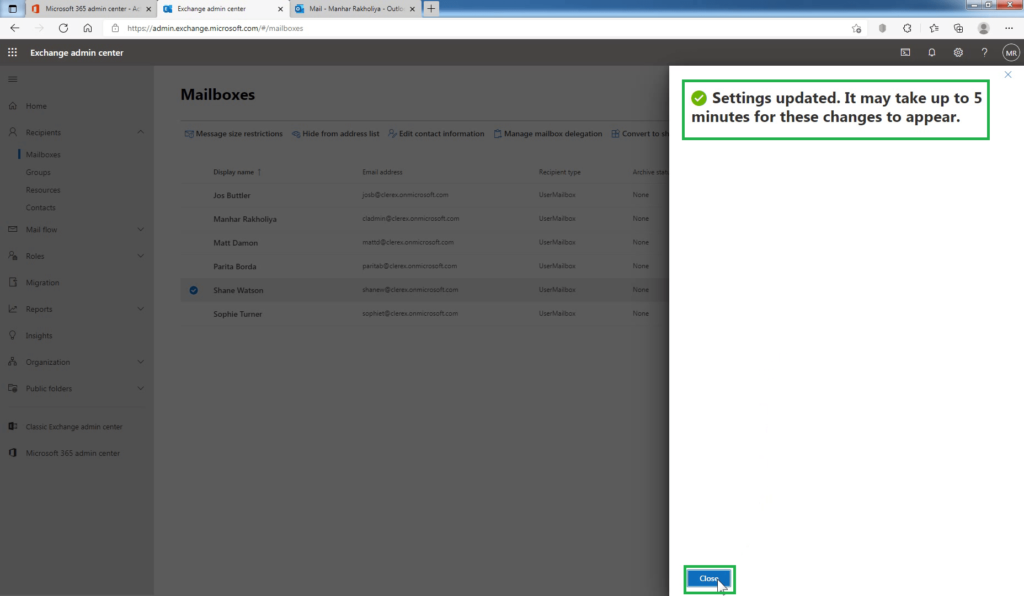
Verify the settings are updated successfully. It may take up to 5 minutes for these changes to appear.
Click Close to exit from the Manage mail flow settings display pane.
You can test the email forwarding by sending an email message to that user. Access the forwarding recipient’s mailbox to check for the email message copy in the mailbox.
Conclusion:
That’s it! In this blog post, you have seen the steps to configure email forwarding for user mailbox using Microsoft 365 admin center and Exchange admin center. The process is quite easy to follow.
Let me know if this guide has helped you by leaving a comment about your experience. Please like and share this guide to help others.