
In this post, we will learn the steps to create a User Mailbox in Exchange Server 2019. The most common task for the Exchange Server administrators is to create and configure user mailboxes.
What is a User Mailbox?
A user mailbox is the most common type of the recipient in Exchange Server that we assign to an individual user in our Exchange organization.
Each user mailbox has an associated Active Directory user account that gives the person access to the mailbox to send and receive email messages.
We can use the Exchange Admin Center (EAC) and Exchange Management Shell (EMS) to create the Mailbox Database in Exchange Server 2019.
Create a User Mailbox using the Exchange Admin Center:
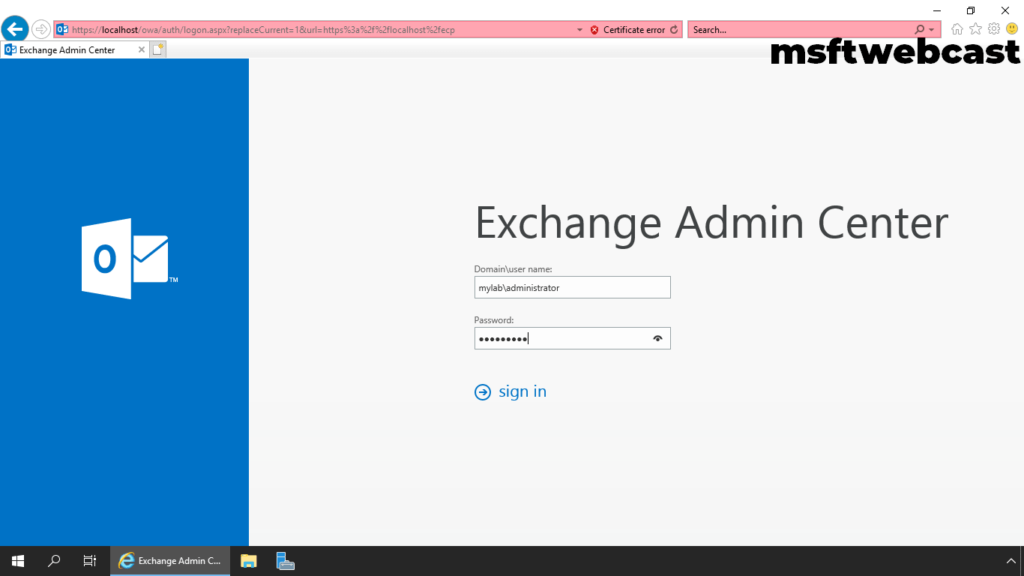
1. On Exchange 2019 Mailbox Server. Open Internet Explorer and type https://localhost/ecp, and then press Enter.
2. Sign in as an Administrator with the password.
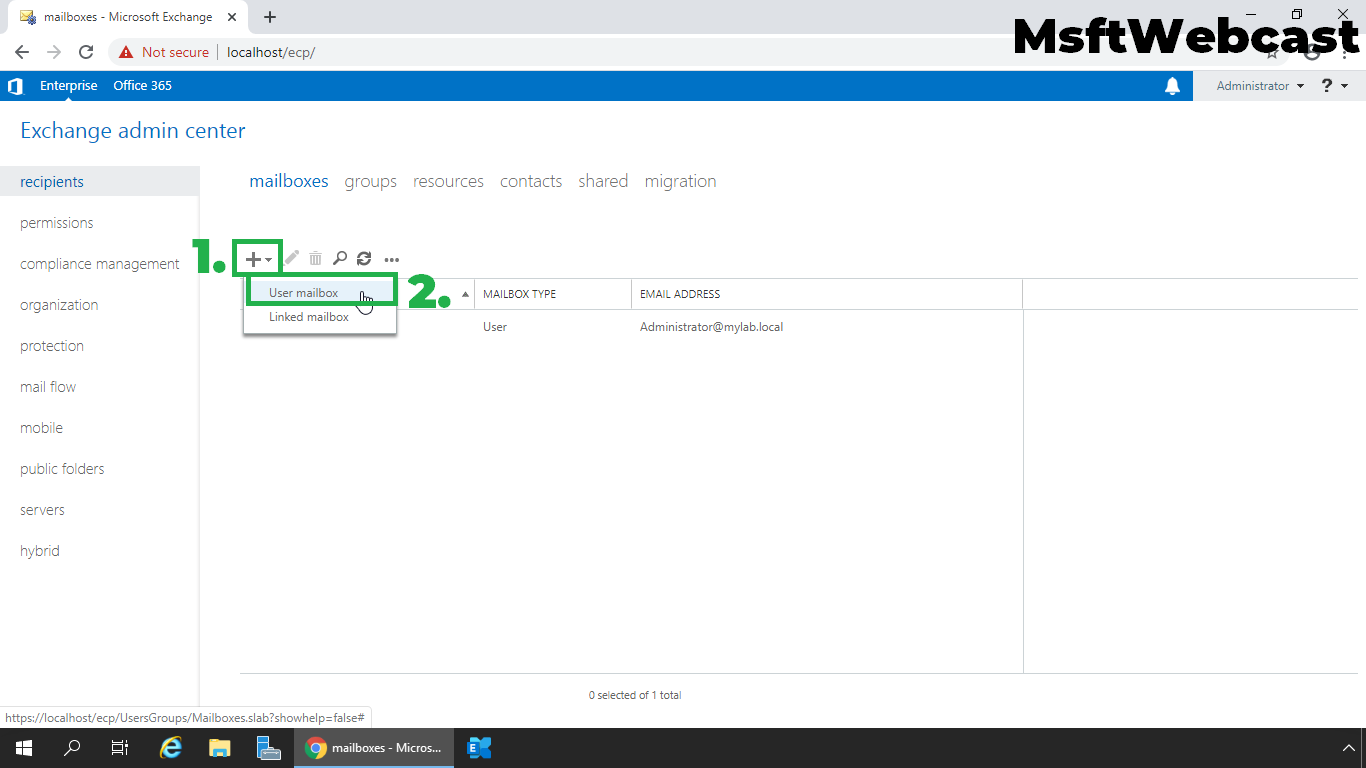
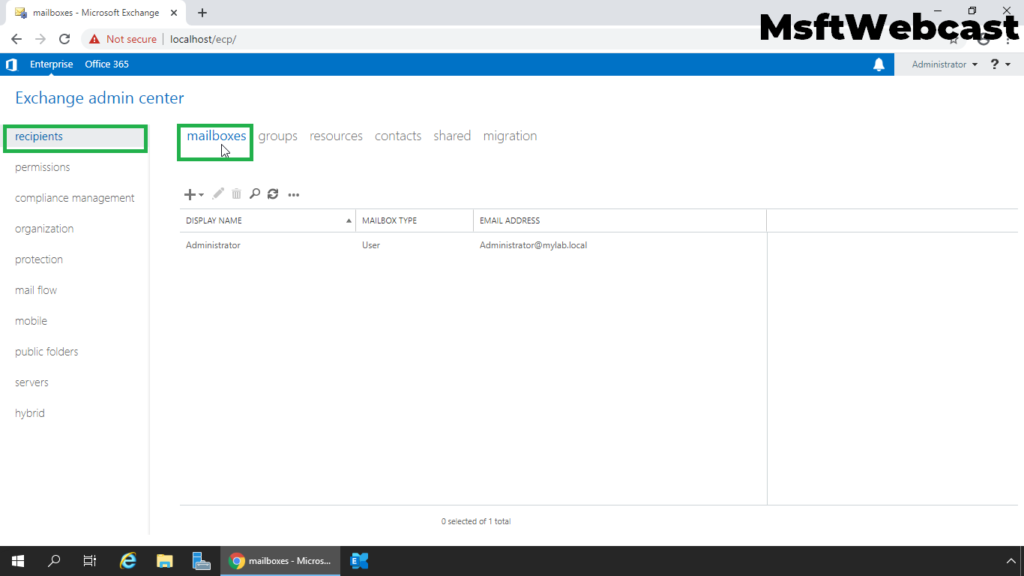
3. In the Exchange Admin Center web interface, navigate to Recipients. Click on the Mailboxes tab.
4. Click New (+) and then select the User mailbox.

Here, we have two options:
- Existing User: We can use an existing AD user account to create a user mailbox.
- New User: Select this option if you want to create a new user account in Active Directory and create a user mailbox.
As we want to create the user mailbox for a new user, we will select New user. Fill up all required user account information.
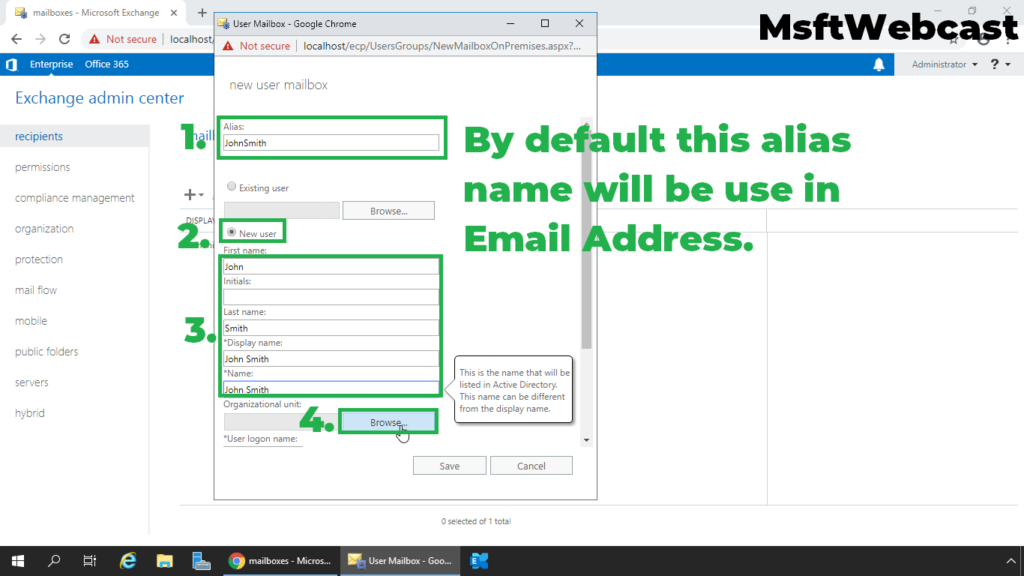
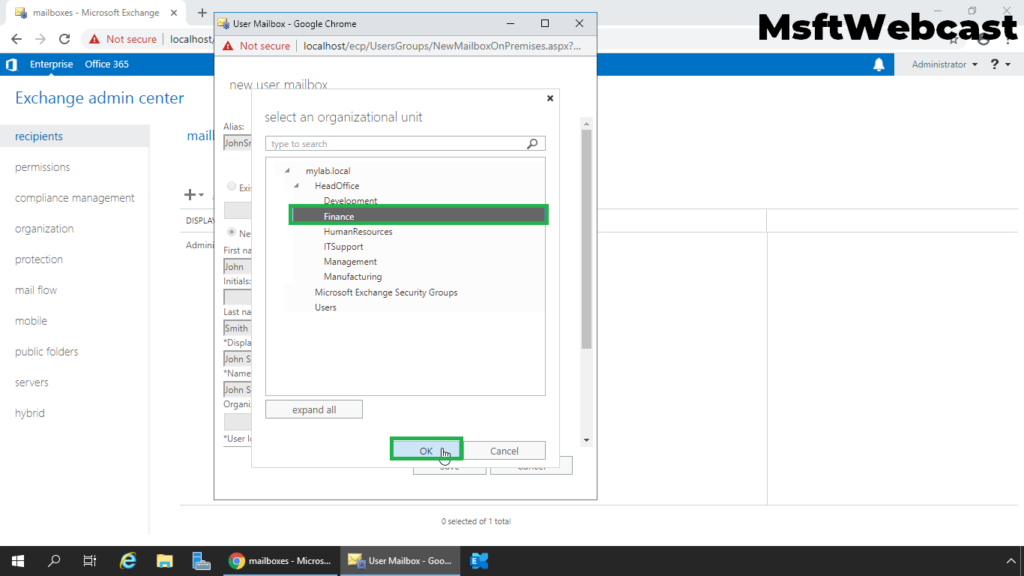
5. Select the container (OU) to store the user account.
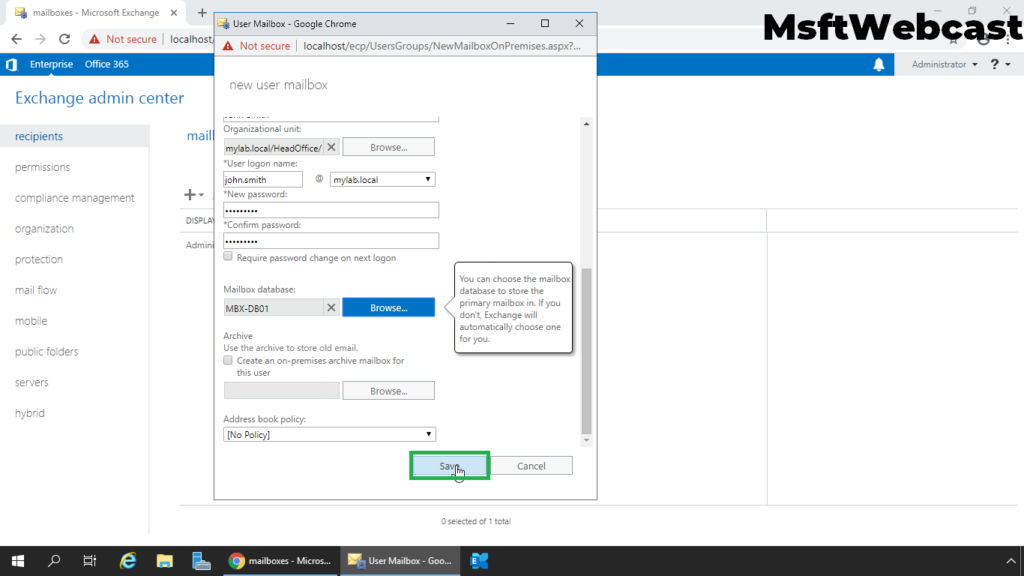
6. Specify user logon name and password.
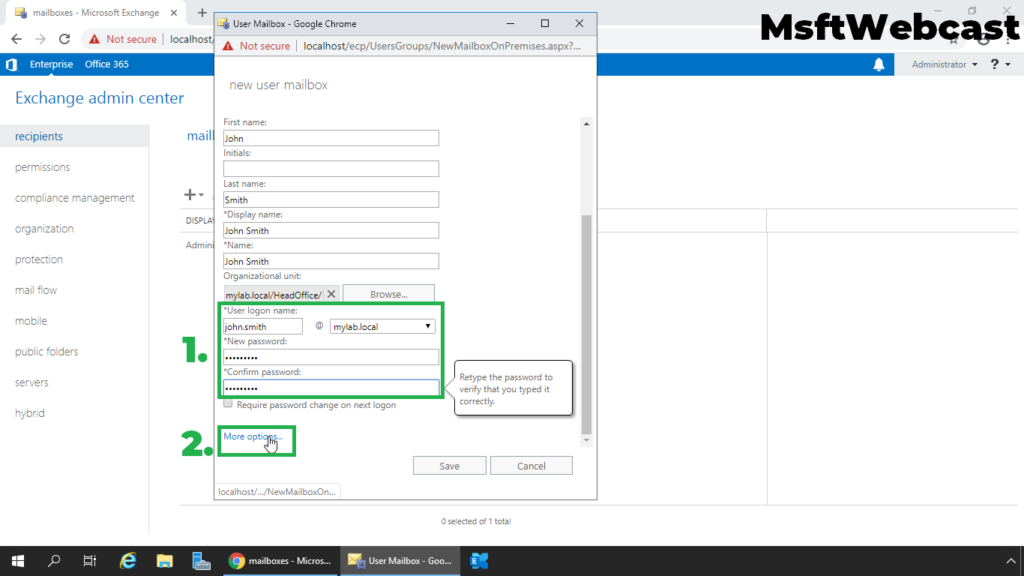
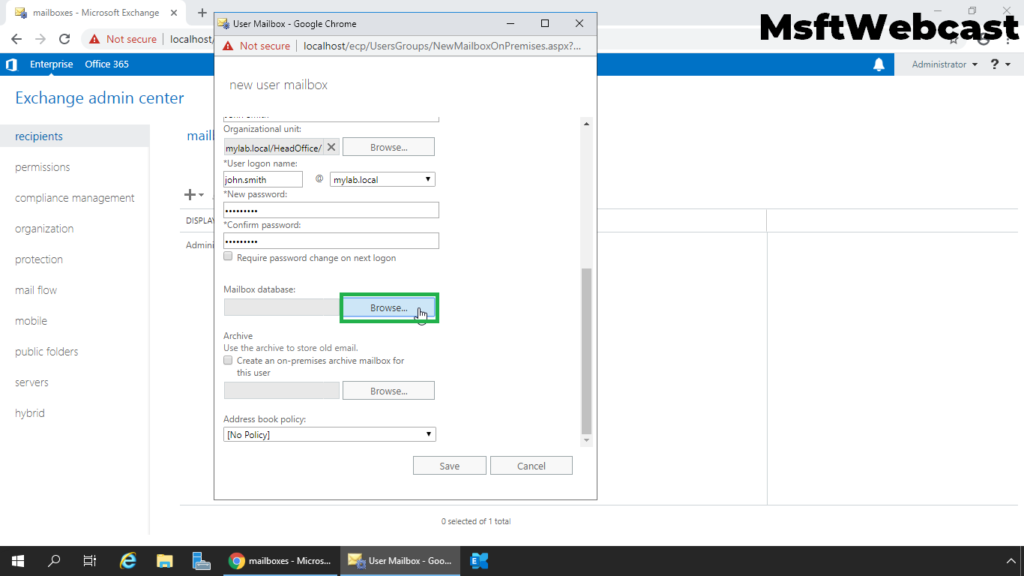
7. Click on More Options to select the mailbox database to store the mailbox.
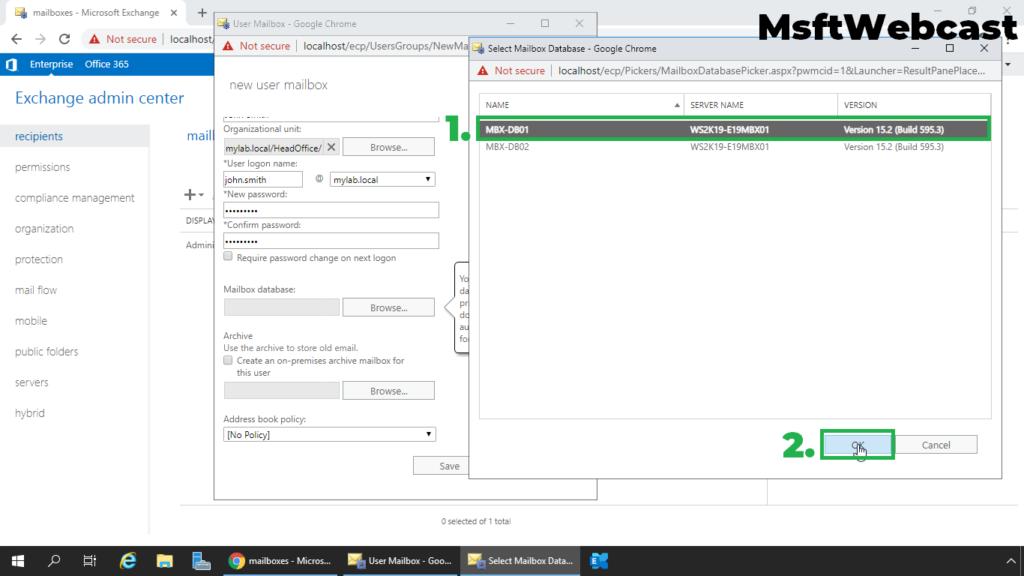
8. Select the Mailbox Database and click OK.
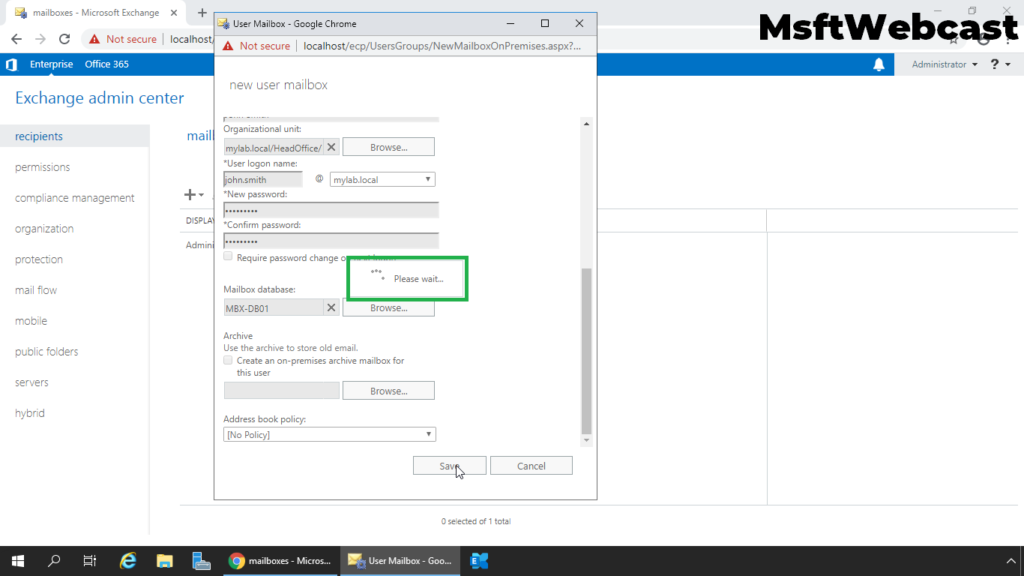
9. We can also select the mailbox database for email archival. Click on Save to create a new user mailbox.
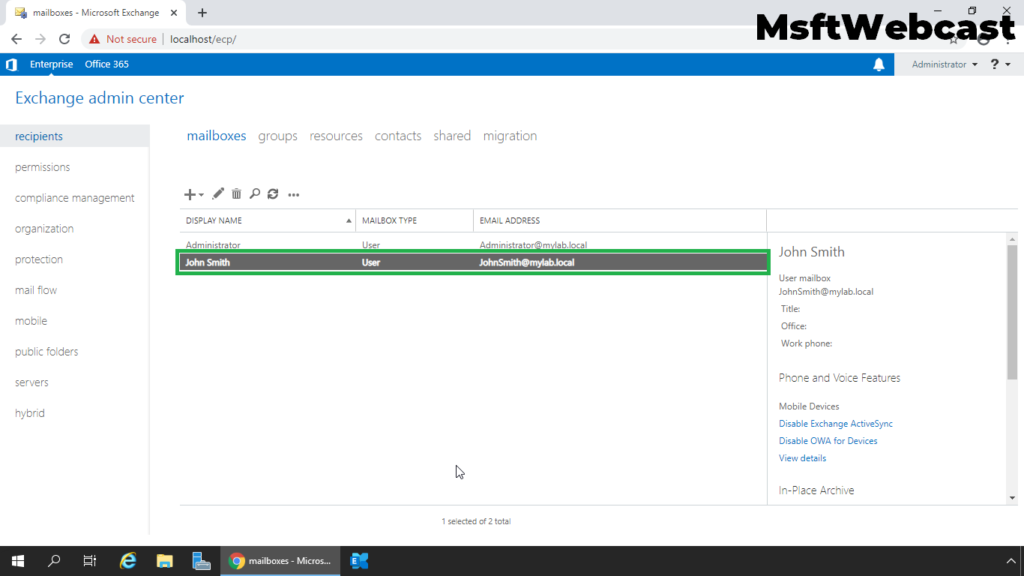
10. Verify we have successfully created a new user mailbox from the list of all mailboxes.
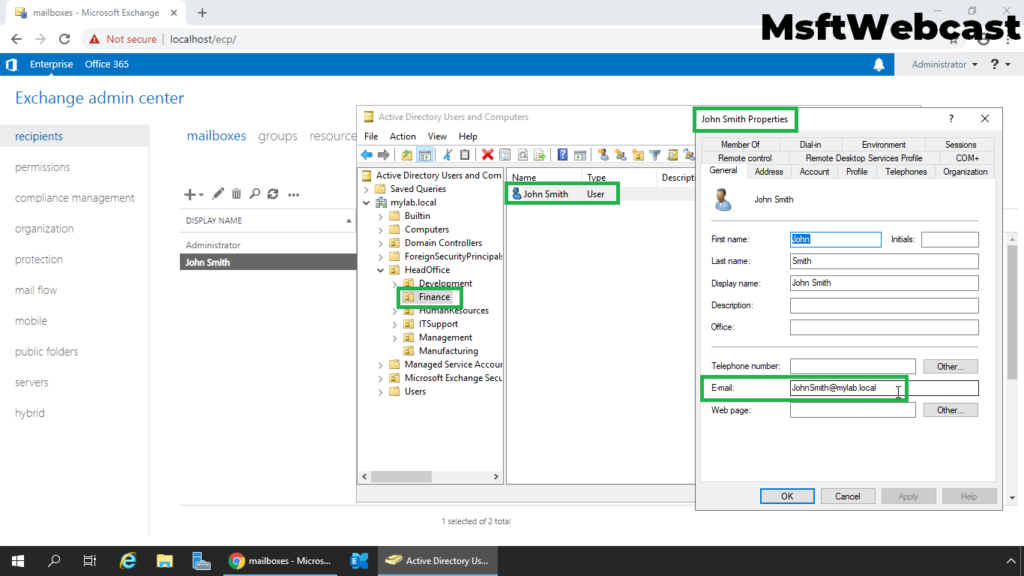
11. Open Active Directory Users and Computers snap-in to verify the new user account associated to the user mailbox in Active Directory.
That’s all. In this article, we have learned the steps on How to Create a User Mailbox in Exchange Server 2019. I hope you enjoy this article.
Related Articles:
5 Comments
Leave a Reply
You must be logged in to post a comment.
[…] 4 days ago 2 min read […]
[…] 5 days ago 2 min read […]
[…] How to Create User Mailbox in Exchange Server 2019 […]
[…] How to Create User Mailbox in Exchange Server 2019 […]
[…] How to Create User Mailbox in Exchange Server 2019 […]