
In this post, we will configure Room Mailbox properties in Exchange 2019, so users can easily book room mailbox in the meeting request.
In the last post, we have learned the steps to create Room Mailbox in Exchange 2019. A room mailbox is a resource mailbox assigned to physical locations like a training room or meeting room.
We can use the Exchange Admin Center (EAC) and Exchange Management Shell (EMS) to configure room mailbox properties in Exchange Server 2019.
Manage and Configure Room Mailbox in Exchange 2019:
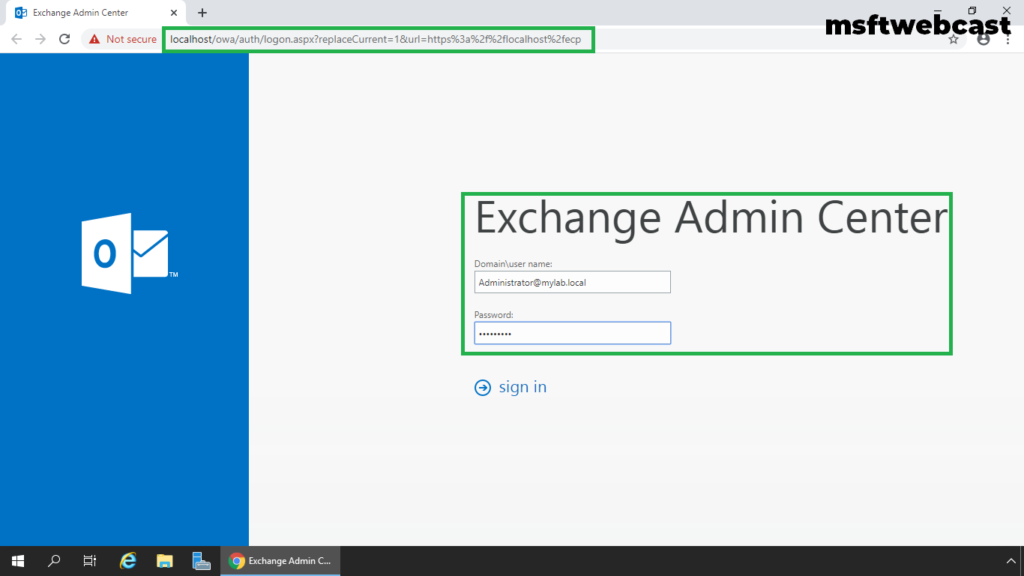
On Exchange 2019 Mailbox Server. Open Internet Explorer and type https://localhost/ecp, and then press Enter. Sign in as an Administrator with the password.
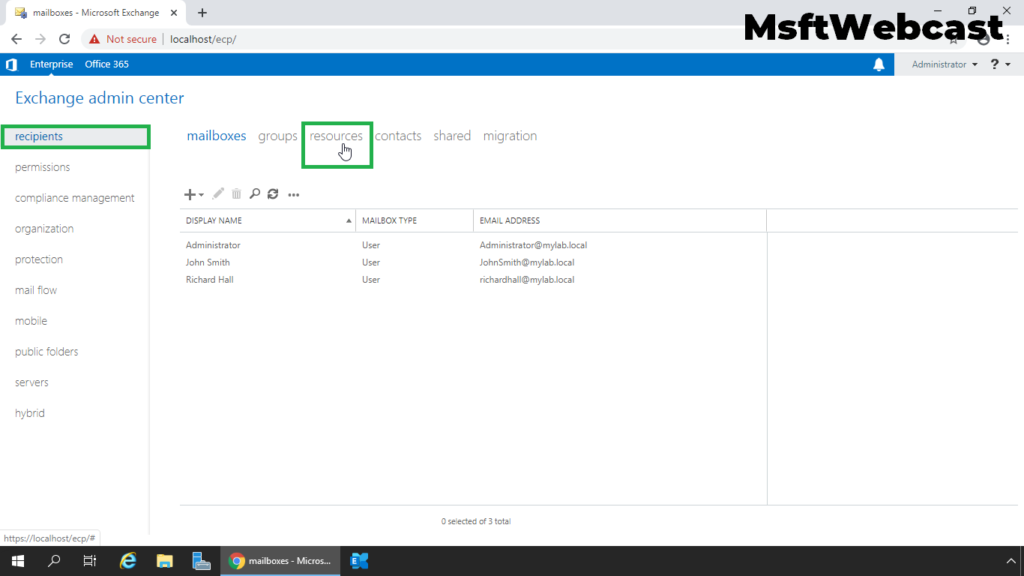
In the Exchange Admin Center web interface, navigate to Recipients. Click on the Resources tab.
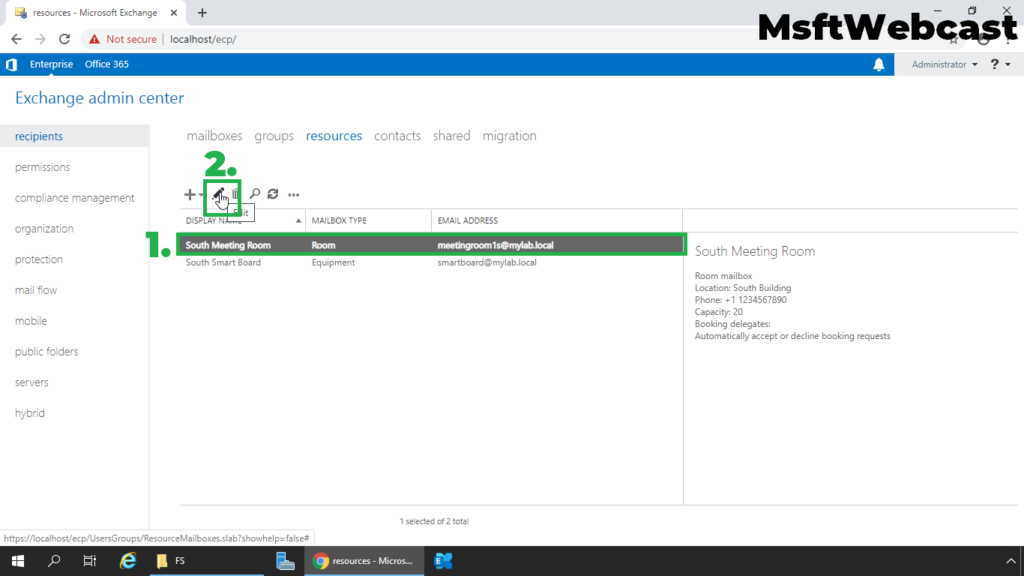
Click on the room mailbox that you want to change the properties for, and then click the Edit button.
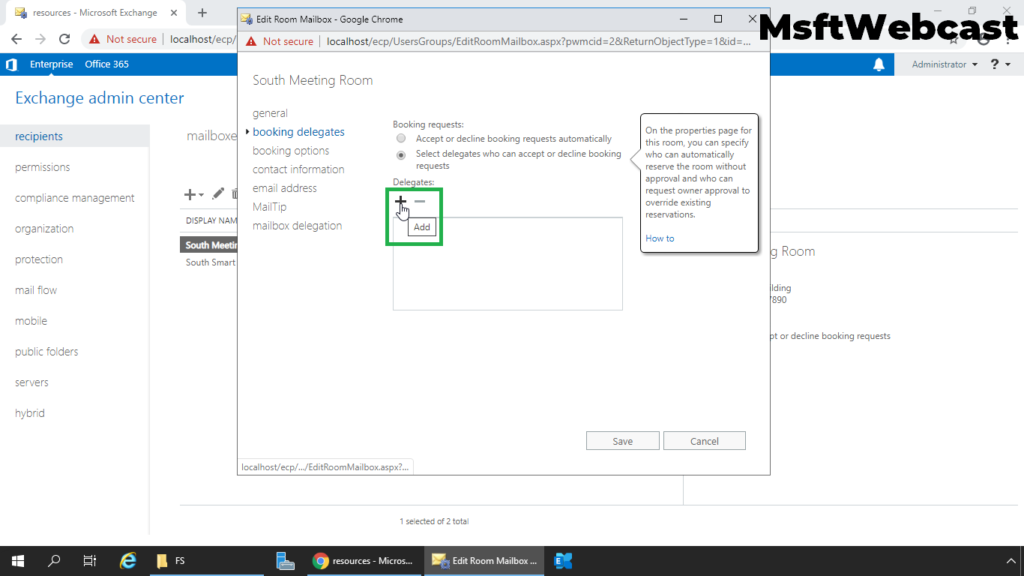
On the room mailbox properties page, click Booking Delegates. Here we can set up how resource mailbox can handle the booking requests and also can assign the delegates who can accept or decline booking requests.
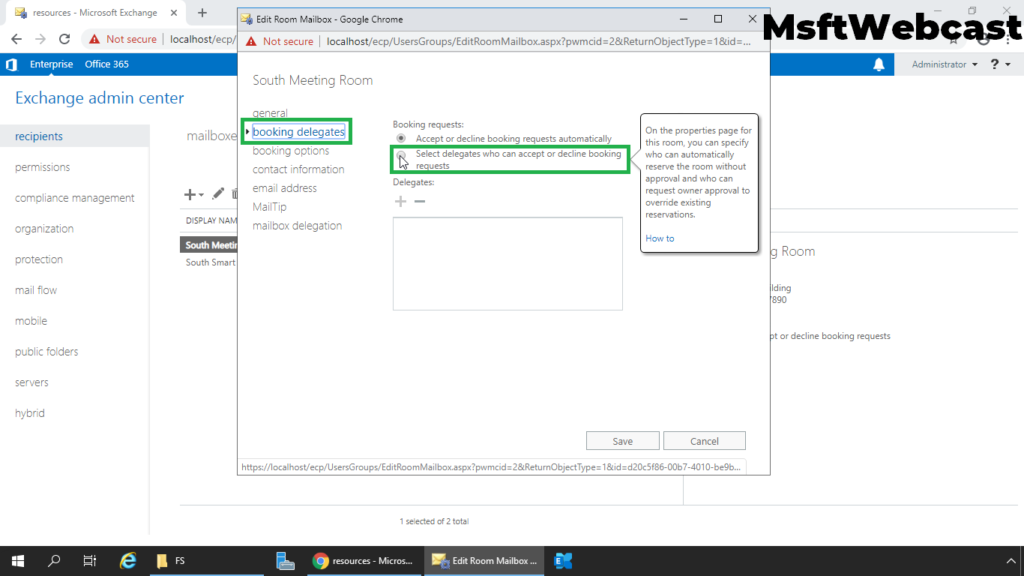
If you want automatic booking of room mailbox, then choose the radio button Accept or decline booking requests automatically.
If you want to add someone to handle booking request then choose the radio button Select delegates who can accept or decline booking requests.
Under the delegates section, click on + (plus) sign to add booking delegate.
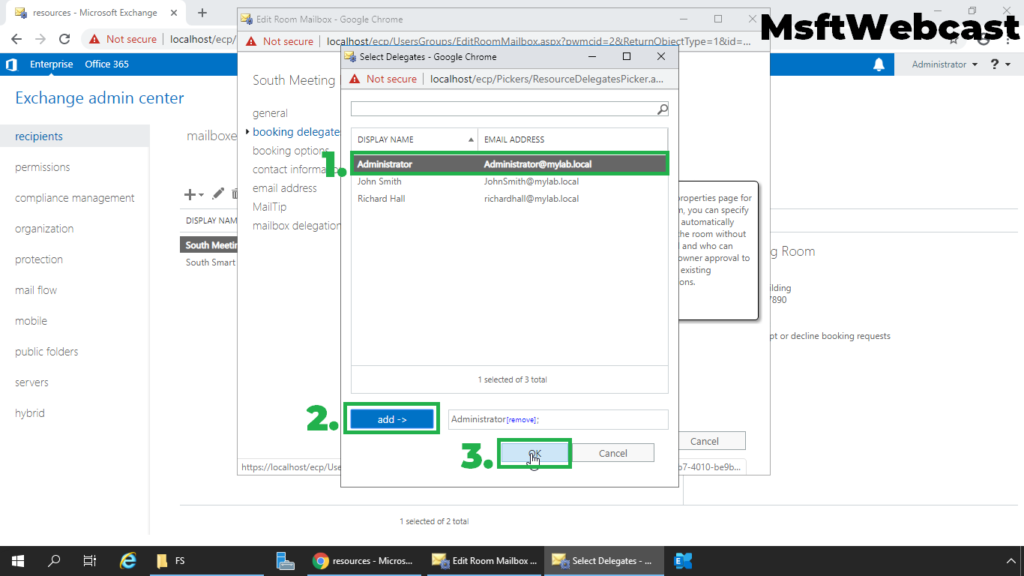
For this guide, we will add an administrator as a booking delegate for this room mailbox.
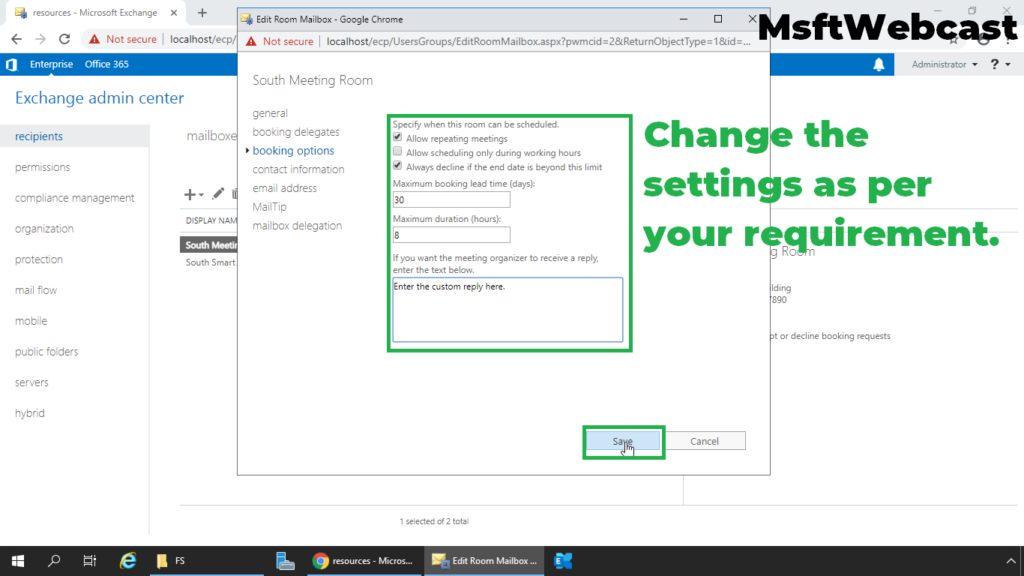
Using the Booking Options section, we can view or change the settings for the booking policy that defines when the room can be scheduled, how long it can be reserved, and how far in advance it can be reserved.
Booking Options:
Allow repeating meetings: Allows or prevents repeating meetings for the room.
Allow scheduling only during working hours: This setting accepts or declines meeting requests that aren’t during the working hours defined for the room.
Always decline if the end date is beyond this limit: This setting controls the behavior of repeating meetings that extend beyond the date specified by the maximum booking lead time setting.
Maximum booking lead time (days): This setting specifies the maximum number of days in advance that the room can be booked. The default value is 180 days.
Maximum duration (hours): This setting specifies the maximum duration that the room can be reserved in a booking request. The default value is 24 hours.
If you want the meeting organizer to get a reply after booking the room mailbox, type the reply in the text box given below.
Specify all the details as per the organization requirement.
We can use the Mailbox Delegation option to assign permission on like Send As, Send on Behalf and Full permissions to a user to send emails from this mailbox.
Once you are ready click on the Save button to commit the changes.
Book Room Mailbox using Exchange Admin Center:
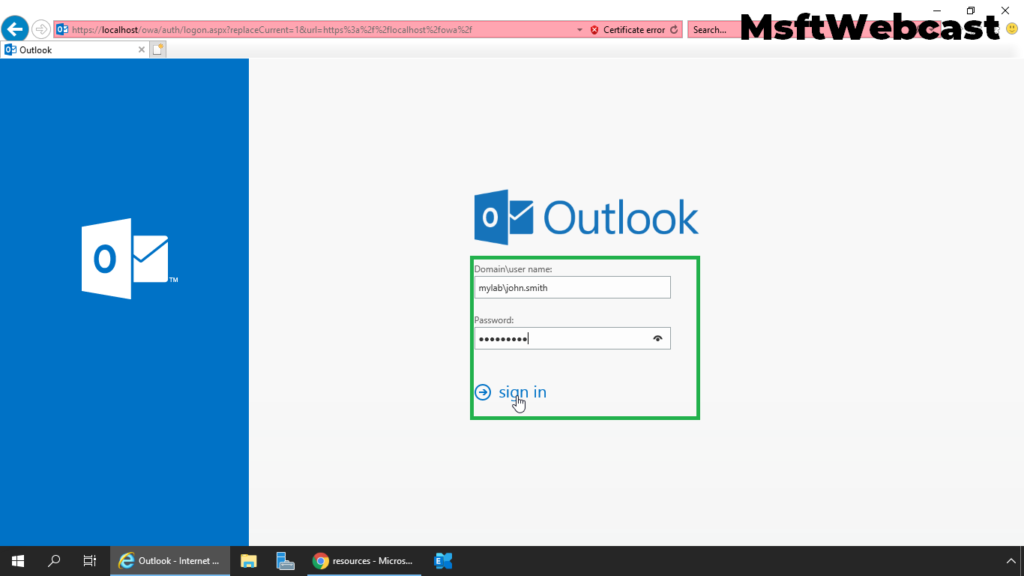
Login to outlook on the web using a user account.
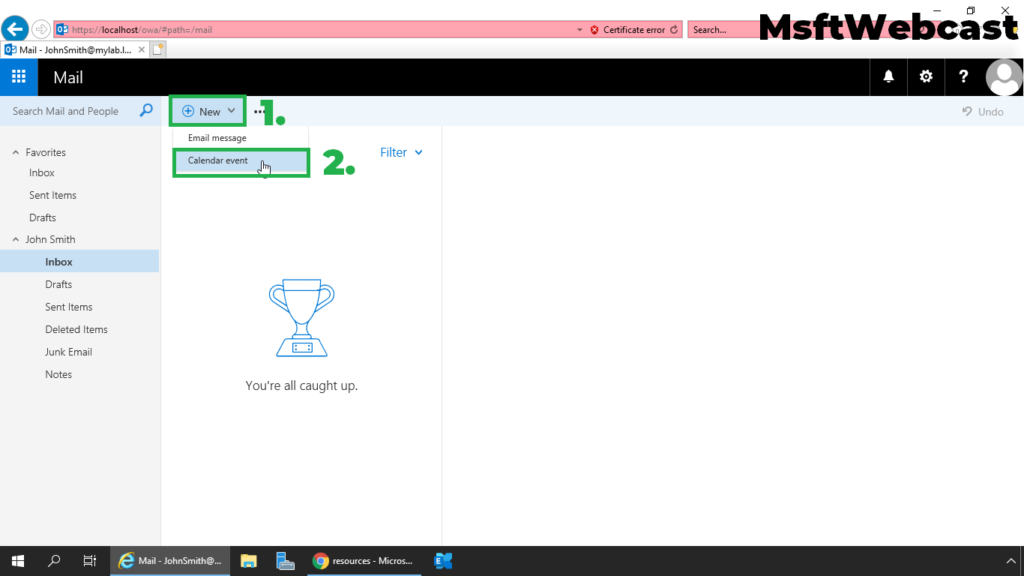
Click on New and select Calendar Event.
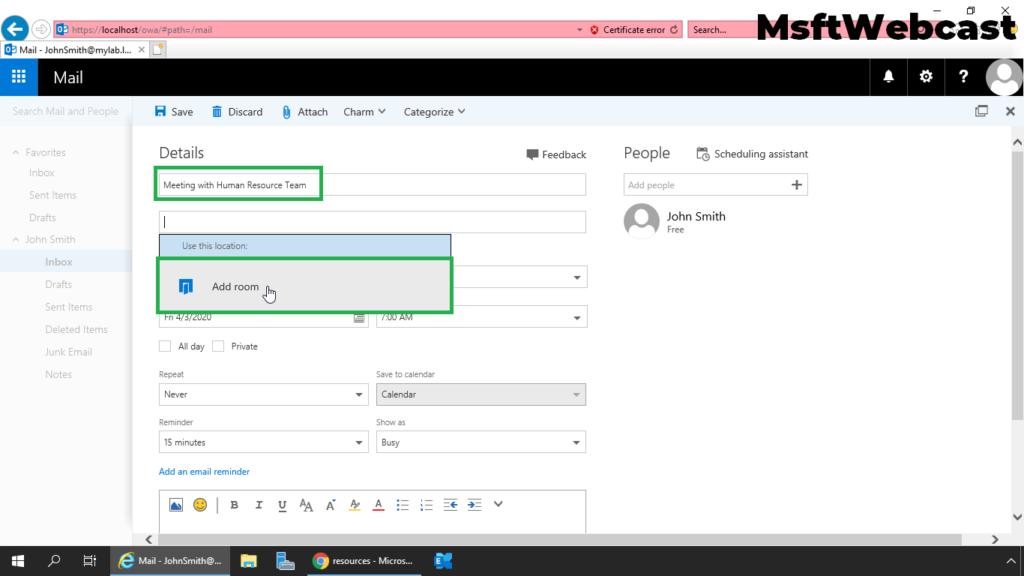
Specify the details about the calendar event and click on add room to select the room mailbox.
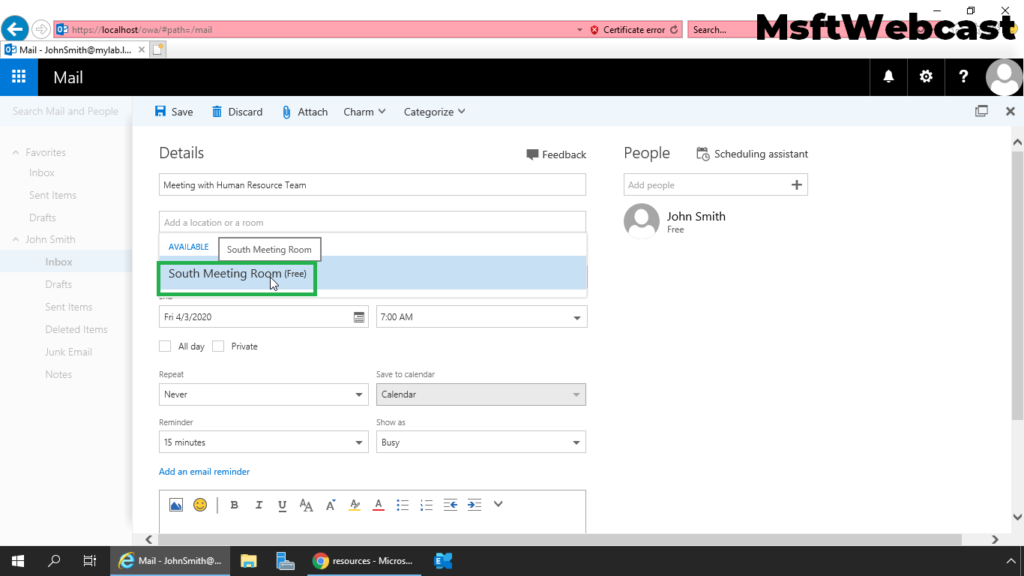
Select the Room Mailbox.
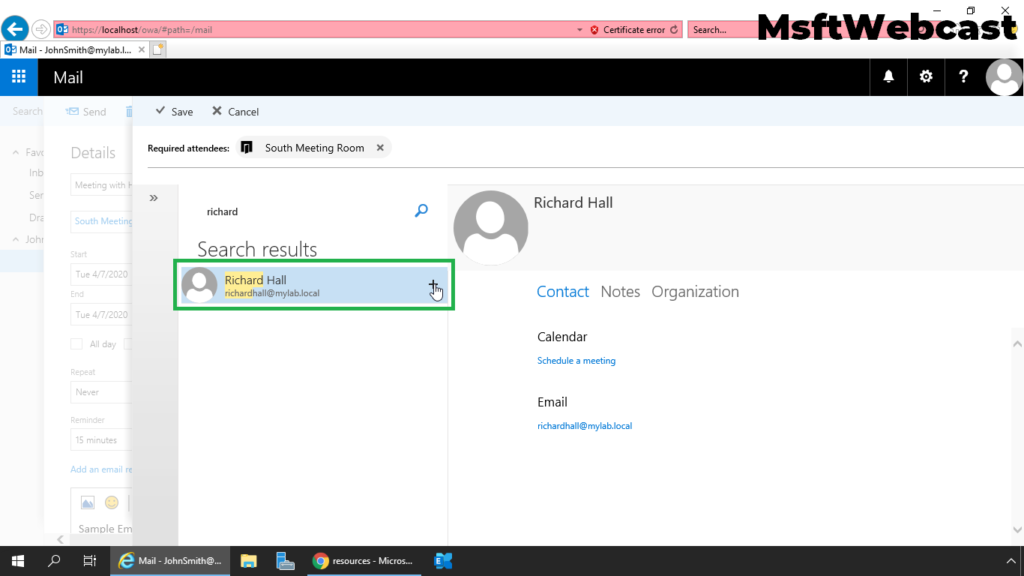
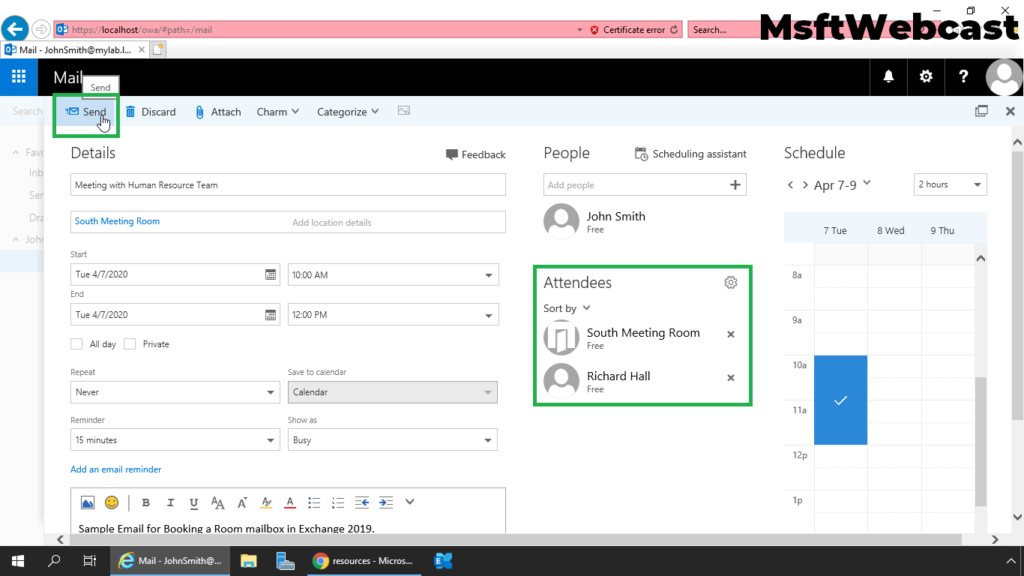
Specify the start and end time with the date for the calendar event. Type the message and click on + (plus) sign to add attendees.
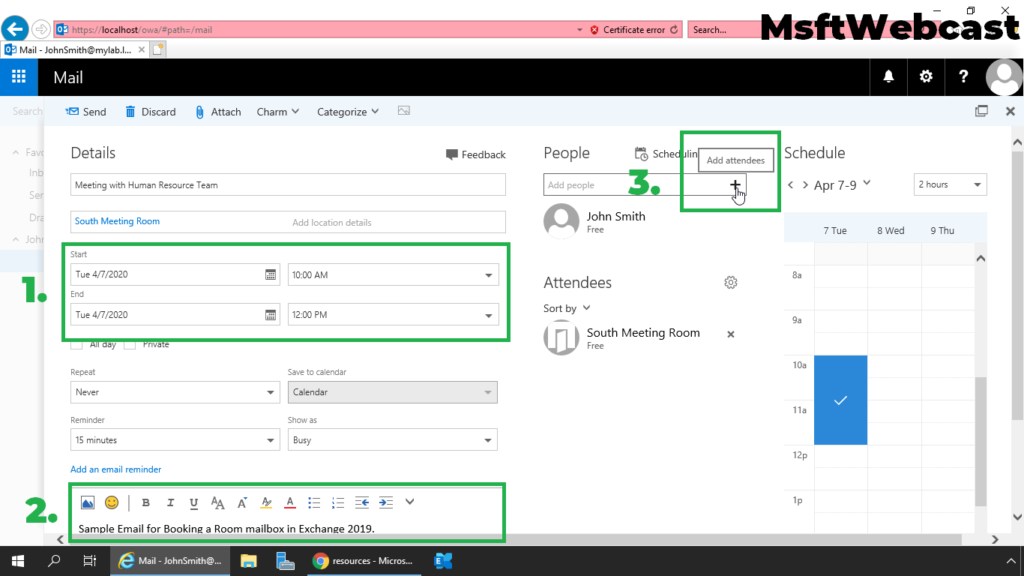
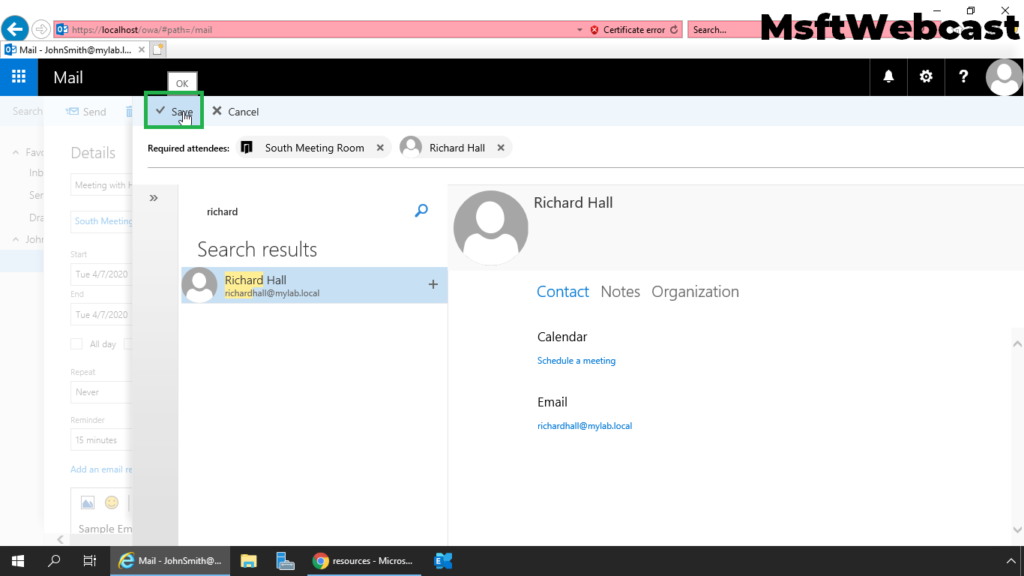
Add the people from the list to add to a calendar event.
Click on save.
Click on send
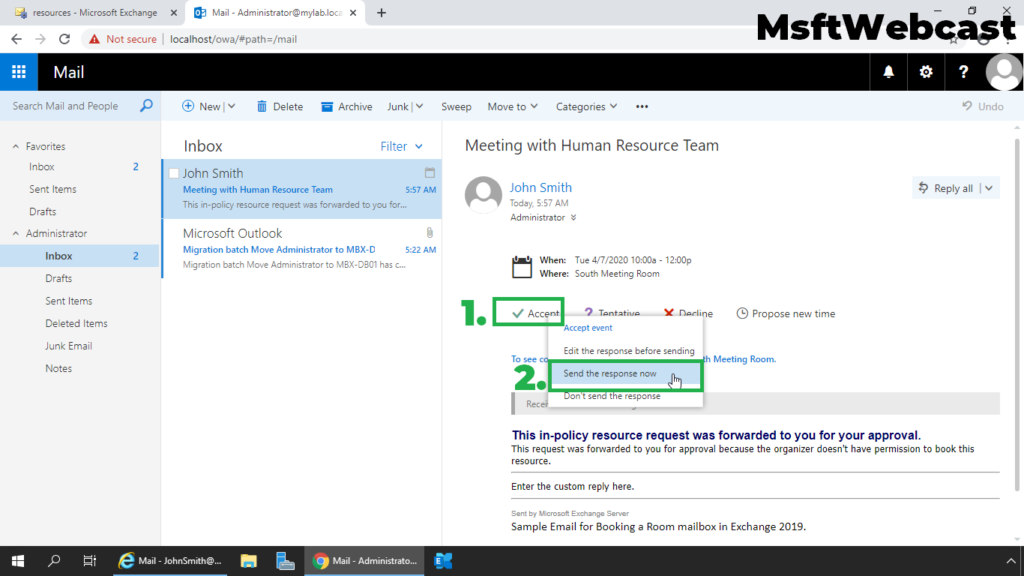
Manually Approve Booking Request for Room Mailbox:
Login to outlook on the web using a user account who has delegates permission on Room Mailbox.
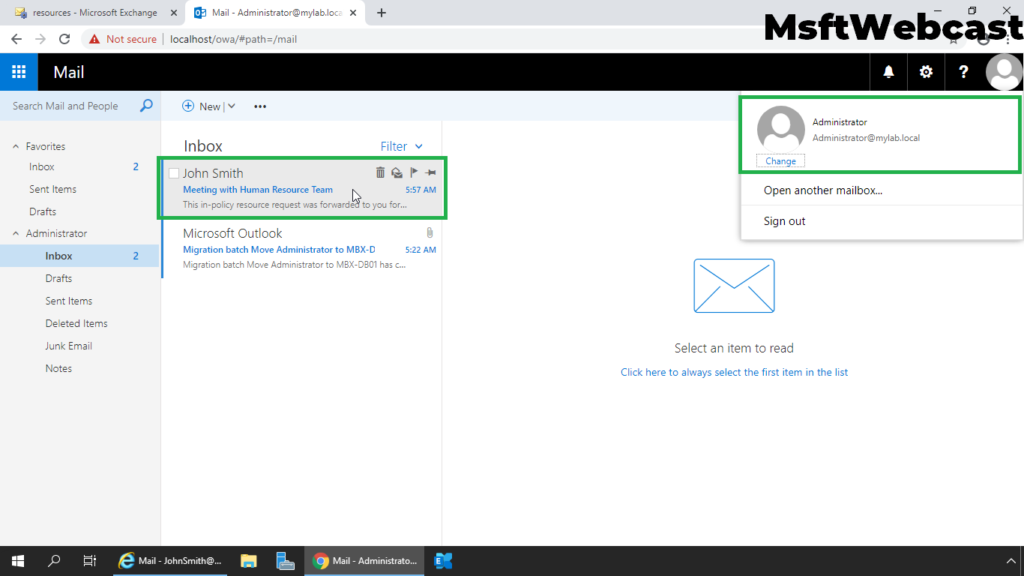
Verify booking request for Room mailbox from the user. Click on Email. To accept the request, click on Accept and select Send the response now.
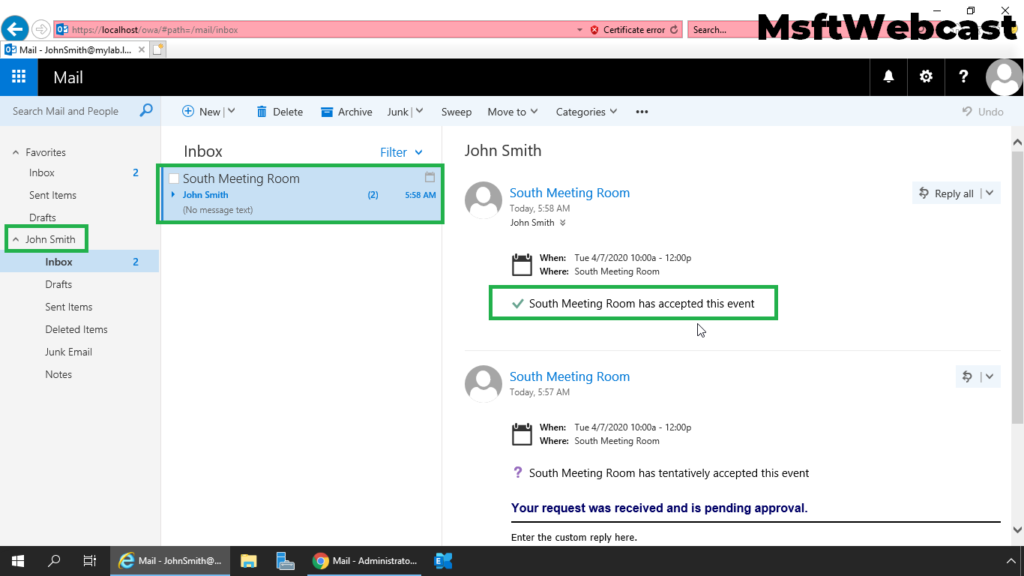
After waiting for a few seconds, the user will get the reply about the booking request.
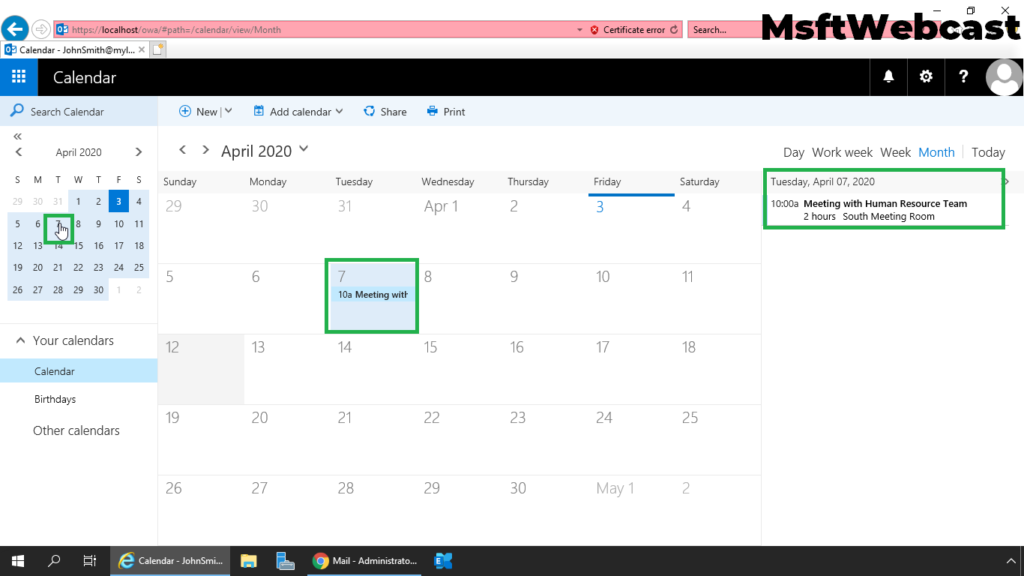
You can verify meeting event in Calendar.

That’s all for this guide.
In this article, we have learned the steps to manage and book Room Mailbox in Exchange Server 2019.