In this post, we will learn the steps to configure Email Forwarding for a Mailbox in Exchange Server 2019.
Why Configure Email Forwarding?
Email forwarding for a mailbox is helpful in case if we want to forward email messages sent to a user’s mailbox to another user’s mailbox inside or outside of our organization.
For example, if one of the employees is on vacation and we want to forward all of his/her emails for his/her Manager, in this case, we can set up email forwarding for a user mailbox.
We can use either the Exchange Admin Center (EAC) web interface or Exchange Management Shell (EMS) to set up email forwarding for a mailbox in Exchange 2019.
Configure Email Forwarding for a Mailbox:
On Exchange 2019 Mailbox Server.
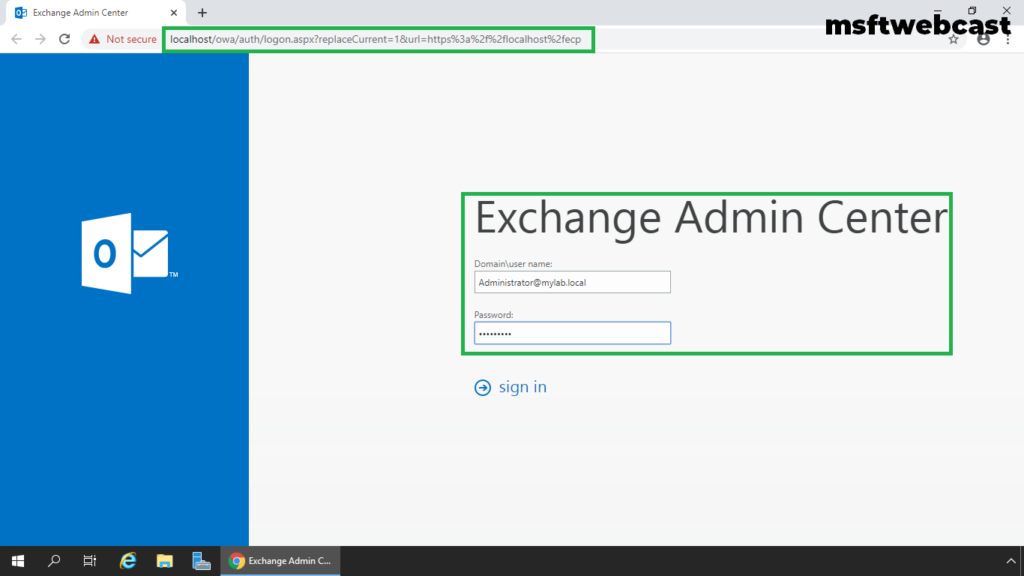
1. Open Internet Explorer and type https://localhost/ecp, and then press Enter. Sign in as an Administrator with the password.
2. In the Exchange Admin Center web interface, navigate to Recipients.
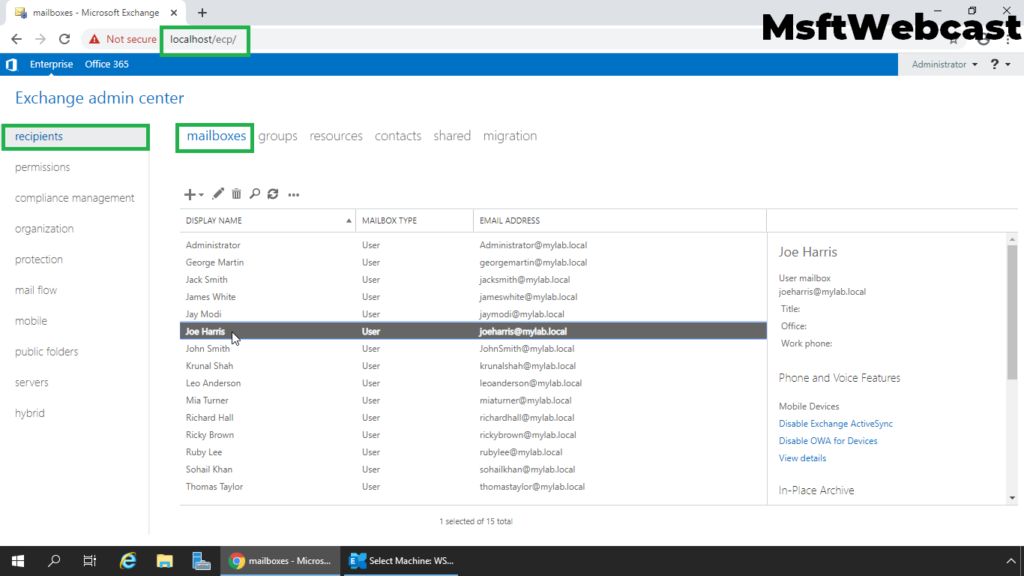
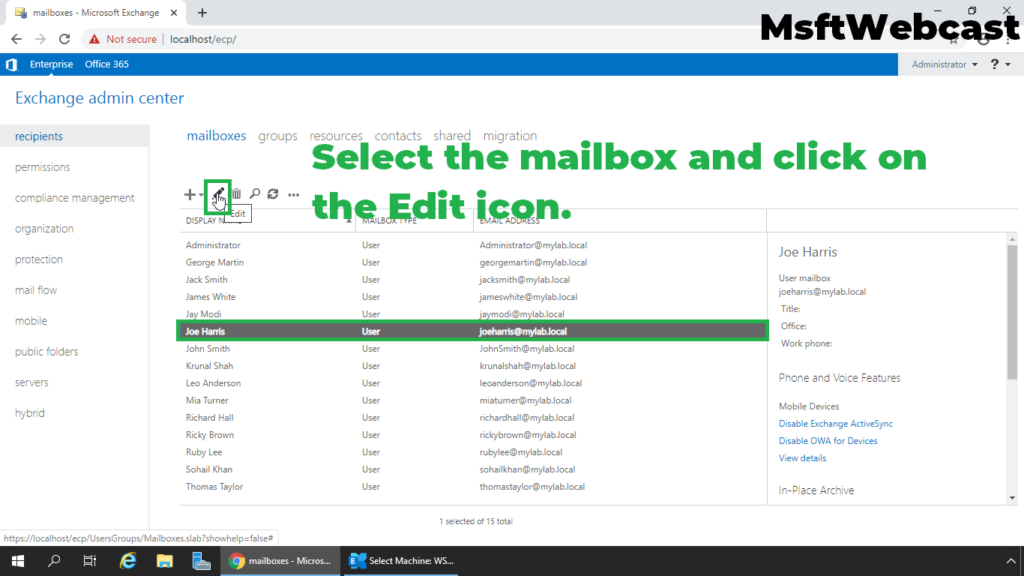
3. On the Mailbox tab, select the mailbox for which you want to configure email forwarding and then click Edit.
In this example, we want to forward all emails sent to the mailbox of Joe Harris to another user name Mia Turner.
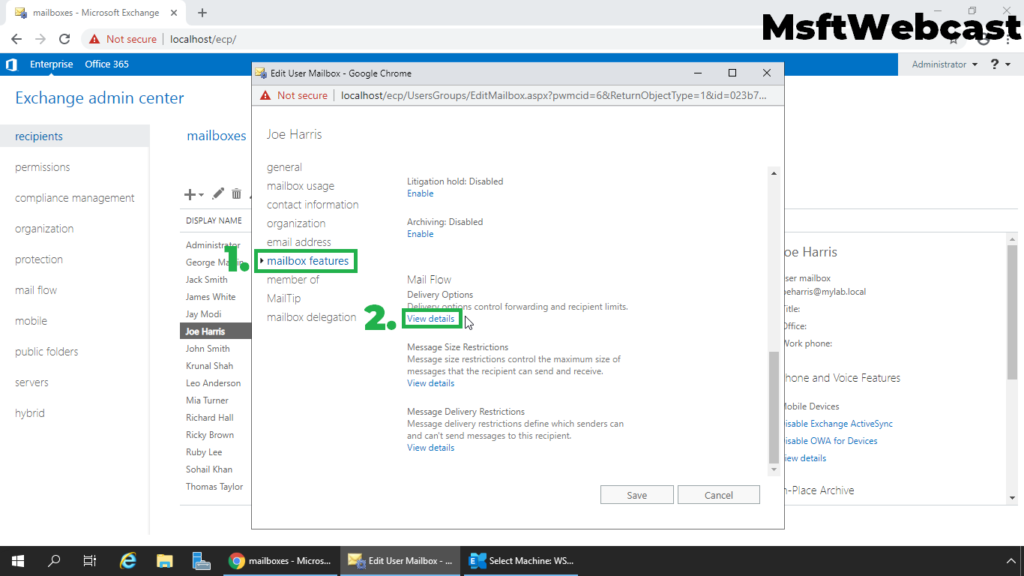
4. On the mailbox properties page, click Mailbox features.
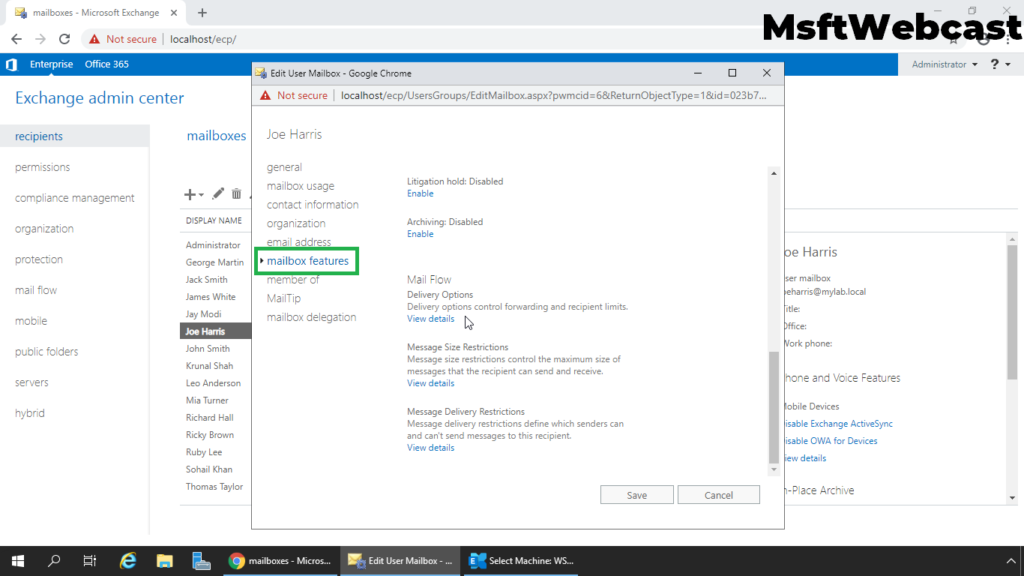
5. Under Mail Flow, select View details to view or change the setting for forwarding email messages.
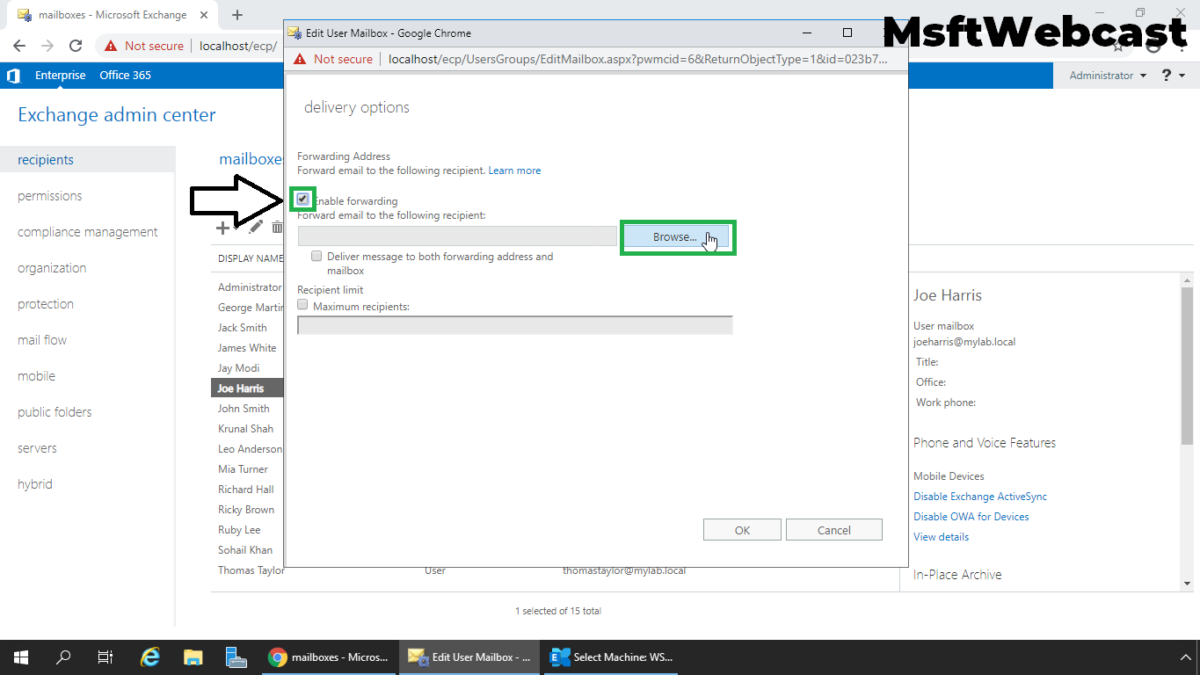
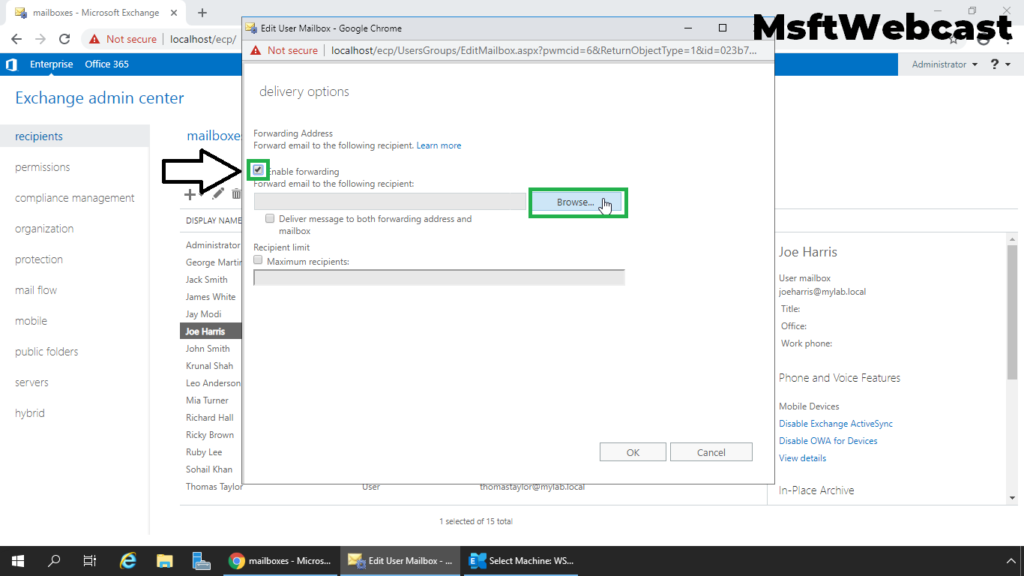
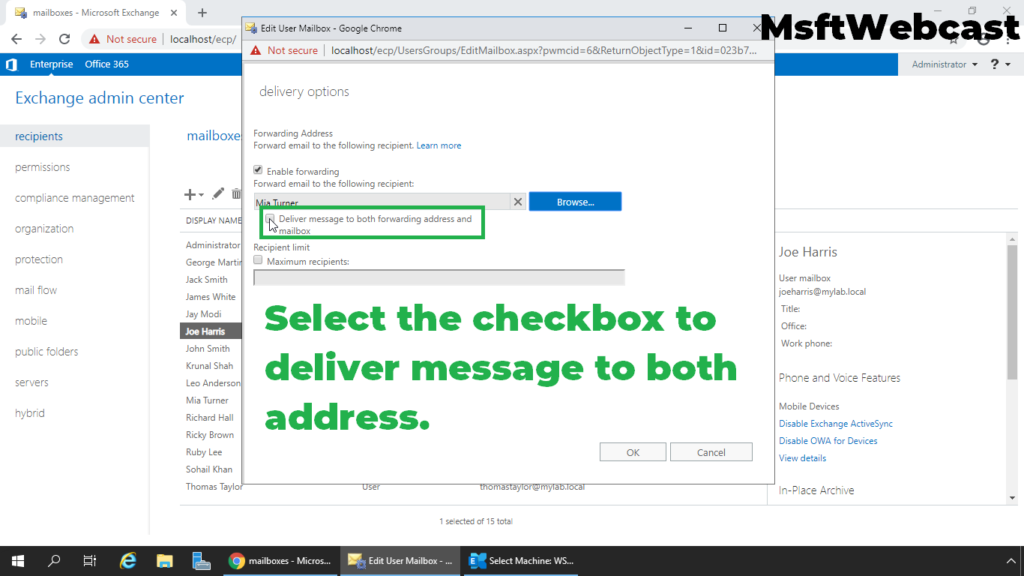
6. Select the checkbox Enable forwarding, and then click Browse to select the user mailbox for which you want to forward all emails.
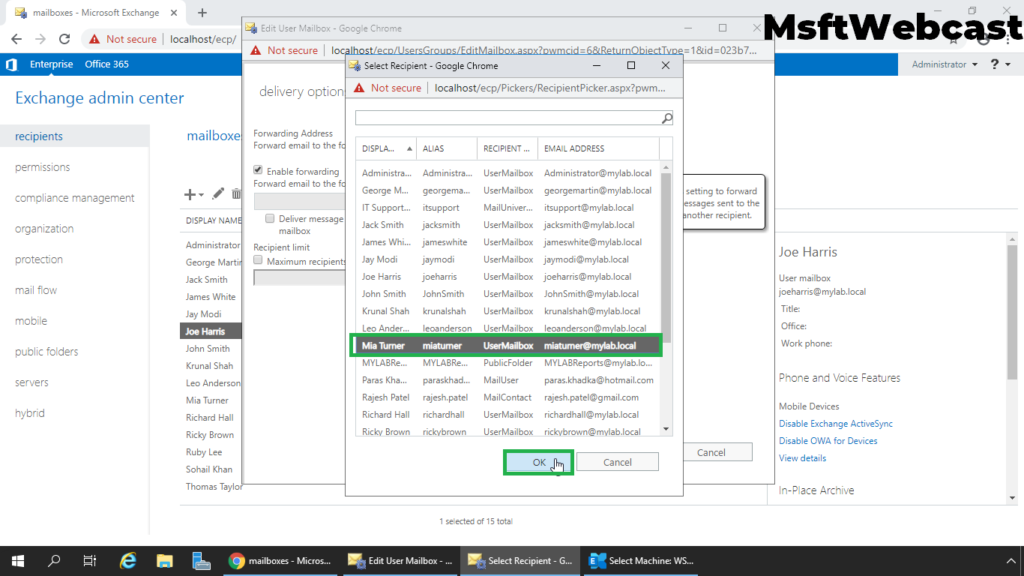
7. On the Select Recipient page, select a user mailbox.
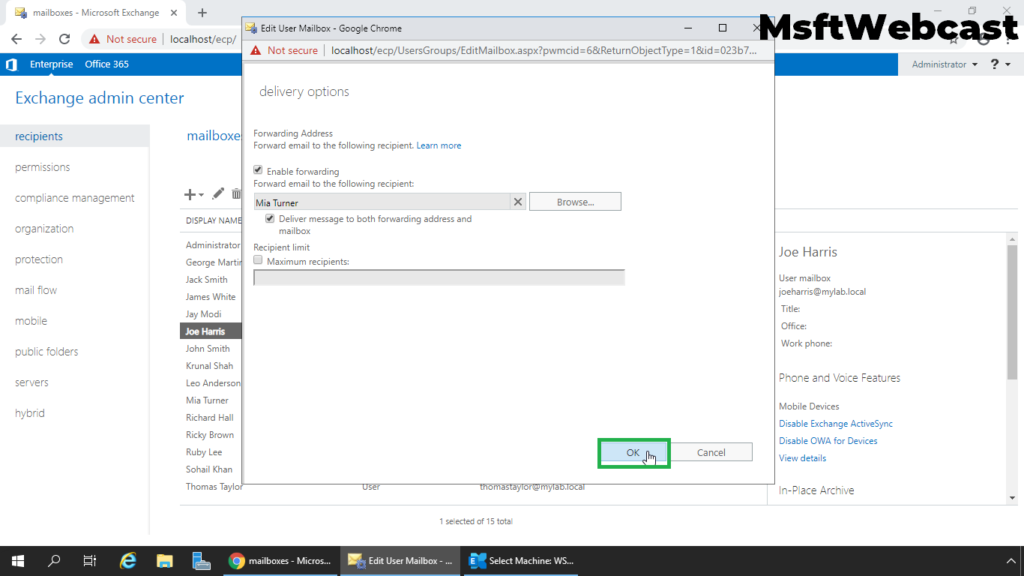
8. Select the checkbox Deliver message to both forwarding address and mailbox if you want both the recipient and the forwarding email address to get copies of the emails sent to this mailbox.
Note: We can also configure maximum recipients limit to forward the email. That we will cover in separate post.
9. Click OK, and then click Save.
Verify the configured email forwarding setup:
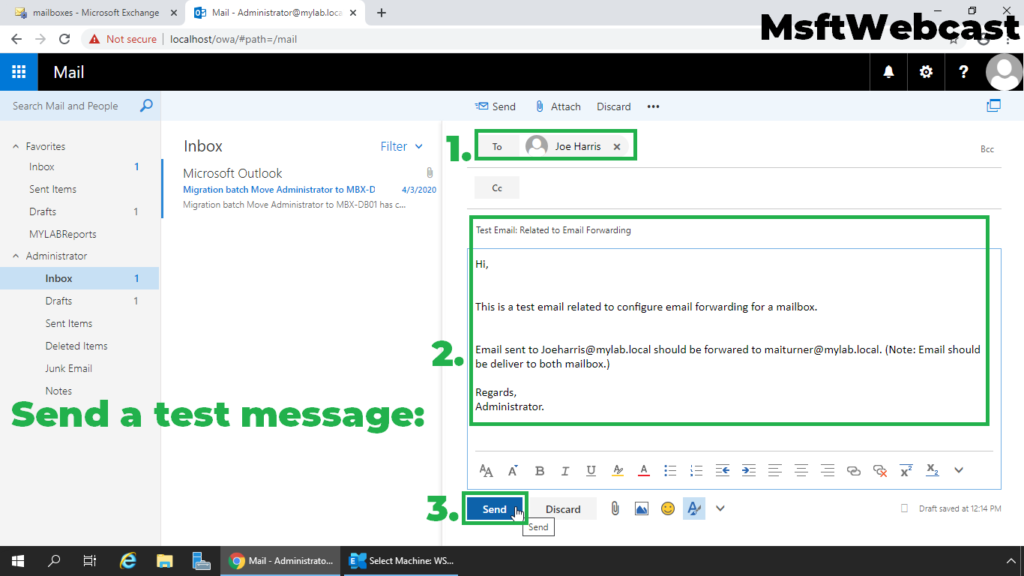
10. Login to outlook on the web using a user account.
11. Compose and send a new email to the email address for which we have configured email forwarding.
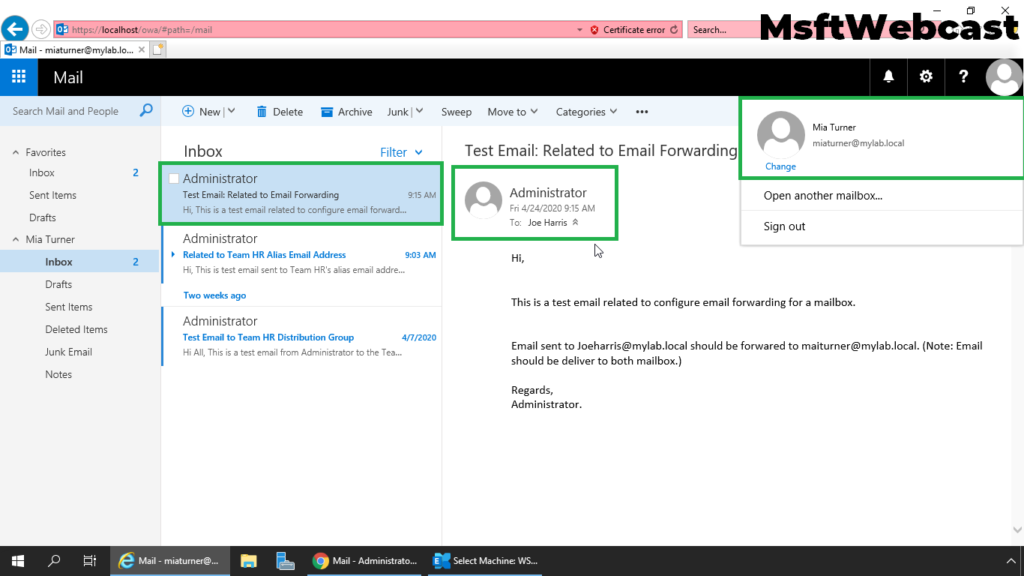
12. Verify that the user also receives a copy of the email sent to the other user for which we have configured email forwarding.
In this article, we have learned the steps to configure email forwarding for a mailbox in Exchange Server 2019.