In this post, we will learn the steps to create a Mail Enabled User in Exchange 2019.
What is Mail-Enabled User?
Mail-enabled user is one kind of recipient in Exchange Server 2019 who have accounts in Active Directory but have an external email address.
We can use the Exchange Admin Center (EAC) and Exchange Management Shell (EMS) to create a new mail-enable user in Exchange Server 2019.
Create Mail-Enabled User in Exchange 2019:
1. Before we create a new mail-enabled user in Exchange Server 2019, we will create a new Active Directory User using Active Directory Users and Computers snap-ins.
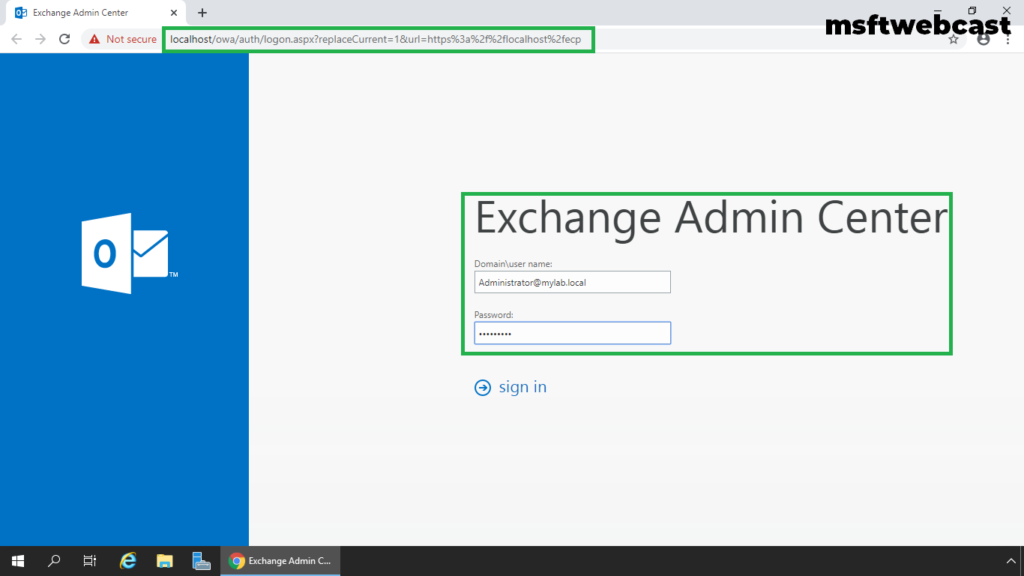
2. On Exchange 2019 Mailbox Server. Open Internet Explorer and type https://localhost/ecp, and then press Enter.
3. Sign in as an Administrator with the password.
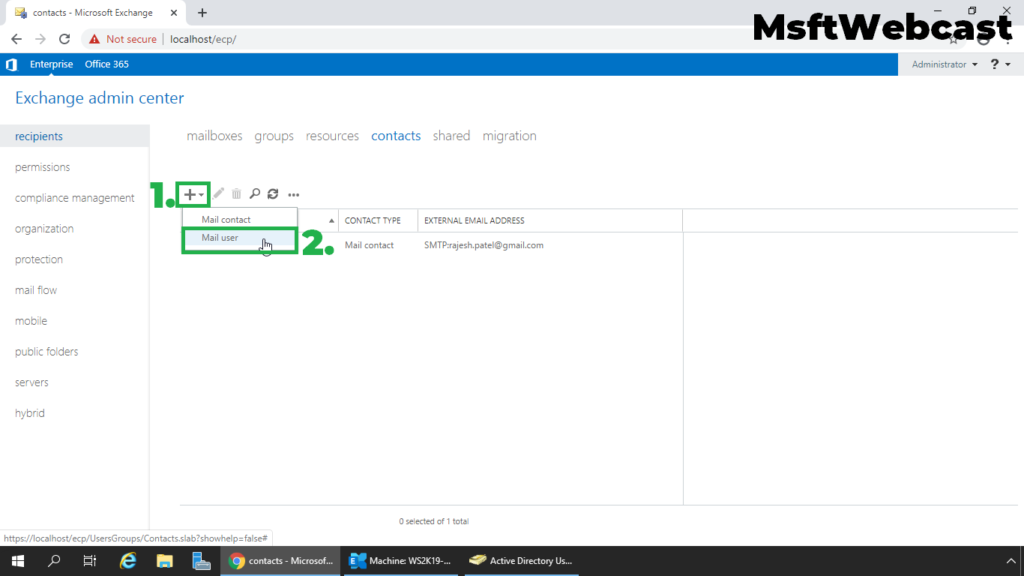
4. In the Exchange Admin Center web interface, navigate to Recipients. Click on the Contacts tab.
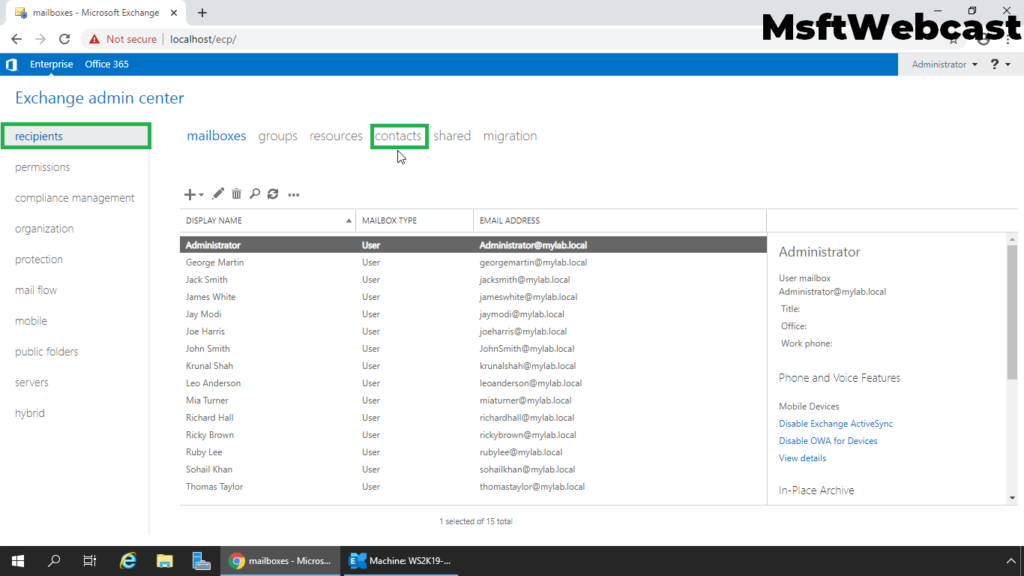
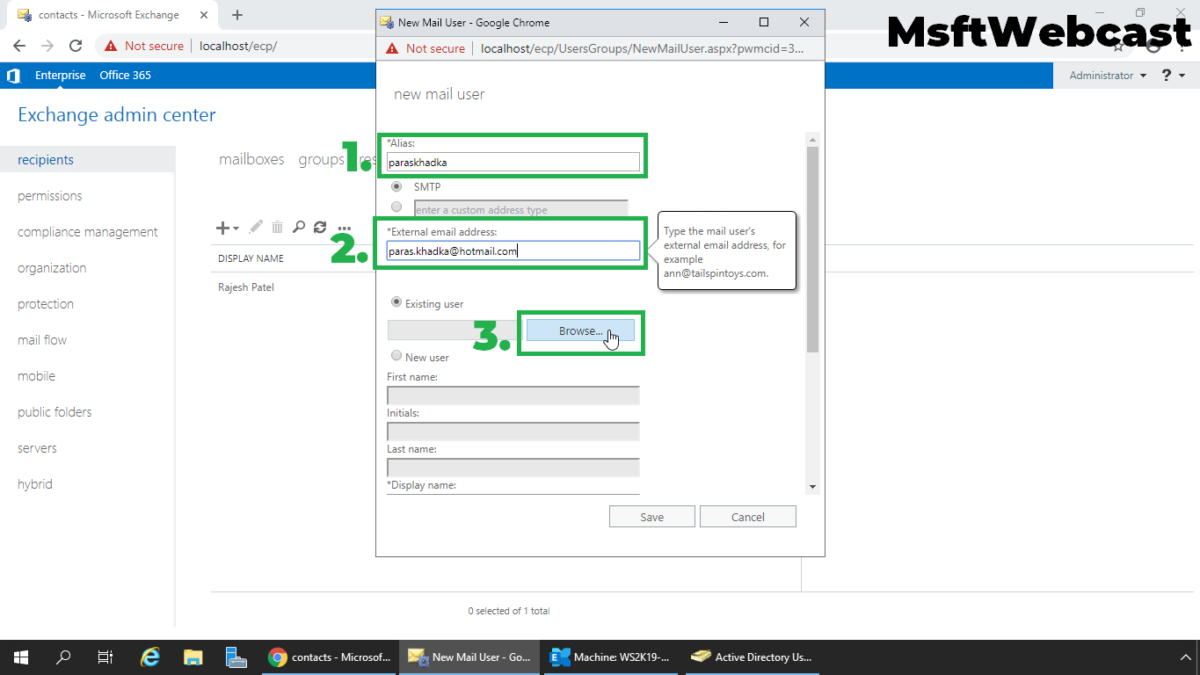
5. To create a Mail-enable User, click on + (plus) sign.
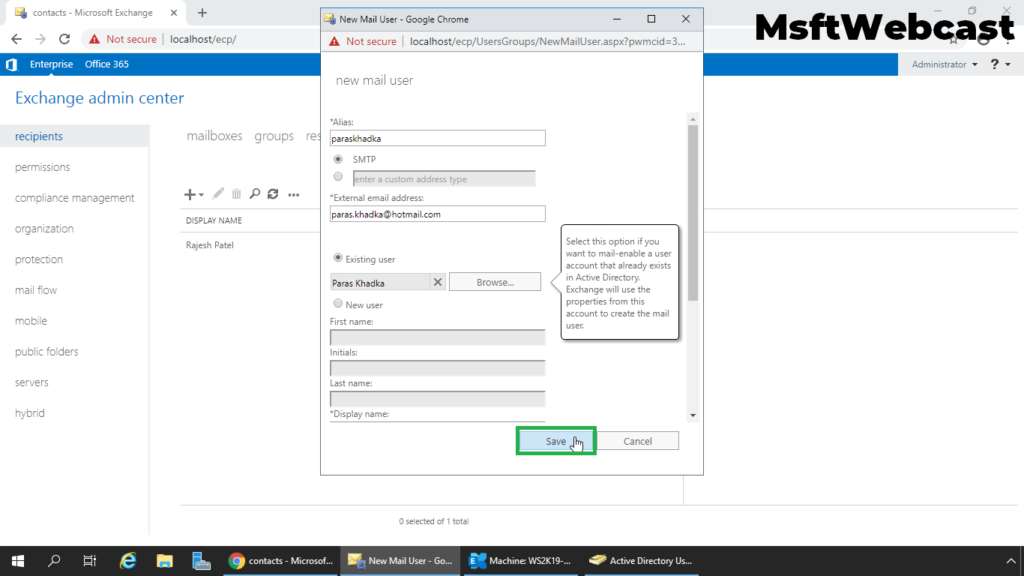
6. Specify Alias name and External Email Address for Mail-enabled User.

We can use the existing Active Directory User account or we can create a new one if required. In this guide, we will use existing user account.
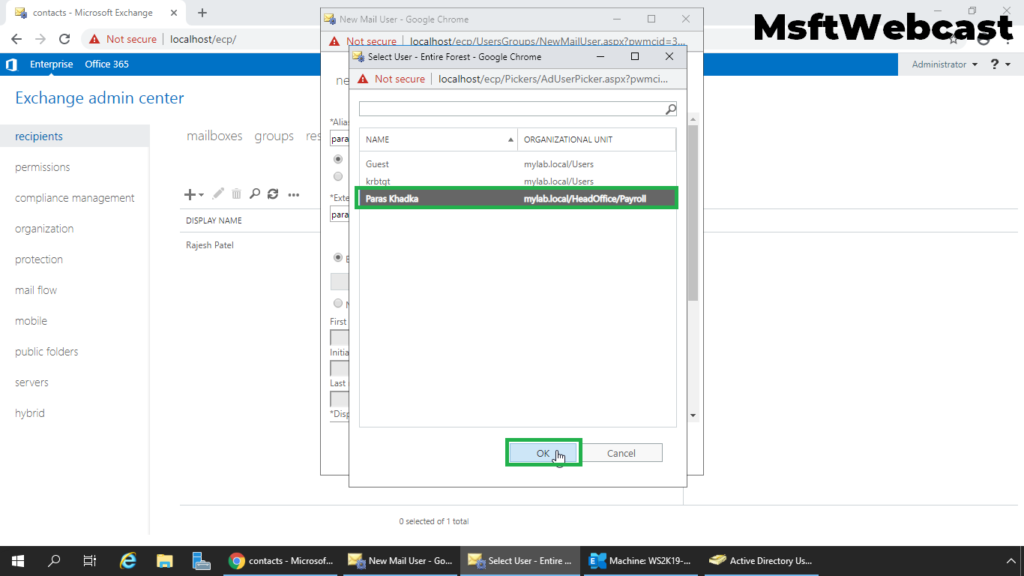
7. Click on browse to select the existing user account.
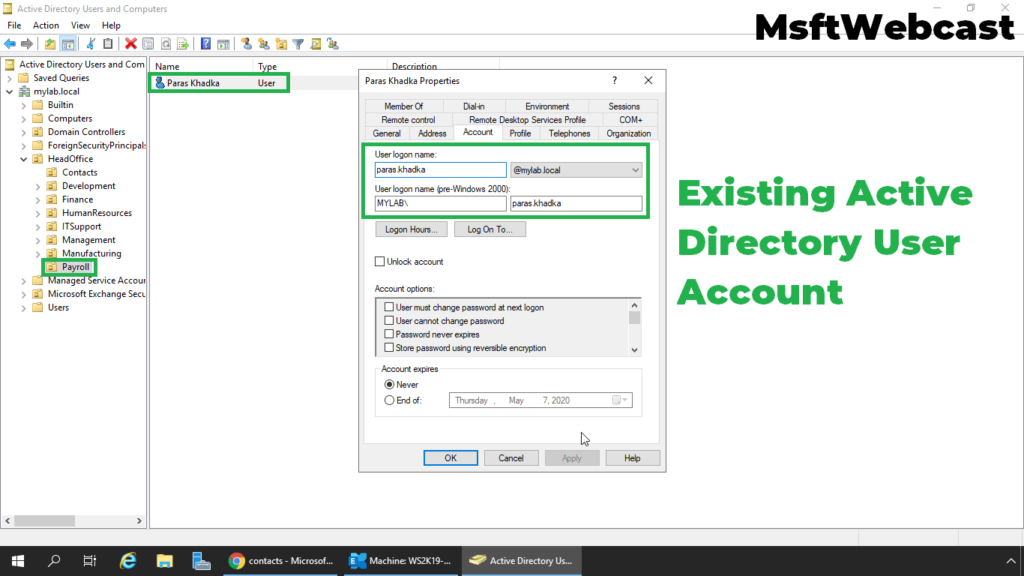
8. Select the User account which we have created earlier. Click OK.
9. Click on Save to create a new Mail-enabled user.
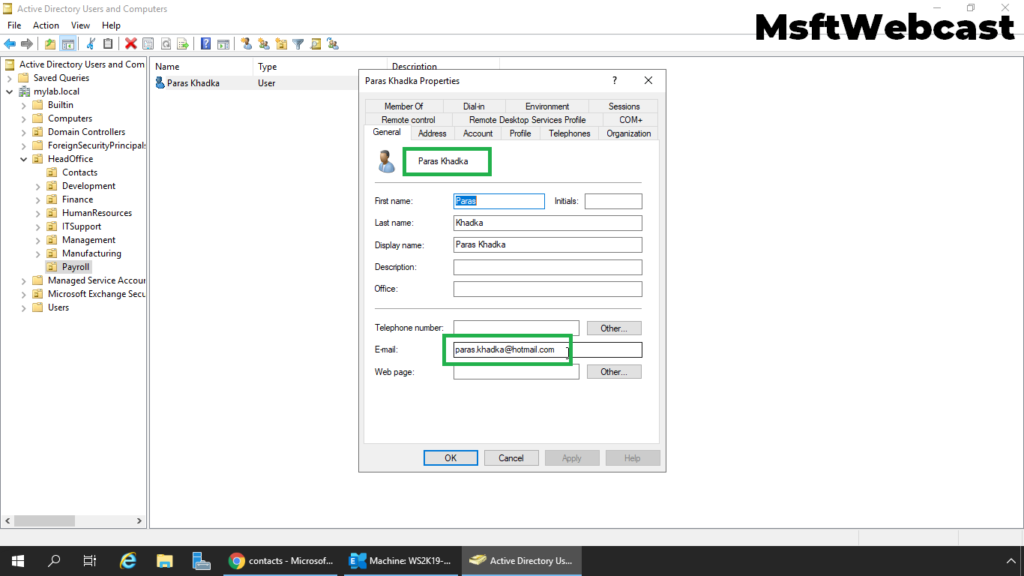
Verify we have successfully created a new mail-enabled user.
Open Active Directory User and Computers snap-ins.
10. Verify the user account in Active Directory.
That’s all. In this article, we have learned the steps on How to create a new Mail-enabled user in Exchange Server 2019. I hope you enjoy this article.