In the last post, we already talked about how to install and setup DNS service on Windows Server 2019. In this article, we will talk about the steps on how to configure DNS zone transfer in Windows Server 2019.

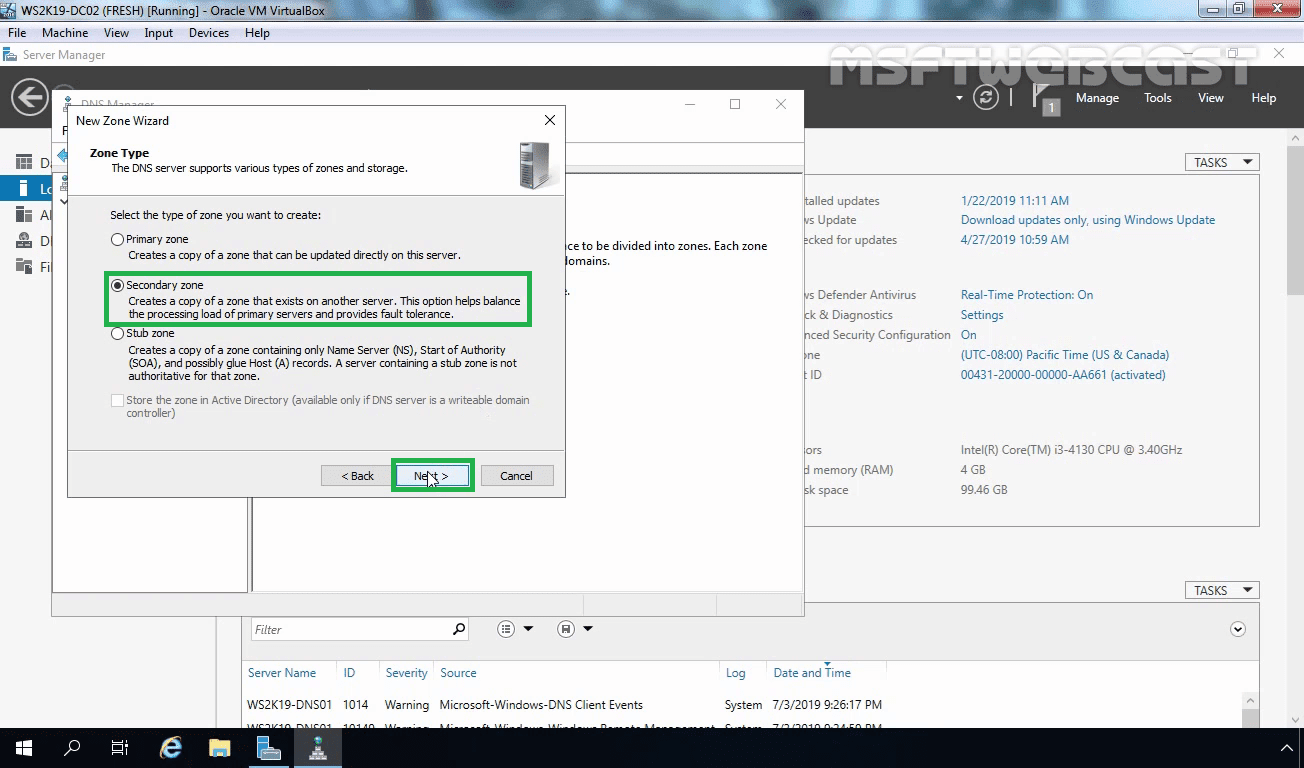
A secondary zone contains the same information as the primary zone, and it can be used to resolve DNS requests. A secondary zone is a read-only copy of the existing primary zone from another DNS server. It can be used to provide fault tolerance and security in DNS infrastructure.

A DNS zone transfer is a process where a primary DNS server sends a DNS zone data to a secondary DNS server.

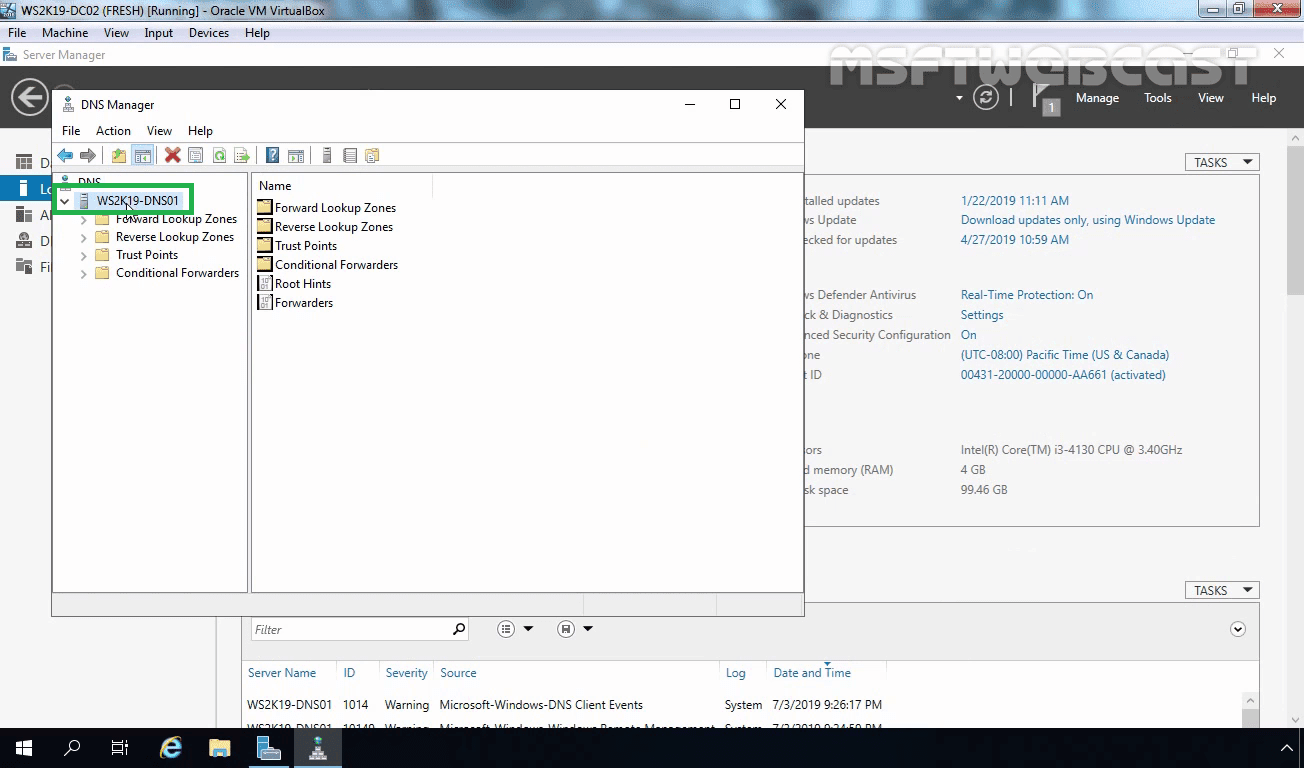
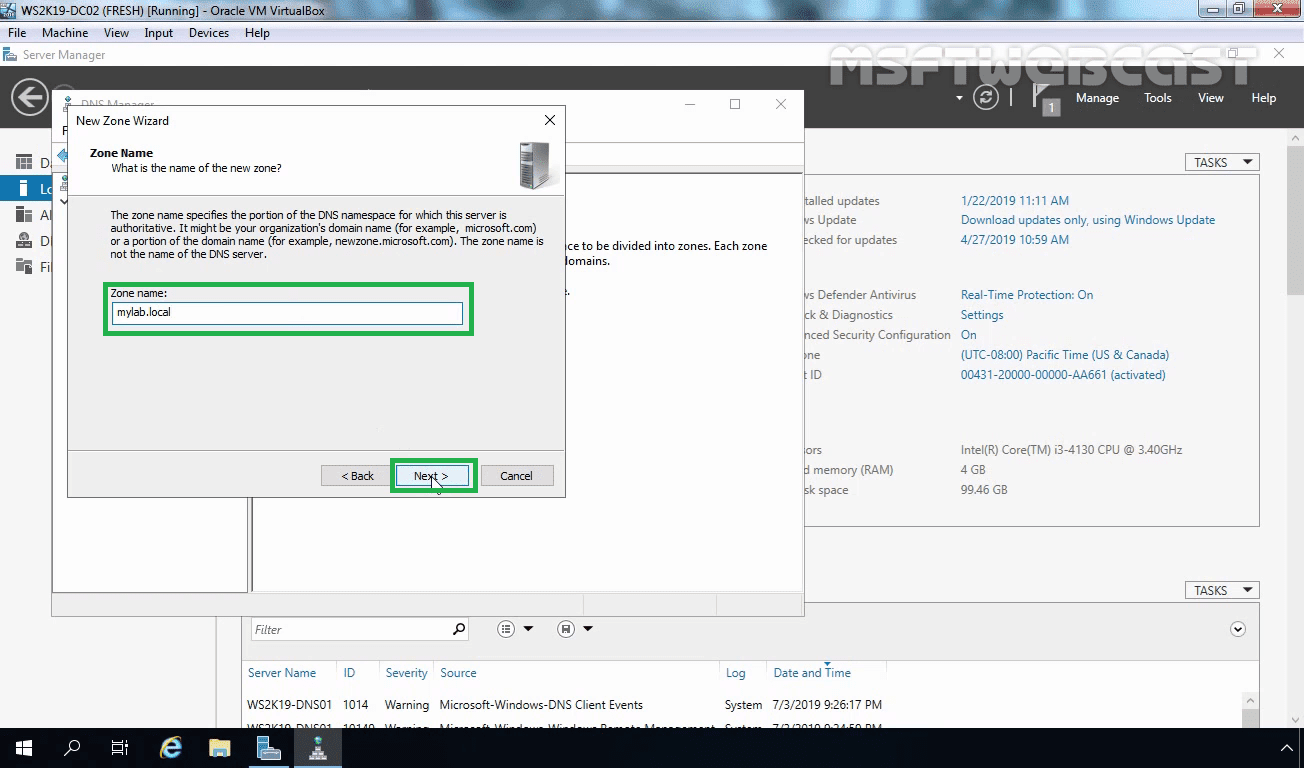
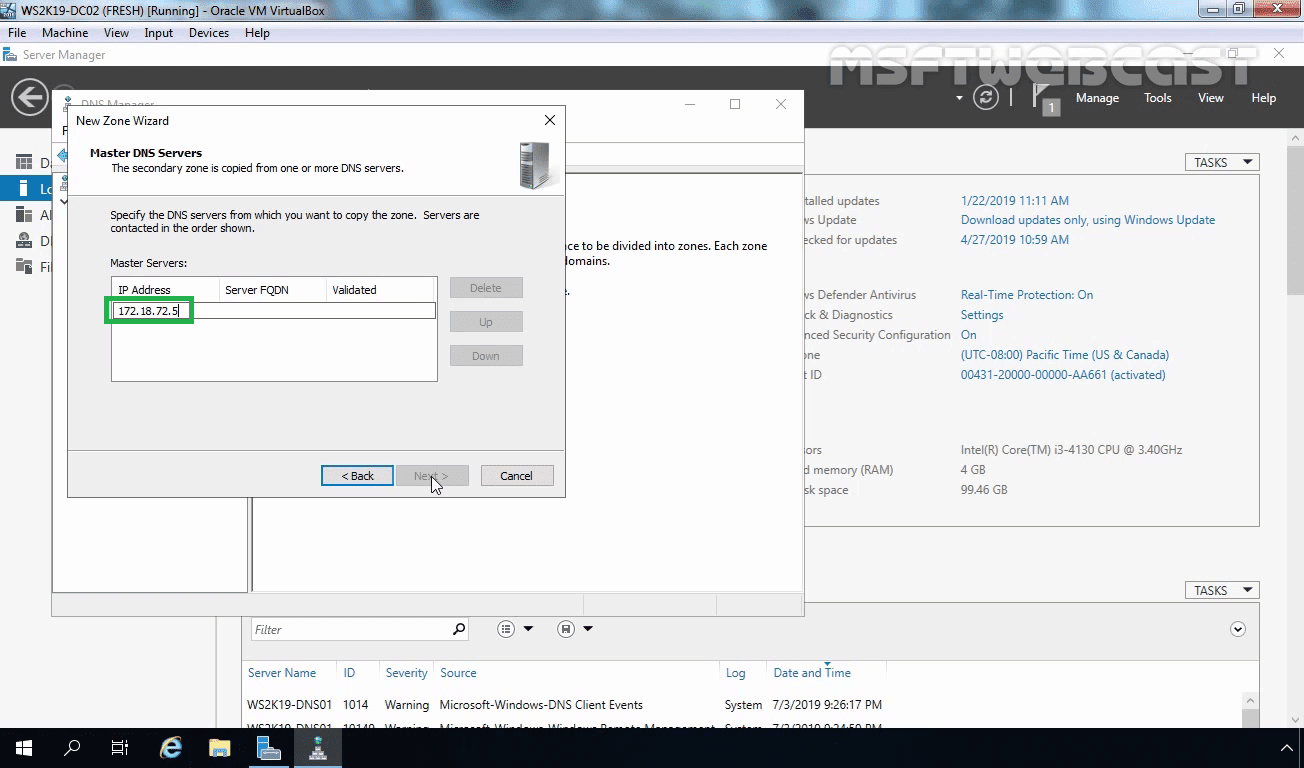
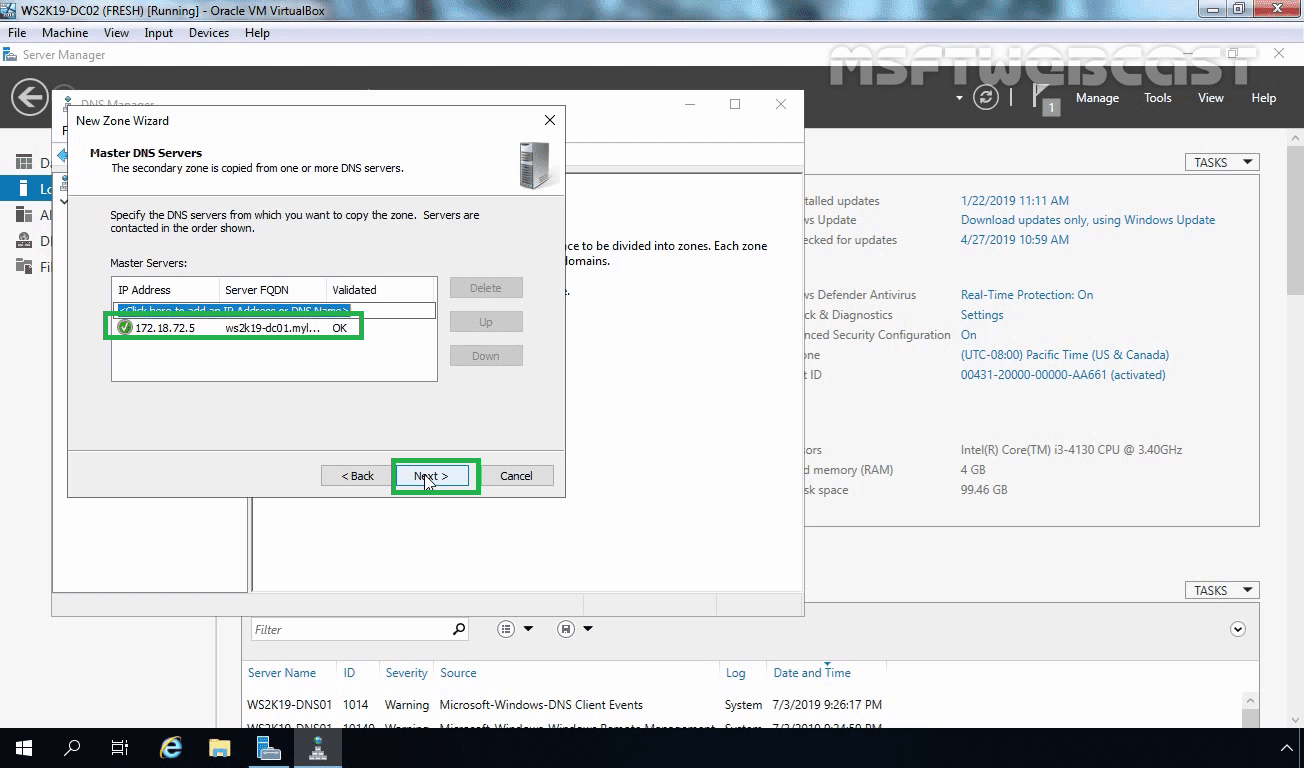
In this example, we have our DNS server WS2K19-DC01 as the Primary DNS server and WS2K19-DNS01 in which, we will create the secondary zone. The DNS zone name that we will replicate is mylab.local.

First, open the server manager console on the WS2K19-DNS01 server. (Where we are going to create a secondary DNS zone). We have already installed the DNS server role on this server.
Click on Tools and select DNS to open the DNS Manager console.
In the DNS Manager, expand the server name.
Right-click on Forward Lookup Zones and select New Zone.
Click on the Next to continue.
On the zone type selection, choose Secondary Zone and click next to proceed.
In the zone name field, type the zone name. In this example, we are creating a secondary zone for “mylab.local“. Click on next to continue.
On this console, type in the Primary DNS servers FQDN or IP address then press Enter. In our case, the IP address of the Primary DNS server is 172.18.72.5. When you are done, hit the enter key.
A green check confirms that Secondary is able to communicate with Primary. You can add more than one Master DNS server address. Click on the Next button to continue.
Click on Finish to close the wizard.
Now if you browse to the secondary zone you just created, you may see this error message:
To fix this error, we have to ensure that the Primary DNS server has allowed zone transfer to this server. To configure zone transfer, go to the zone Properties in the primary server.
Click on the Zone Transfers tab. Select Allow zone transfer options.
Select the third option: “Only to the following servers”. Click on the Edit button to define the IP address of the secondary server. (Only listed servers will be able to receive the copy of the primary zone.)
Type the IP address of the secondary DNS server (which is 172.18.72.6). Click on the OK button.
We also need to add the secondary DNS servers IP address or FQDN in notify settings to get notification for zone updates from primary server. Click on apply and OK.

After we allow Zone transfer on the Primary DNS server. Now go back to WS2K19-DNS01.

Right-click on the secondary DNS zone (mylab.local) and select refresh.

Now you should be able to see all records in mylab.local zone.
If you still get an error message, you can right-click on the secondary zone name and select Transfer from Master or restart the DNS service once.
With this, we have successfully configured a DNS zone transfer in Windows Server 2019.