This tutorial is about how we can assign a static IP Address to windows server 2016 before proceeding with the installation of Windows Server 2016 Active Directory Services, we need to assign a static IP Address in preparation for the installation of the Active Directory Domain Services (AD DS).
IP Address is required for all the devices connected to a network. It would be hard to communicate the devices without Internet Protocol. In this article it is assumed that you have already pre-installed Windows Server 2016.
IP Address is required for all the devices connected to a network. It would be hard to communicate the devices without Internet Protocol. In this article it is assumed that you have already pre-installed Windows Server 2016.
If you don’t want to read this article, Follow this below video tutorial to Assign Static IP Address on Microsoft Windows Server 2016


Configuring a static IP Address to Windows Server 2016 (GUI Method)
1. Log onto your newly installed Windows Server 2016 using Administrative Credentials.
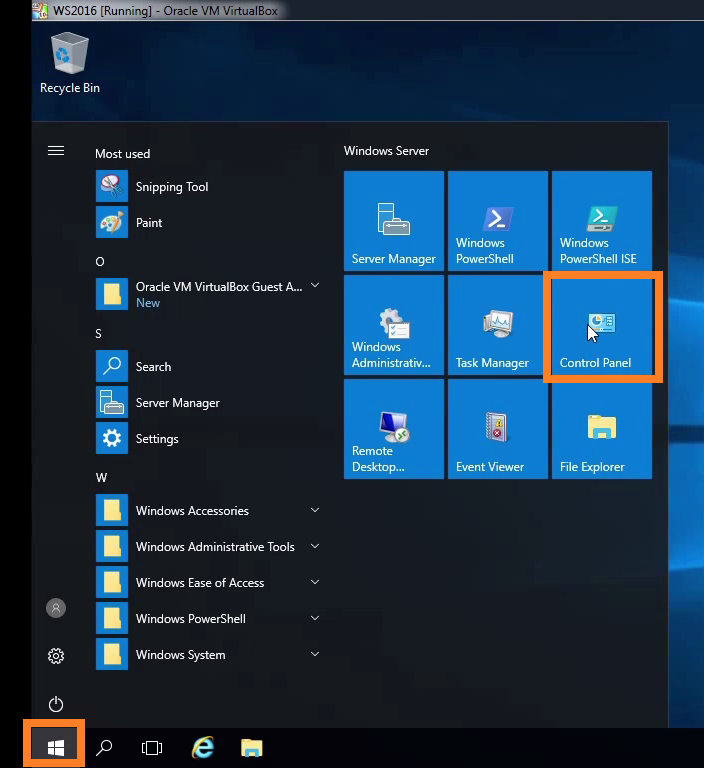
2. Click on start button
3. On start menu Click on control panel.
3. On start menu Click on control panel.
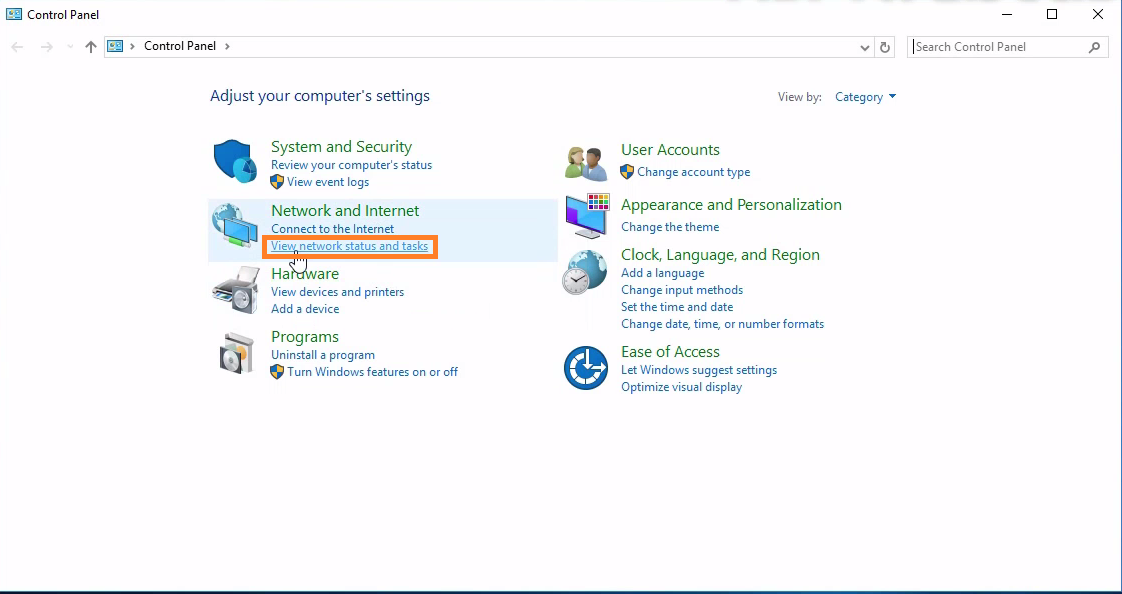
4. On Control panel console, Select View network status and tasks under Network and Internet.
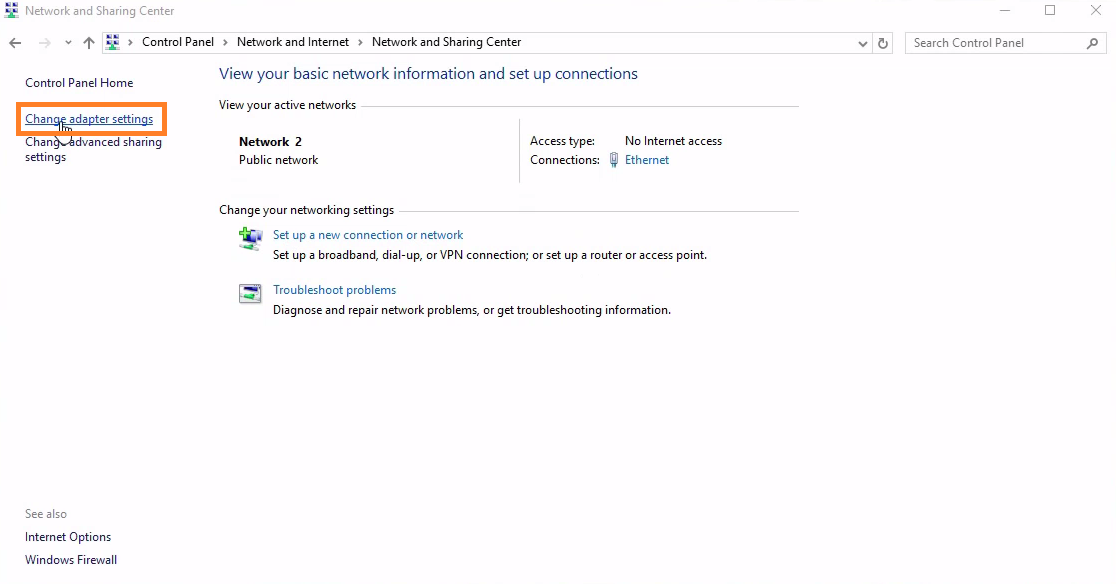
5. On Network and Sharing Center console, Click on Change adapter settings.
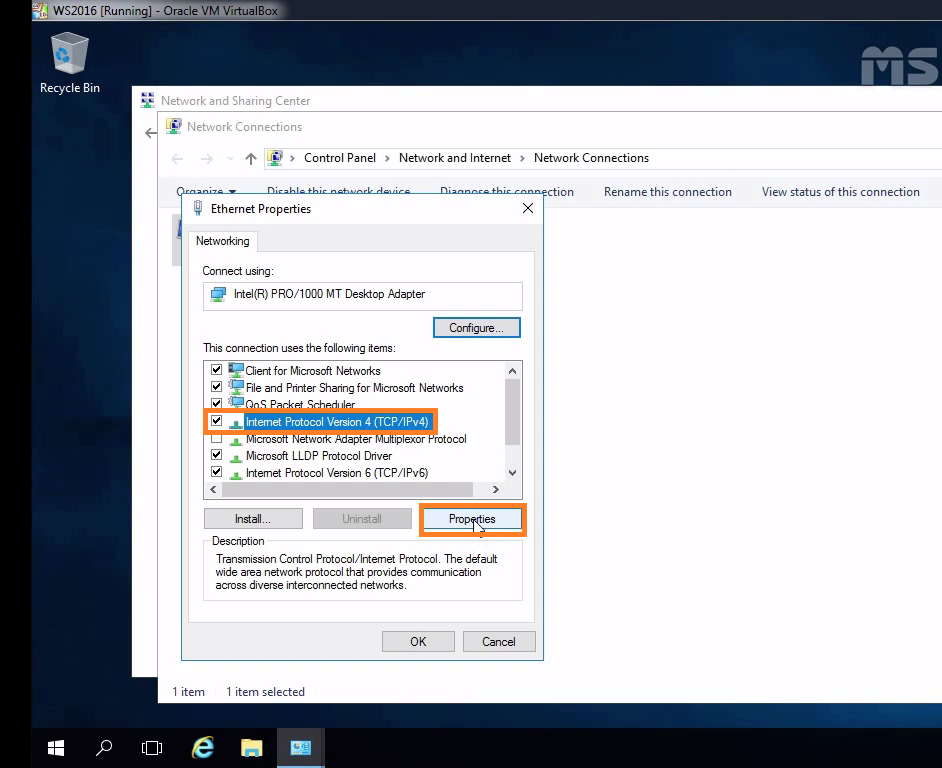
6. On Network Connections console, select your Network adapter and right click on it and Select Properties option.
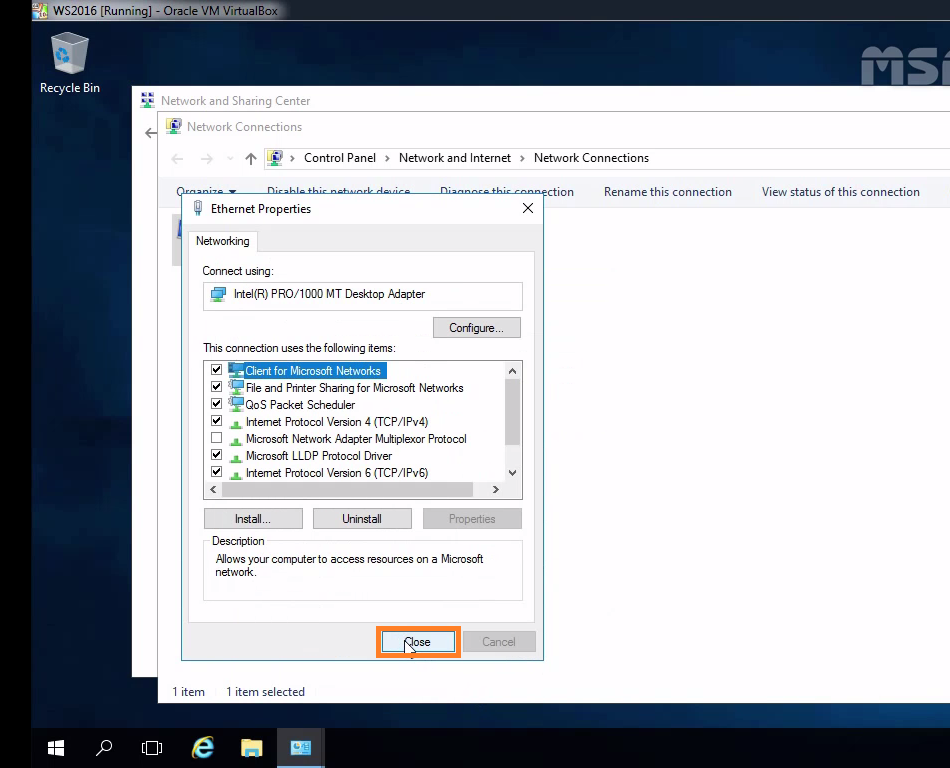
7. On Ethernet Properties dialogue box, select Internet Protocol Version 4 and click on properties option.
8. In our case we want to assign static IP address to this server that’s why we have to select second option “Use the following IP Address:” Enter desired IP Address, Subnet Mask, Default Gateway and DNS Servers as per your subnet.
9. Click OK to close the properties window and then click on close button to close the Ethernet Properties window.
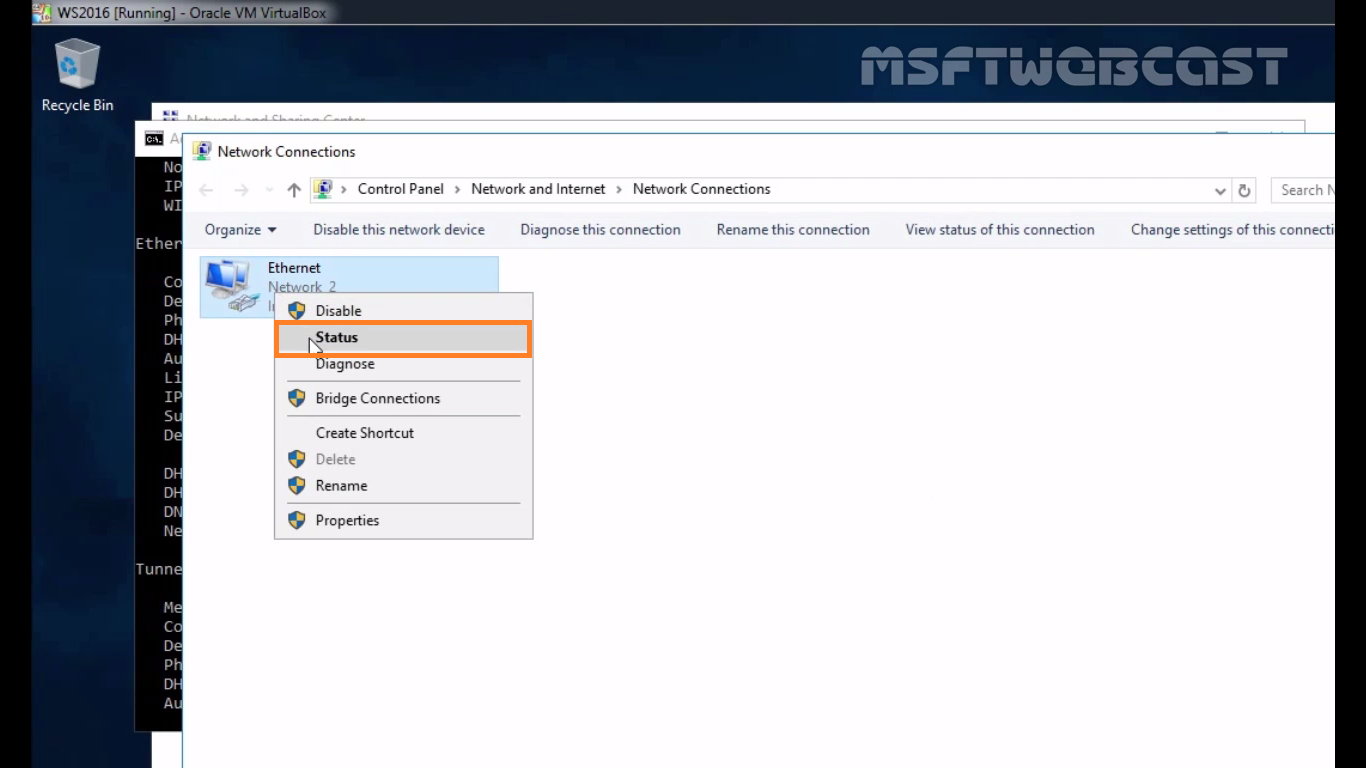
10. Now again right click on Ethernet adapter and select Status.
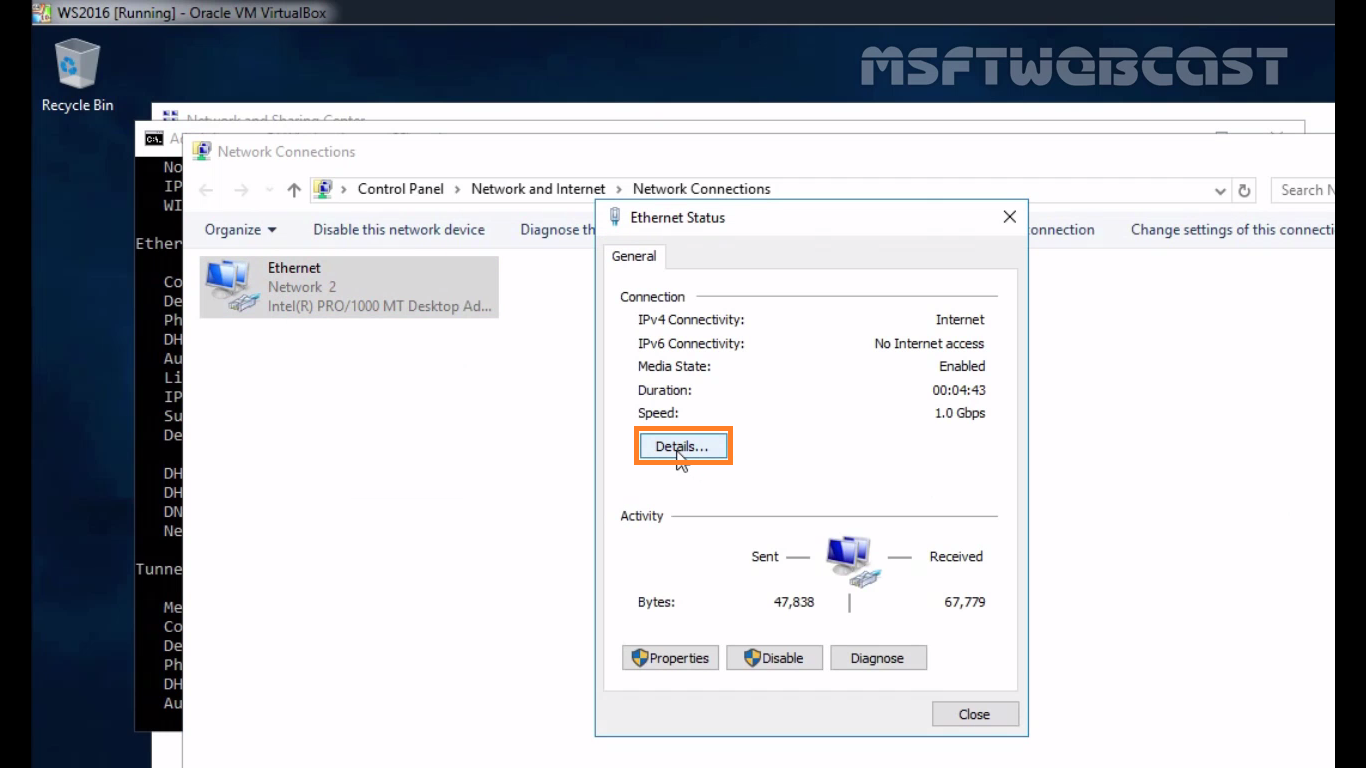
11. Click on details.
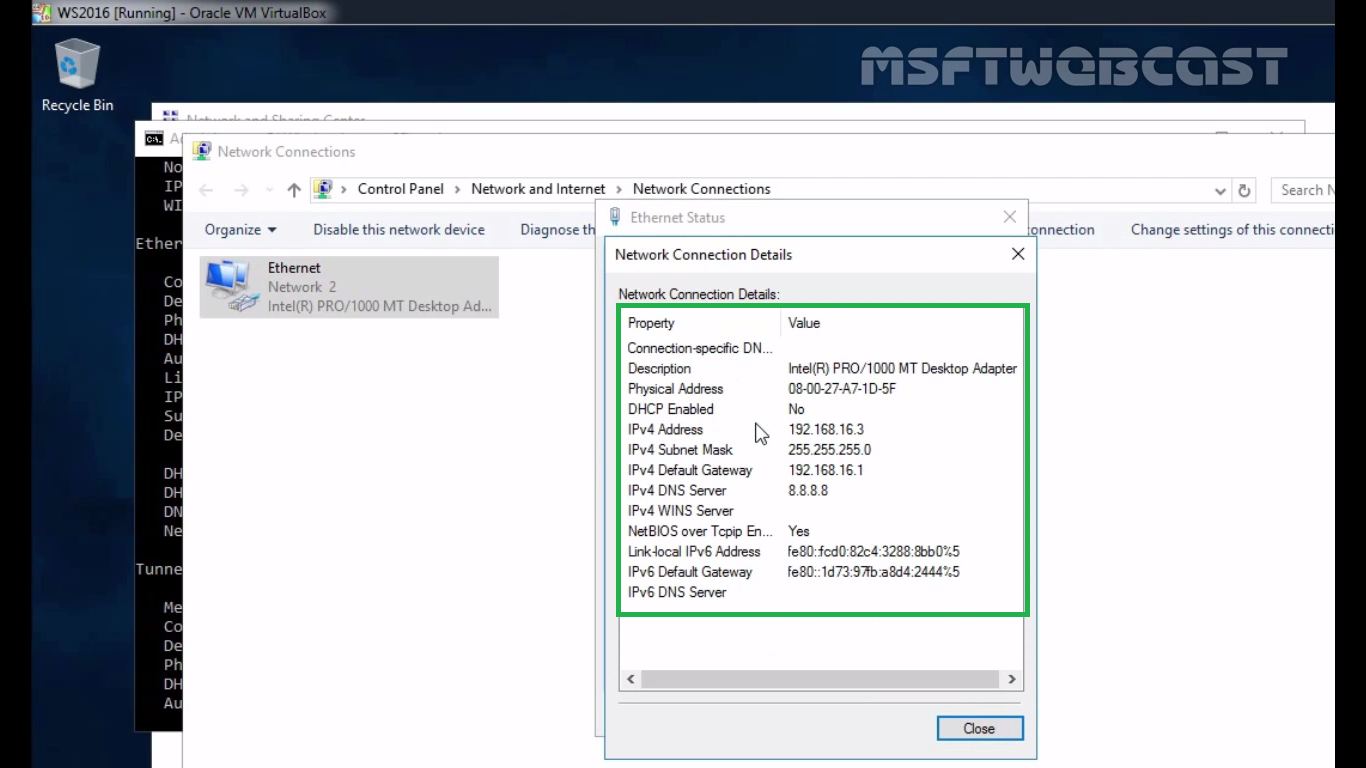
12. Here you can see the information about IP address which we assign to this windows server 2016.
Your network adapter will now be configured with that static IP address that you specified.