After completing post-installation tasks on Windows Server 2019, one of the first steps that will be needed is to either promote your windows server as a domain controller or to add the server as a member server to an existing Active Directory Domain.
In this blog post, I will show you how to join Windows Server 2019 to an existing Windows Server 2019 Active Directory Domain. There are few things which you need to take care before you start joining the windows server 2019 to an existing AD Domain.
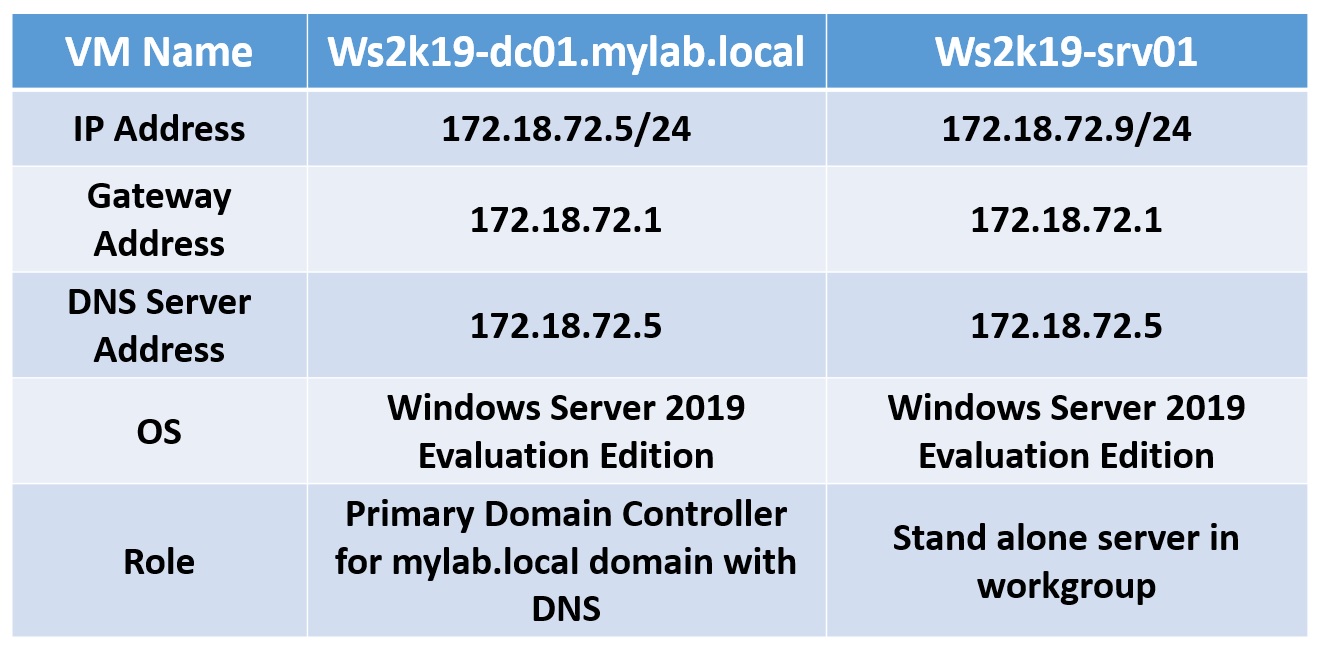
Requirements when Joining a Windows Server 2019 to the existing Domain:
- Make sure that server is configured with static IP
- Make sure that server is configured with primary DNS servers IP address pointing to the domain controller
- Make sure server is able to resolve a domain name to IP address
- Check network connectivity between server and domain controller
- A user account and password on the domain with sufficient privilege to join a server to the domain.
1. On ws2k19-srv01, open server manager console. On the left side click on the local server. Now Click on a workgroup option. That will open the system properties dialog box.

2. On system properties dialog box, Click on “Change” button.

3. On Computer Name/Domain Change console, Under member of: select domain. Type name of your domain. (In our case it will be mylab.local). Once you ready, click on OK button.

4. It will ask to supply user name and password to join this server to the mylab.local domain. In Active Directory, even standard user account has the privilege to join up to 10 computers to the domain. Here I am using domain admin’s credential to join this server to the domain. Click on the OK button.

5. Once your server successfully joins to the domain, you will receive the message “Welcome to the mylab.local domain”. Click on OK button.

6. It will ask to save your work before restarting the server. Click on OK button.

7. Close all open console and click on “Restart Now” button to restart the server.

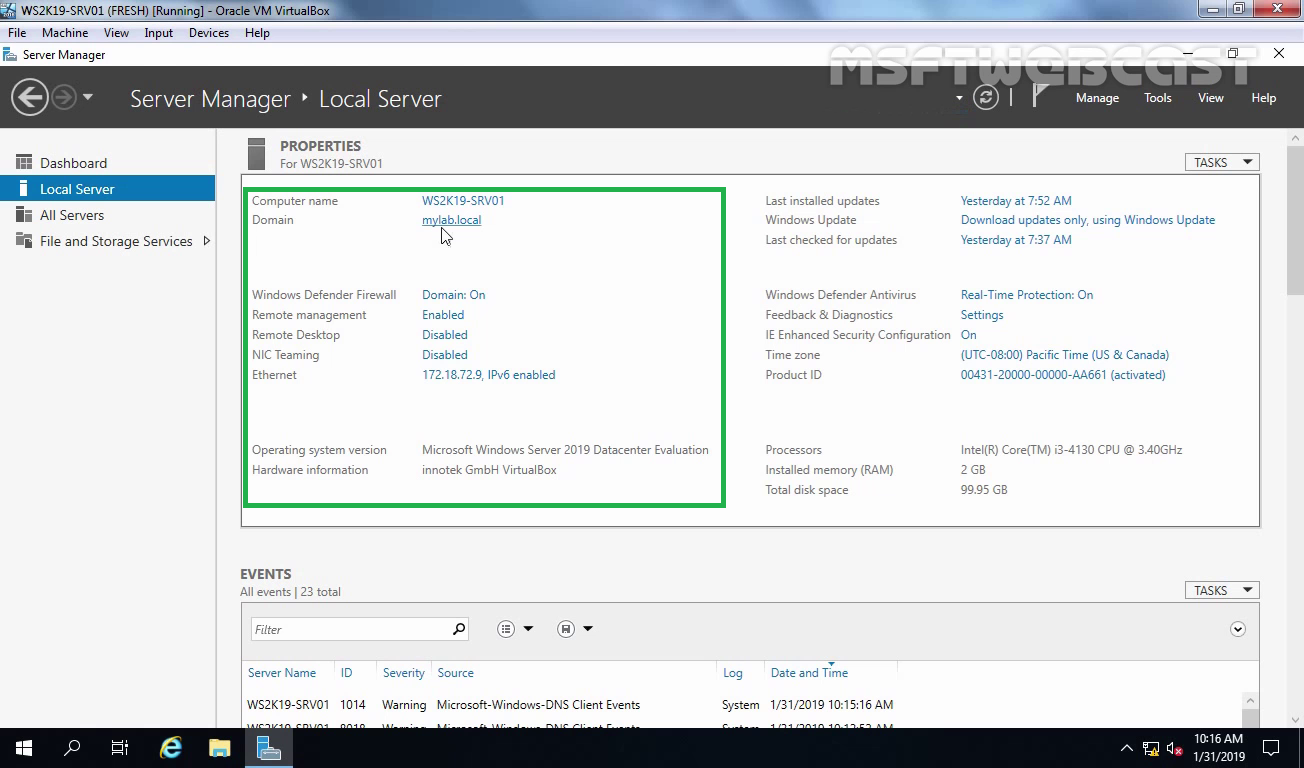
8. After the restart, we are going to login to the member server with the credential of the domain administrator.

9. Once you login to the server, open server manager console. Click on “local server“. Now you can see our windows server 2019 is part of mylab.local domain.

10. On ws2k19-dc01, Open “Active Directory Users and Computers” console from server manager console. Expand mylab.local domain, expand and click on “Computers” container.
Here you can see the computer account of the member server “ws2k19-srv01“.

Now, you have successfully joined the windows server 2019 to the existing windows server 2019 active directory domain.
That’s it for this post. I hope this will be helpful.
Thanks.