In this blog post, we will set up an Office 365 E3 trial account which we will use in exchange online blog series. The process to create an Office 365 E3 Trial Subscription is very easy and short.
You can use an Office E3 trial subscription to test Office 365 services before you purchase a subscription. The good thing is that you can create an Office 365 tenant without a credit card and with a 30-day free trial, including 25 licenses. You have to set up an Office 365 tenant and configure the tenant after that. This tenant gives you the ability to try a tenant and Office 365 services like Exchange Online.
In this post, I will show you how to create an Office 365 E3 Trial subscription.
Create an Office 365 E3 trial subscription (tenant)
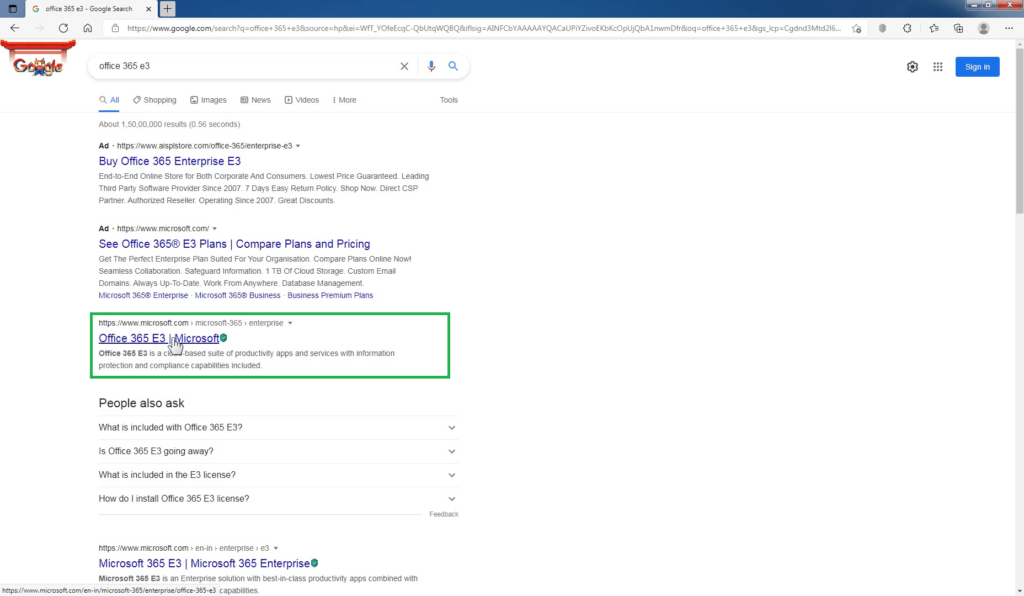
Open your favorite web browser and search for “Office 365 E3”.

Go to the Office 365 E3 product web page.
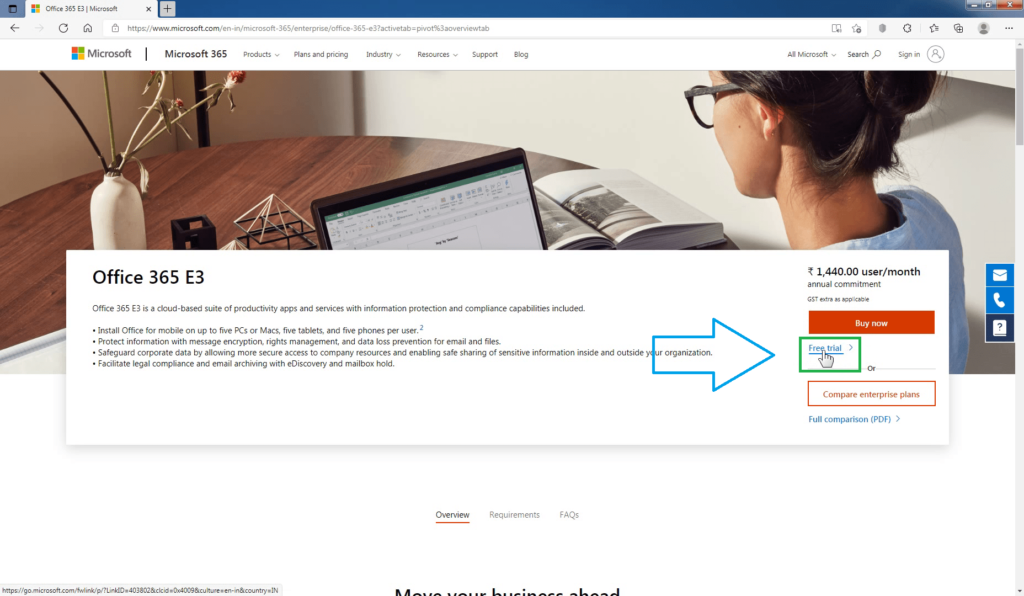
On Office 365 E3 product page, click on Free trial link.
You will complete the Office 365 tenant creation process in four steps. After that, you can start to configure the Office 365 tenant.
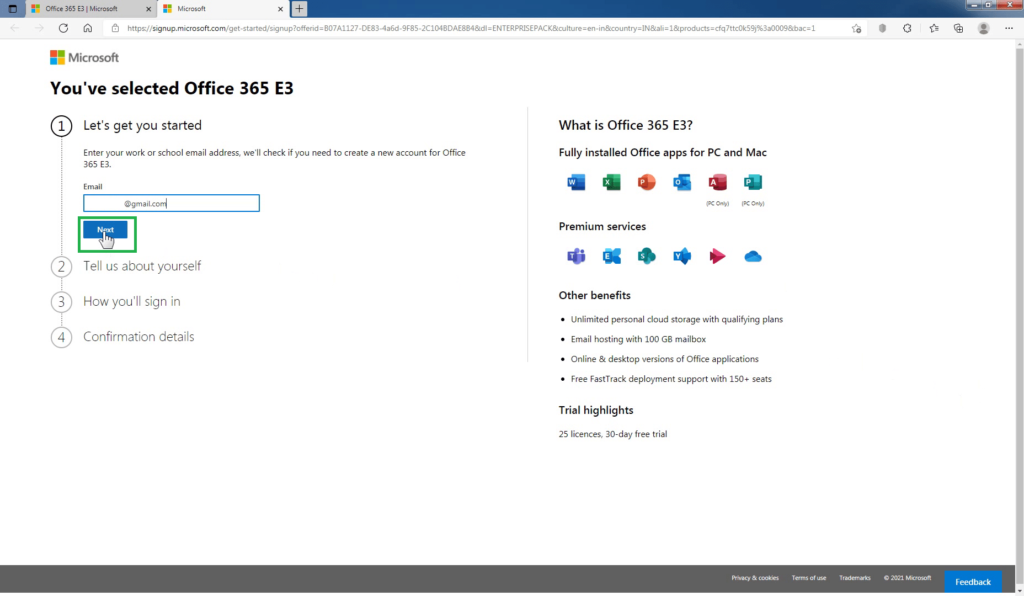
Step 1. Set up your Account
Enter the email address on which you want to create your Trial tenant account. You can use a personal or work email address. Click Next.
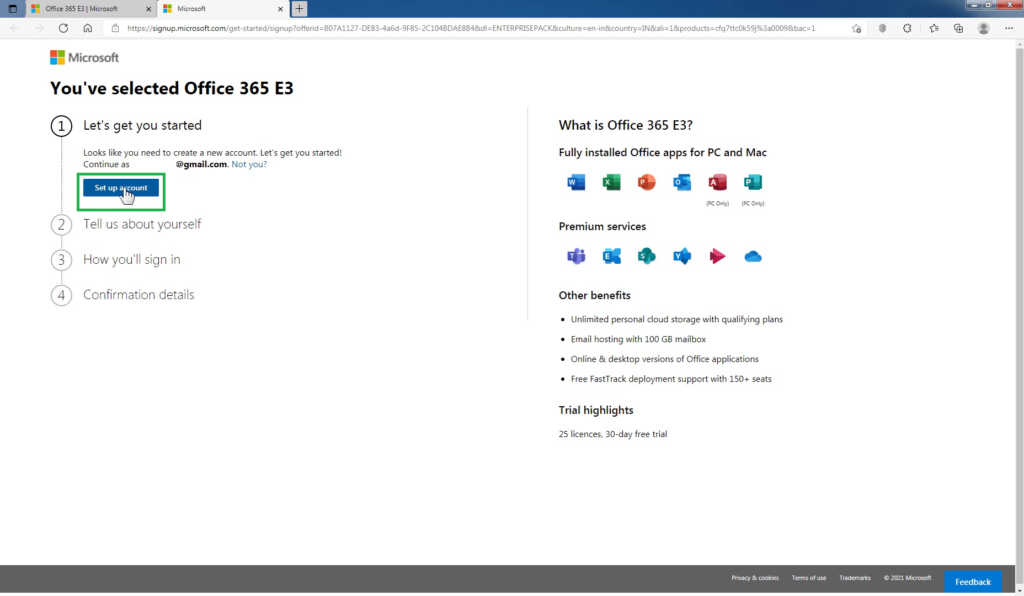
Click on Set up account.
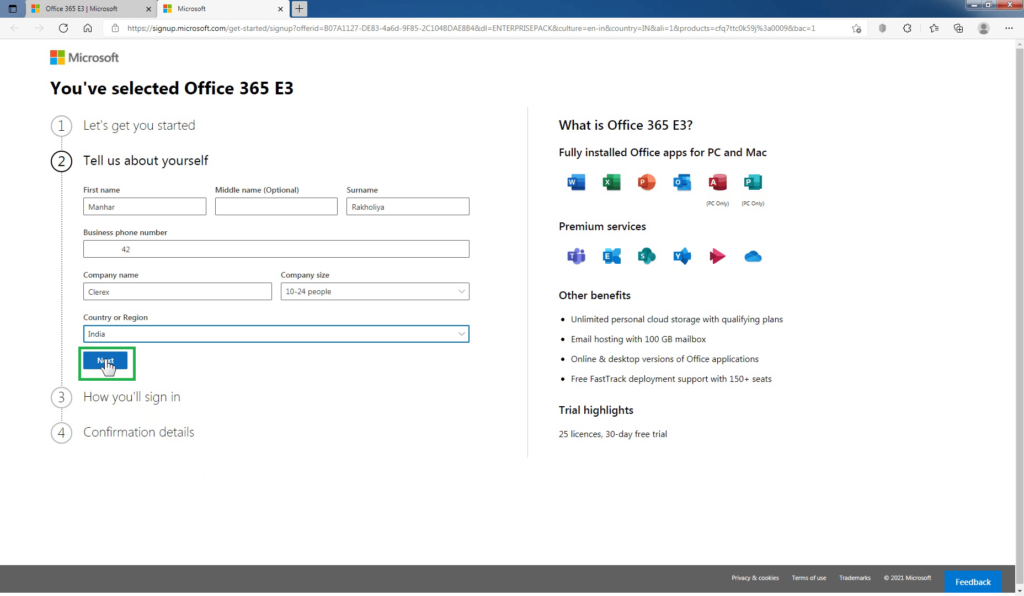
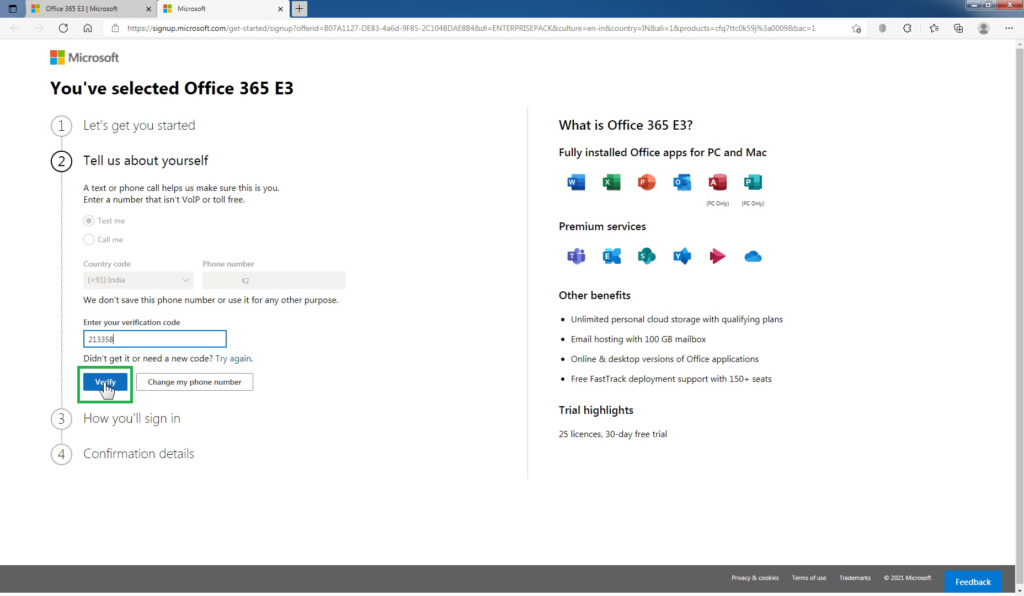
Step 2. Tell us about yourself
Fill in the information about yourself like your First name, Last name, Mobile number, etc. The Company name will be the name of the new organization tenant you are about to create by signing up for this trial. Click Next.
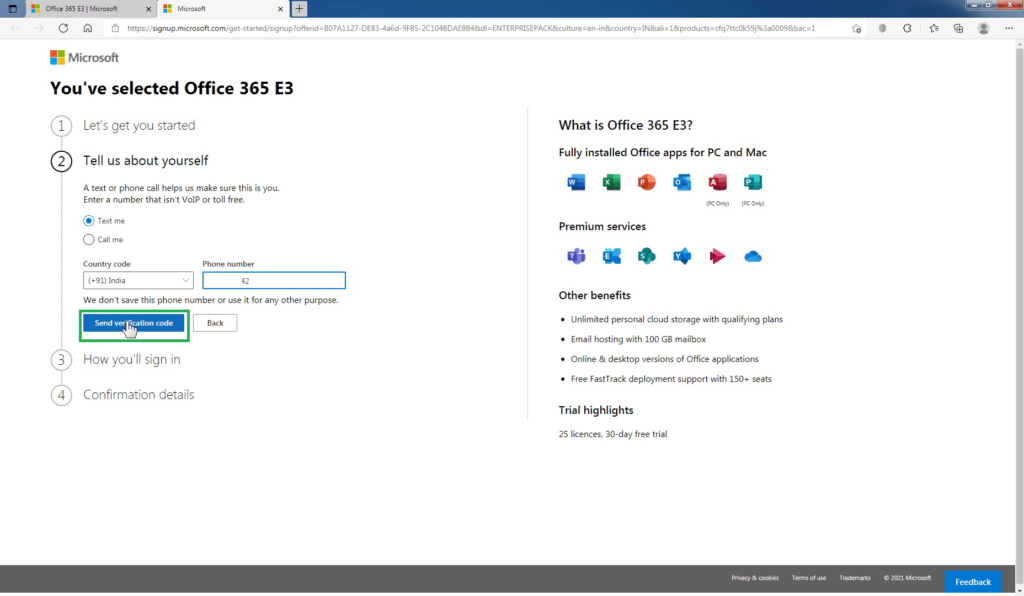
Click Send verification code to verify your phone number.
Enter the verification code and click Verify to complete the verification process.
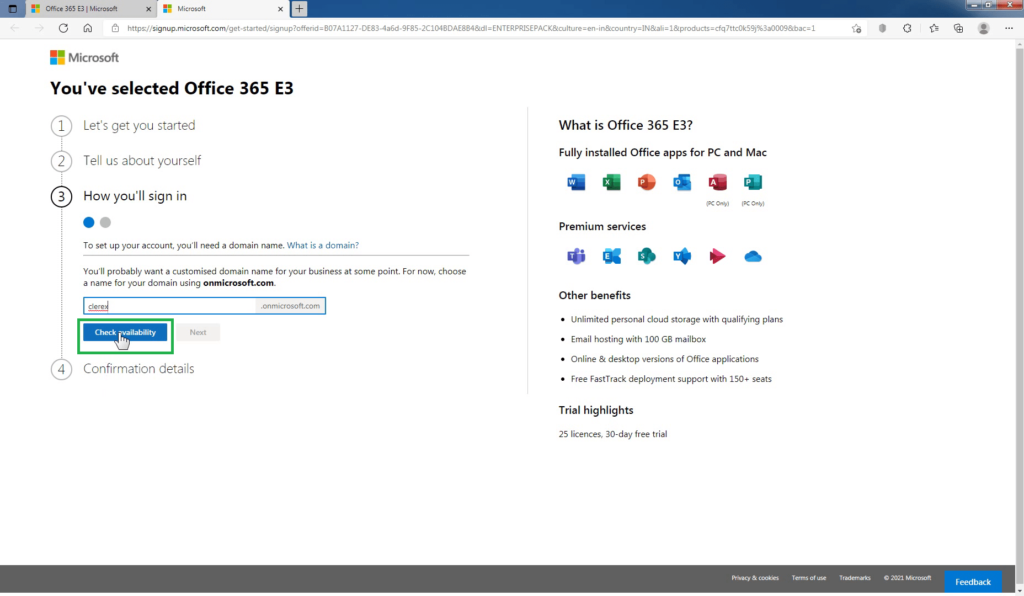
Step 3. Create your business identity
To set up your account, you will need a domain name.
Maybe you want a customized domain name for your business at some point. For testing purposes, you can choose a name for your domain using .onmicrosoft.com domain name.
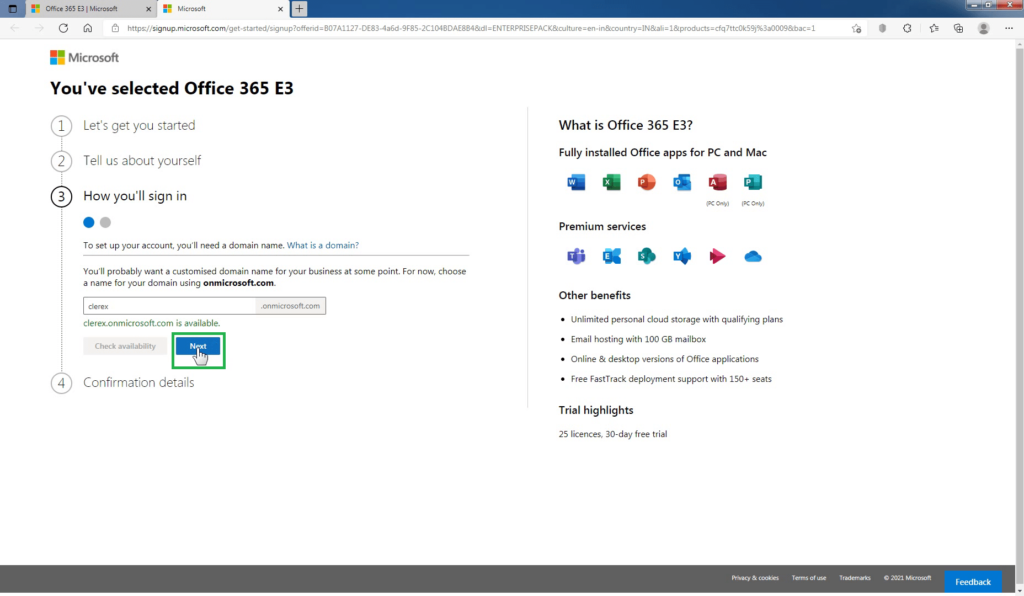
Type your tenant name here and click on Check availability if it is available or not.
Once you have your domain name, click on Next.
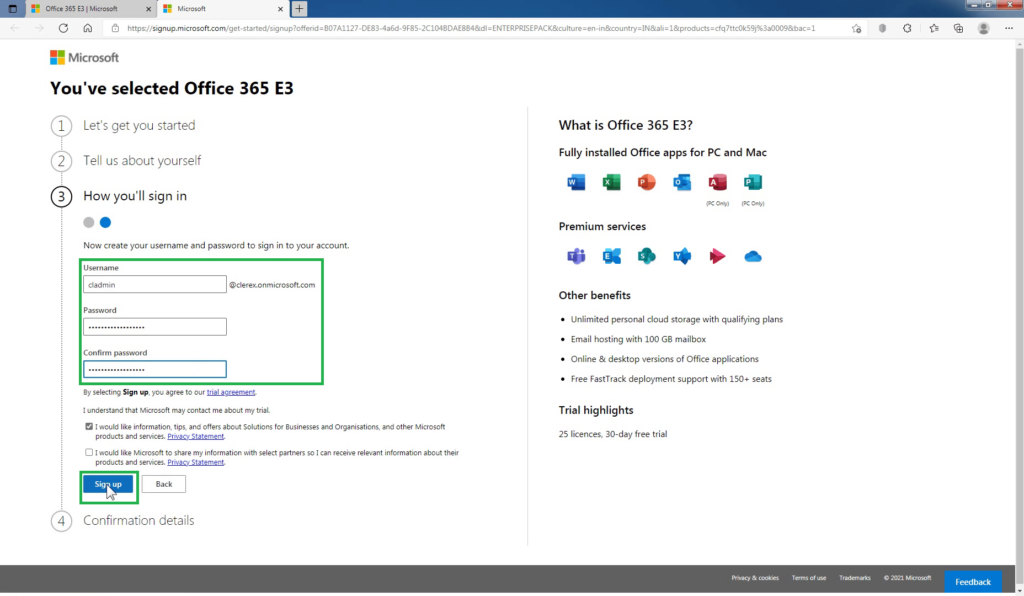
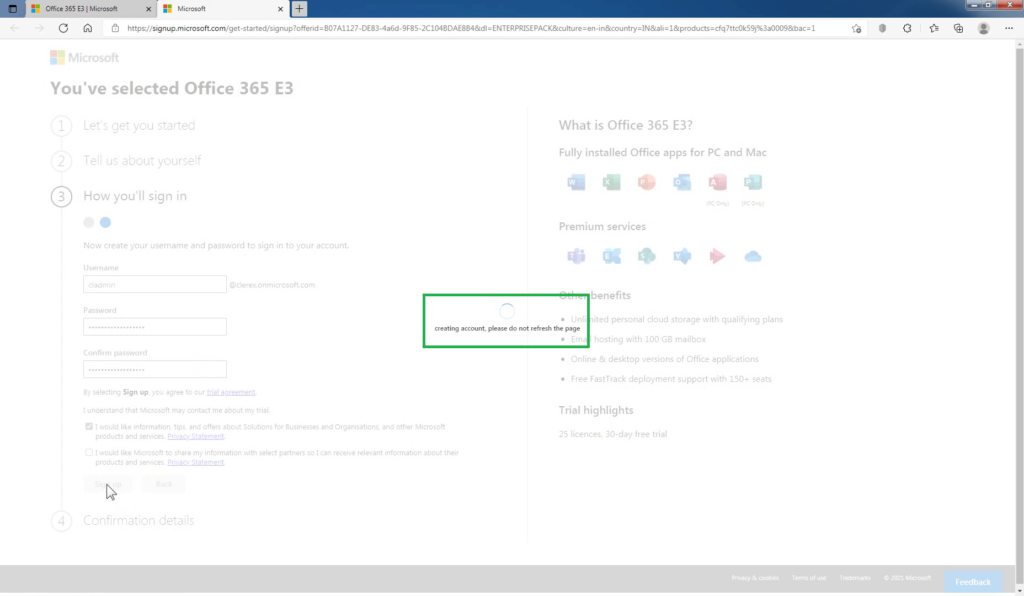
You will need to create details for your admin user account. This is the email address you will use to sign in to the trial tenant you are creating. This user will be the tenant administration and the account will have all the access.
First pick a username, such as “admin” or your name. Enter a password, and click Sign up.
Microsoft is creating the Office 365 trial account. Wait for the process to finish.
Step 4. You’re all set
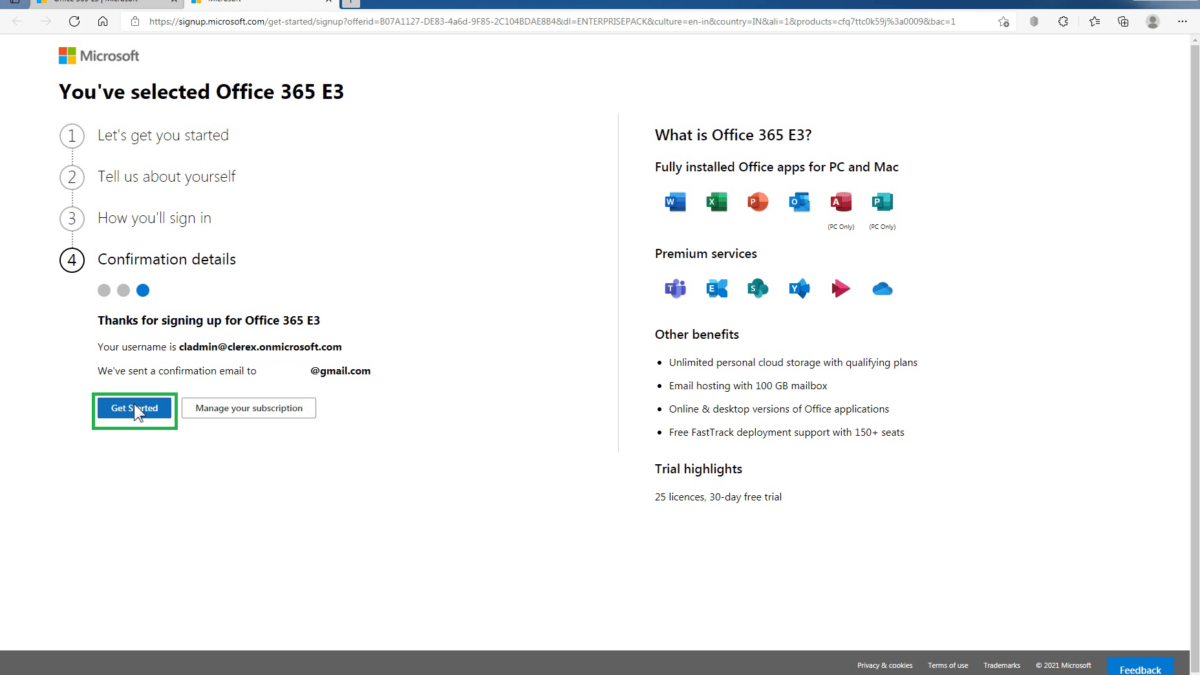
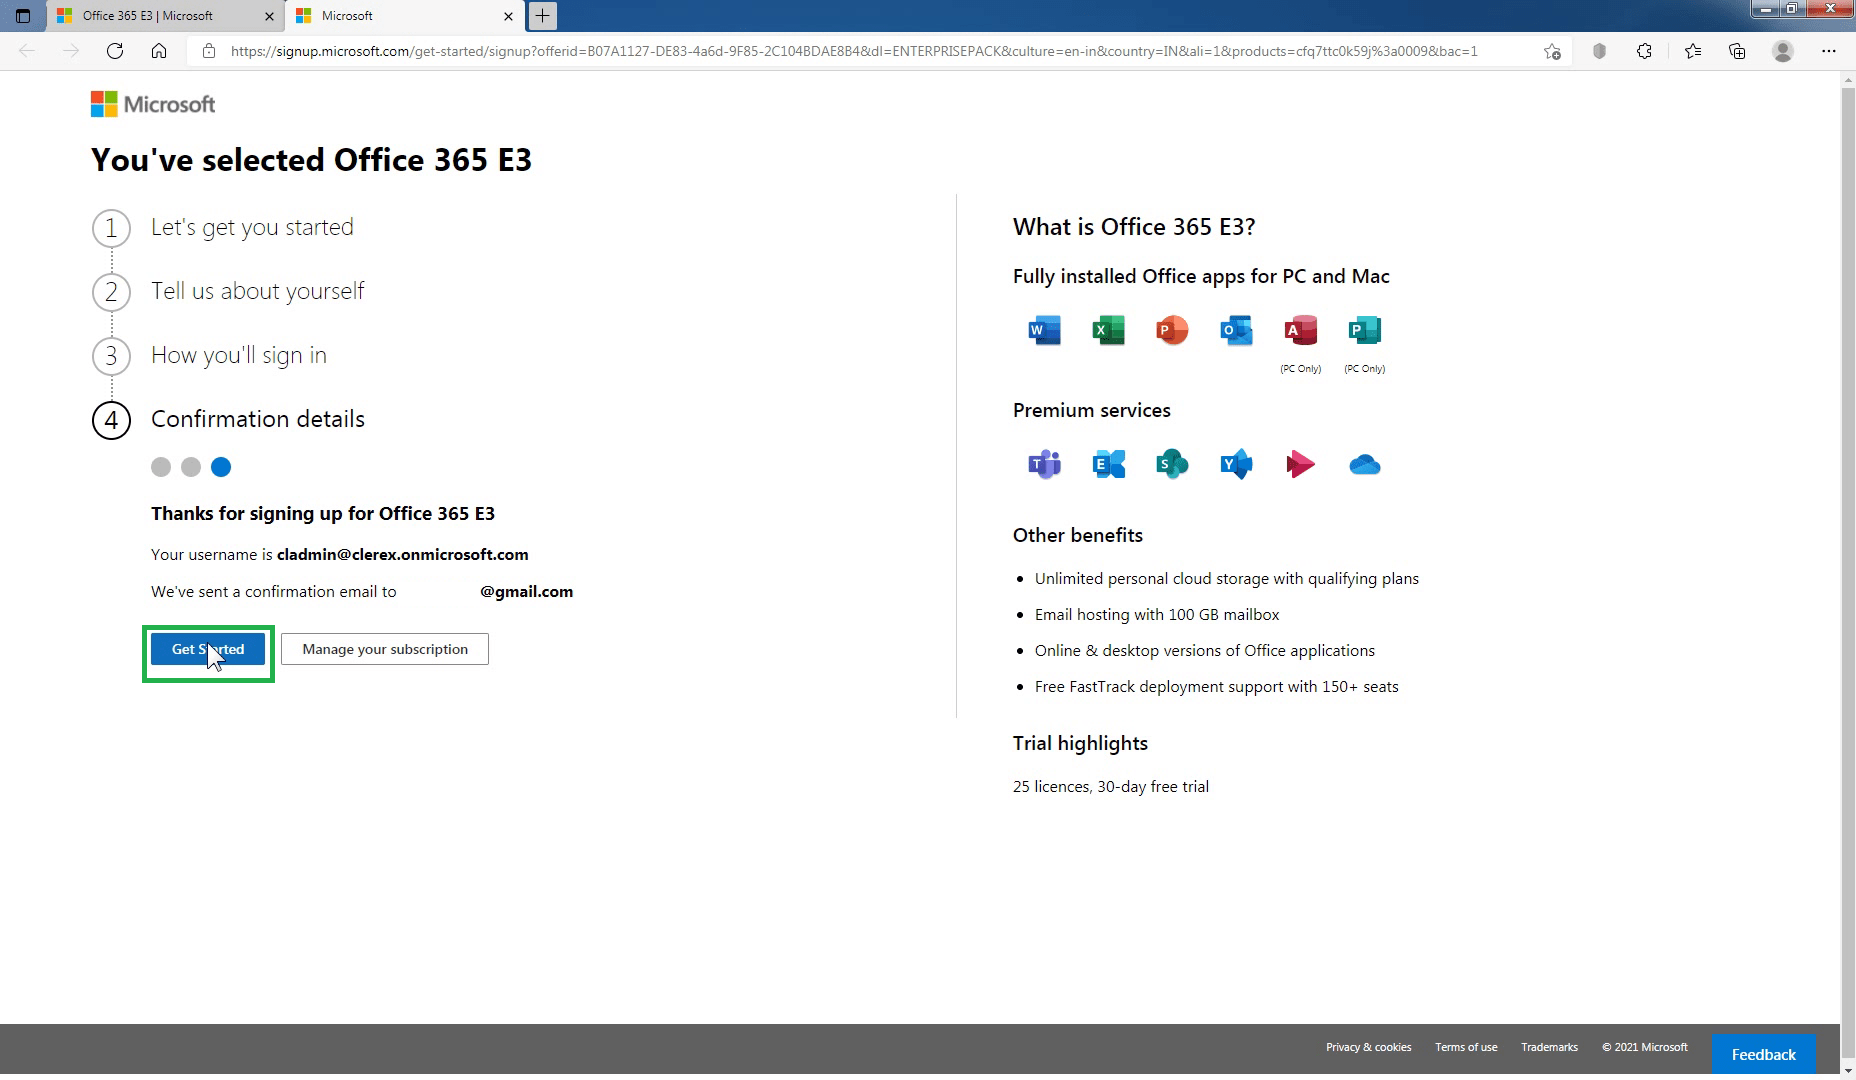
That’s it. You’ve successfully signed up for a trial tenant!
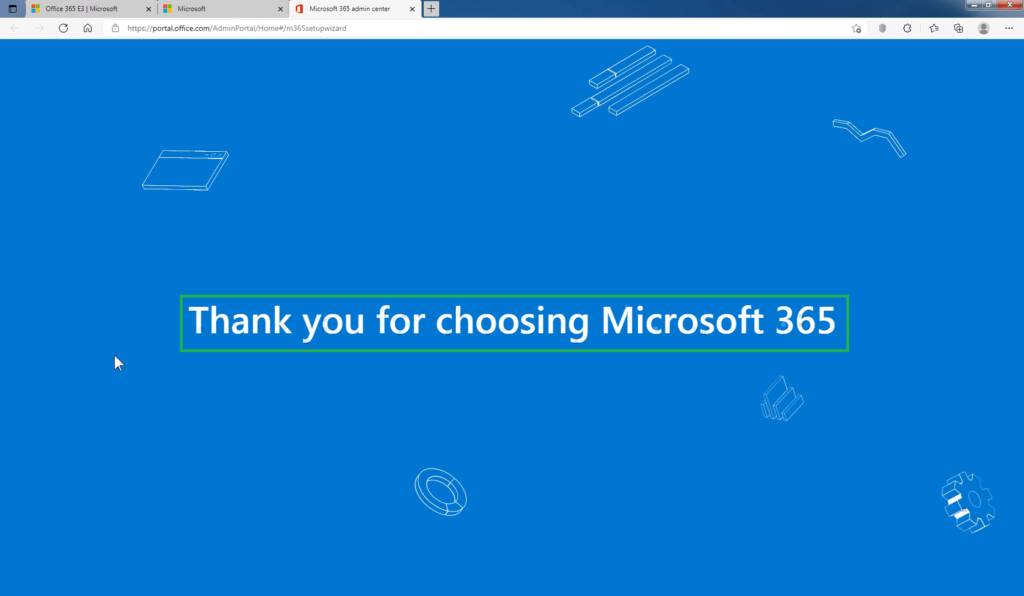
The next step will involve going to the Microsoft 365 Admin Center. To do so click on Get Started.

After clicking on Get Started, we can see that the thank you page from Microsoft is appear on our screen which means that we successfully created our account. Now we need to set up our account by performing some steps.
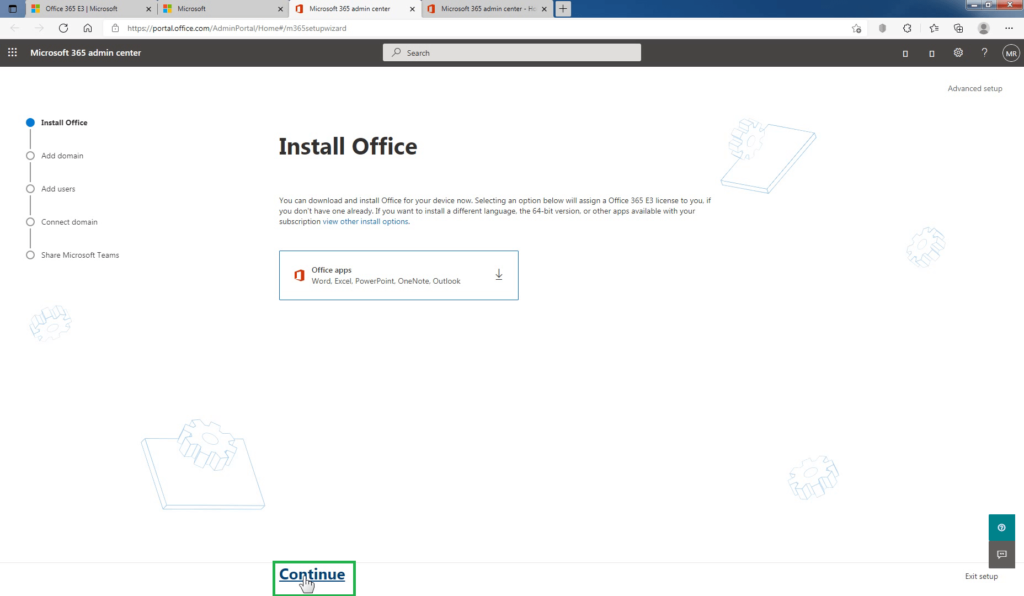
First of all, it will ask you to download and Install Office 365 apps, if you want to download you can download from there otherwise click on continue.
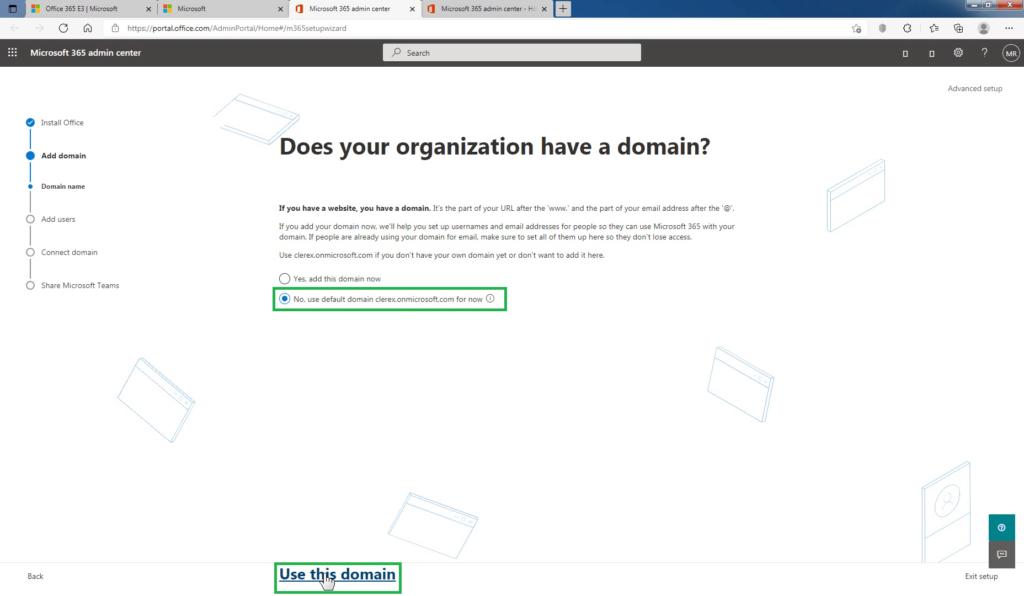
If you have your own custom domain you can setup it up from here or you can use the existing domain with the .onmicrosoft.com domain name which we have provided earlier.
Choose No, use the default domain name for now option, and click on Use this domain.
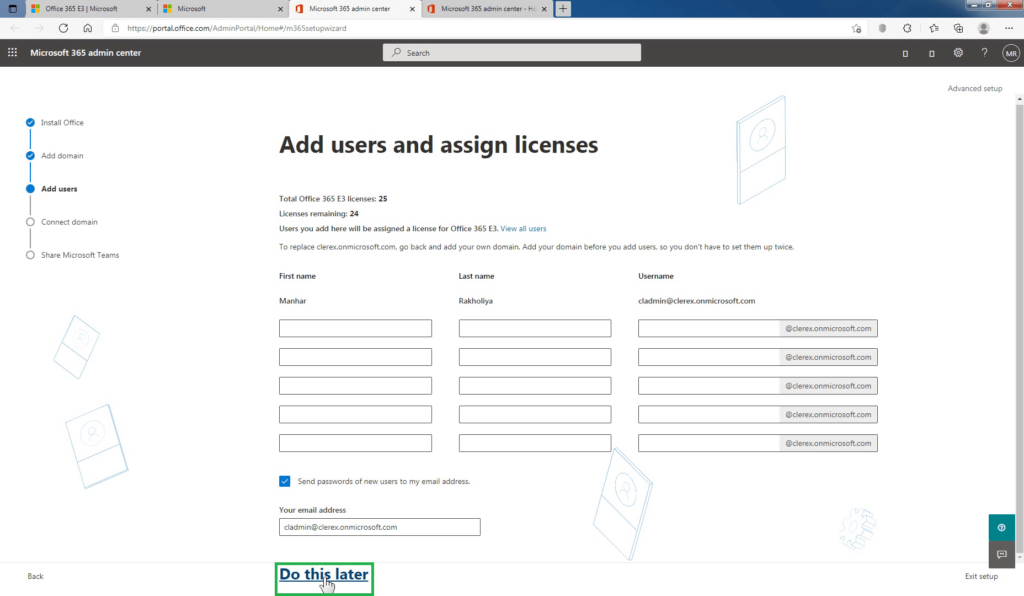
If you want to add more users to your tenant you can add them from here or you can do that later. If you add a user from here, the license will be assigned to them from the available 25 licenses.
For now, we will click on the Do this later button.
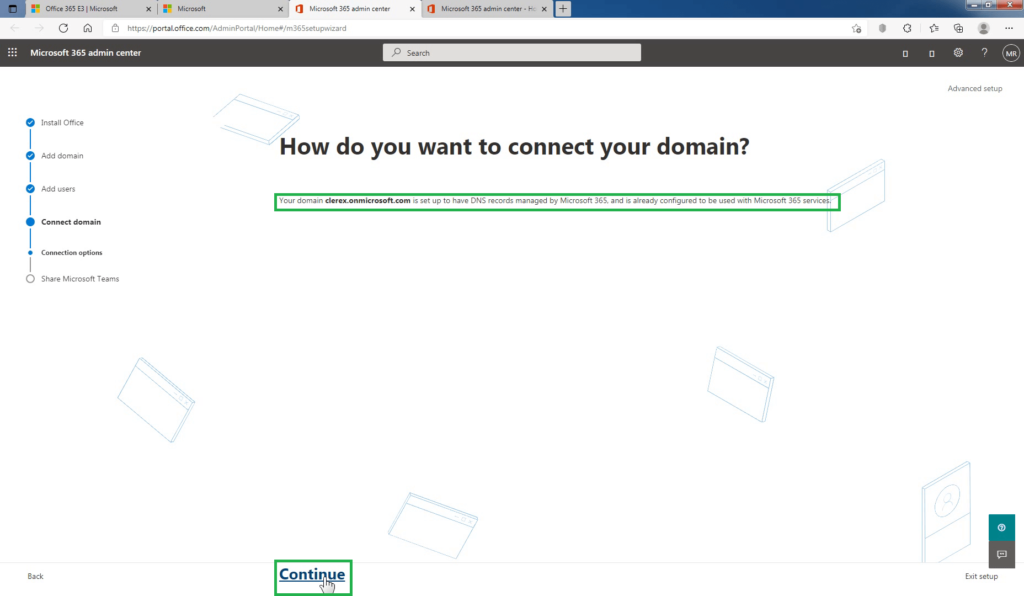
You can see the confirmation message that your domain is set up to have DNS records managed by Microsoft 365, and is already configured to be used with other Microsoft 365 services.
Click on Continue.
Again click on Continue.
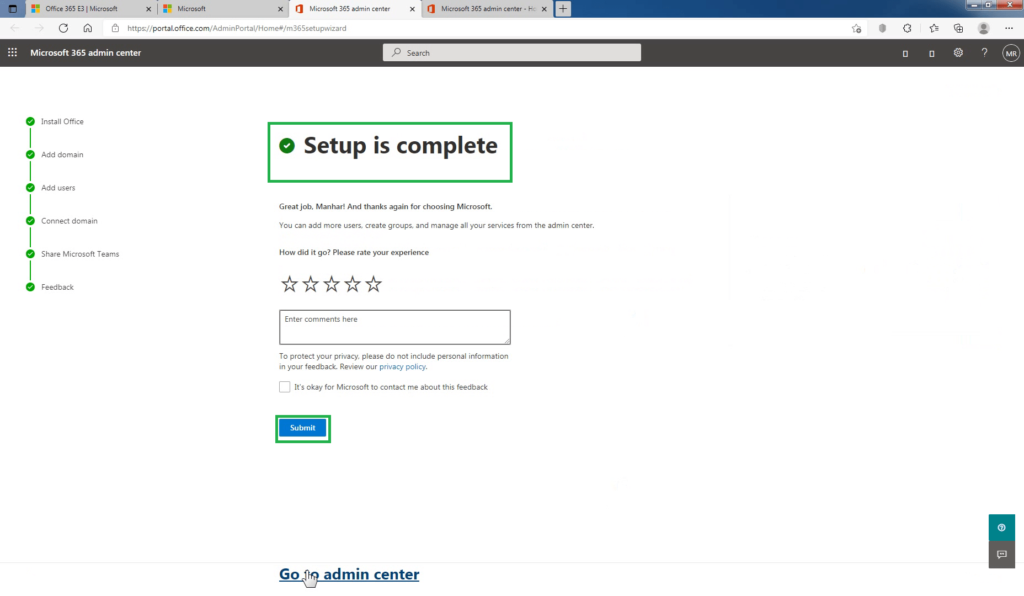
Here you can see that you have created your Office 365 E3 trial account successfully. You can also enter feedback (optional). Click on Submit.
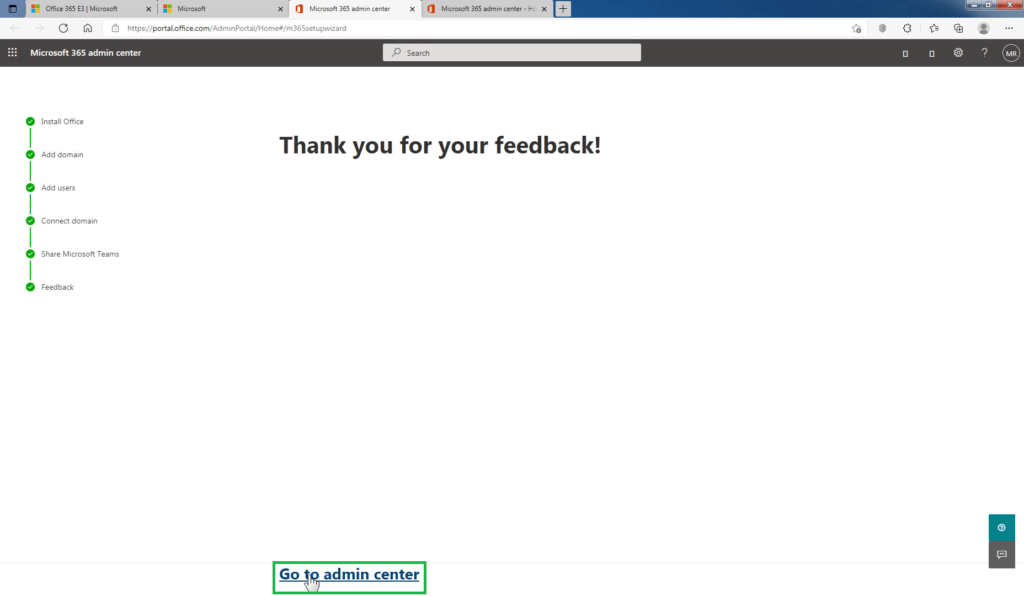
Click on Go to admin center.
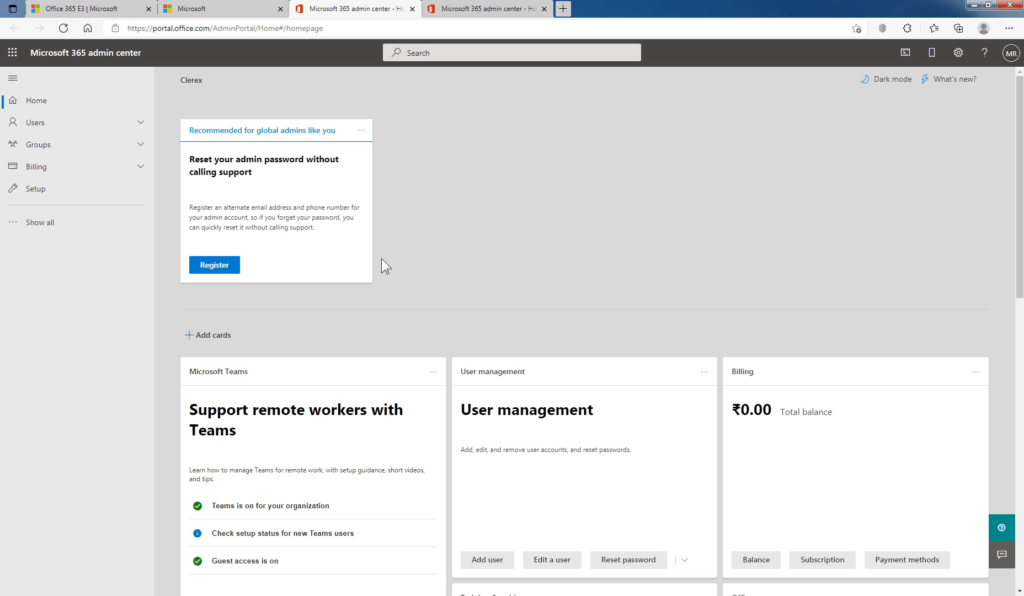
Now you are on Microsoft 365 admin center. From Microsoft 365 admin center, you can manage your tenant and all Microsoft 365 services like products and billings.
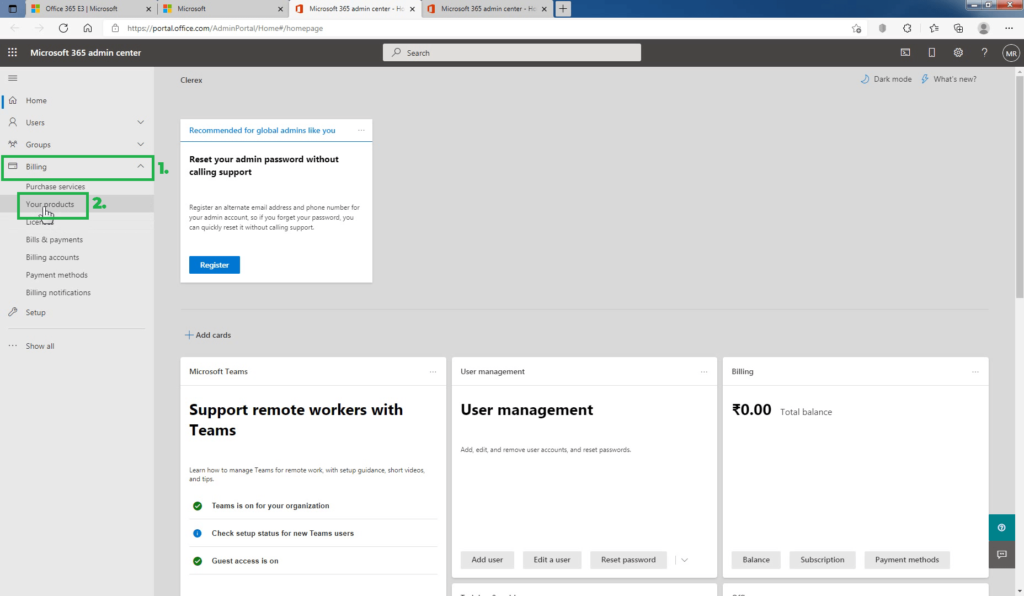
On Microsoft 365 admin center, click on Billing and then click on Your products.
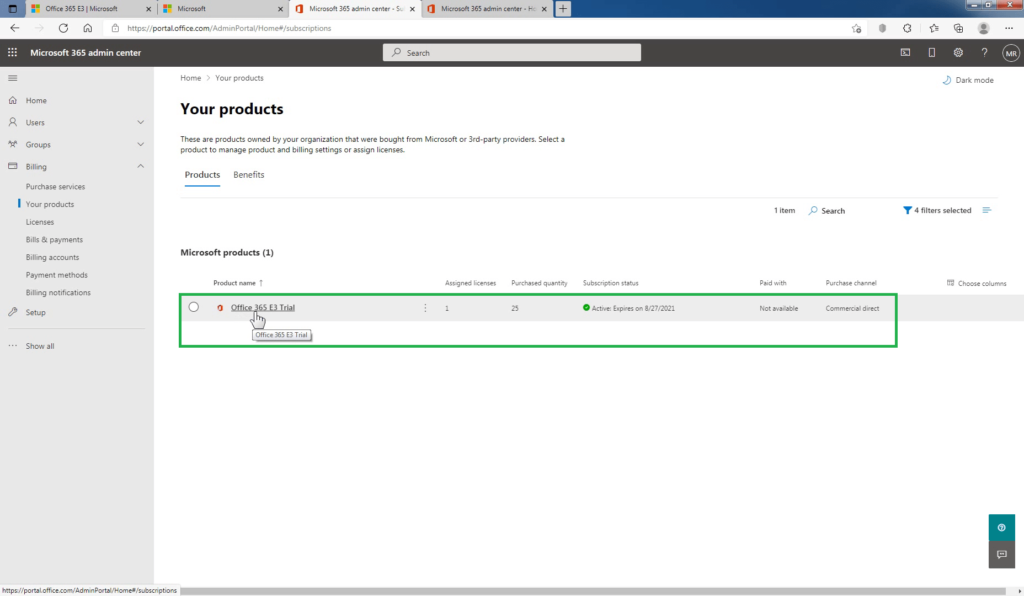
We have an active Office 365 E3 trial subscription associated with our tenant with 25 licenses which are available for the next 30 days.
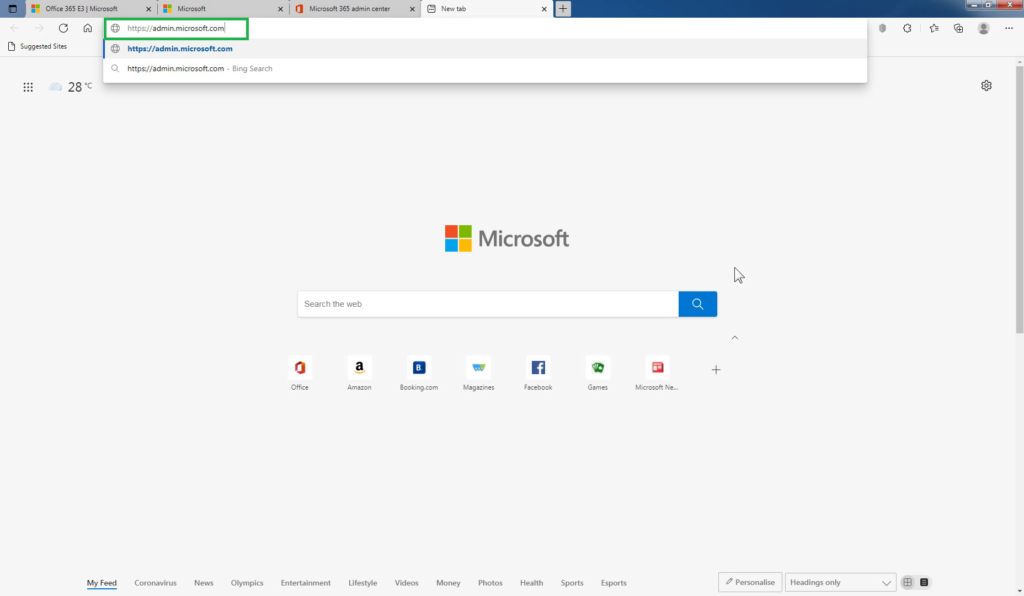
You can always access the Microsoft 365 admin center page by going directly to https://admin.microsoft.com. Bookmark the page, as you will need to use it many more times in upcoming posts.
Conclusion:
In this blog post, you learned how to create an Office 365 E3 trial account. It’s a straightforward process with four steps to set up a brand new Office 365 tenant with a trial subscription valid for the next 30 days.