In this blog post, you will learn the steps on how to create and manage distribution list groups in Exchange Online. You can use the Exchange admin center (EAC) or Exchange Online PowerShell to create, manage, or remove distribution list groups in your Exchange Online organization.
What is a Distribution Group?
Distribution groups or distribution lists are used for sending messages to a group of people. A distribution list can be used when you want to send an email to a group of people without having to type each recipient’s email address.
Distribution groups are best for situations where you need to broadcast information to a set group of people. Any email message sent to a distribution list is automatically forwarded to all the email addresses on the list. They can receive an external email if enabled by the administrator. Microsoft 365 Groups can’t be members of distribution groups.
Two types of groups can be used to distribute messages:
- Mail-enabled universal distribution groups (also called distribution list groups) can be used only to distribute messages.
- Mail-enabled universal security groups (also called security groups) can be used to distribute messages and to grant access permissions to resources.
I will create a separate blog post on how to create and manage Mail-enabled universal security groups in Exchange Online.
Create a Distribution List using Exchange Admin Center:
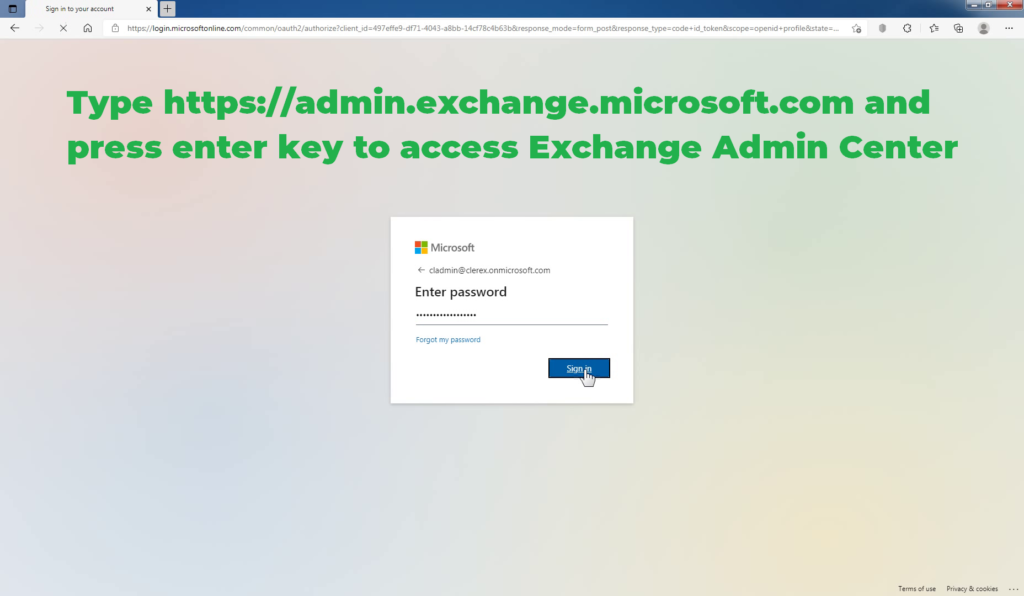
Open your favorite web browser and go to https://admin.exchange.microsoft.com and sign in to the Exchange admin center using the Exchange Administrator account.
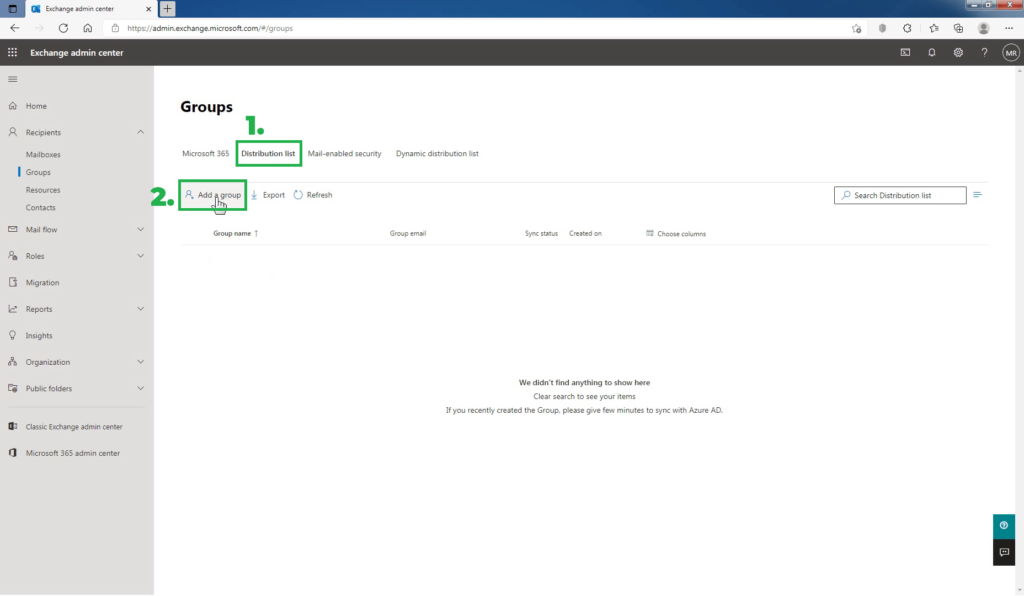
In the left part of the window, expand the Recipients drop-down menu and click the Groups button.
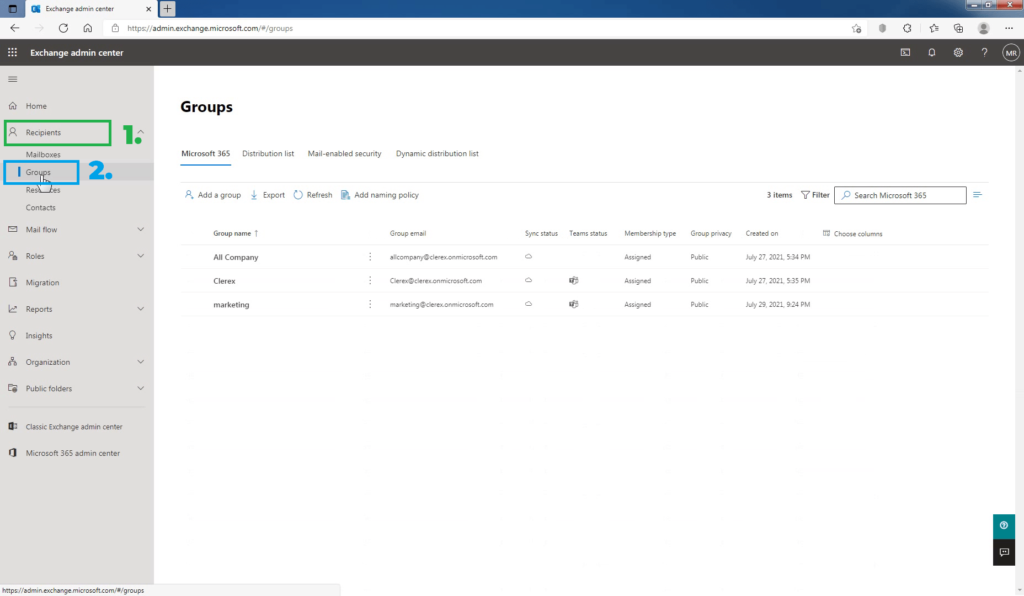
Click on the Distribution list tab. To create a new distribution list in exchange online, click on Add a group.
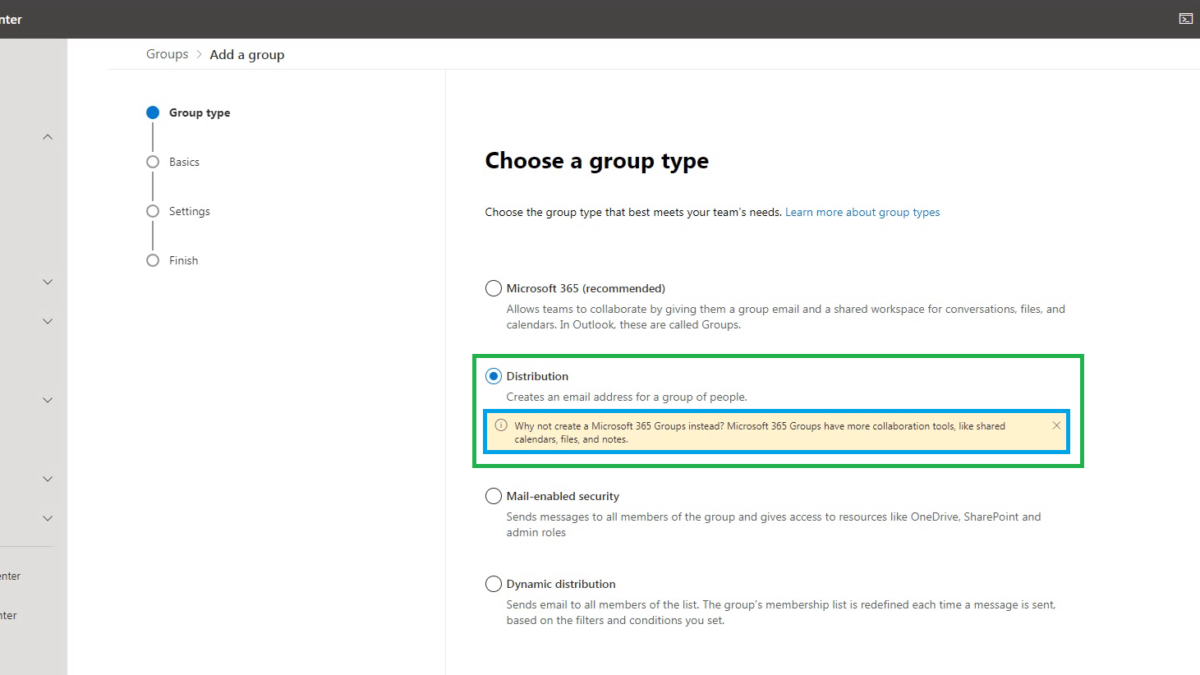
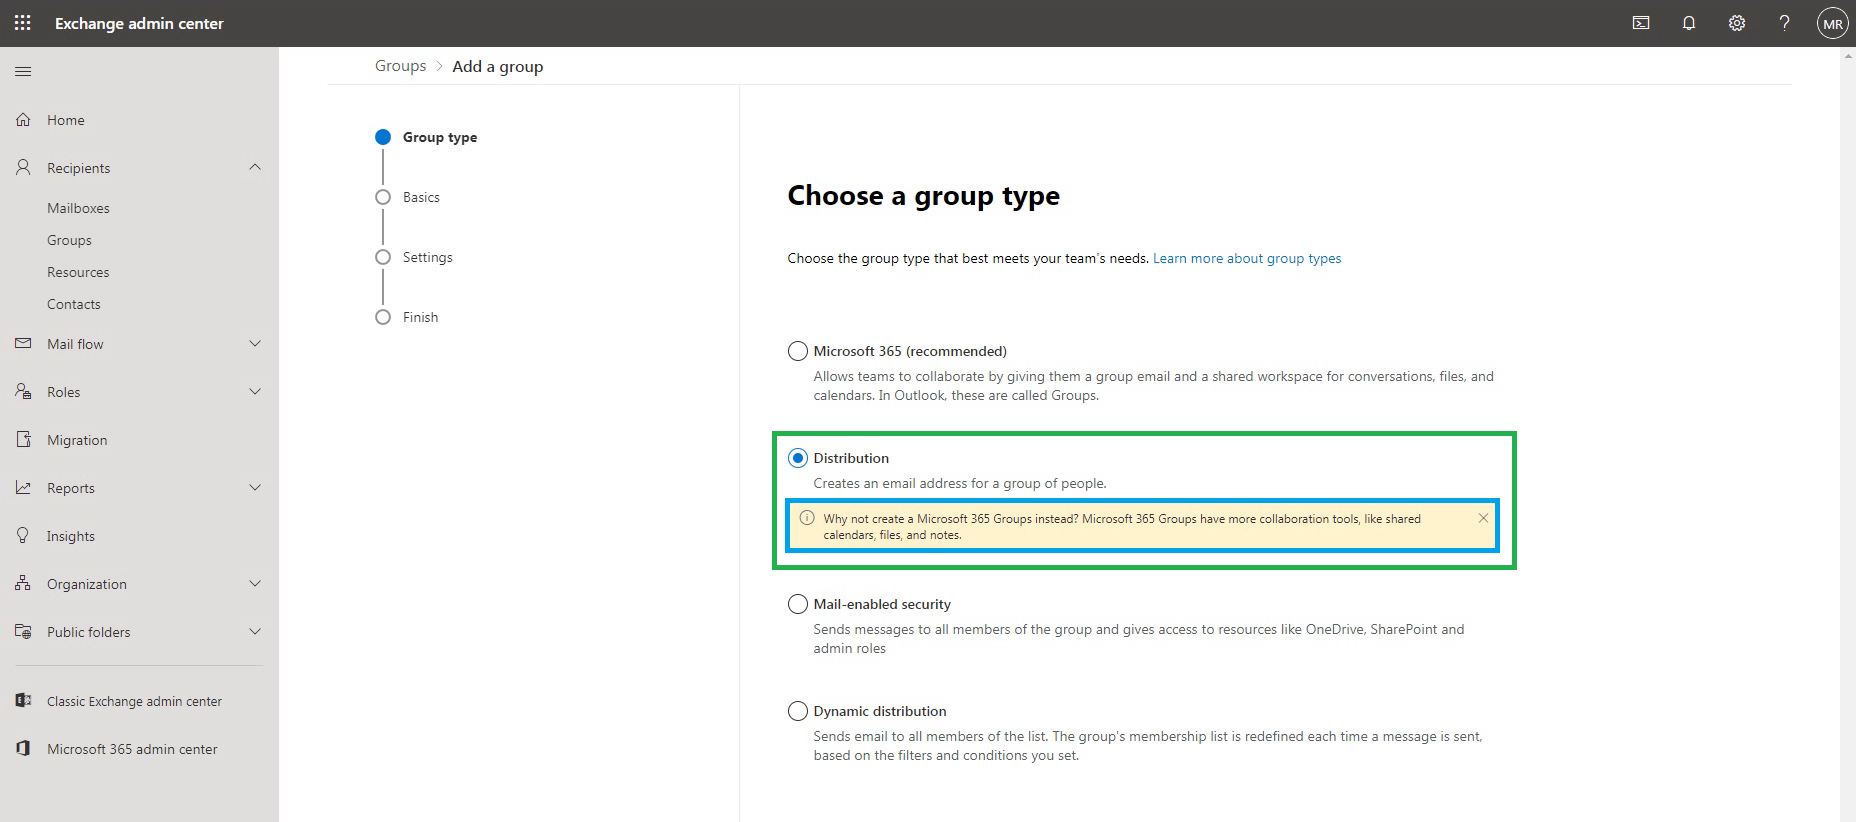
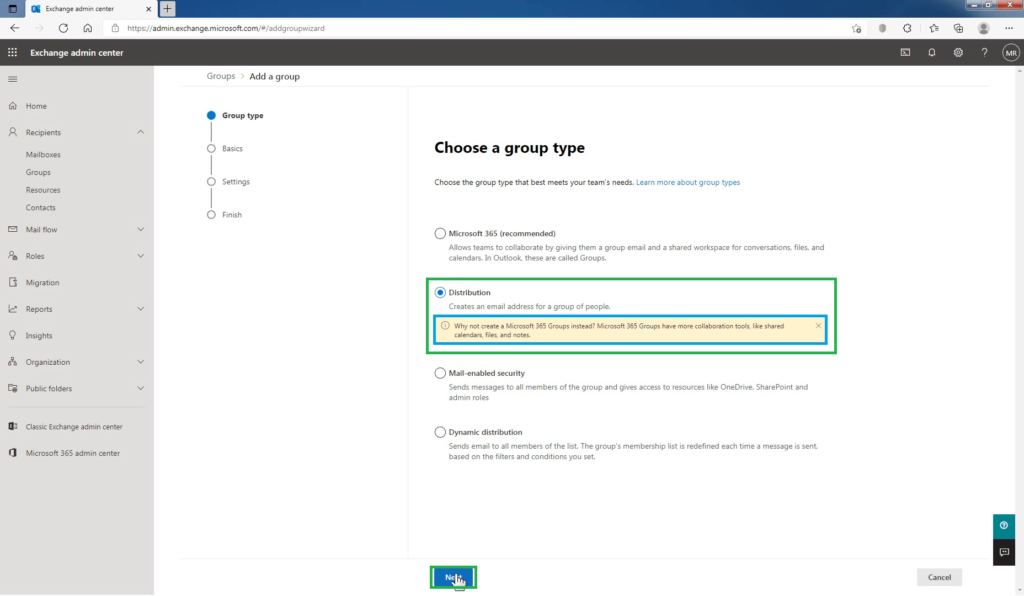
On the Choose a Group type page, select Distribution. You can see a suggestion from Microsoft to create and use a Microsoft 365 group instead of the distribution list. Select Next.
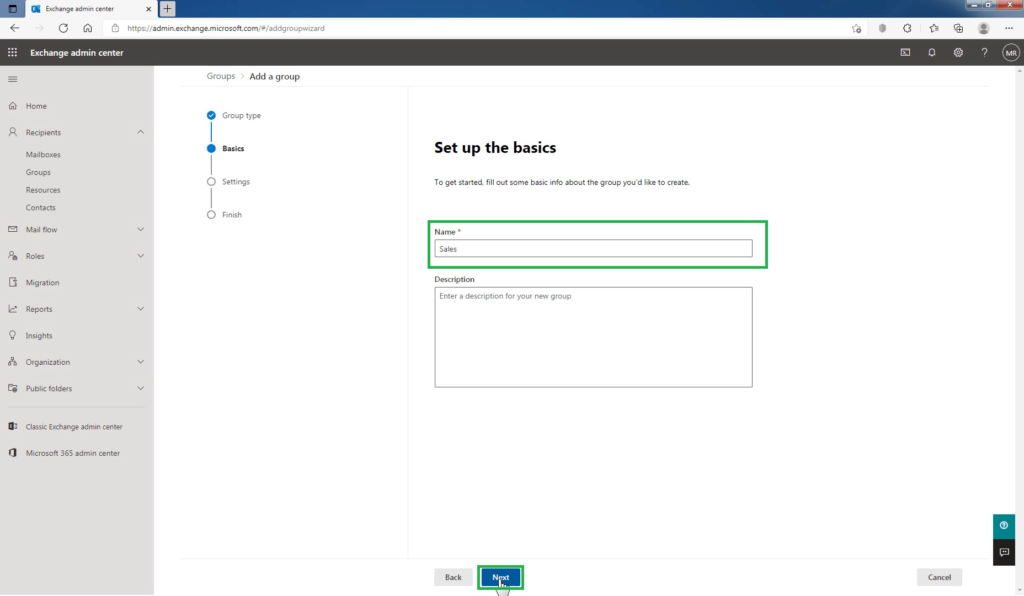
On the Set up the Basics page, type a name for the group, and, optionally, a description. Select Next.
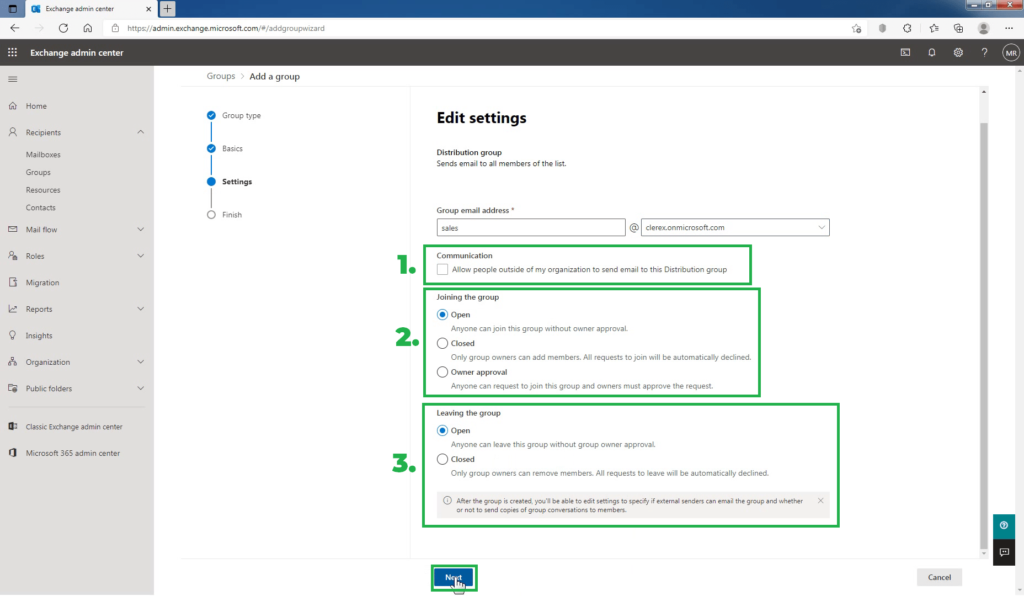
On the Settings page, type a unique email address for the group which will be used by anyone emailing this group.
In this example, I am going to give my group name and the email address of sales (the email address will be sales@clerex.onmicrosoft.com).
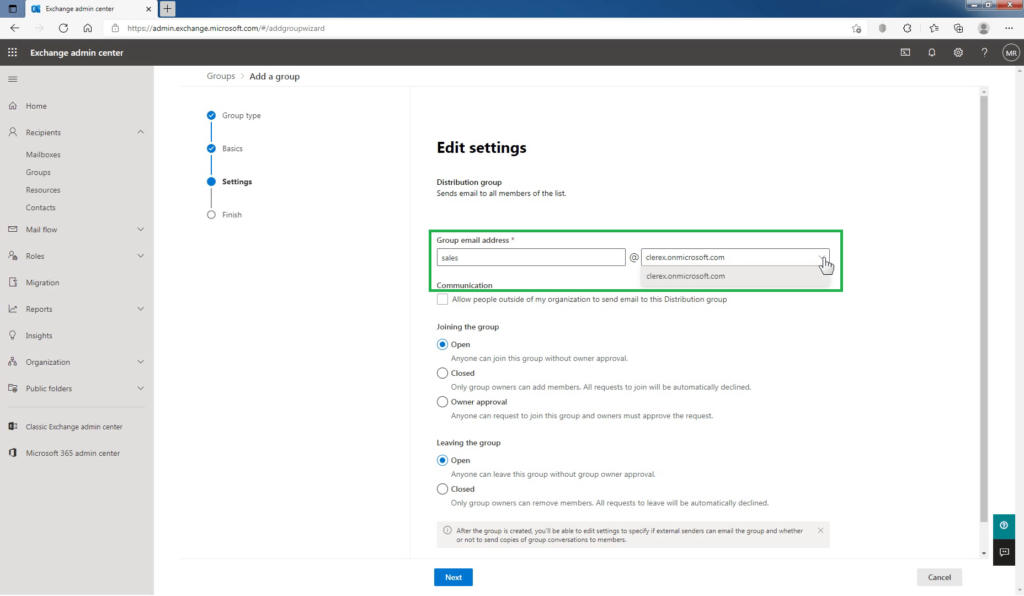
Communication: Select the checkbox to allow people outside of the organization to send emails to this distribution list group.
Joining the group: Select who are allowed to join the distribution group.
- Open: Anyone can join this group without owner approval.
- Closed: Only group owners can add members. All requests to join are automatically denied.
- Owner approval: Anyone can request to join this group and owners must approve the request.
Leaving the group: Select who are allowed to leave the distribution group.
- Open: Anyone can leave this group without the group owner’s approval.
- Closed: Only group owners can remove members. All requests to leave are automatically denied.
Select the group joining and leaving settings as per your organization’s requirement, and click Next to proceed to the next page.
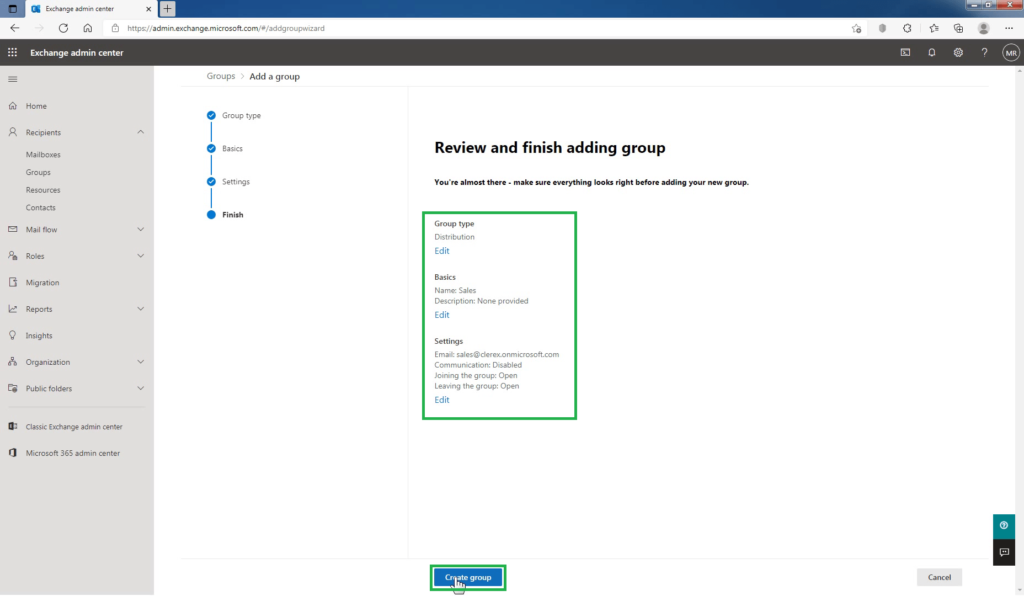
In Review and finish adding the group section, verify all the details, and click Create group.
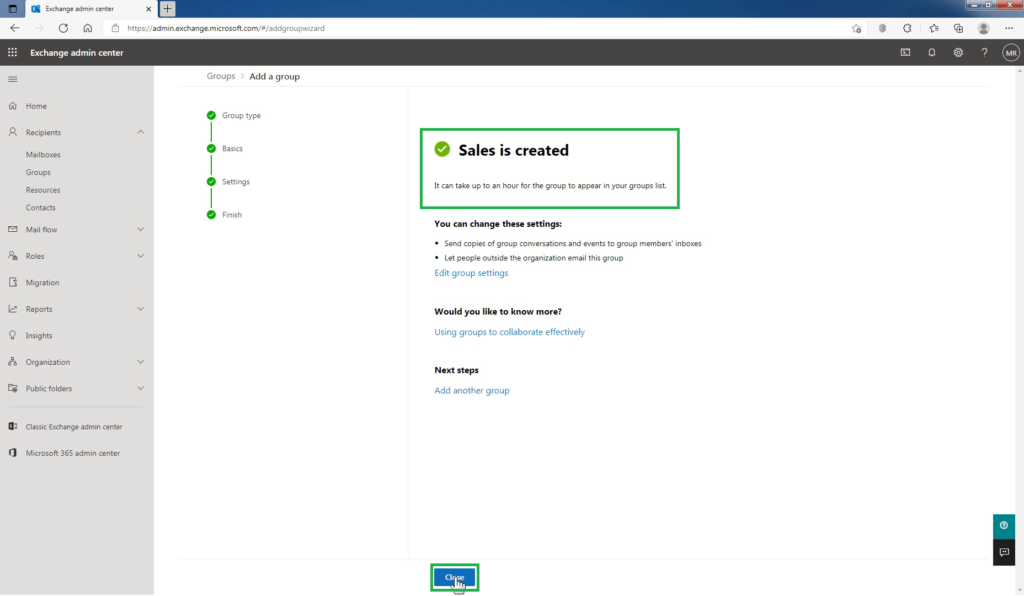
Verify the distribution list is created successfully, and then click Close.
How to Manage a Distribution List Group:
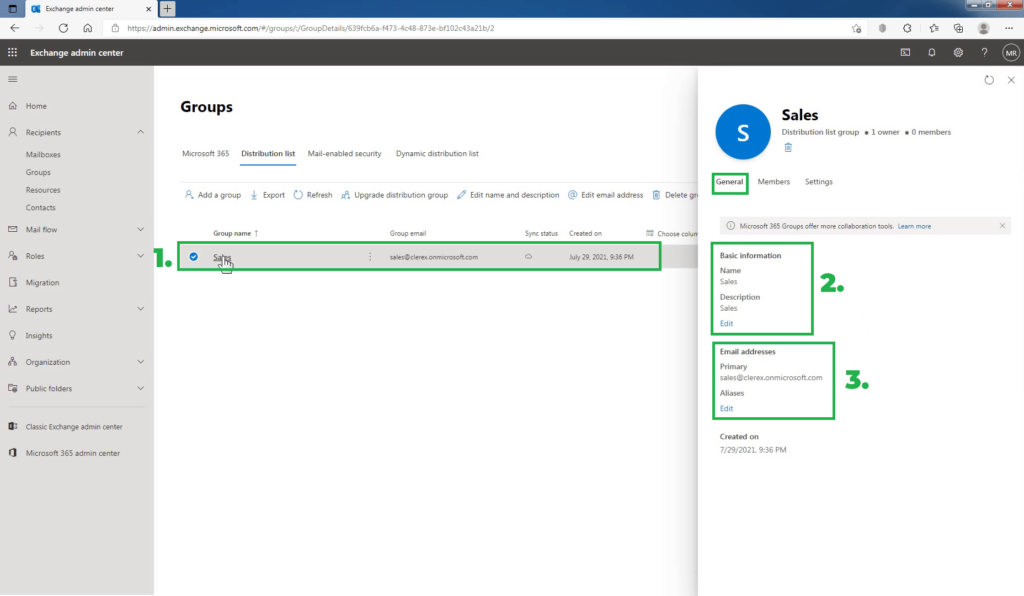
In the list of groups, click the distribution list group that you want to view or change.
To edit the Distribution Group general information:
On the General tab, you can edit the Basic distribution group list information like group name, and group description.
- Name: This is the distribution group’s display name. The display name is required and should be user-friendly so people recognize what it is. It also has to be unique in your domain.
- Description: Use description to describe the group, so people know what the purpose of the group is.
Under the Email address section, click on Edit to edit or change the Primary and Aliases email addresses of this Distribution Group.
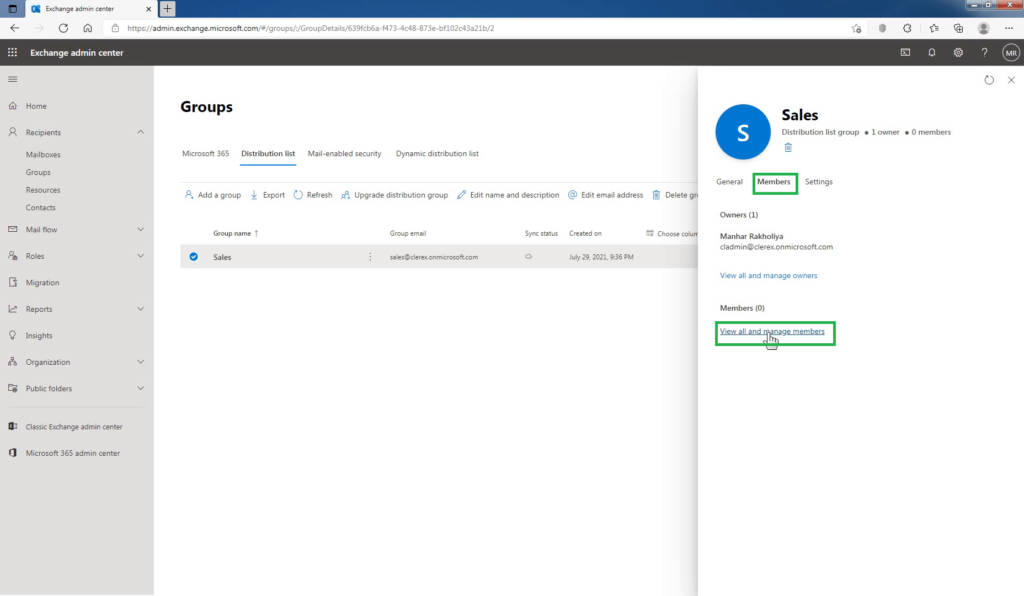
How to add members:
On the Members tab, click on the view all and manage members link.
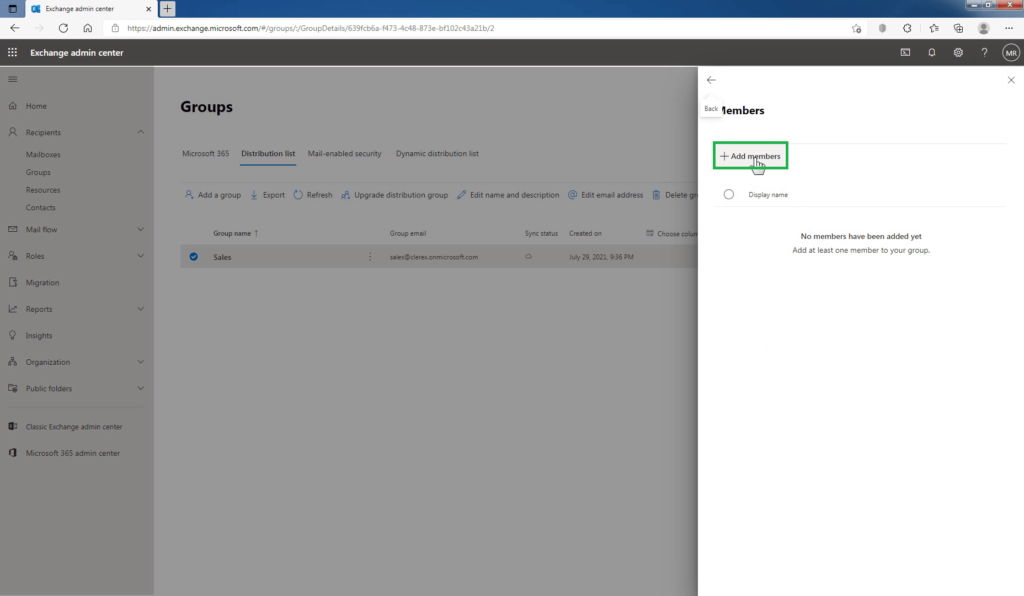
Click on Add Members to add or remove group members.
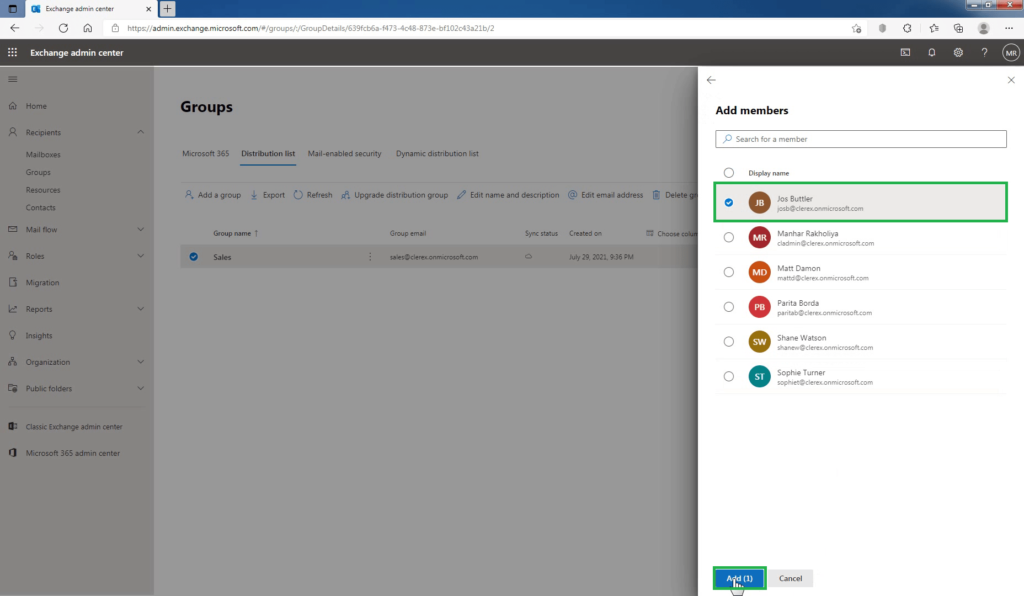
Search for the name of the member(s) you want to add to the group, then click the box to the left of the name. Once you have all the members you want to add selected, click on Add at the bottom.
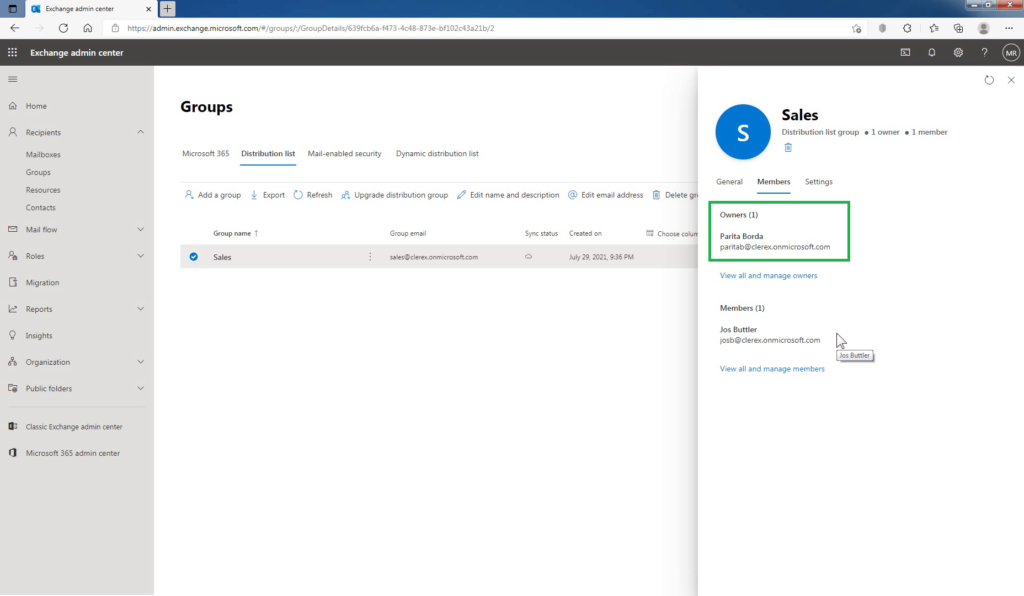
In this example, I’m going to add member “Jos Buttler”.
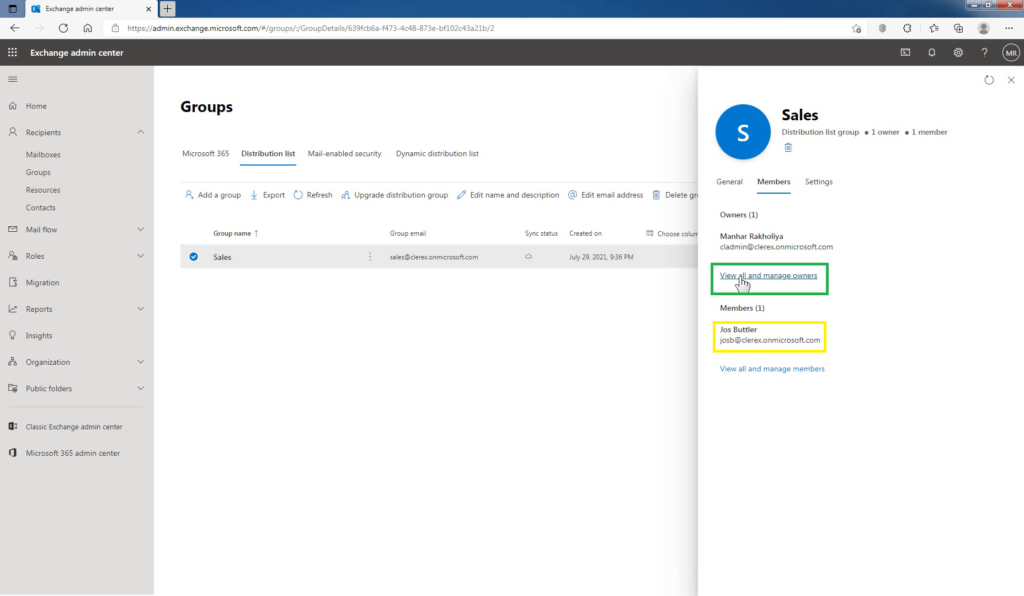
The member is added successfully, go back to the Member tab.
How to add Group Owner:
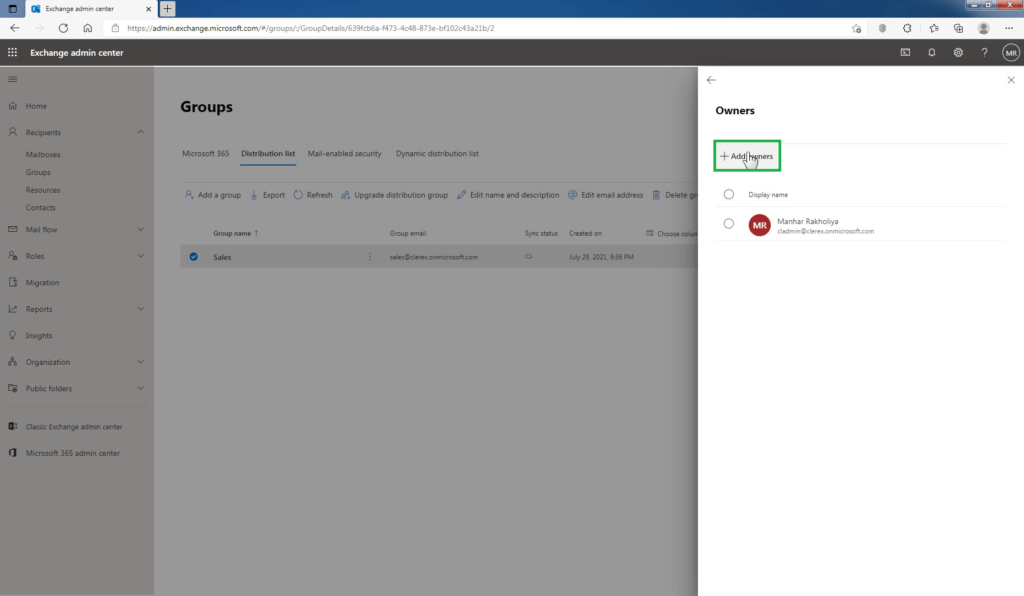
On the Members tab, click on the view all and manage owners link.
Click on Add owners to add or remove group owners.
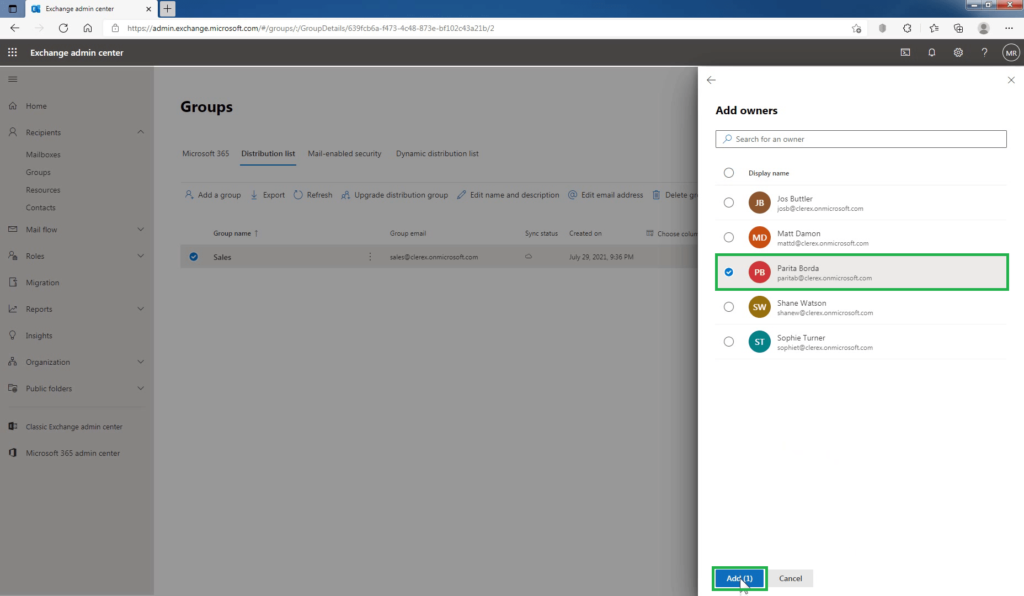
Search for the name of the owner(s) you want to add to the group, then click the box to the left of the name. Once you have all owners you want to add selected, click on Add at the bottom.
In this example, I’m going to add “Parita Borda” as the owner.
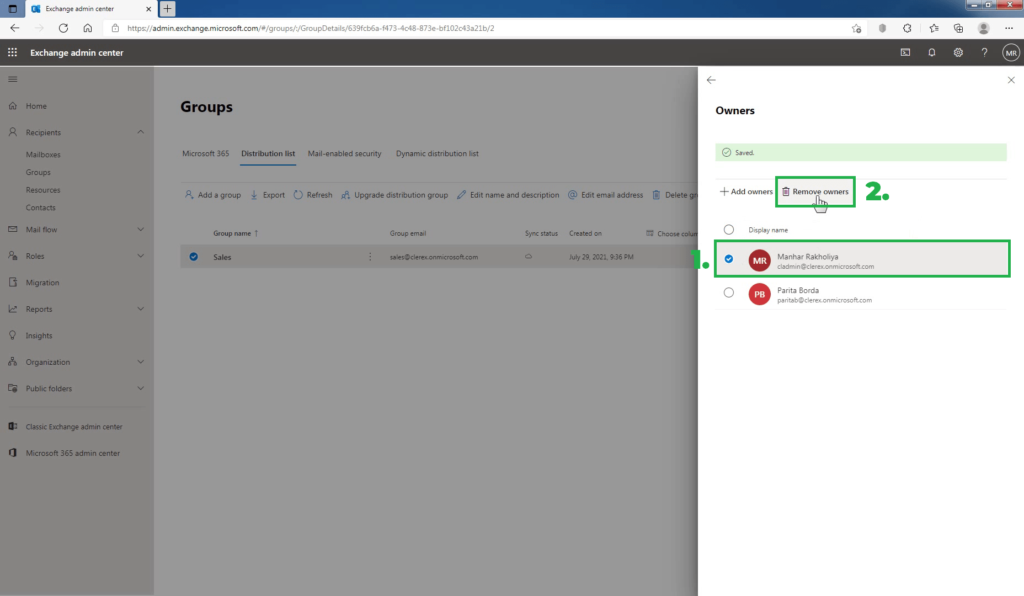
The creator of the distribution list is automatically added as a group owner. That’s why I want to remove the existing group owner. In our case, the exchange administrator is already added as a group owner.
Select the group owner which you want to remove, and click on Remove owners at the top.
On the confirmation pop-up page, click on Yes to remove the selected group owner.
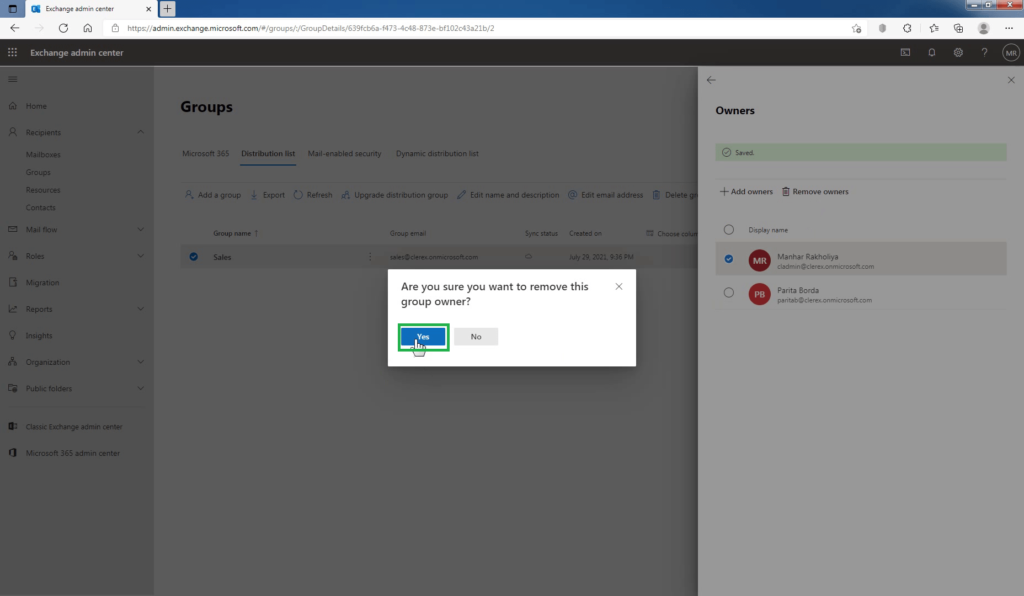
You can confirm that the old group owner is removed from the group owners list.
Conclusion:
That’s it for this guide. In this post, you have learned the steps to create and manage a distribution list group in exchange online using Exchange Admin Center (EAC). The process is quite easy to follow.
Let me know if this guide has helped you by leaving a comment about your experience. Please like and share this guide to help others.