In this post, we will learn the steps on how to install and configure the Open SSH Server on Windows Server 2019. OpenSSH is available for Windows Server 2019 version 1709 and higher.
Understand the Test Lab Setup:
For this guide, we will use the test lab created in VirtualBox.
- WS2K19-DC01: Domain Controller with DNS. (172.18.72.5/24)
- WS10-1903: Windows 10 client machine. (172.18.72.11/24)
Installing OpenSSH with PowerShell:
1. Logon to Windows Server 2019 with an administrator account.
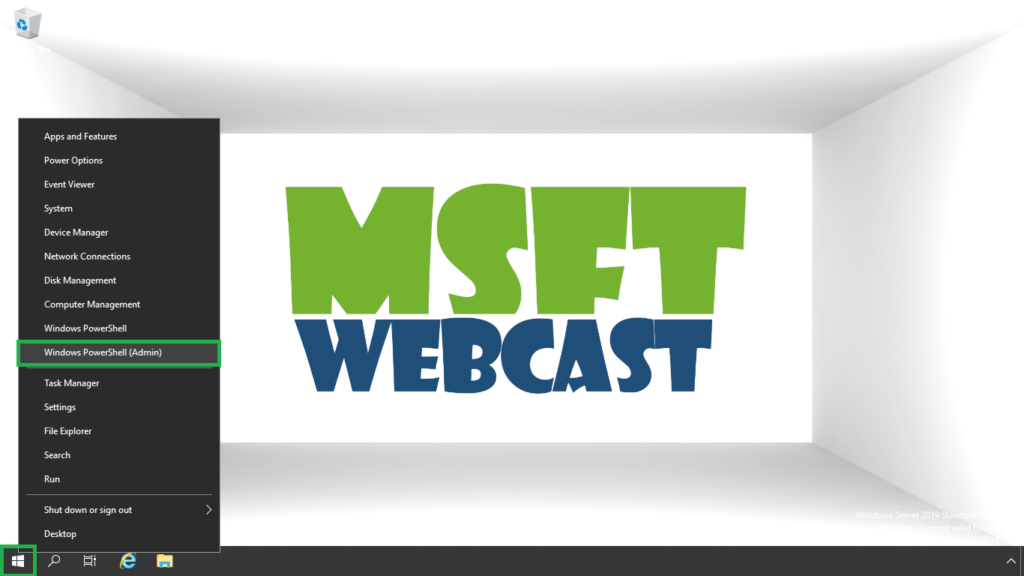
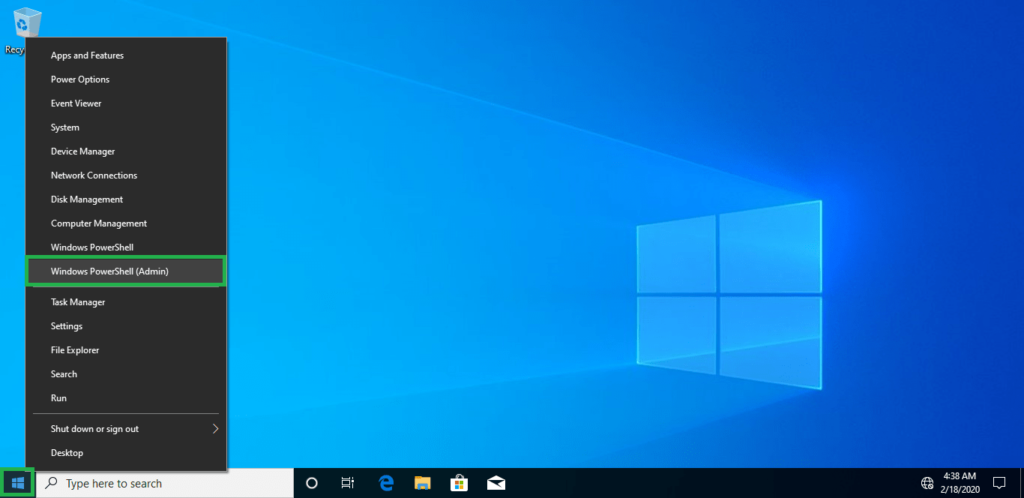
2. To install OpenSSH on Windows Server 2019 using PowerShell, first launch PowerShell as an Administrator.
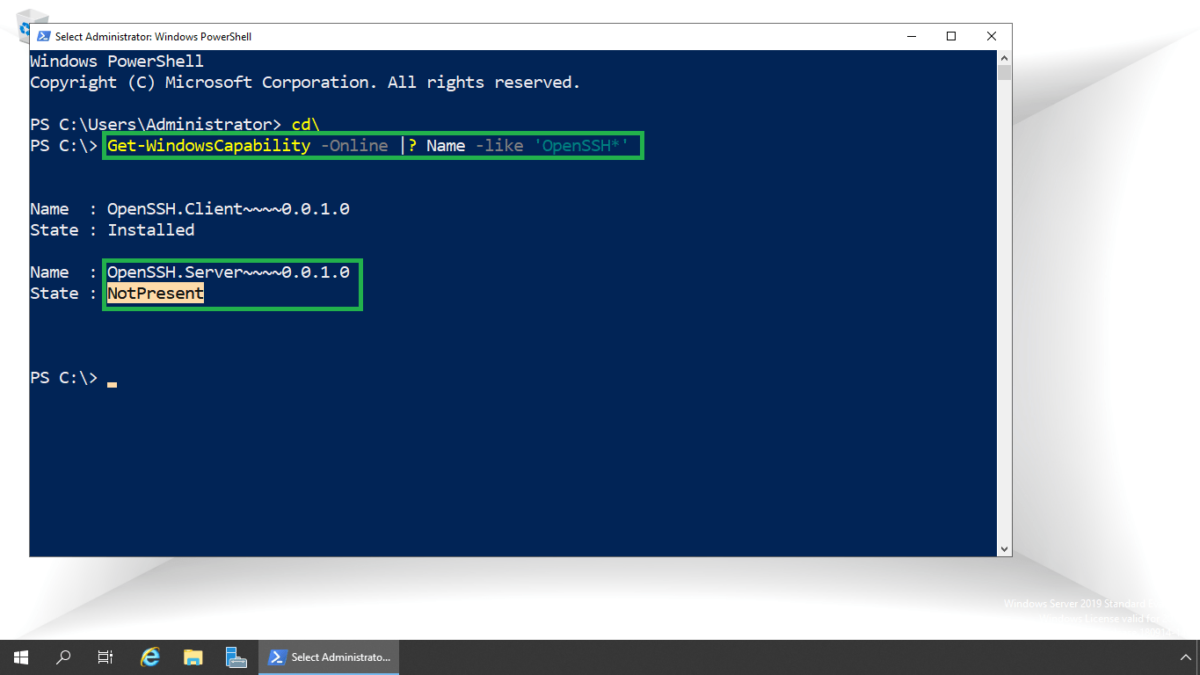
3. First, let’s verify that the OpenSSH package is available or not on the server before directly installing it.
Get-WindowsCapability -Online |? Name -like ‘OpenSSH*’

4. To install OpenSSH package run below cmdlet in Windows PowerShell.
Add-WindowsCapability -Online -Name OpenSSH.Server~~~~0.0.1.0
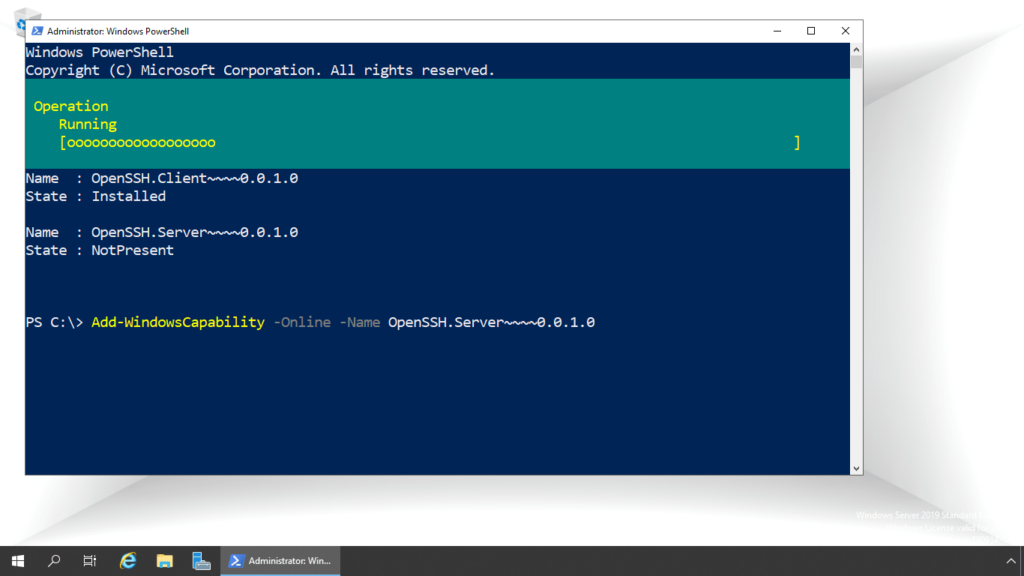
Verify the OpenSSH Server package is successfully installed on Windows Server 2019.
Configure SSH Server on Windows Server 2019:
Once the installation succeeds, the next step is the initial configuration of the SSH server. SSH services need to be configured for automatic start and started up.
5. First, check the status of sshd and ssh-agent service. To check that, we need to run below cmdlet at Windows PowerShell (admin).
Get-Service sshd
Get-Service ssh-agent
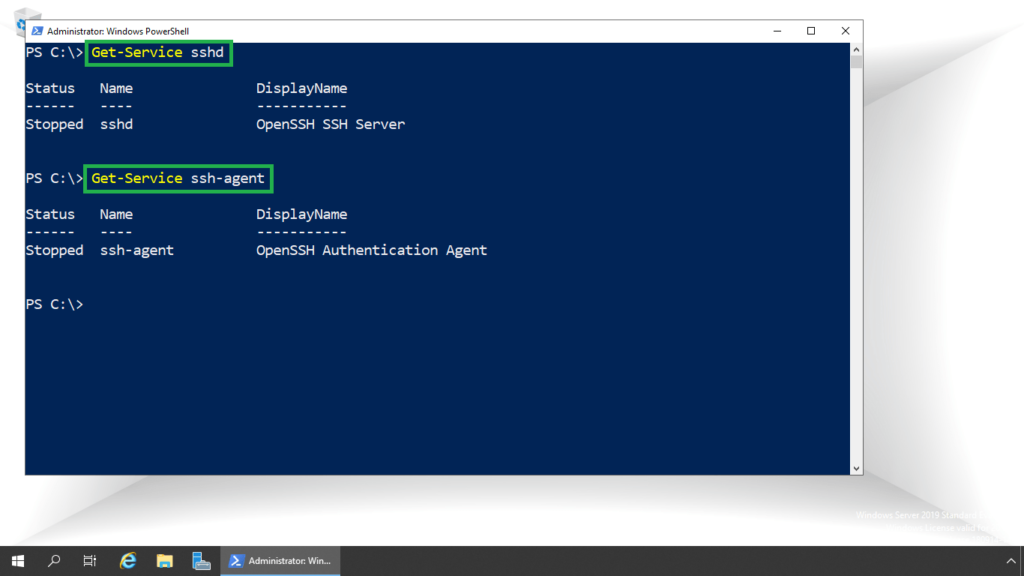
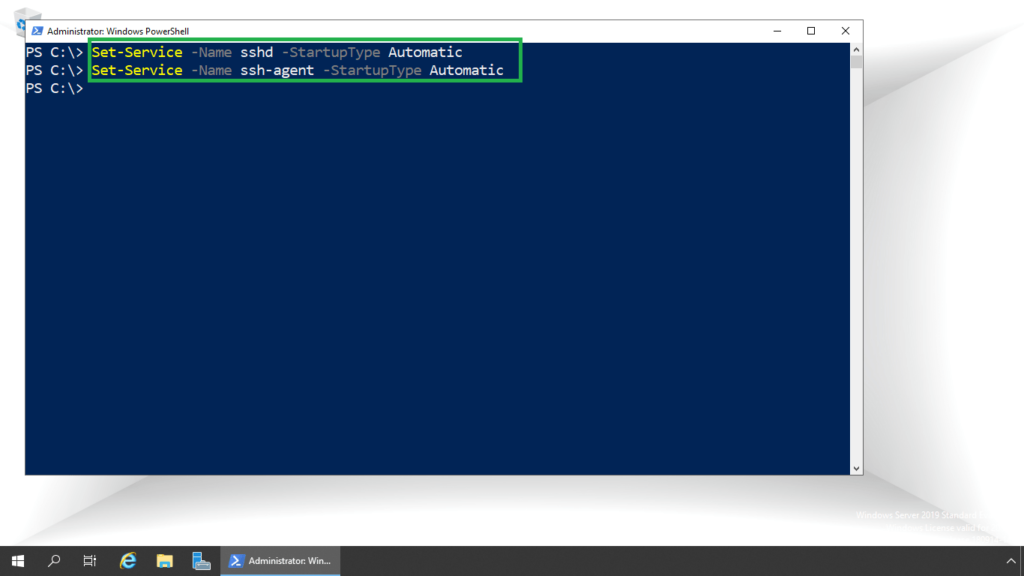
6. We can see that both services are in a Stopped status. Before starting the OpenSSH services, we need to change the startup mode. We need to run below cmdlet at Windows PowerShell (admin).
Set-Service -Name sshd -StartupType Automatic
Set-Service -Name ssh-agent -StartupType Automatic
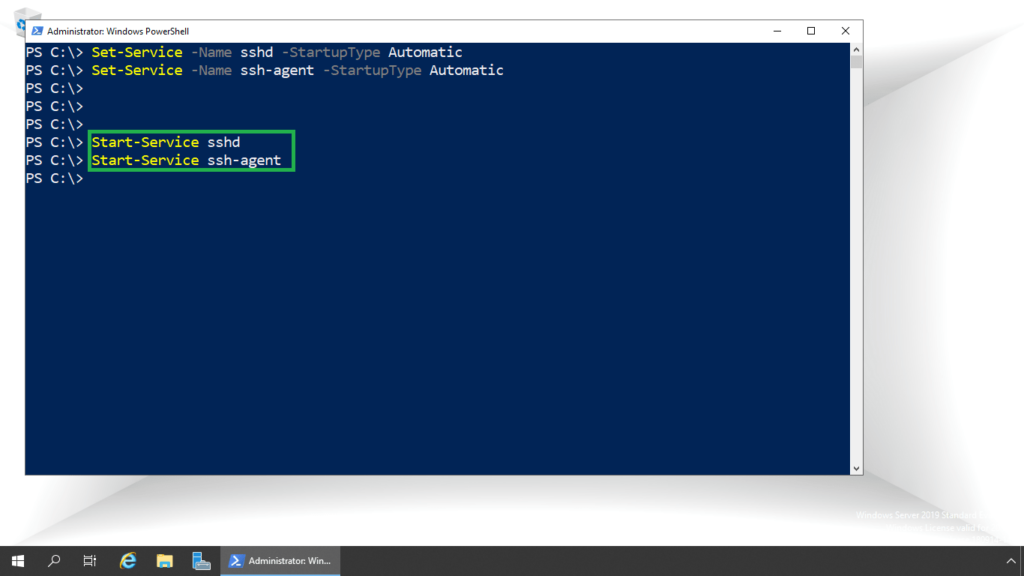
7. Now, let’s start both services. We need to run below cmdlet at Windows PowerShell (admin).
Start-Service sshd
Start-Service ssh-agent
8. Let’s again check the status of SSH services.
Get-Service sshd
Get-Service ssh-agent
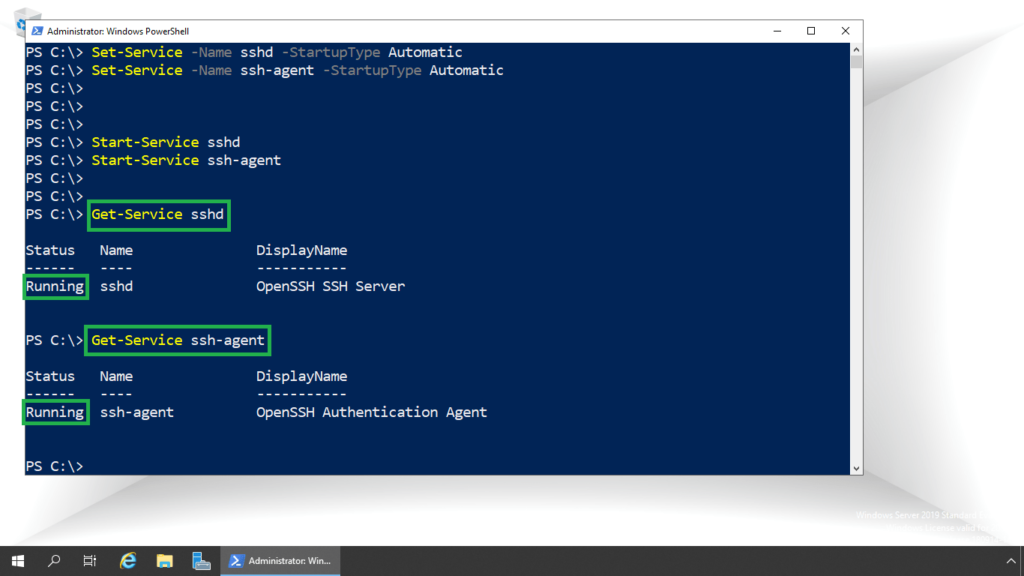
Now, we can verify SSH services are up and running.
Test the SSH connection to the SSH server:
Starting from Windows 10 version 1803, Windows 10 also comes with its SSH client, which is already installed in Windows 10 system.
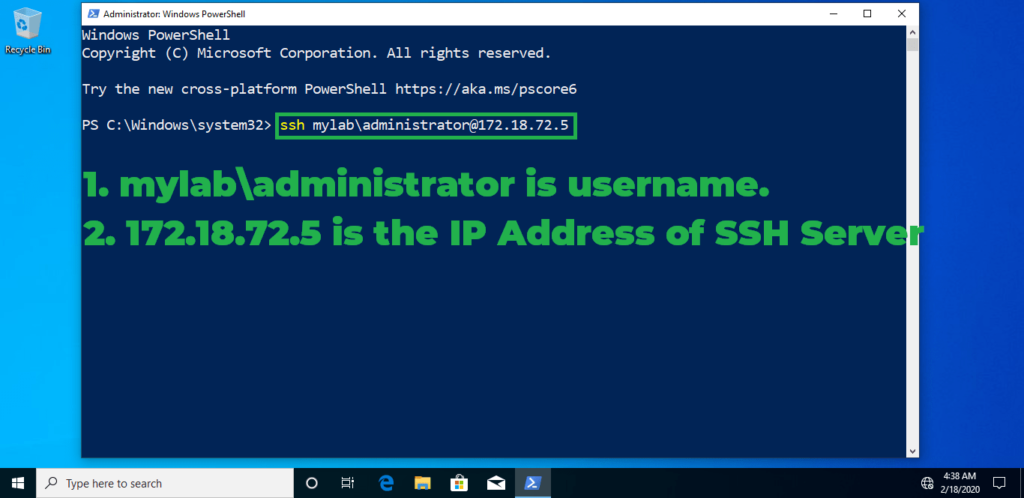
9. On a Windows 10 machine, open a command prompt (or Windows PowerShell) and type: below command to connect to the ssh server.
ssh mylab\administrator@172.18.72.5
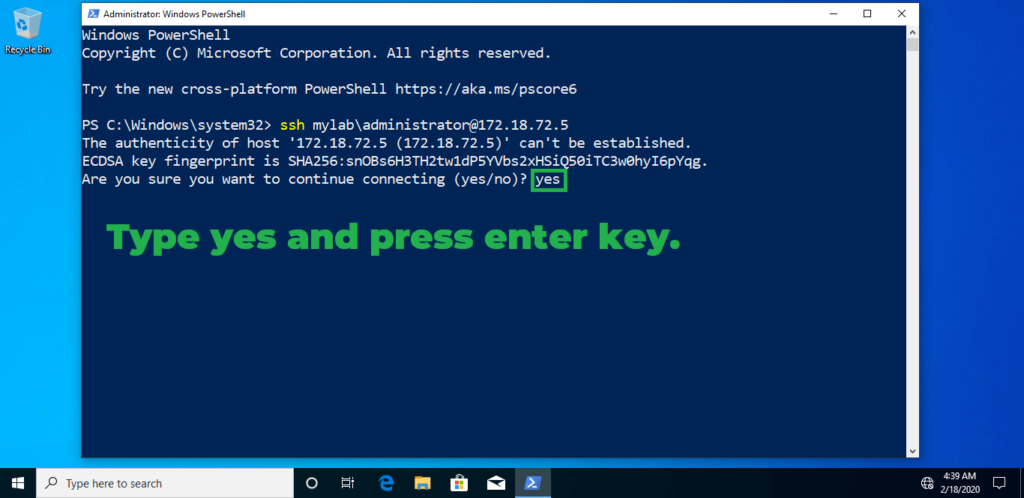
10. Type yes at the warning message and press Enter key.
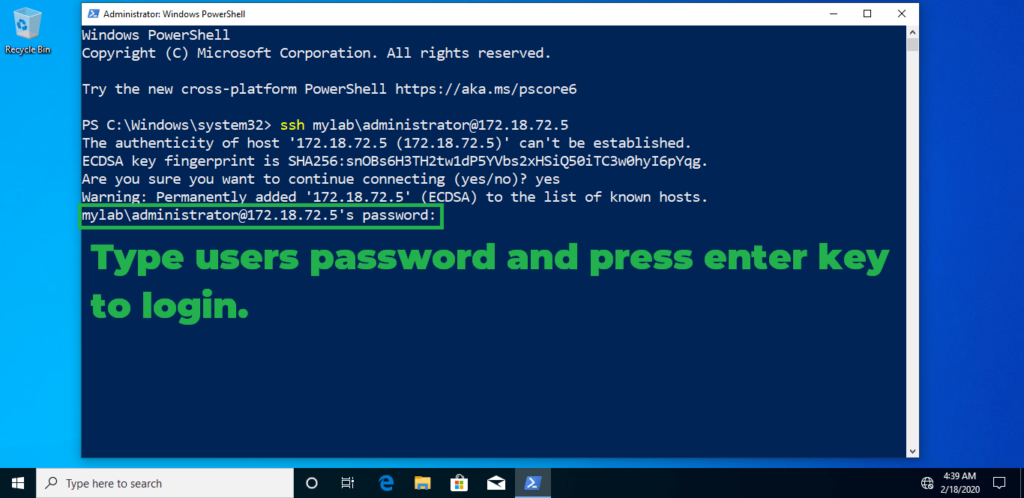
11. Type administrator accounts password and press enter key.
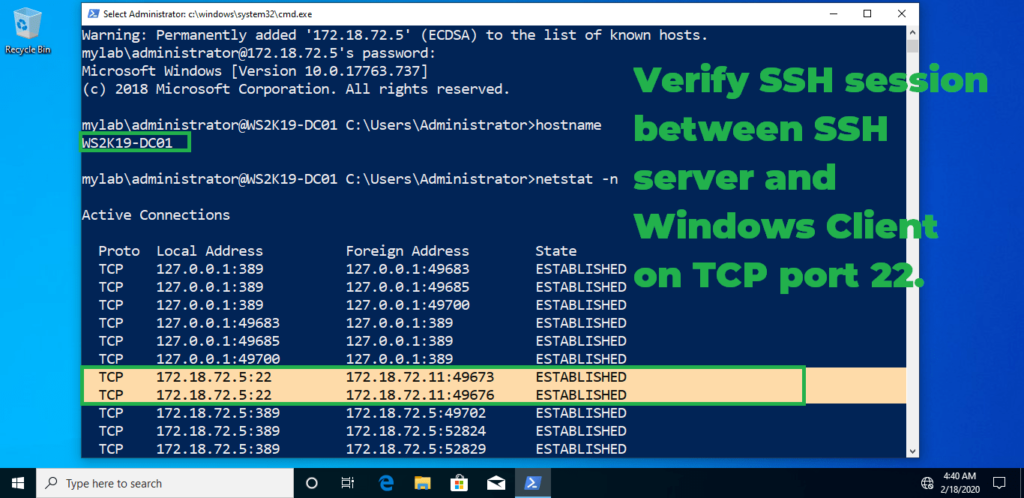
Now we can run any command we want as if we were sitting in front of our server.
Lets run command “netstat -n” to check the established connection from Windows 10 client machine.
Here, we can see SSH session from Windows 10 client machine to our SSH Server 2019 on TCP port number 22.
In this post, we have learned the steps to install and configure SSH service on Windows Server 2019.