This article describes the steps on how to deploy a self-signed certificate by using group policy in Windows Server 2019 Active Directory. This procedure is useful when you need to push a WSUS self-signed or CA-signed certificate to all of your clients before they can trust the published third party packages.
In the previous post, we have seen the steps on how to bind the self-signed certificate in IIS 10. If you are using a self-signed certificate, then domain users are going to get an error in browsers (IE/Firefox) that the certificate is not valid.
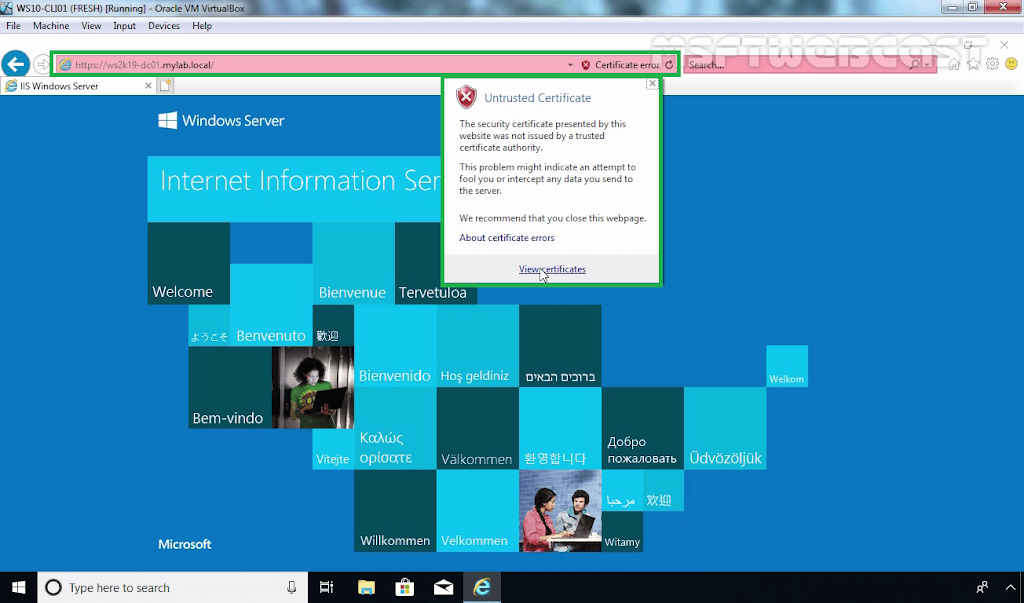
To fix this in our domain, we will create a Group Policy and deployed the self-signed certificate to each client. Group policy will add the self-signed certificate to the trusted root certification authorities list on each client. So clients can trust the self-signed certificate.
1: Export the Self-signed Certificate:
First of all, we need to export the self-signed certificate from your web server.
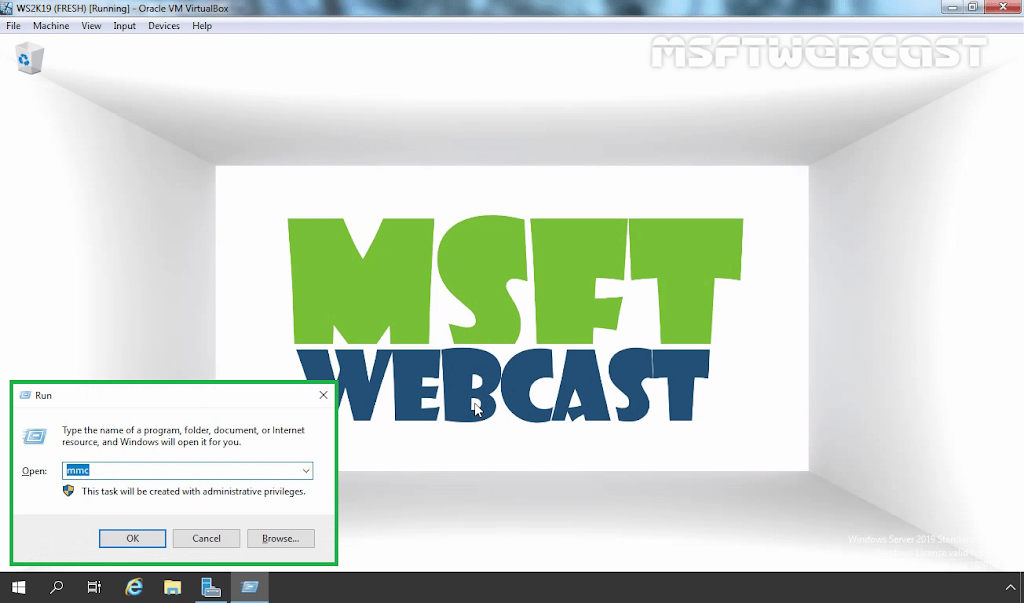
1. To do so, open the run menu by pressing Windows Key and R key at the same time. Type mmc and press enter key.
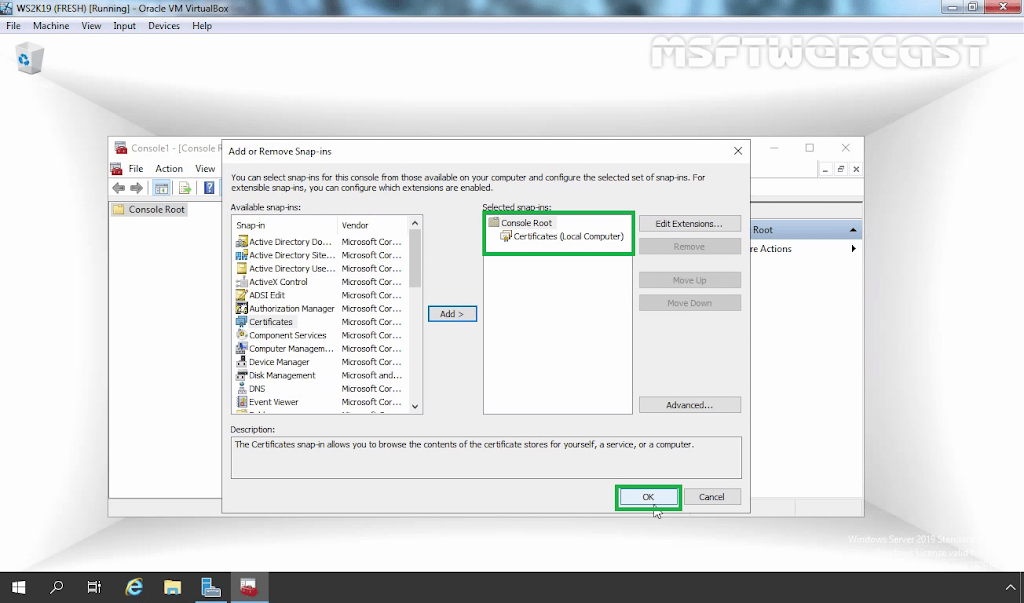
3. Expand Certificates (Local Computer). Expand Personal and click on Certificate from the menu on the left-hand side.
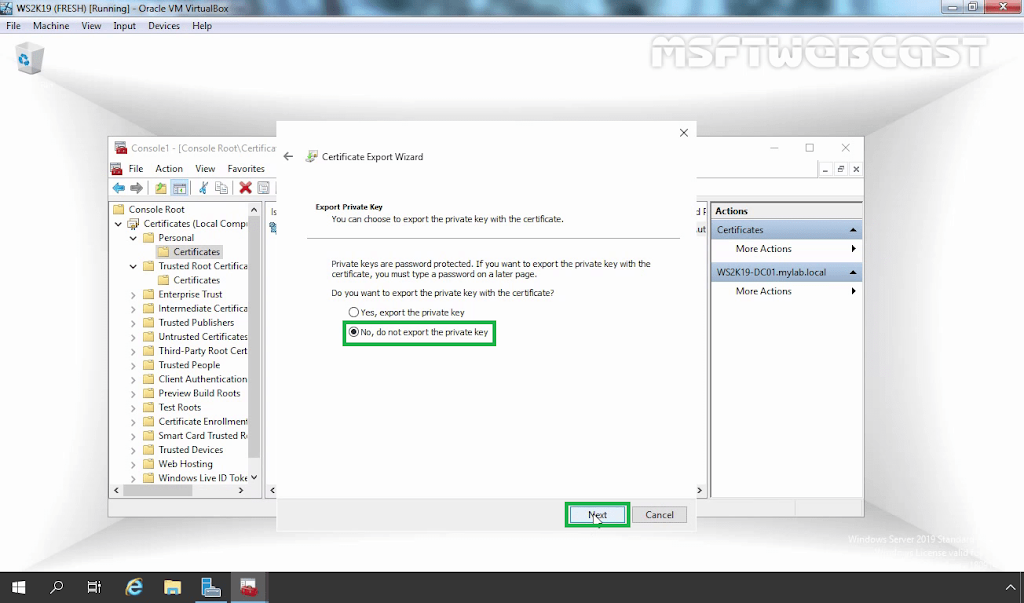
4. Right-click on your Self-signed certificate and choose All Tasks followed by Export.

5. Click Next on Welcome wizard.
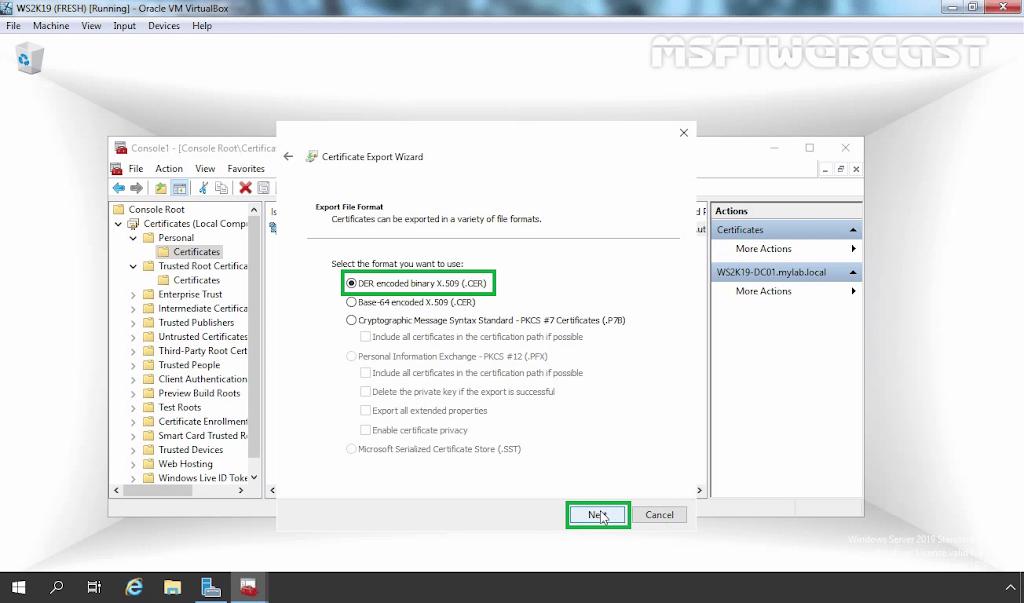
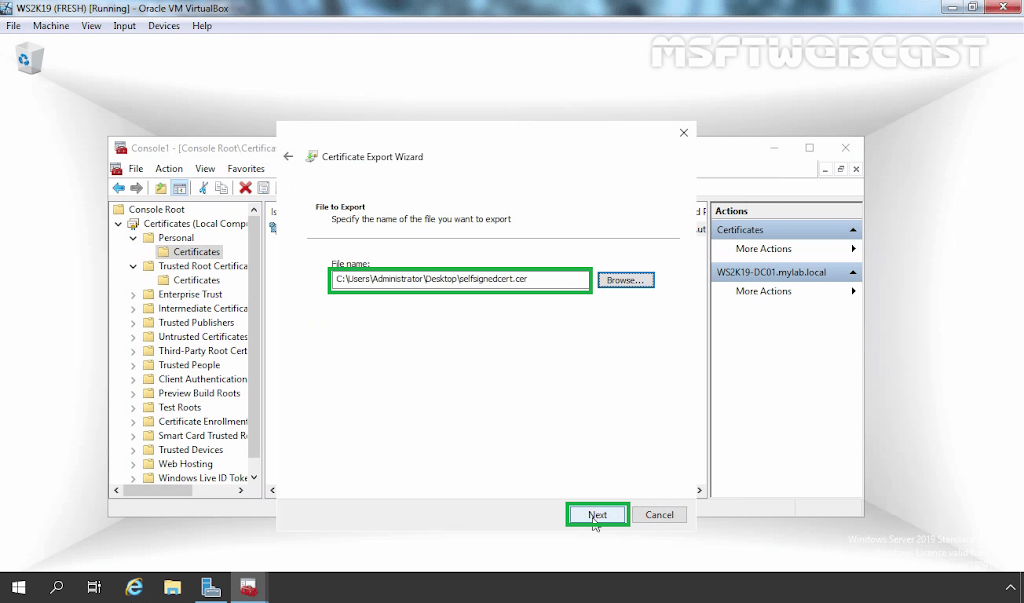
6. Choose No, do not export the private key. Click Next.
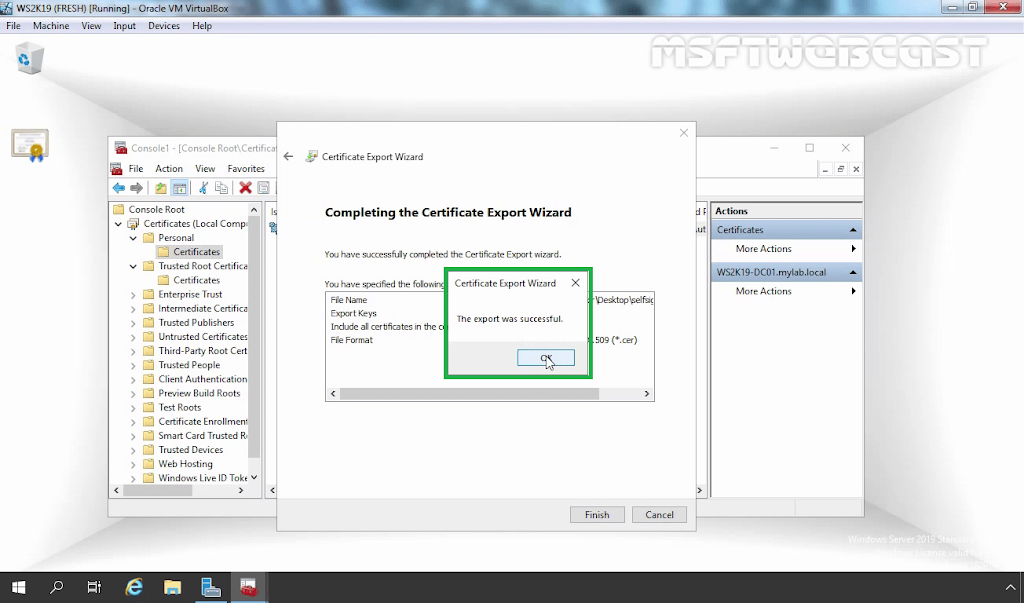
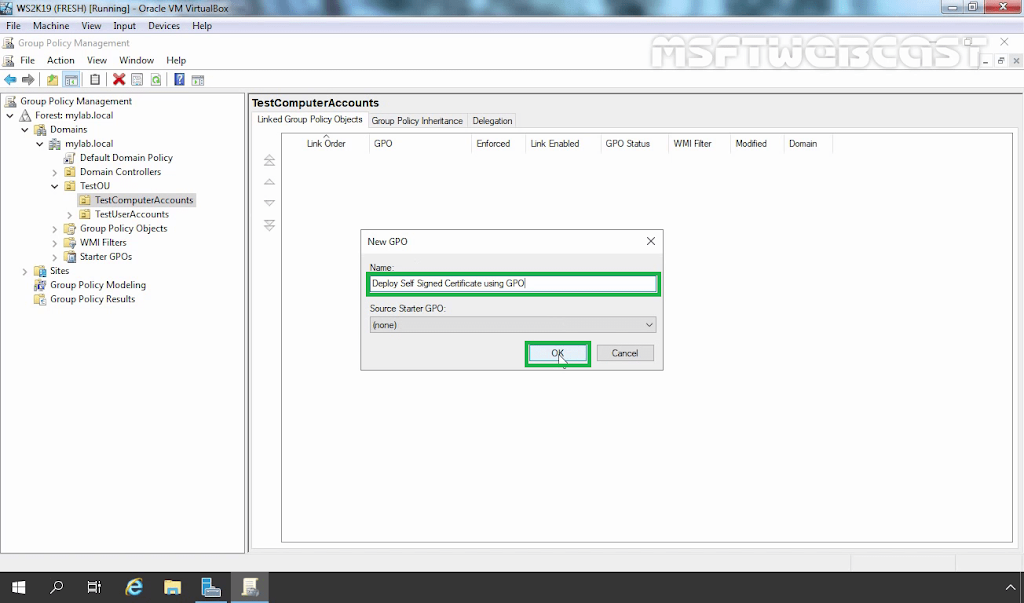
Now we are ready to create the certificate deployment policy. We should open the Group Policy Management console to create a group policy object.
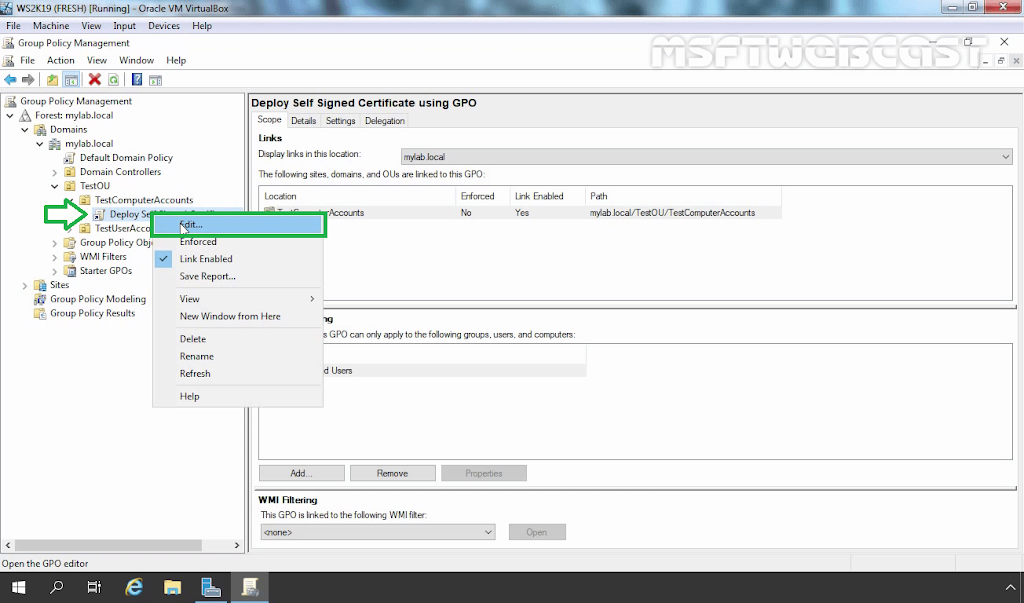
2. Create and apply Group Policy Object (GPO):
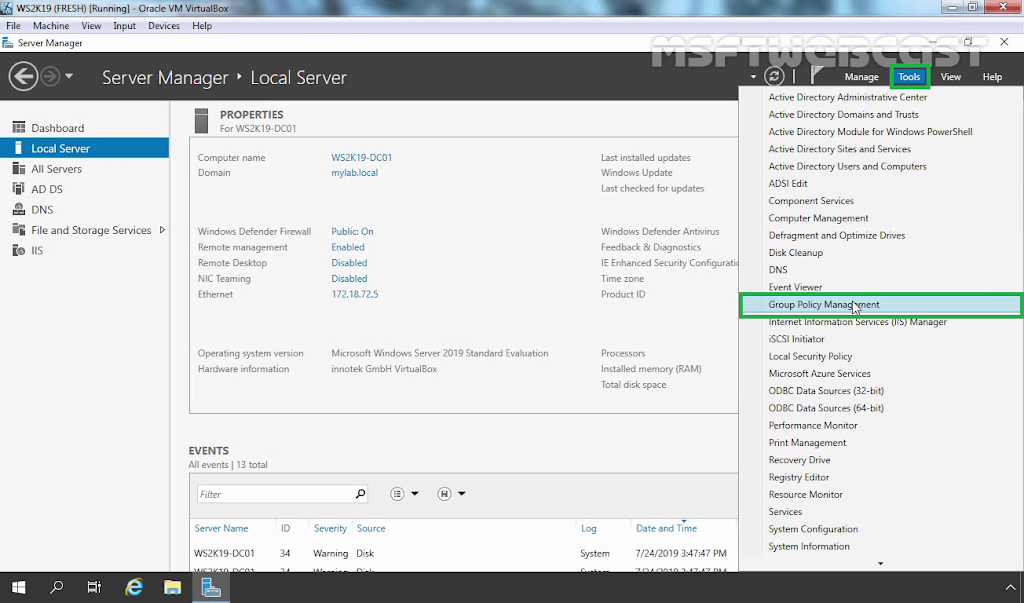
10. On server manager console, click on tools and select group policy management.

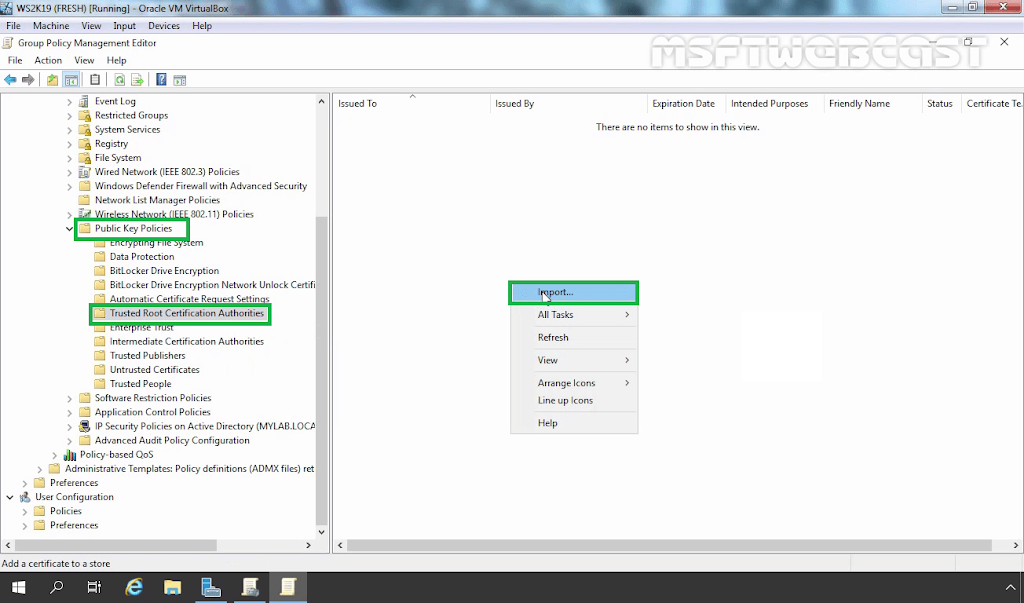
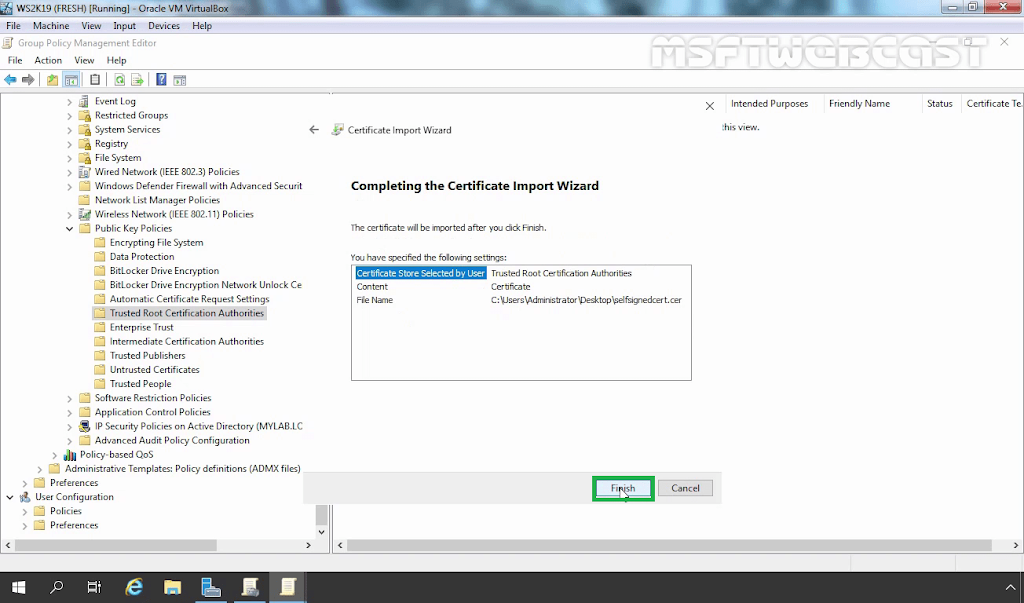
14. Navigate to Computer Configuration – Policies – Windows Settings – Security Settings – Public Key Policies – Trusted Root Certification Authorities.
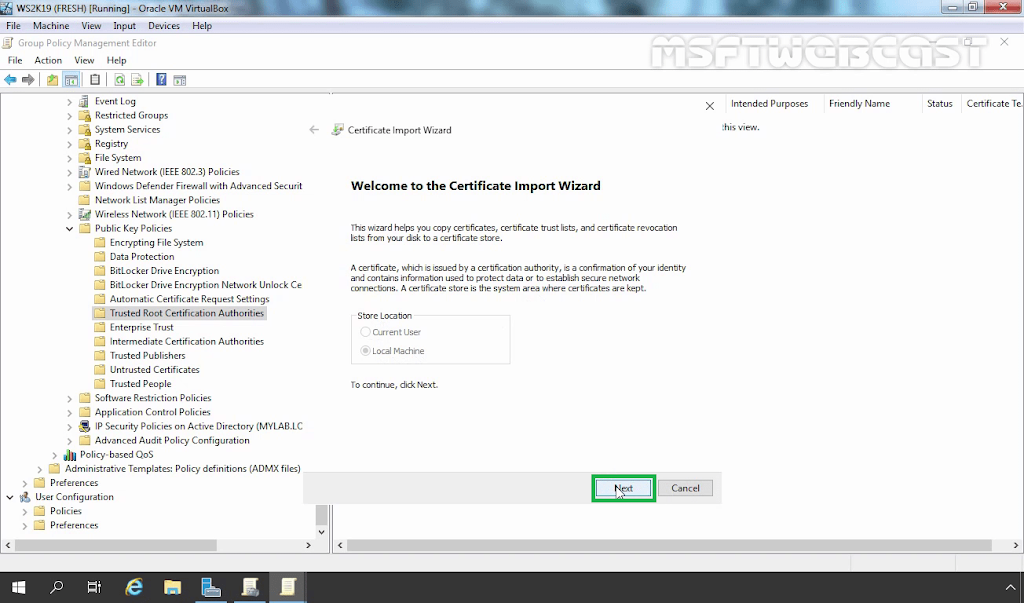
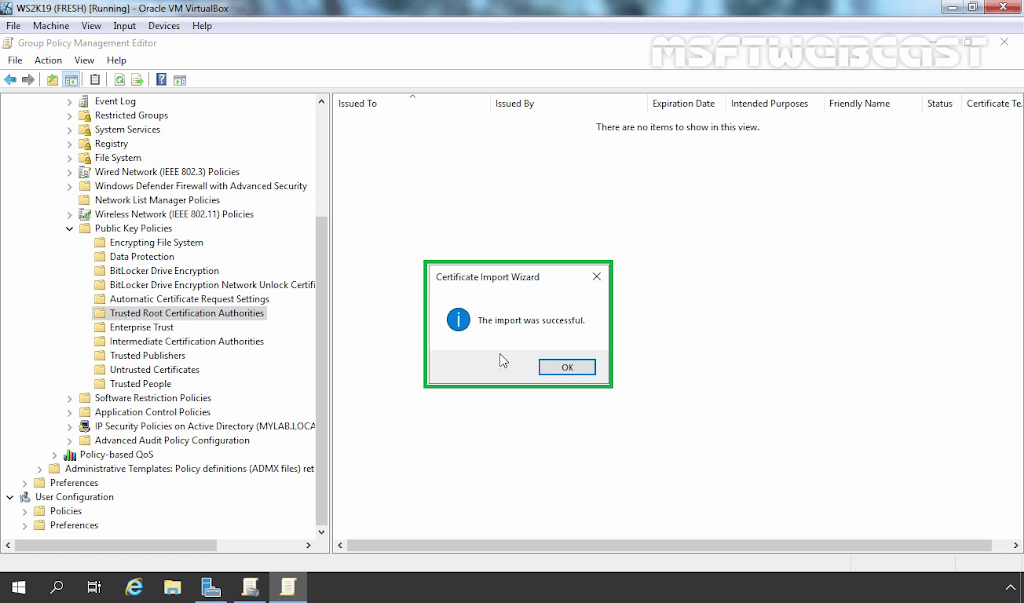
15. Right-click in the right pane and select Import.
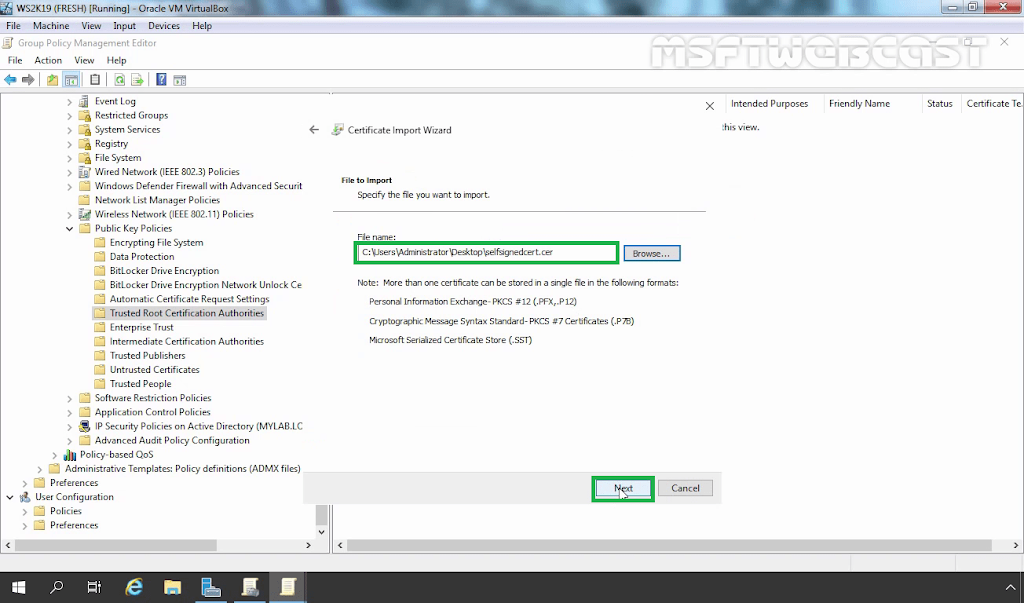

3: Test group policy settings on client machine:
21. All you need to do now is run a gpupdate /force command on a computer to test the group policy.

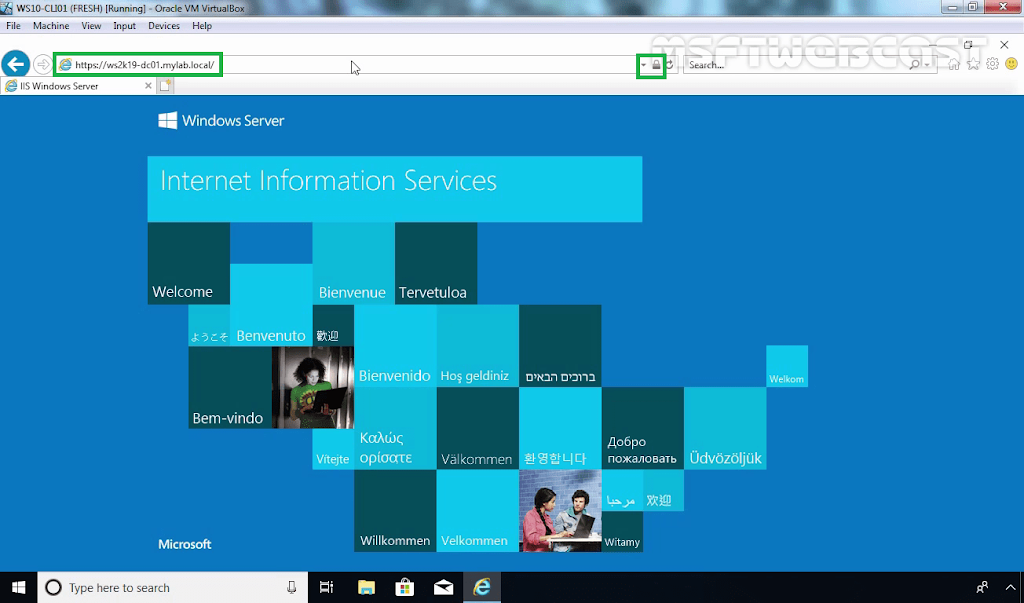
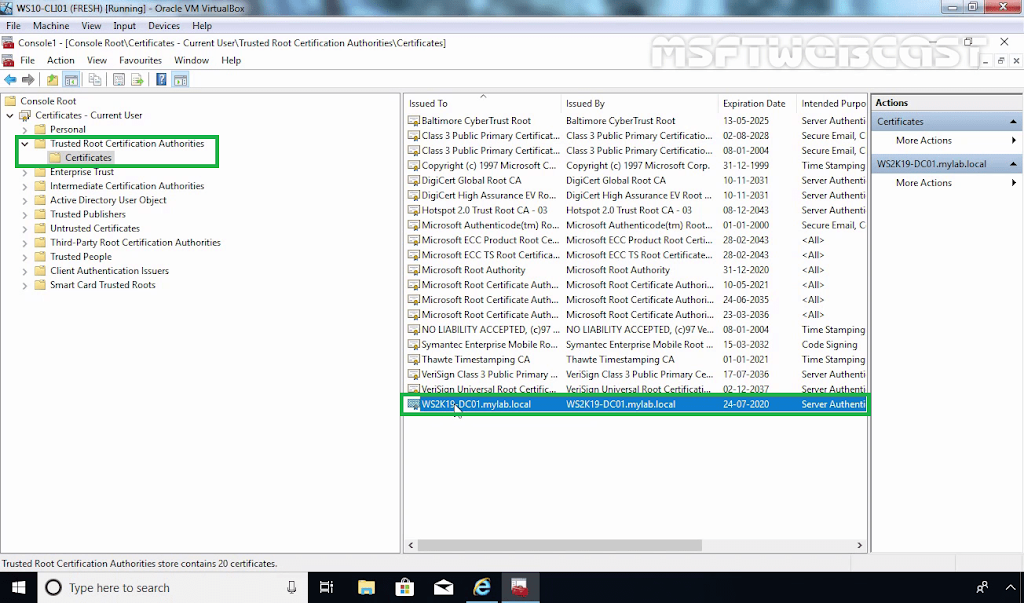
You have now successfully deployed the self-signed certificate to all client machines using group policy. The self-signed certificate will be automatically installed on all new computers without requiring any involvement.