After installing the WSUS server role on Windows Server 2019, you are ready to perform the initial configure for WSUS service. This is a necessary step that you cannot skip so that WSUS can be active.
In this post, we will cover the steps to configure the WSUS role in Windows Server 2019. Refer previous article to see the steps to Install the WSUS server role on Windows Server 2019.
Configure WSUS on Server 2019:
To start this configuration wizard, open the WSUS console from the server manager console. (Note: When you first time opens WSUS console, the wizard will open up. Next time it won’t open again.)
If you have skipped it by mistake or in the future, if you want to perform the initial configuration again, you can do that by opening the WSUS Console > Options > WSUS Server Configuration wizard.
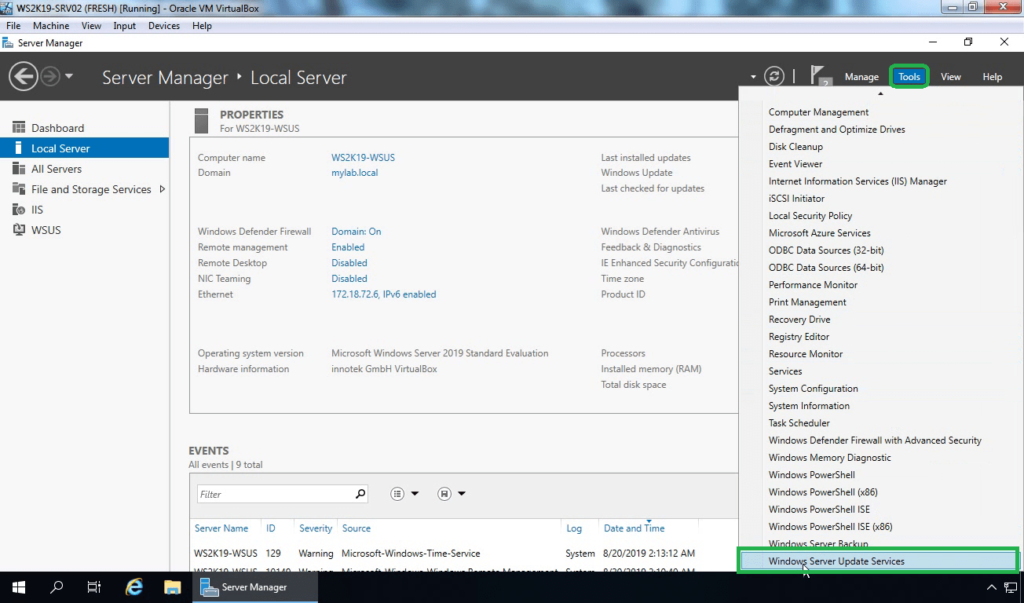
On the WSUS server, open server console. Click on tools and choose Windows Server Update Services.
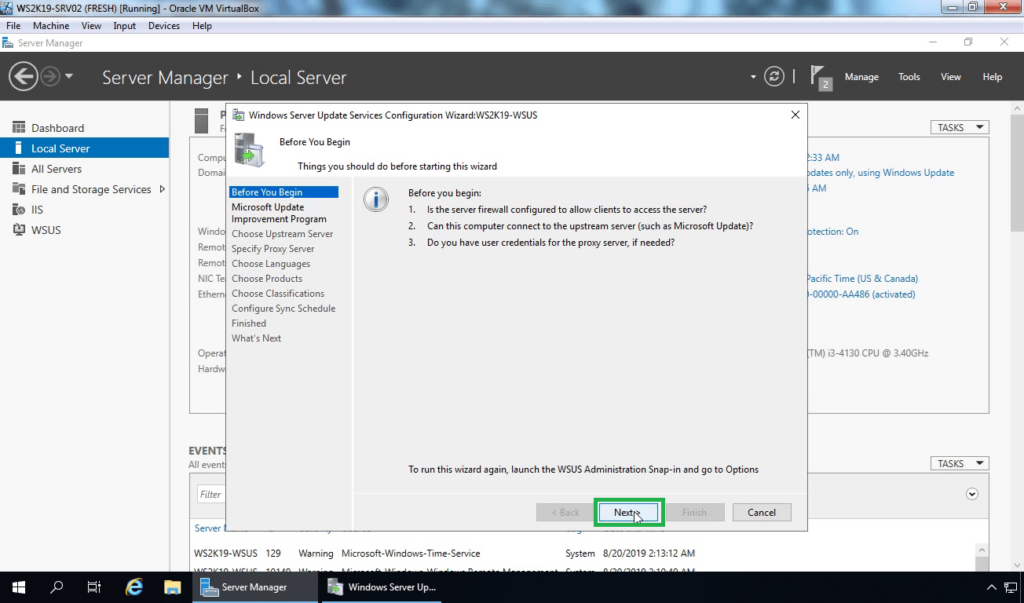
In the Before You Begin console, click Next to continue.
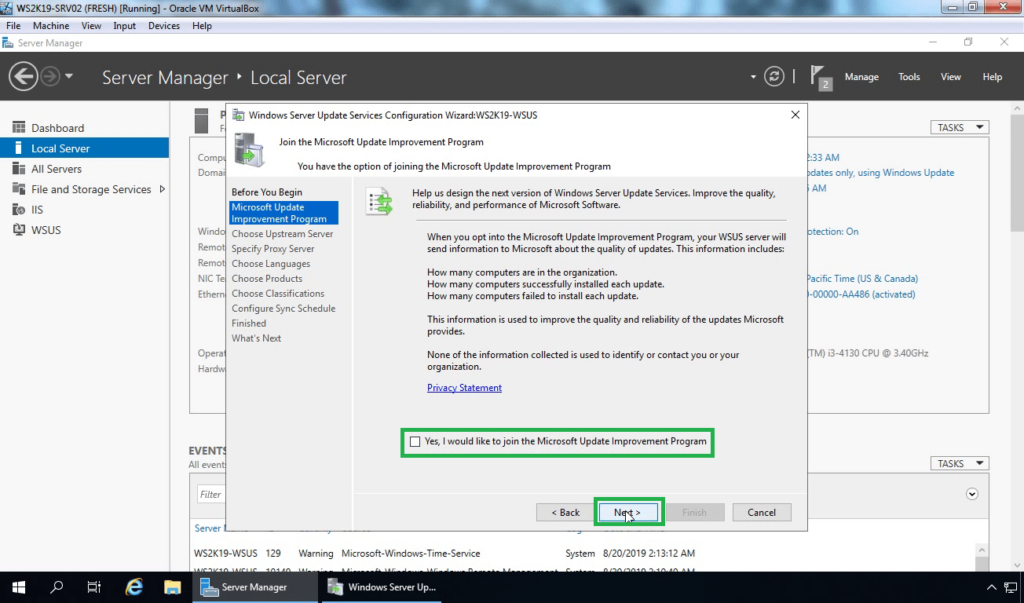
In the Microsoft Update Improvement Program console, select whether to participate in the Microsoft program by choosing the appropriate option and then click Next to continue.
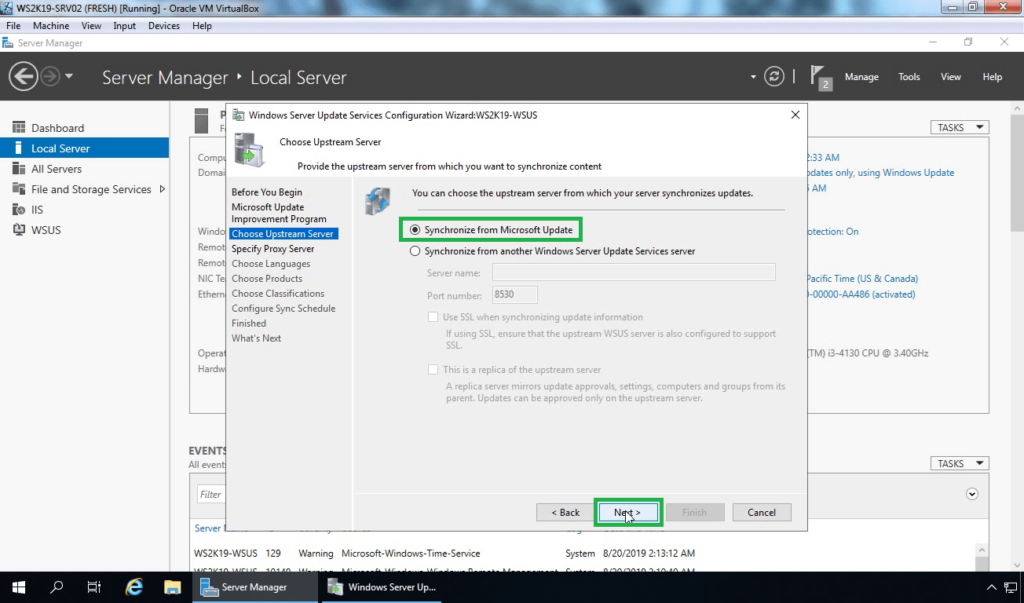
On this console, you will select the upstream server. If this is your first WSUS server then select Synchronize from Microsoft Update. This will download update files directly from Microsoft update server to your WSUS server. Click on Next to continue.
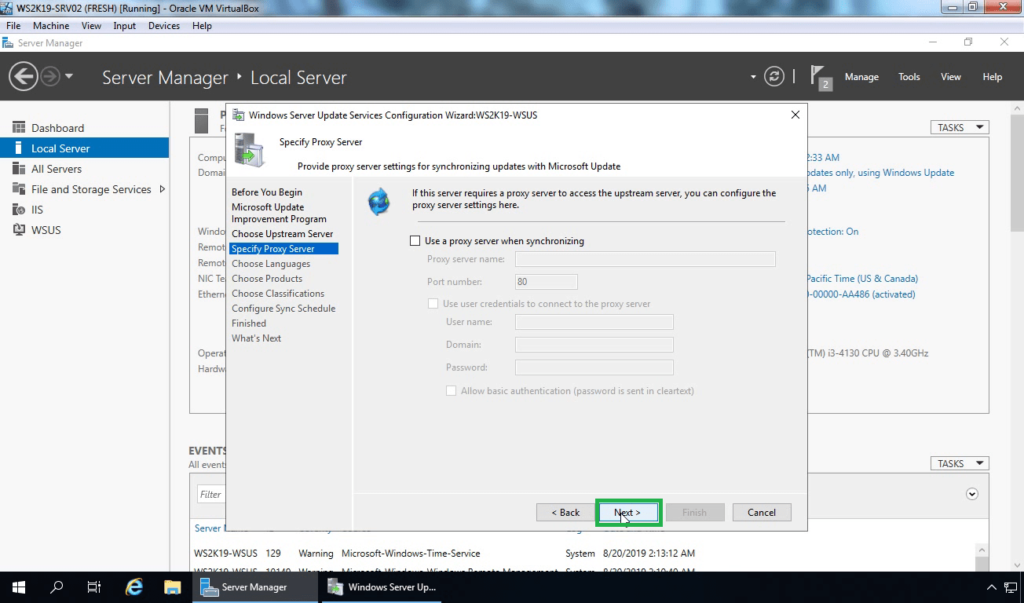
If you use a proxy server to access the web then enter it here. In my test environment, the WSUS server connects directly to the Internet so I’ll just select next.
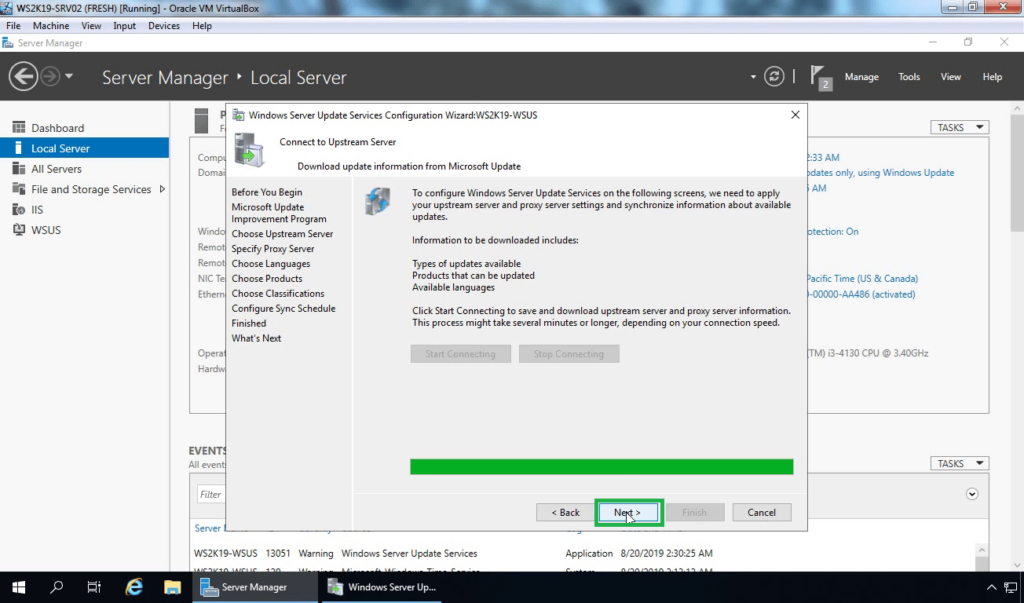
On the Connect to Upstream Server page, Click Start Connecting to connect to the upstream server of Microsoft.
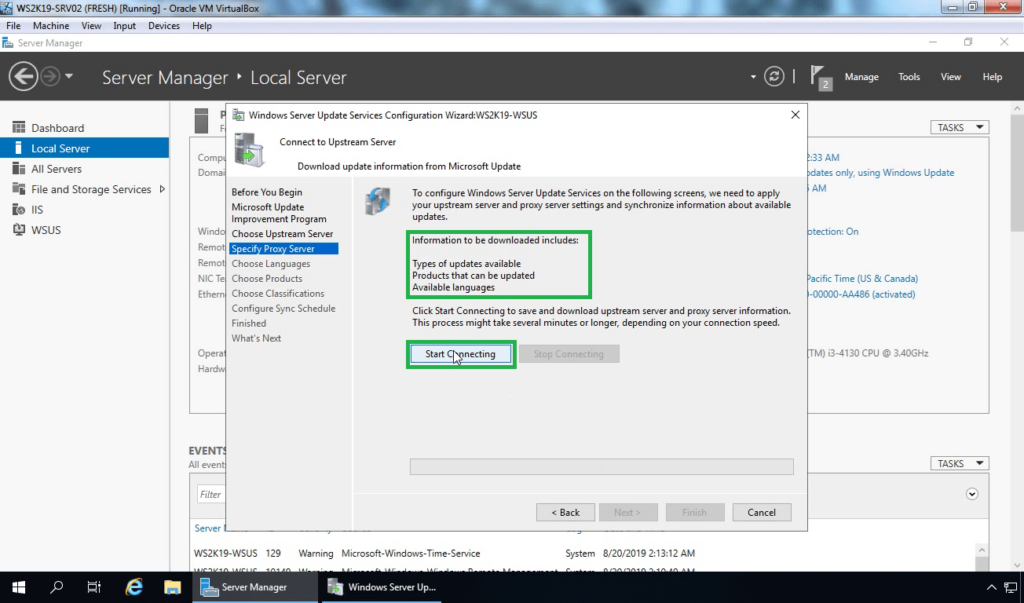
This will take time (over 20-30 minutes) to complete with a high-speed internet connection. Once it is complete, click Next.
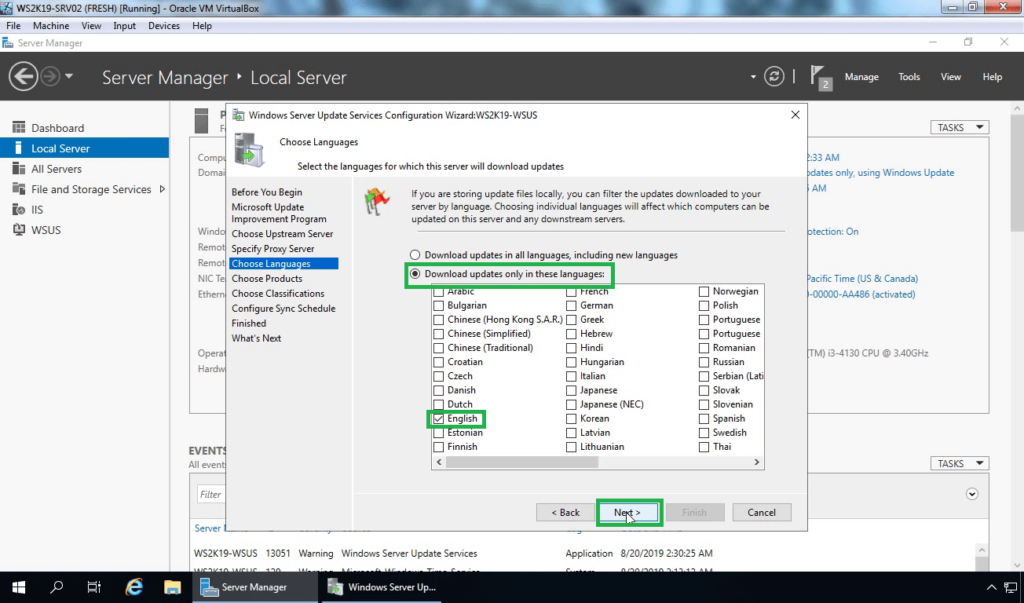
In the Choose Languages console, enable Download update only in these languages and select only the languages you use on your infrastructure. Click Next.
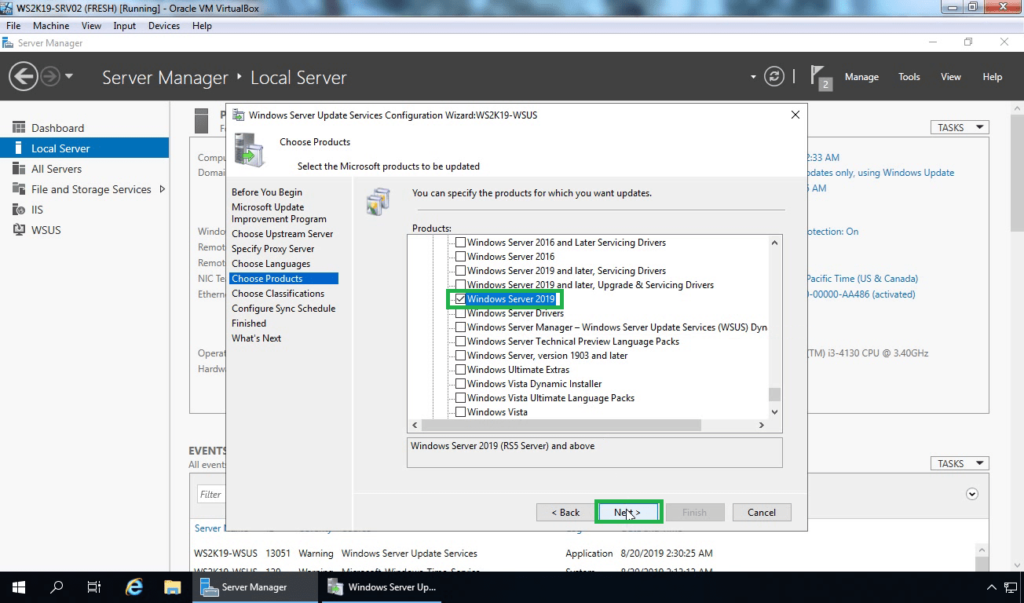
From the list of products, you can select individual products or product families for which you want your server to synchronize updates. In this case, I am going to select Windows Server 2019 only. Click Next.
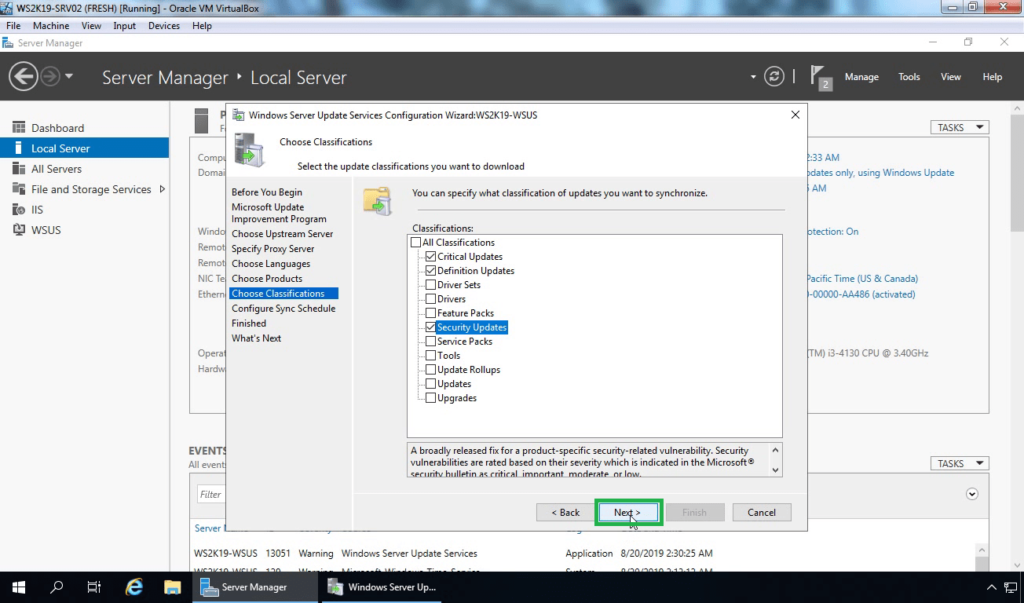
On choose classification console, you can choose the types of updates to download, for example, you can specify that you only want to download critical and security updates. Click Next.
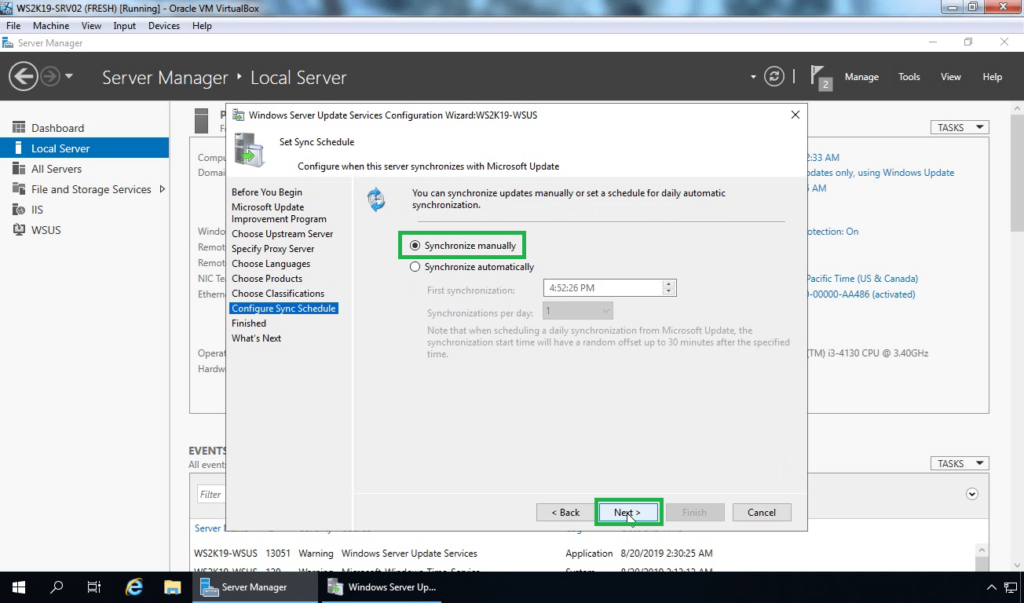
You can set the synchronization schedule which will specify when WSUS will check for new updates to download. Select Synchronize manually and click Next. You can also set up an automatic schedule for synchronization.
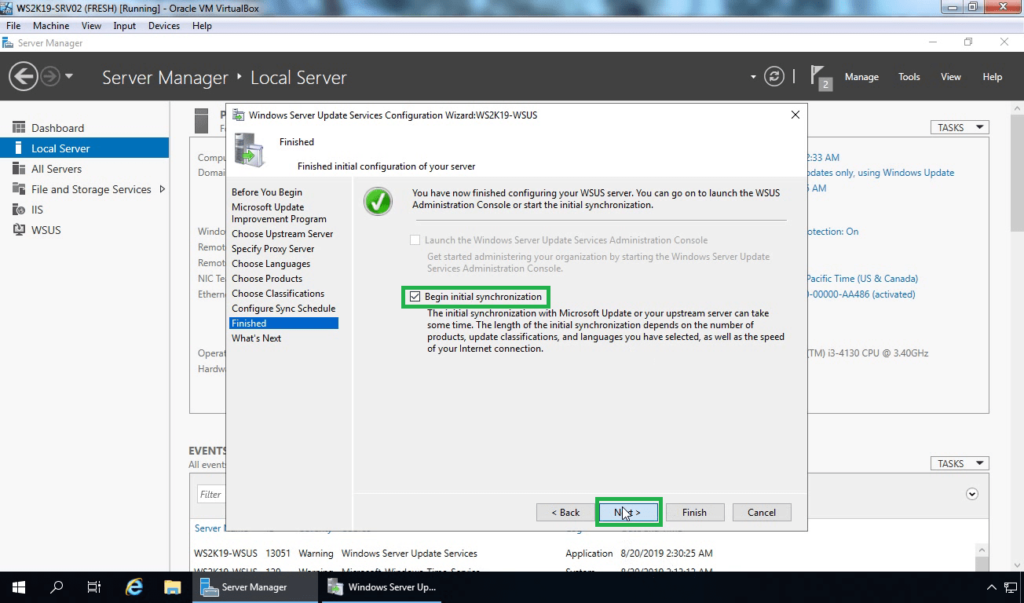
Click Begin initial synchronization which will start downloading updates from the Internet after you click finish. Click Next.
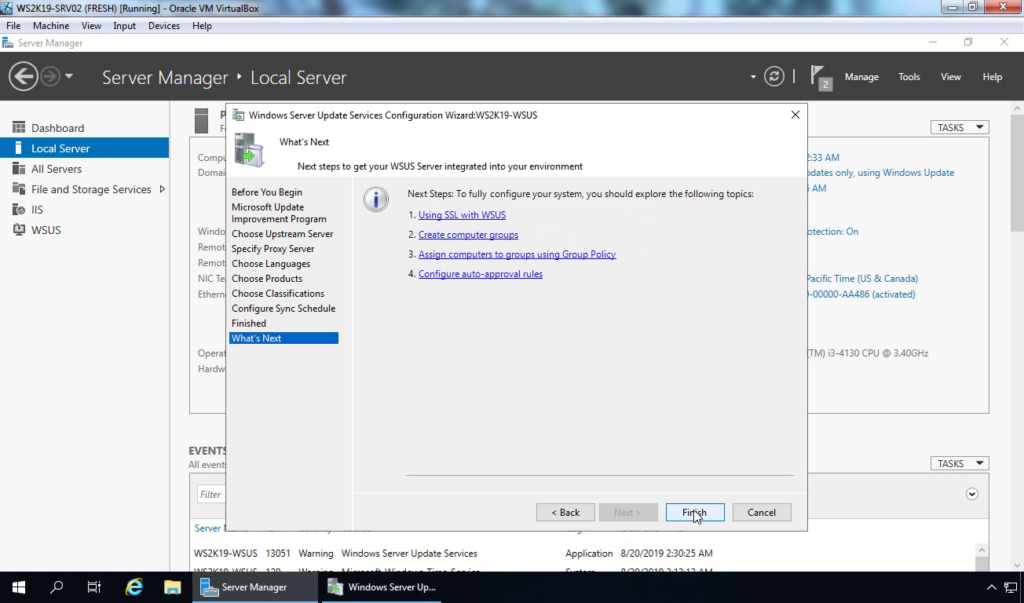
There are some links you can click on to read more about. Click Finish.
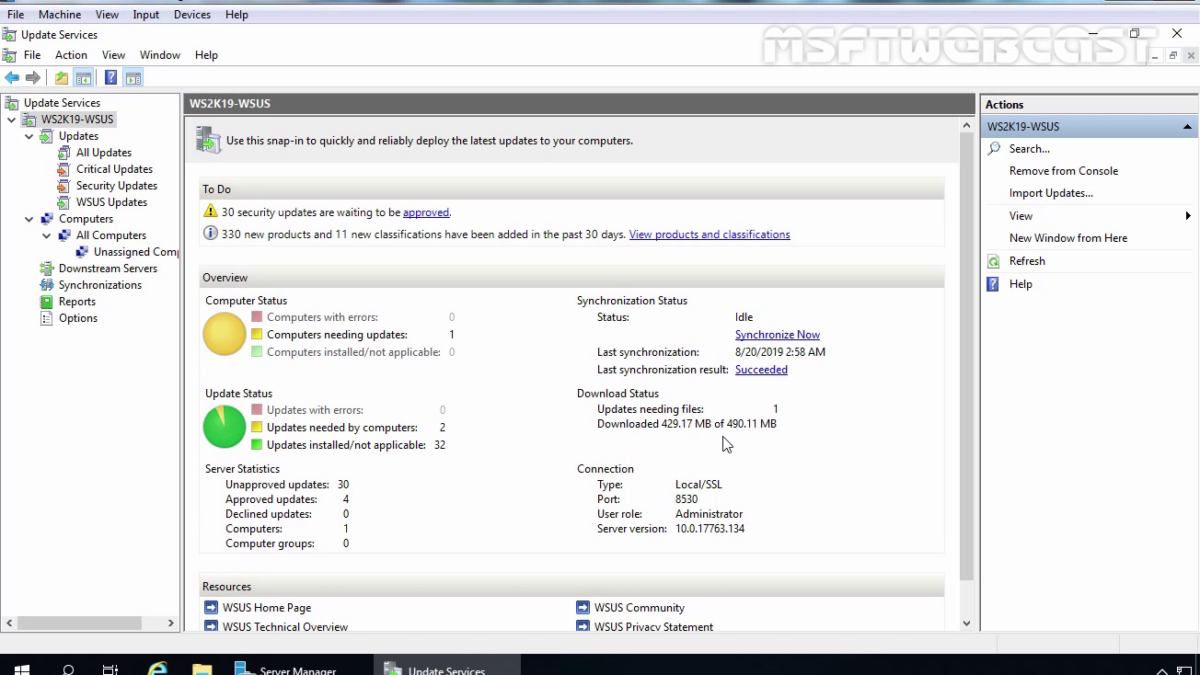
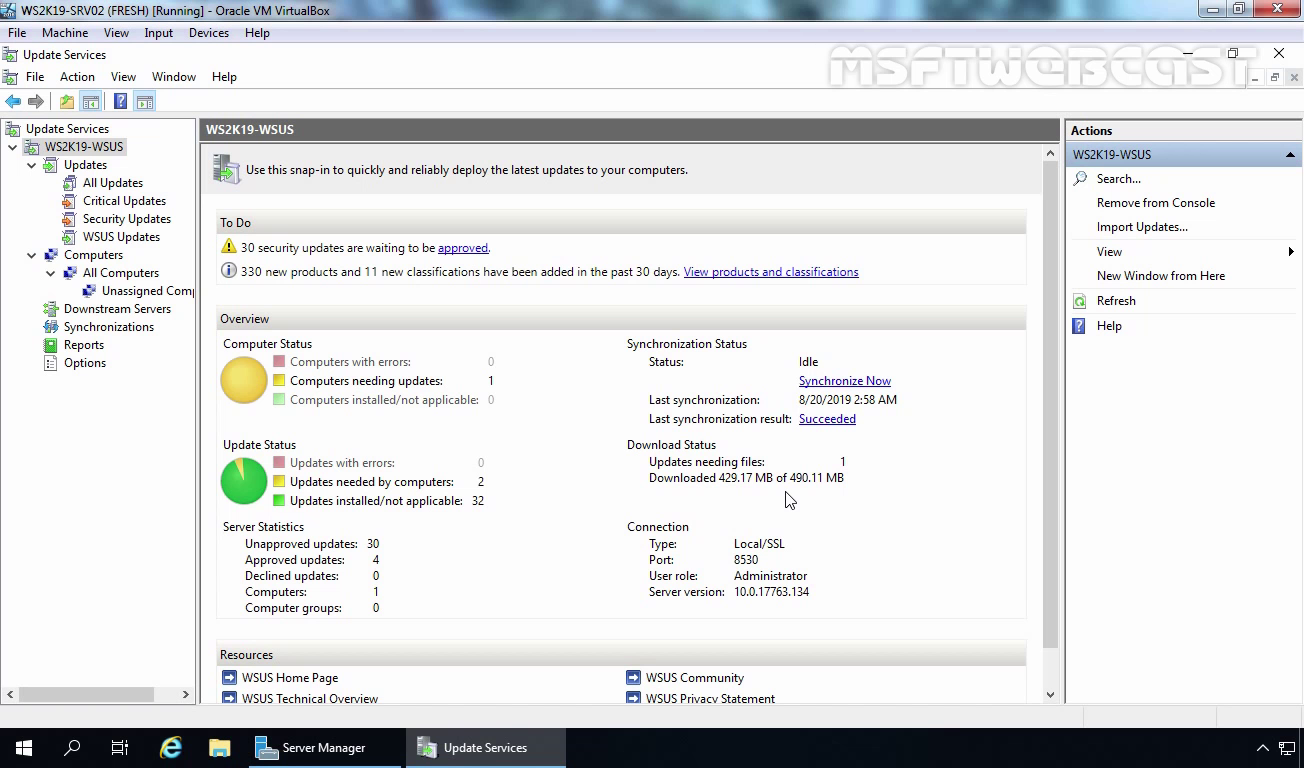
On the WSUS console, you can see the sync status. Right now mine is at 95%. You will have to wait until it finishes the synchronization.
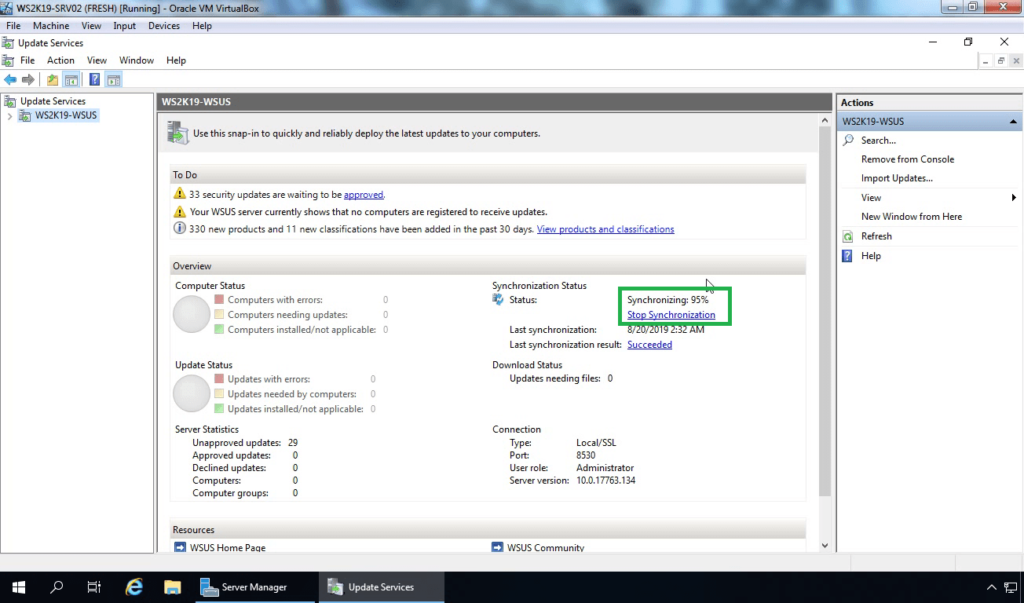
The initial synchronization will take a few minutes to complete based on internet speed.
After you install and configure WSUS, the next important task is to configure group policy settings to point your client machines to use the new WSUS server for automatic updates.
In the next post, we will configure group policy settings for WSUS client computers to use the local WSUS server to download updates.