
In this post, we will learn the different ways to rename a Windows Server 2019.
In a manual operating system installation, the Windows Setup program assigns a unique name beginning with WIN-<Something> to the windows server.
Logon to Windows Server 2019 with an administrator account.
Method:1 Rename Windows Server 2019 using the System Properties:
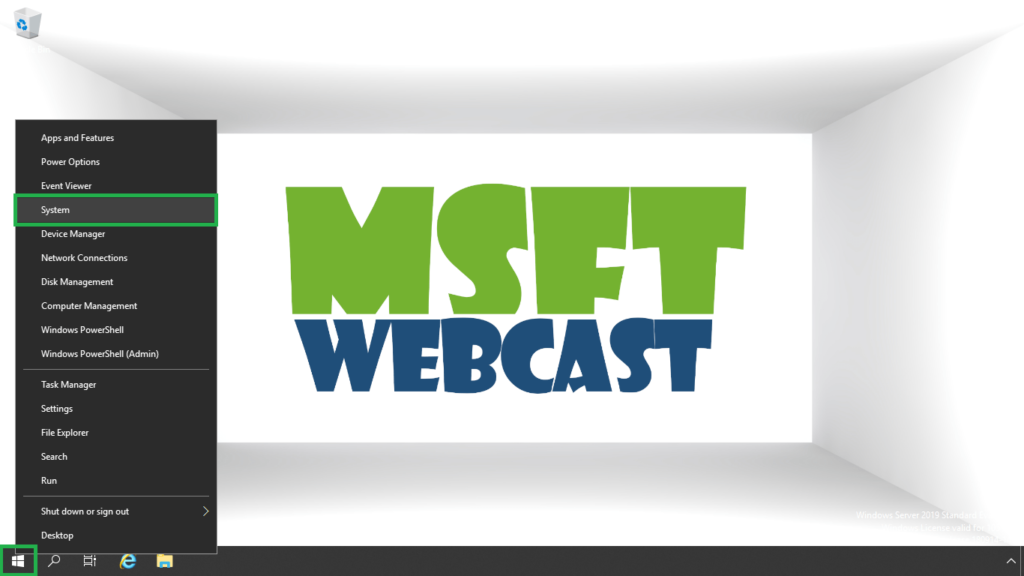
1. Right-click on the Start icon, and then click System.
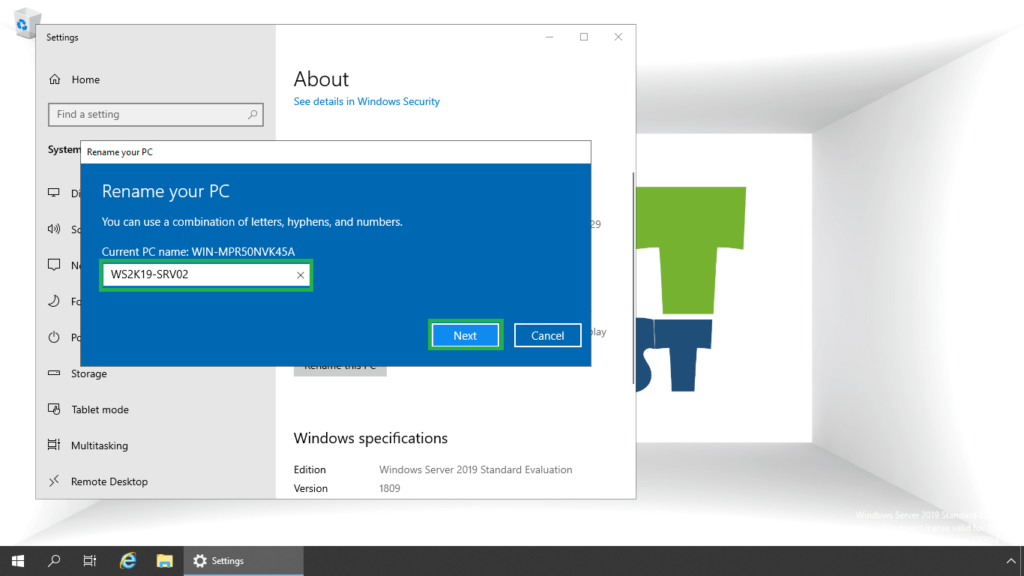
2. In the settings window, click Rename this PC.

3. Type the new computer name you want for your server and click Next.
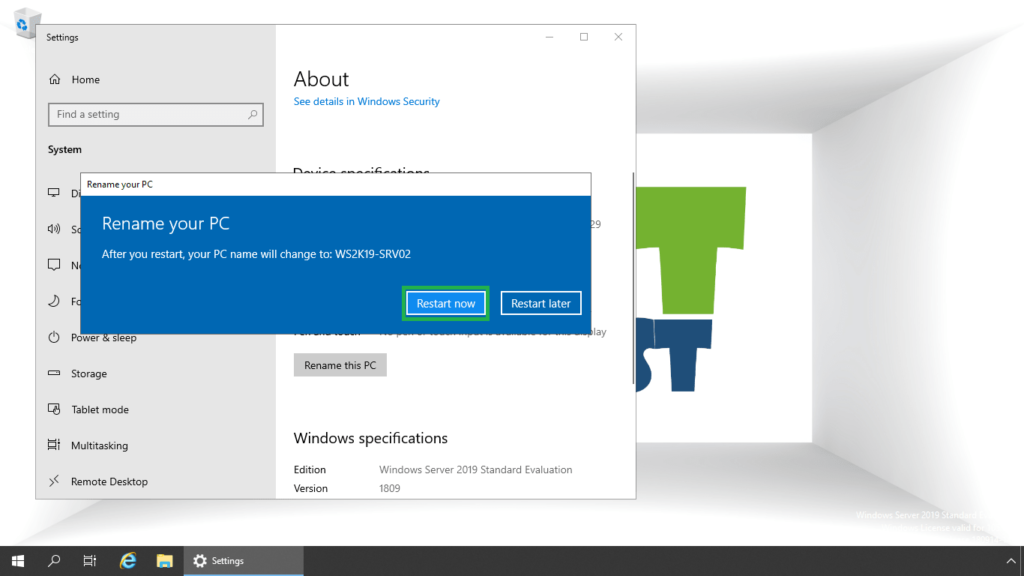
4. To complete the renaming of the server 2019, we will need to restart it. Click on Restart Now.
5. Select Operating System: Reconfiguration (Planned) as a reason to restart the server. Click on Continue.
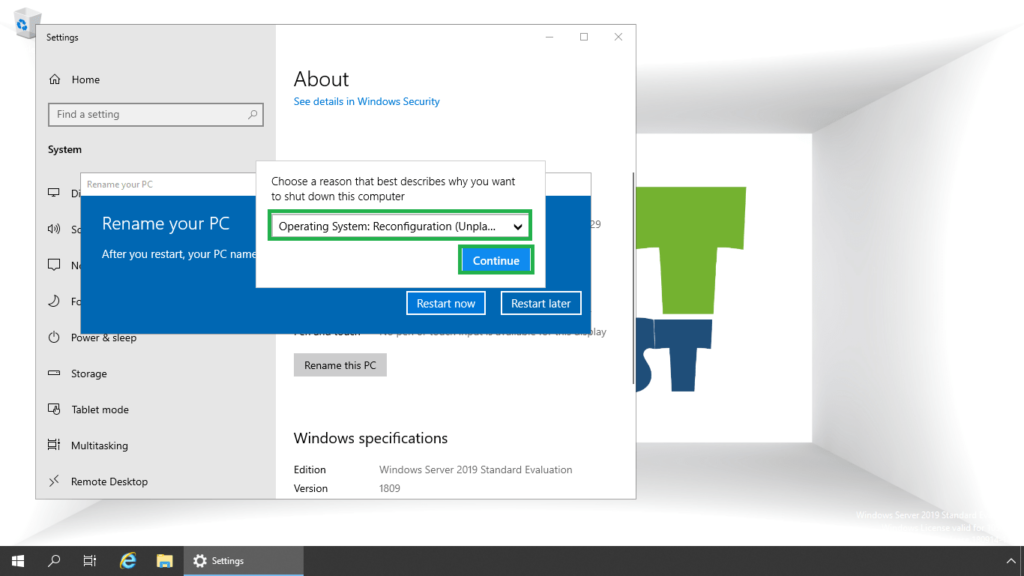
We can also restart the server later on.
Method:2 Rename Windows Server 2019 using the Server Manager Console:
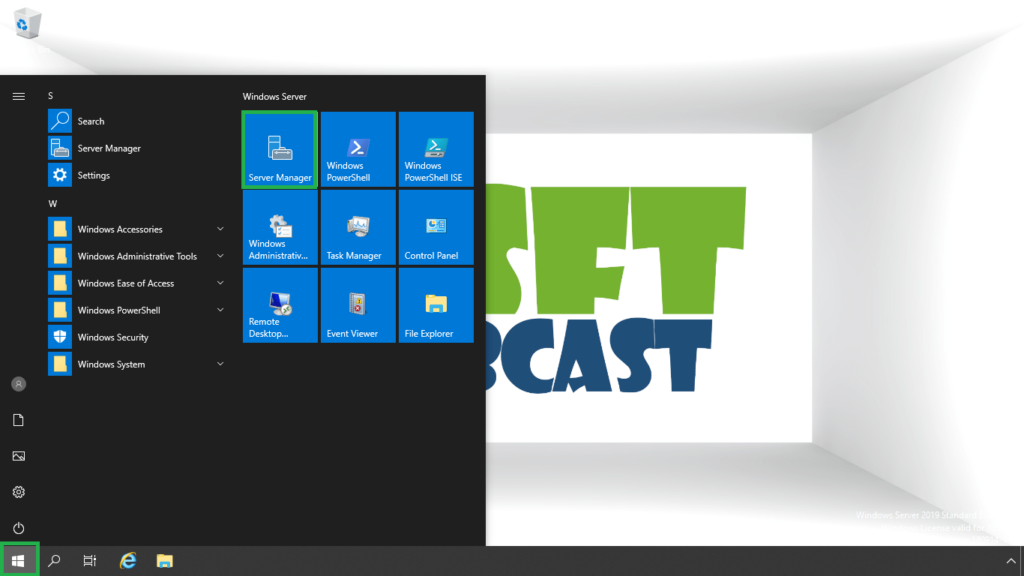
1. Click on the Start button and then click on the Server Manager.
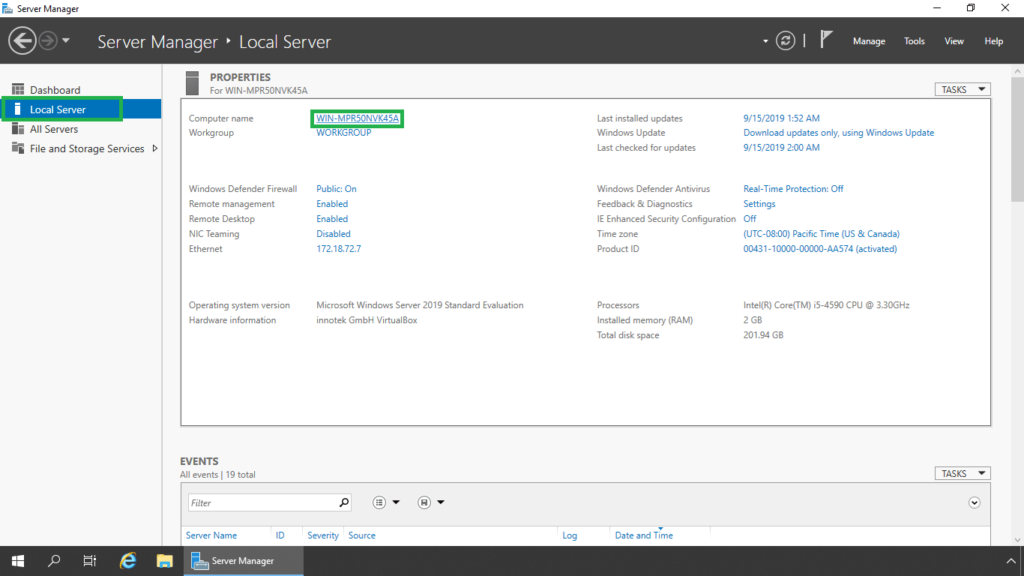
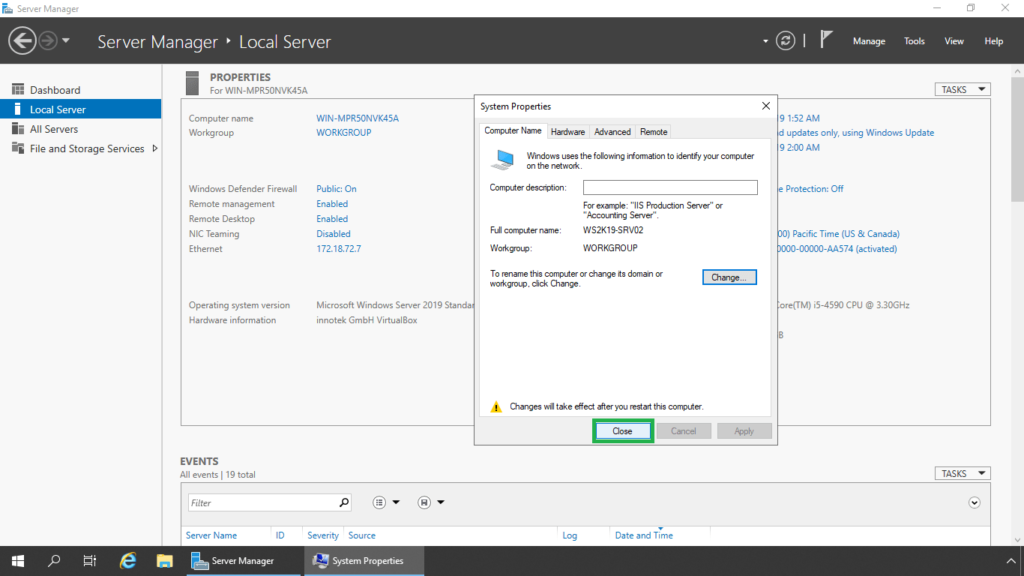
2. On the Server Manager console, click on Local Server. Under Properties and click the computer name link. That will open the system properties window.
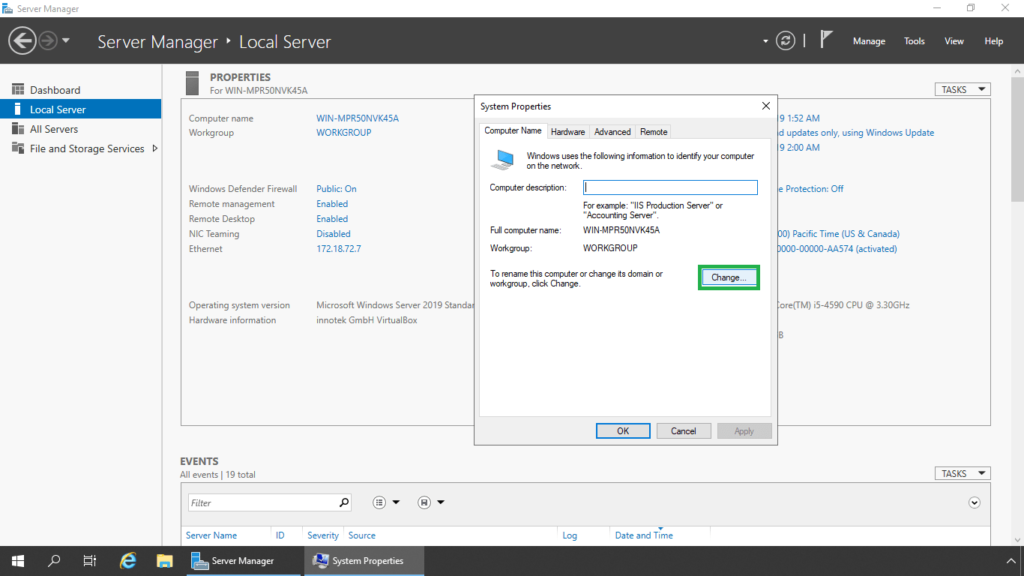
3. Click Change.
4. Enter the new computer name in the Computer name field.
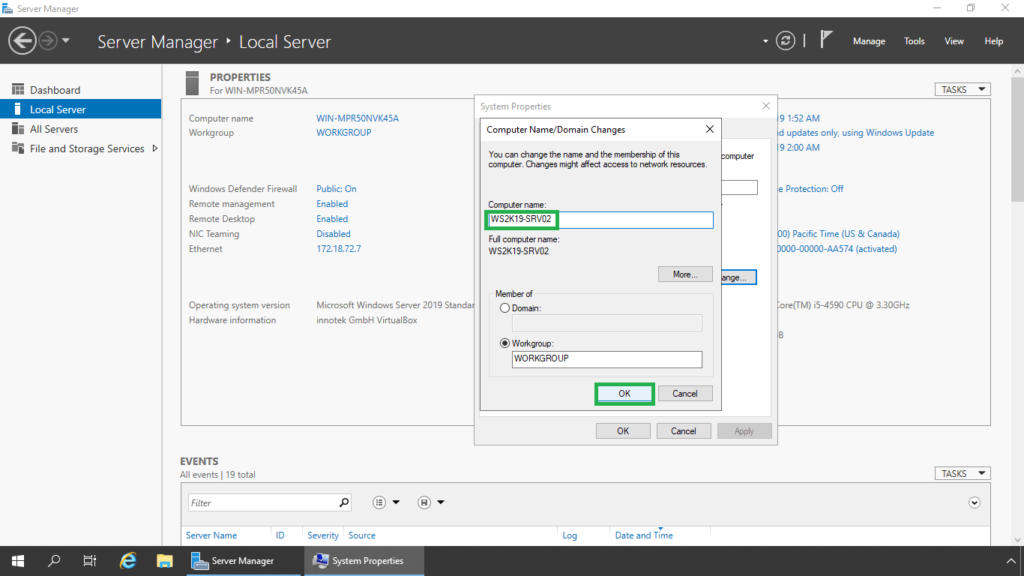
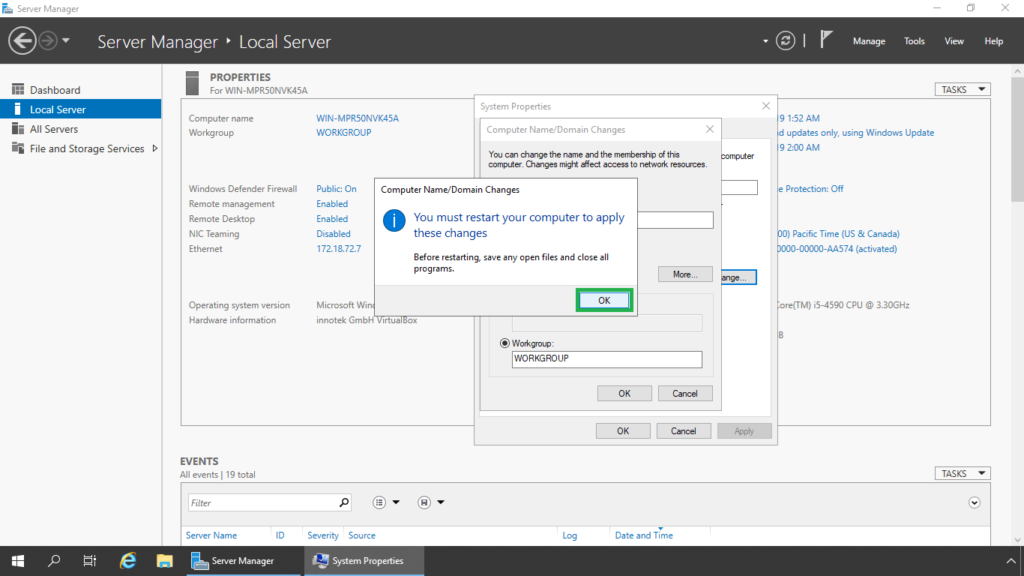
5. A new dialog box will appear, prompting you that the server will need to be restarted for the changes to take effect. Click OK.
6. Click Close.
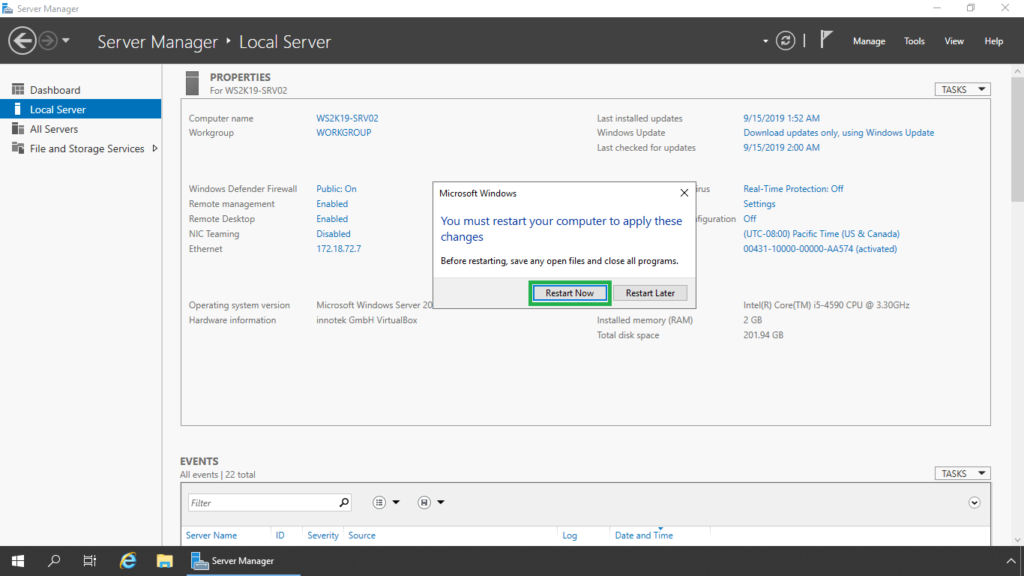
7. Click Restart Now.
Method:3 Rename Windows Server 2019 using the PowerShell:
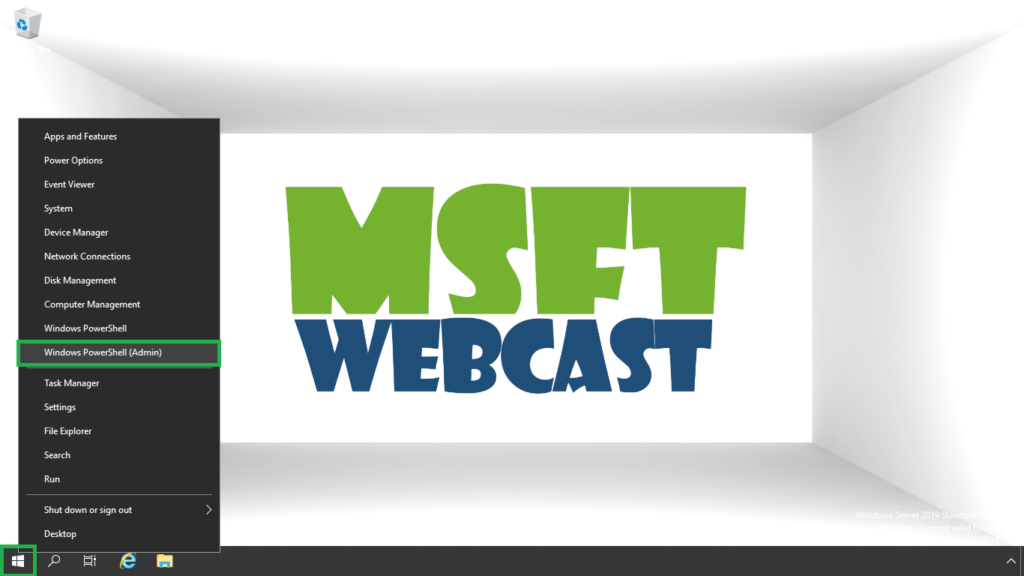
1. Right-click on the Start icon, click on Windows PowerShell (Admin).
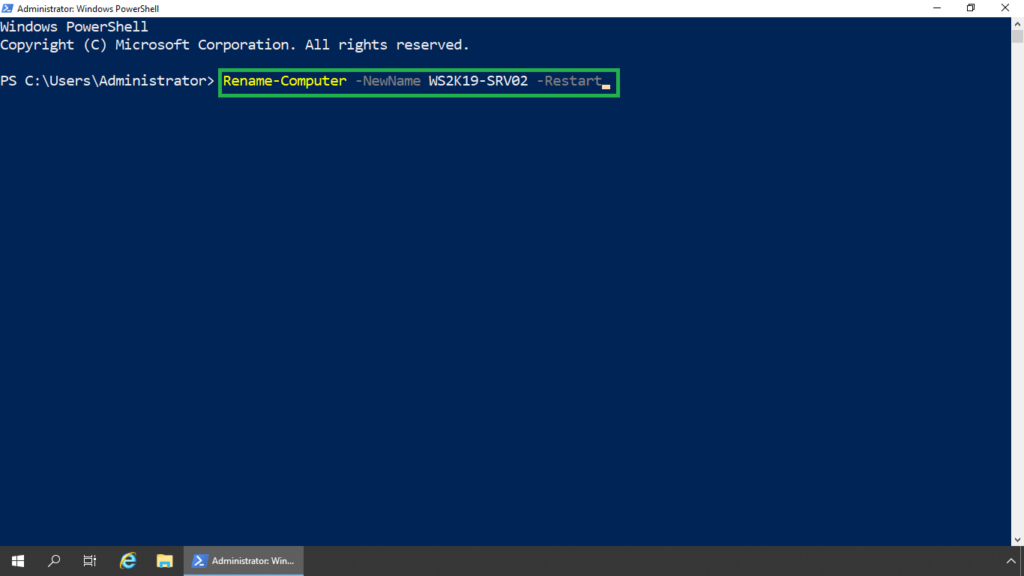
Here, we will use the Rename-Computer cmdlet to rename the server 2019.
Syntax: Rename-Computer -NewName <new computer name> -Restart
2. In our case, the cmdlet will be,
Rename-Computer -NewName WS2K19-SRV02 -Restart
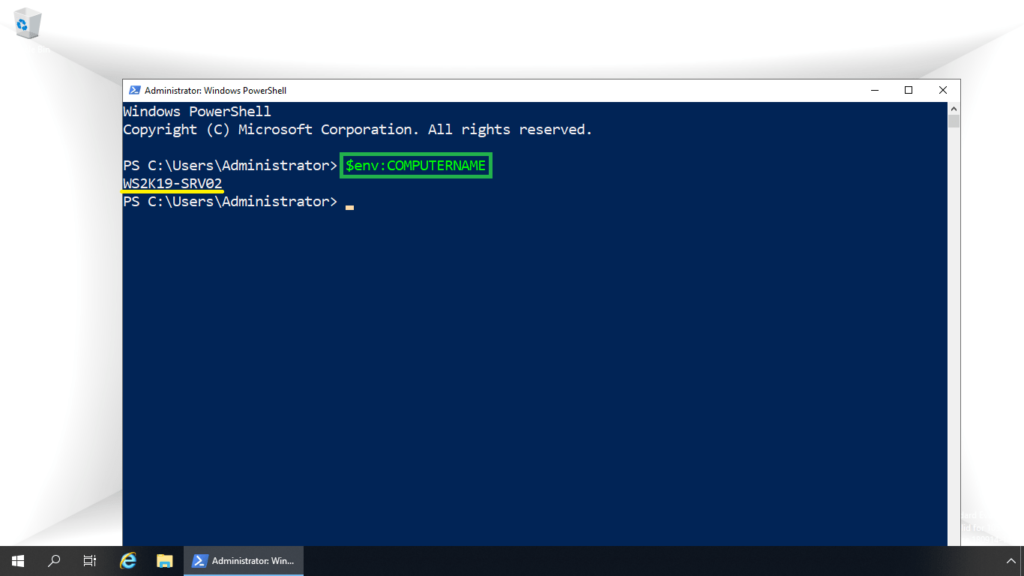
Verify the new name of Windows Server 2019 using Windows PowerShell using cmdlet $env:COMPUTERNAME.
We can also use netdom command to rename Windows Server 2019 as well, but we are not covering it since it is a very old method to rename the server.
In this post, we have learned the different methods to rename Windows Server 2019.
Thank You for reading this post.
Related Articles:
1 Comment
Leave a Reply
You must be logged in to post a comment.
Hi there!
Please email me your what’s app number. There are some questions related to iSCSI storage which I believe i need your help to have answers for them.
Warm Greetings.