In this article, we will install and configure DFS (Distributed File System) Replication group in Windows Server 2019. We will configure DFS replication for the existing namespace which we have created in last article.
Check out the previous post on How to Install and Configure DFS Namespace in Windows Server 2019.
Overview:
DFS Replication is a role service in Windows Server 2019 that you to replicate folders between multiple servers.
DFS Replication uses a compression algorithm known as remote differential compression (RDC). RDC detects the changes to the data and enables DFS Replication to replicate only the changed file blocks instead of the entire file.
Virtual Lab Setup:
- WS2K19-DC01: Active Directory Domain Controller with DNS role.
- WS2K19-SRV02: DFS Namespace Server for mylab.local domain.
- WS2K19-SRV01: Member Server for mylab.local domain.
Install the DFS Replication role:
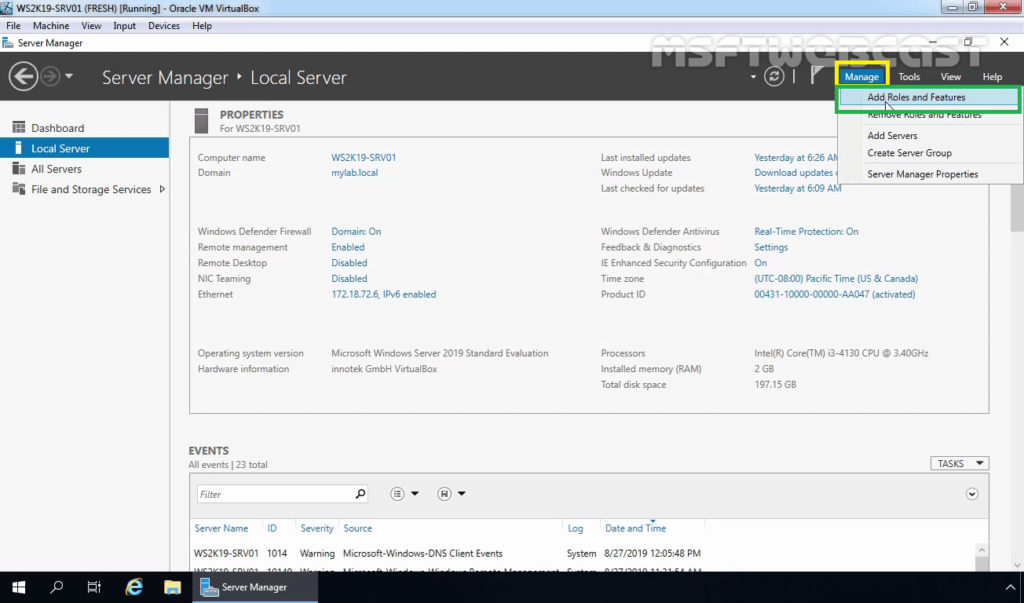
1. Log in to the WS2K19-SRV01 server and open the Server Manager console.

2. Click on Manage and select Add roles and features.
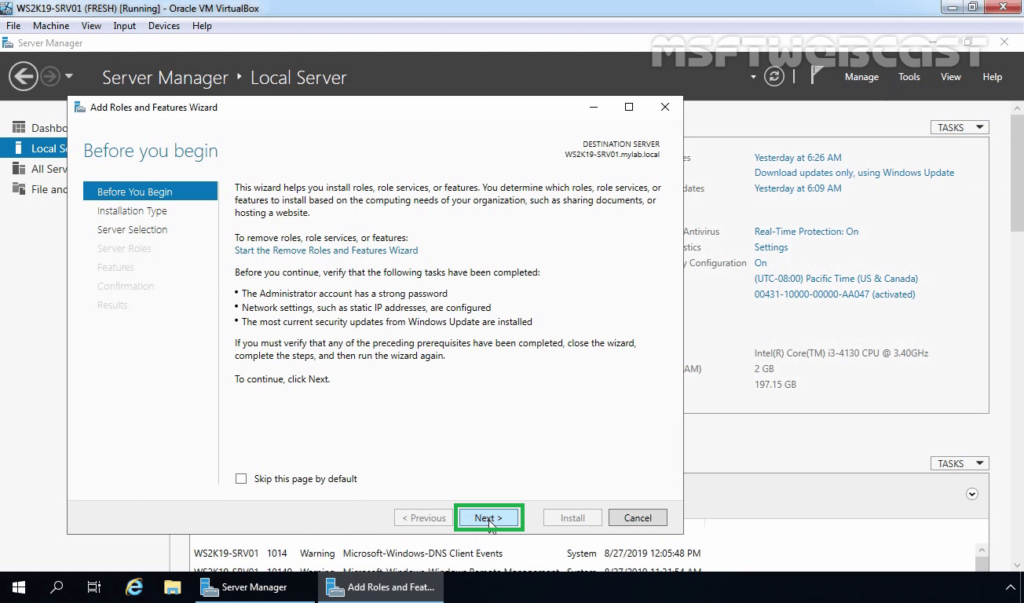
3. Click on Next on Before you begin console.
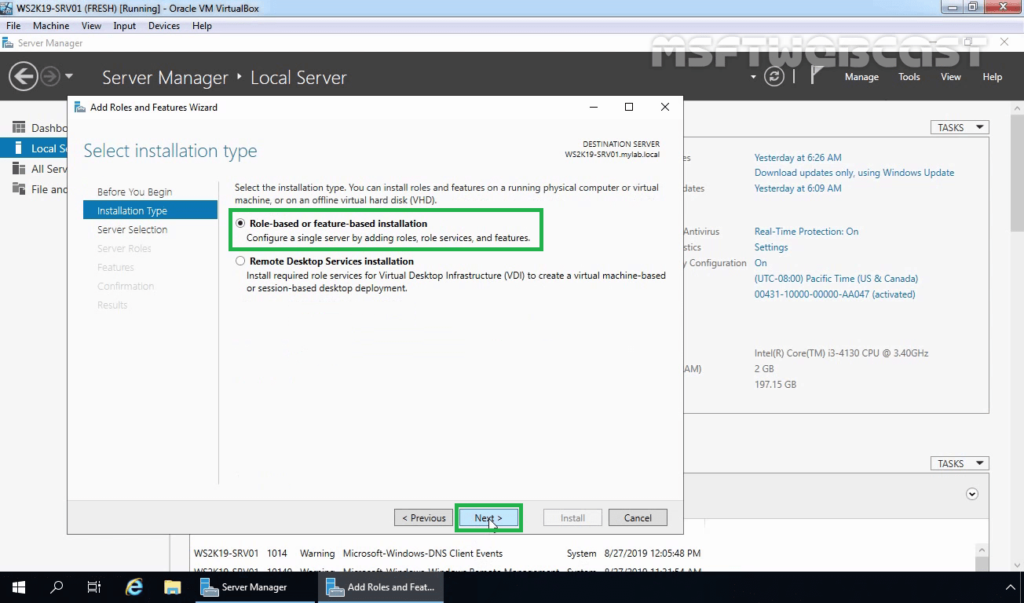
4. Choose Role-based or Feature-based installation and click Next.
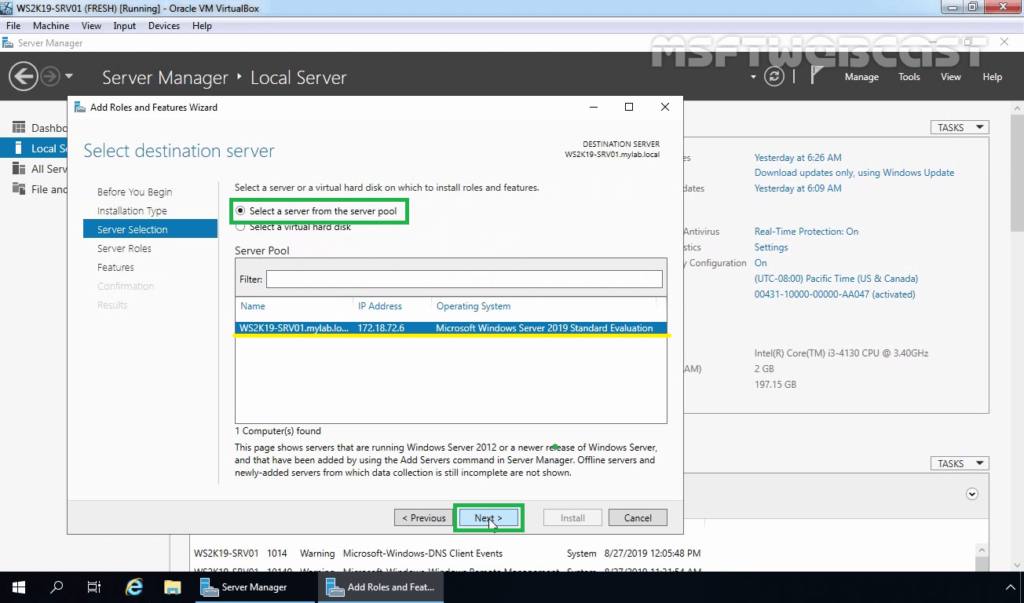
5. Select your server on which you want to install the DFS replication server role. Click on Next.
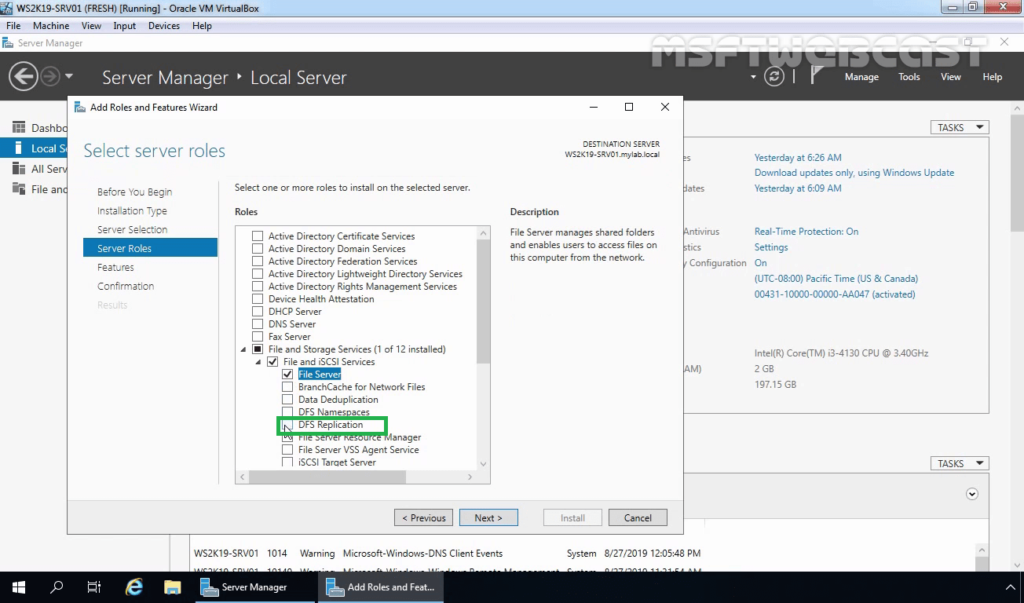
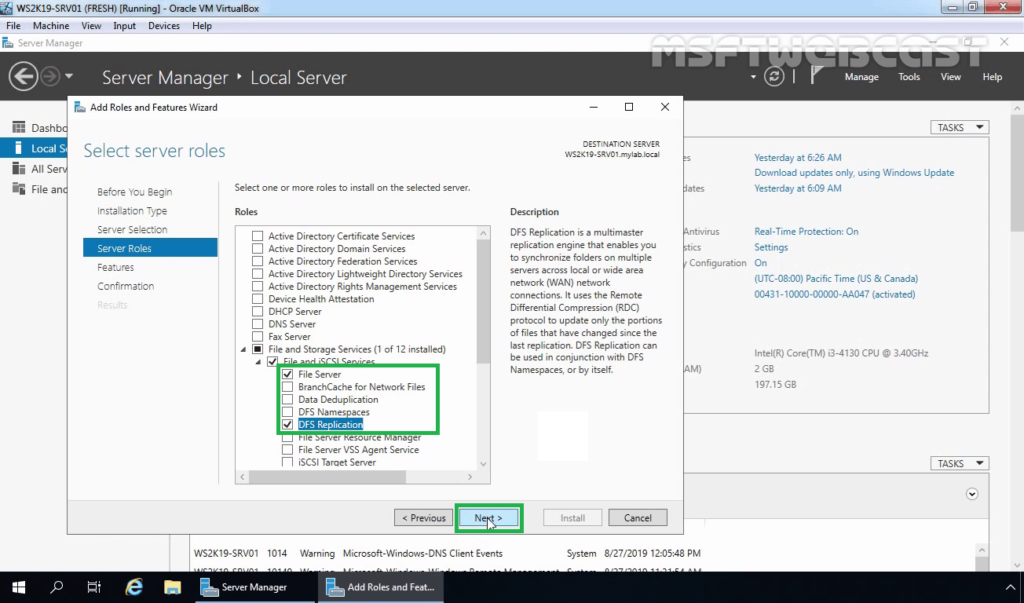
6. On select server role console, expand the File and Storage Services, expand File and iSCSI Services and select DFS Replication from the list.
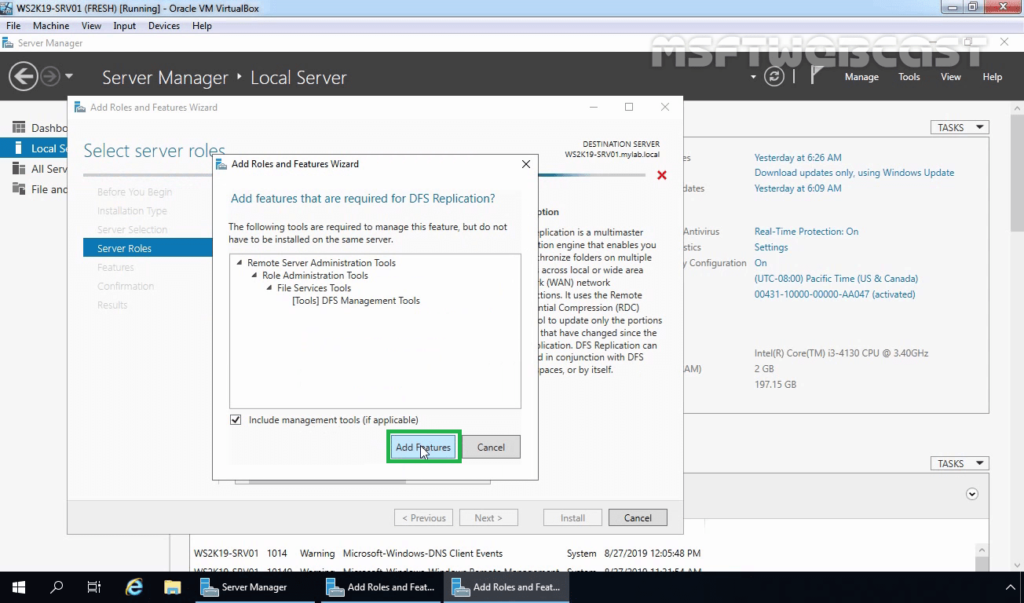
7. Click on Add Features when prompted to install the Management tools.
8. Click on Next.
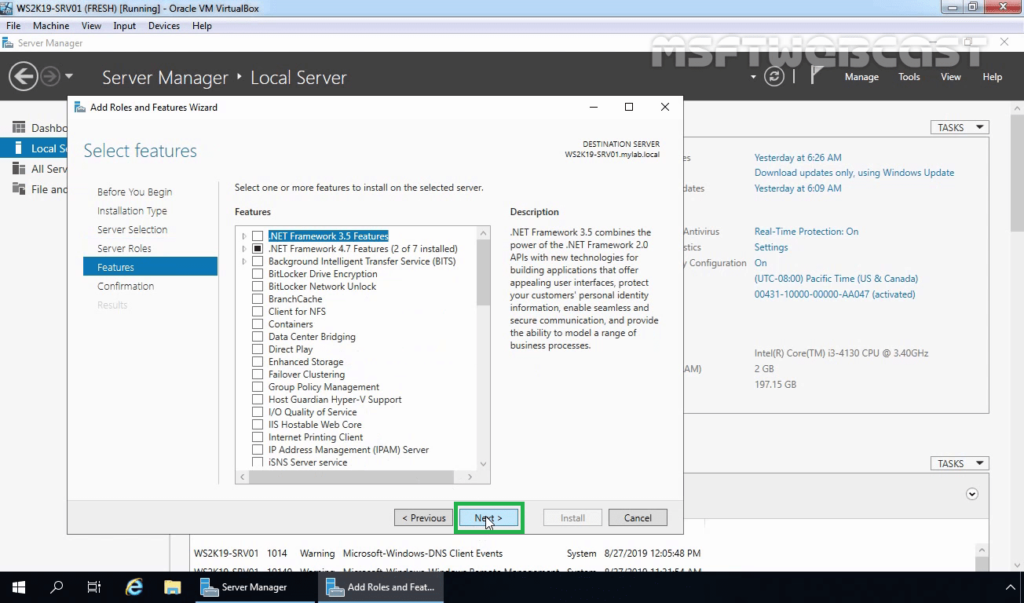
9. On Select features console, click on Next to continue.
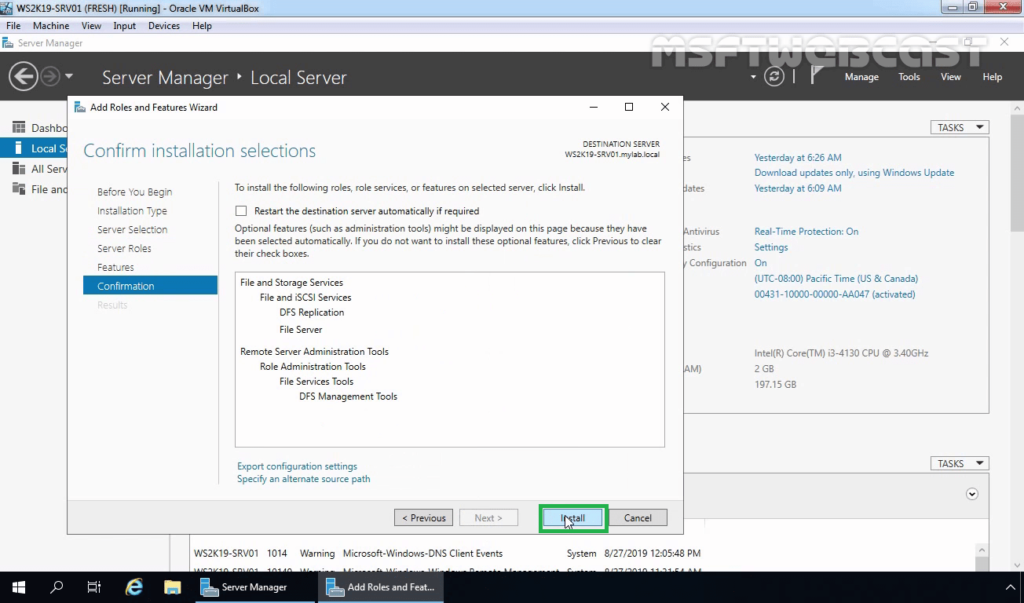
10. Click on Install and wait for the installation process to complete.
Note: We need to perform the same steps to install the DFS replication role on WS2K19-SRV02.
In the previous post, we have created DFS namespace and added one DFS folder with a target path on the WS2K19-SRV02 server.
- DFS Namespace Path: \\mylab.local\store
- DFS Folder Path: \\mylab.local\store\TestData
- Original Shared Folder Path: \\WS2K19-SRV02\TestUsersData
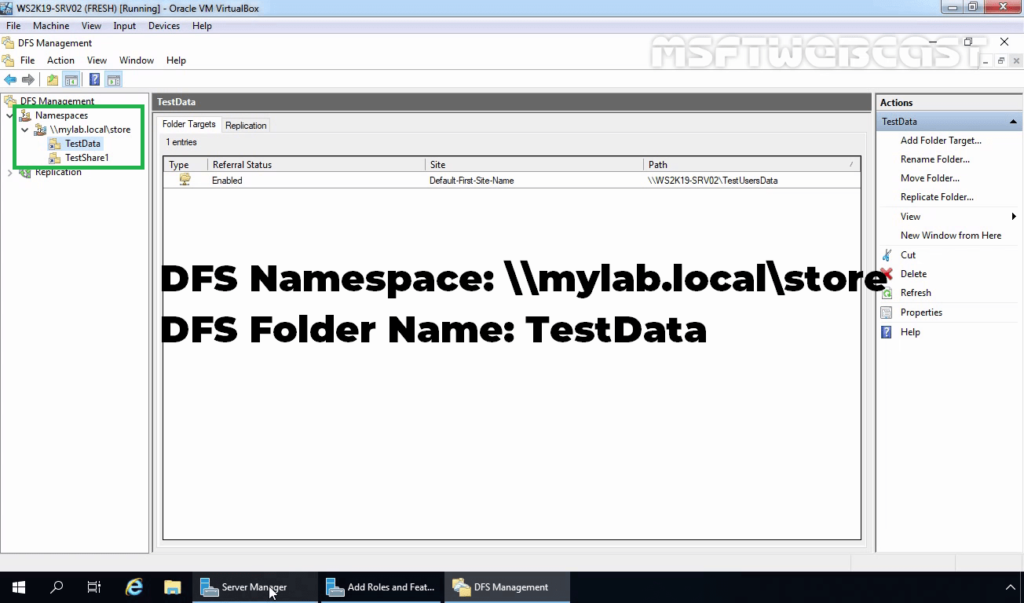
We will enable DFS replication for the TestData DFS folder.
Configure DFS Replication:
Before configuring replication, you need to add a network shared folder on the second DFS server.
On the WS2K19-SRV01 server, create a new shared folder with default NTFS permission on E:\ drive named TestUsersDatacopy.

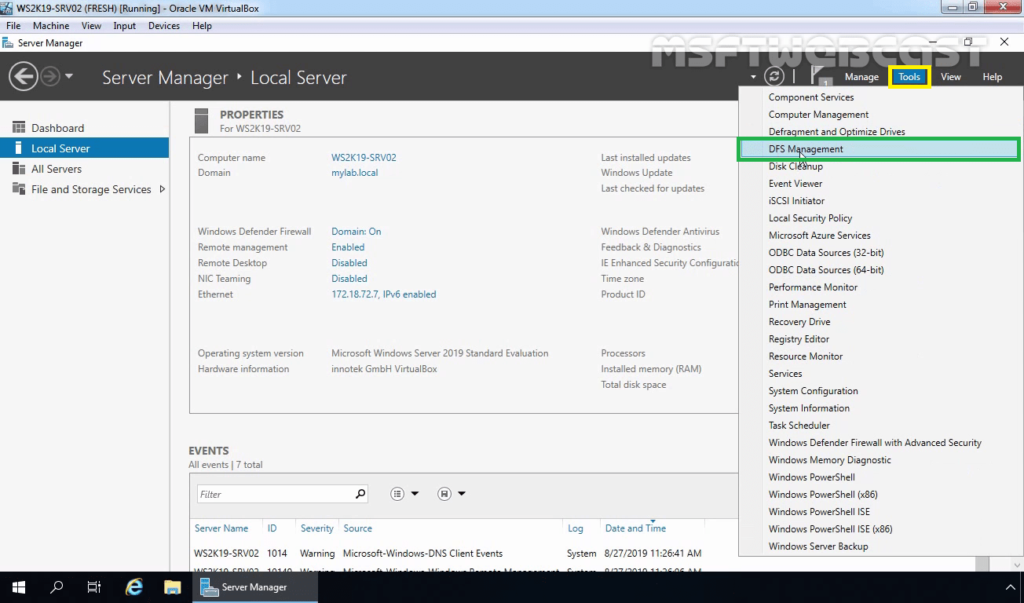
11. From the Server Manager console, select DFS Management from the Tools menu.
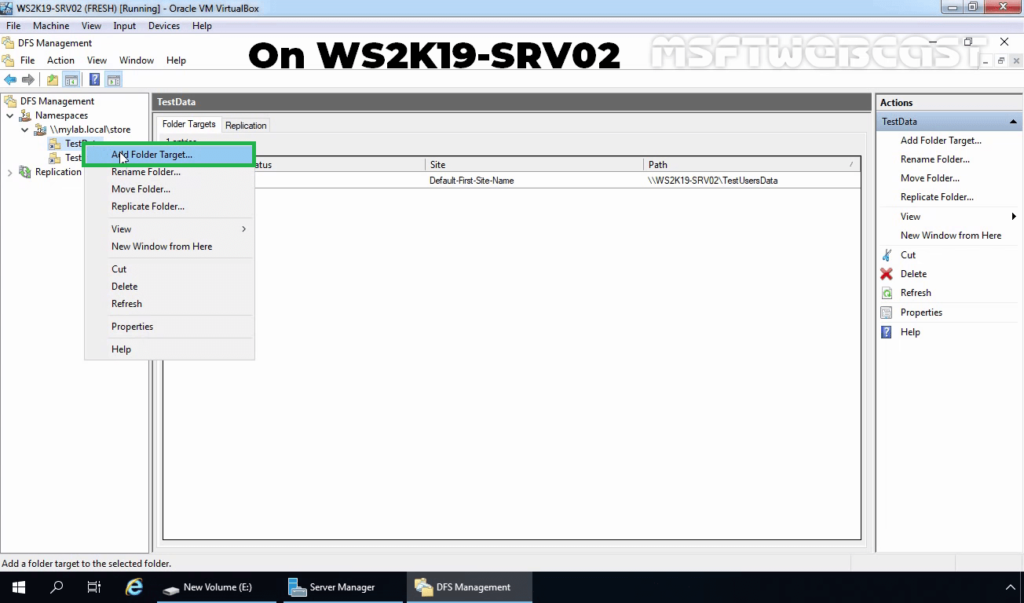
12. In DFS Management console right-click on DFS folder (In our case, it will be TestData) and select Add Folder Target.
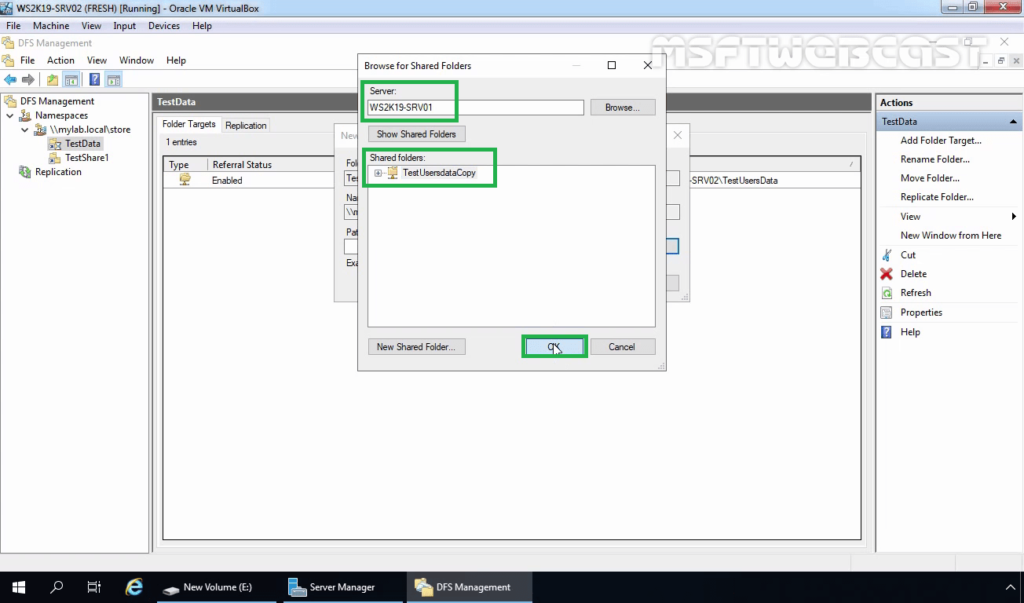
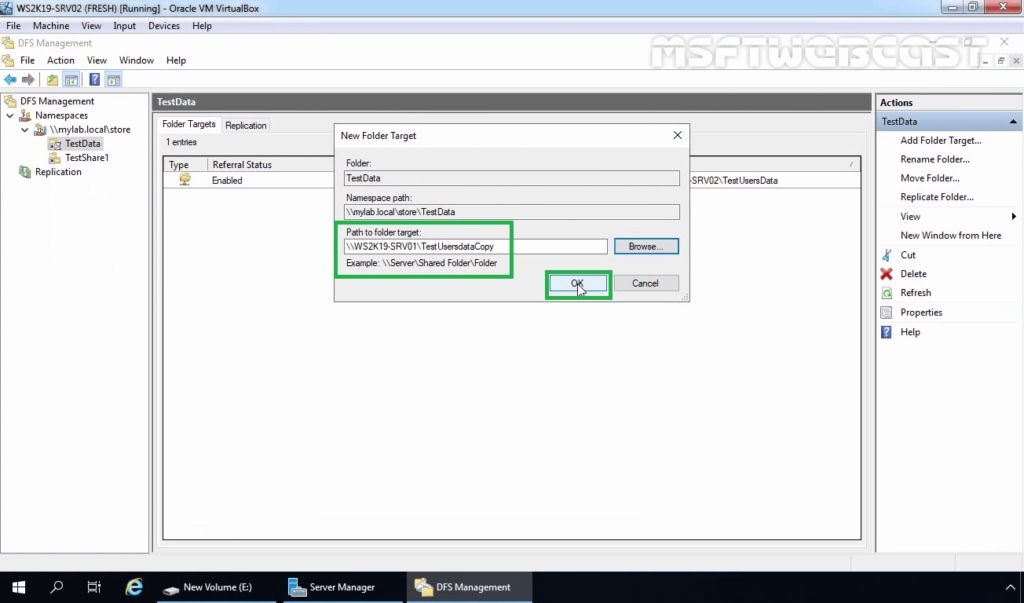
13. Enter the name of the shared folder and click OK. In our example, the shared folder path will be \\WS2K19-SRV01\TestUsersDataCopy.
14. Click on OK.
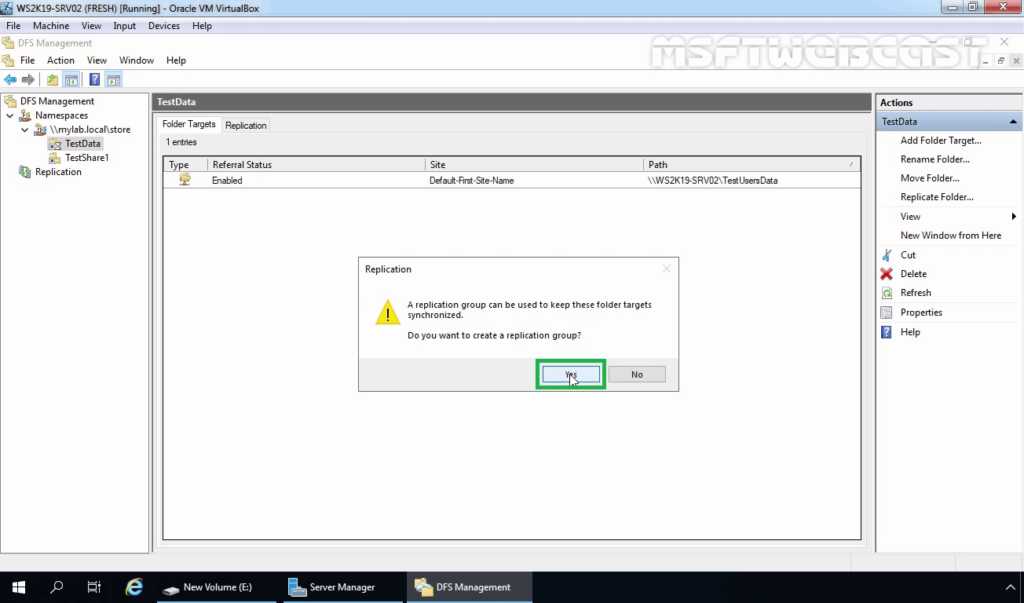
15. For configuring replication, click Yes on the Replication page.
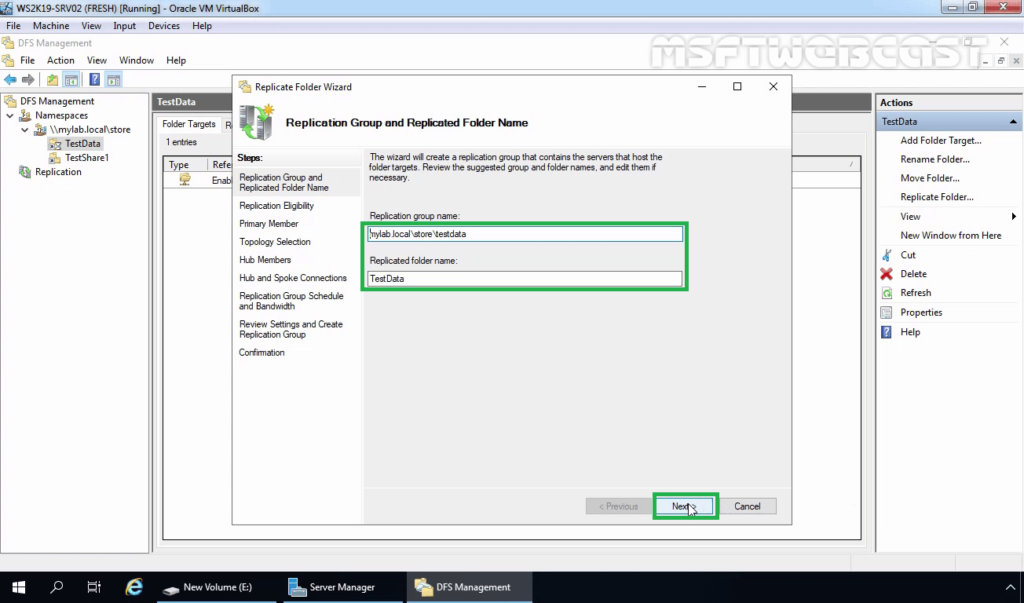
16. In the DFS Replication Configuration Wizard, verify the name of the replication group and the folder which we want to replicate. Click on Next.
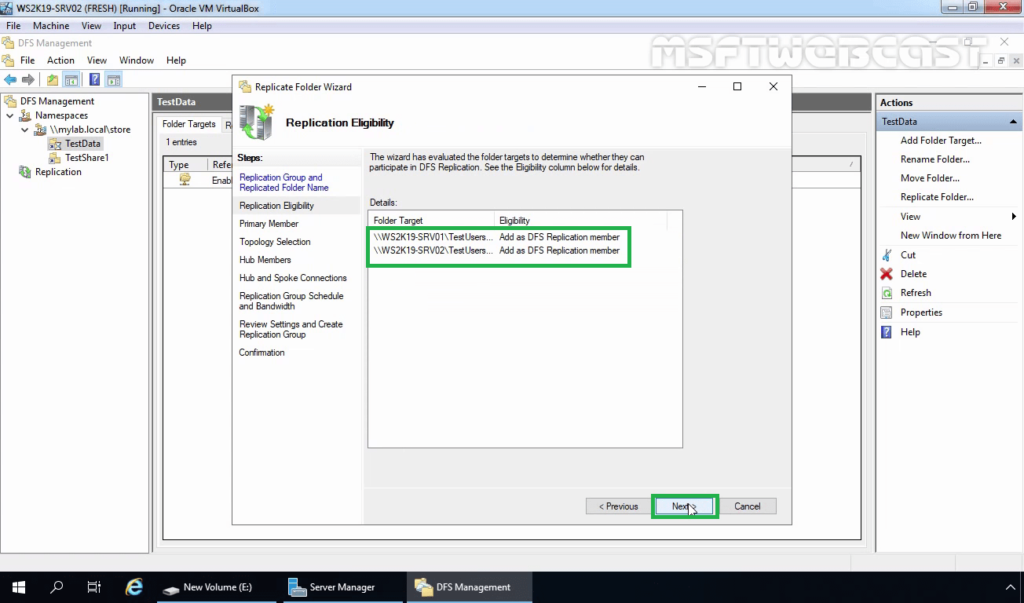
17. Verify the shared folder paths on both servers. Click on Next.
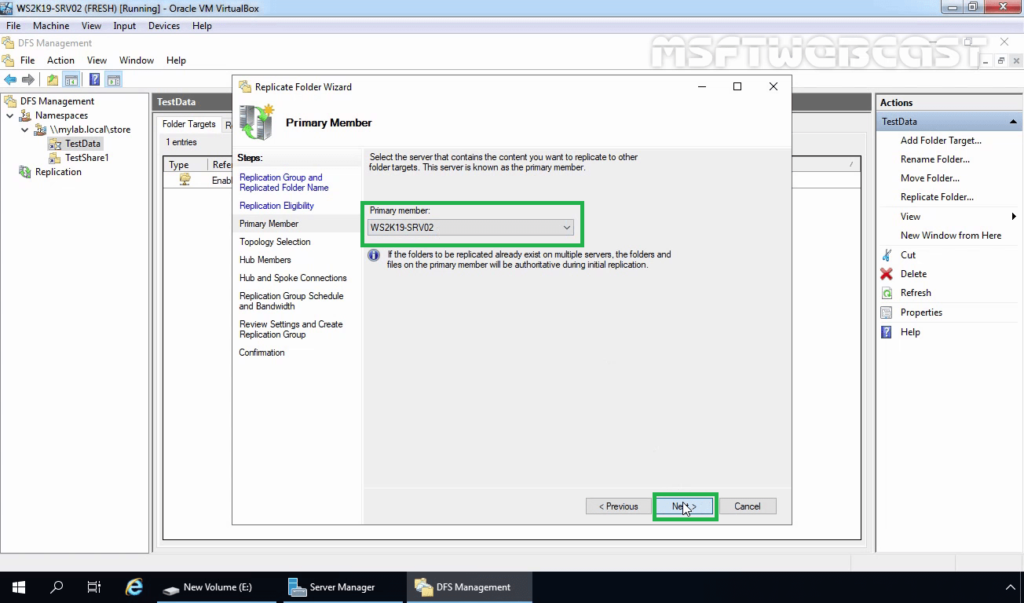
18. Select the primary server on which we have stored the data initially. Click on Next.
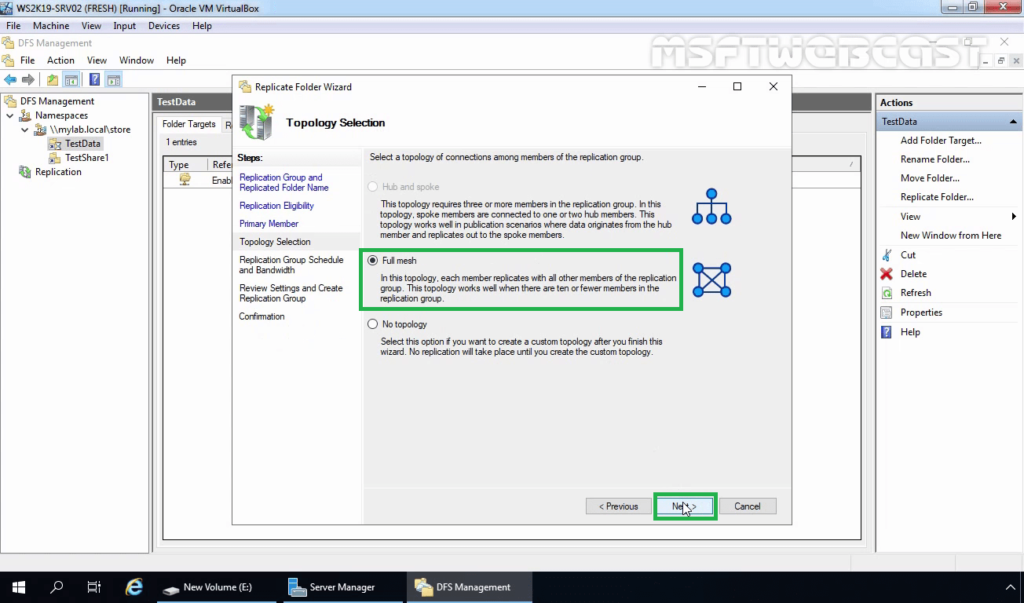
19. On the Topology Selection console, select the Full Mesh topology and click Next.
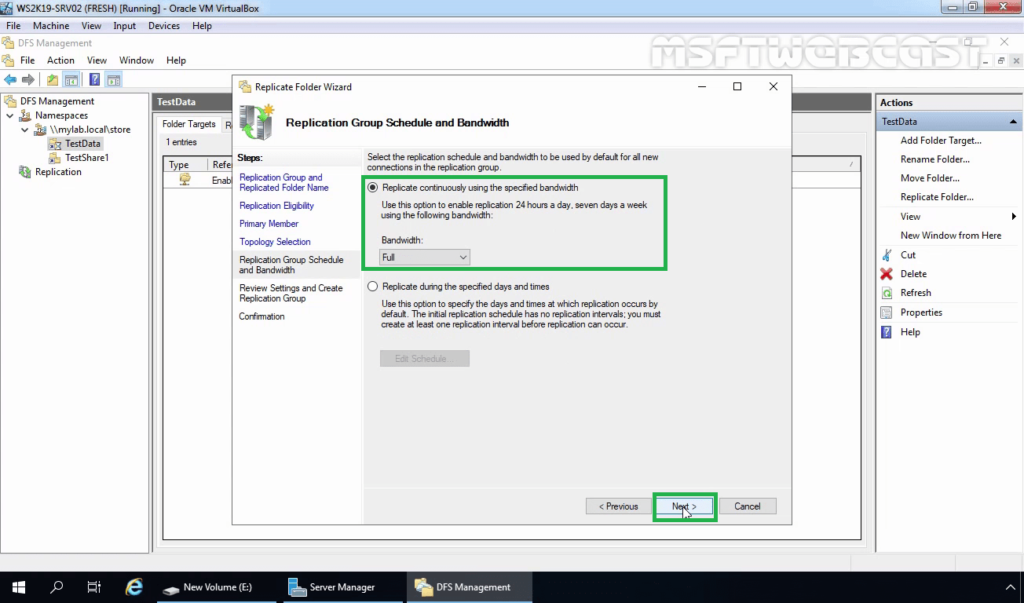
20. With DFS Replication, you can choose the replication schedule and the bandwidth you want to allocate to the DFS replication process. Leave the default setting and then click Next.
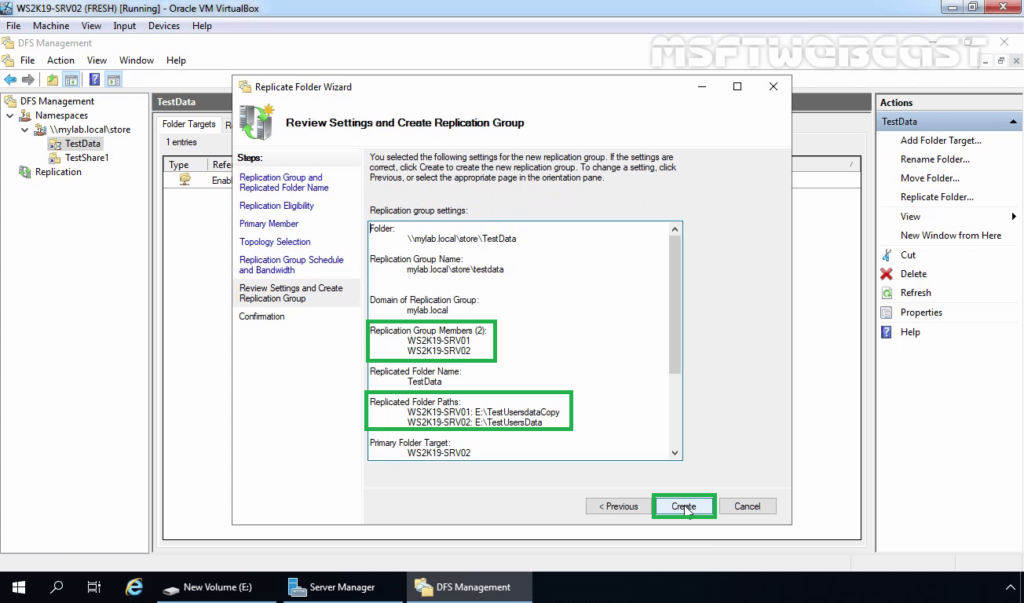
21. Review the settings and then click on Create.
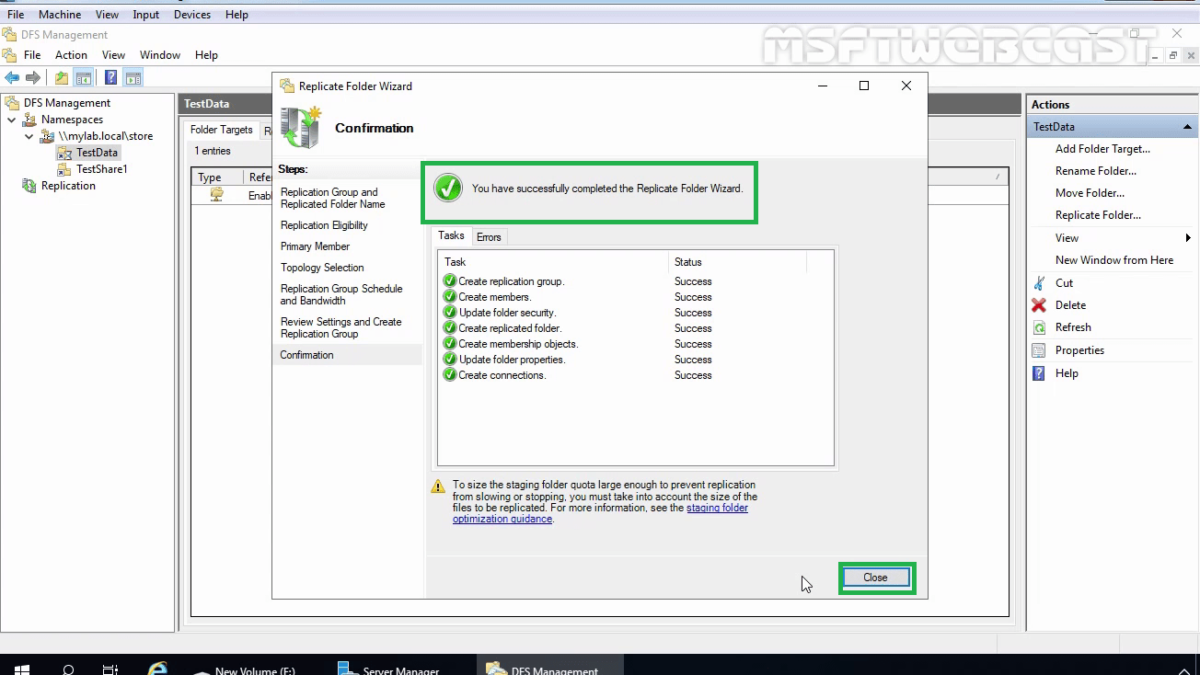
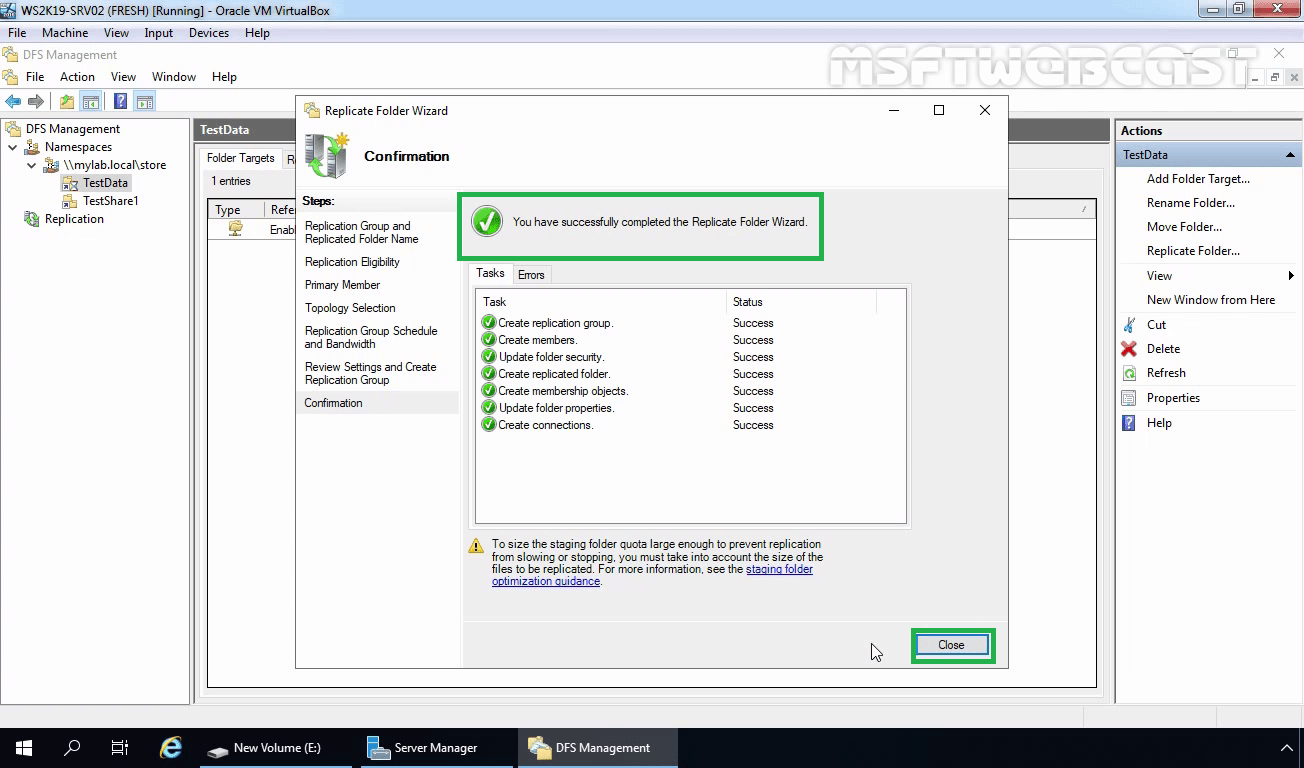
22. On the Confirmation page, click on Close to close the wizard.

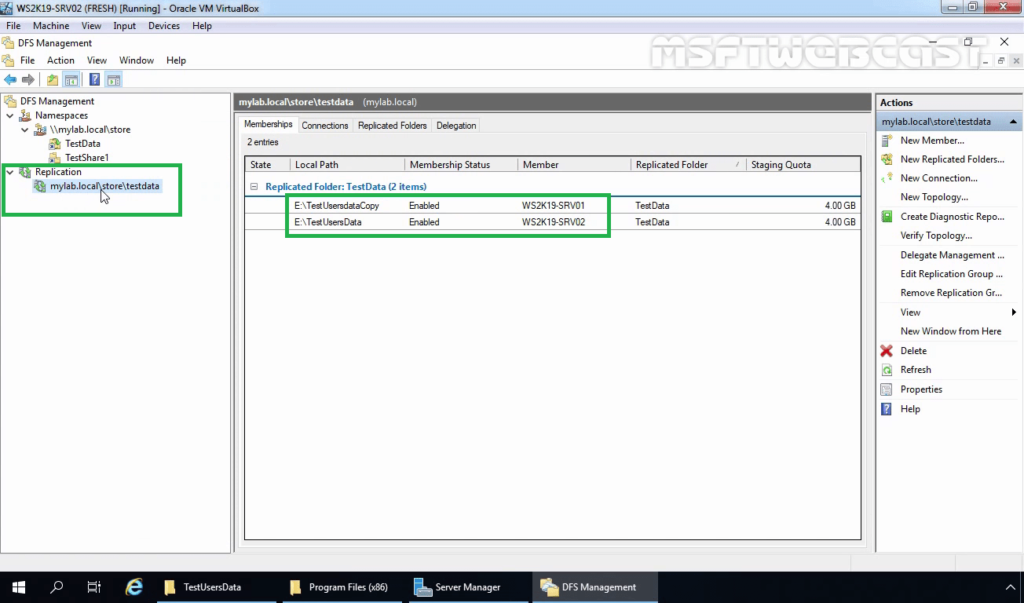
23. Here, we can verify that our new replication group is created.
Test DFS Replication:
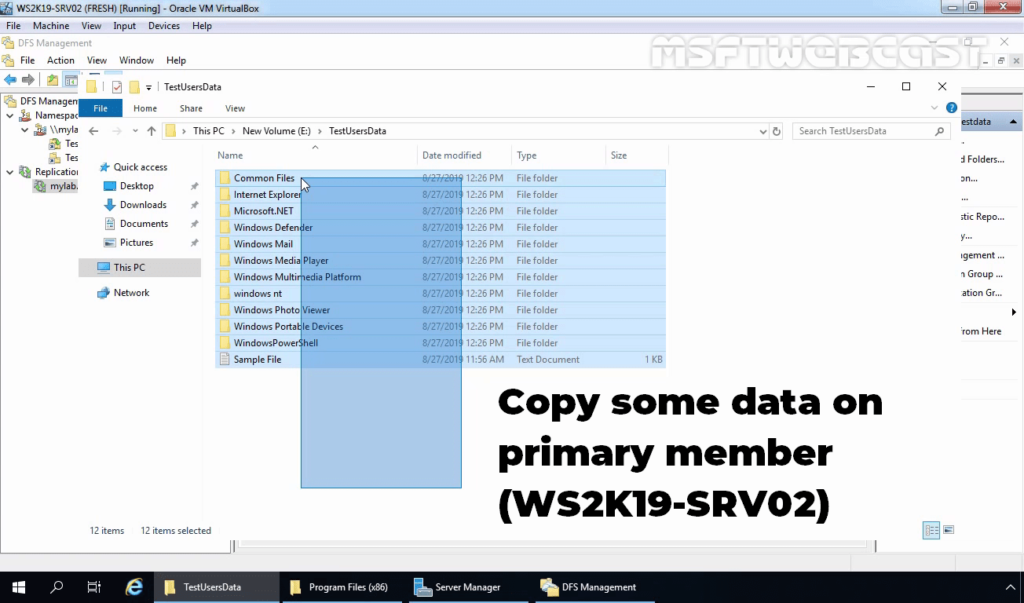
24. To test the replication between both servers, copy some data on the primary server (WS2K19-SRV02) and see the data should be on the secondary server (WS2K19-SRV01) as well.
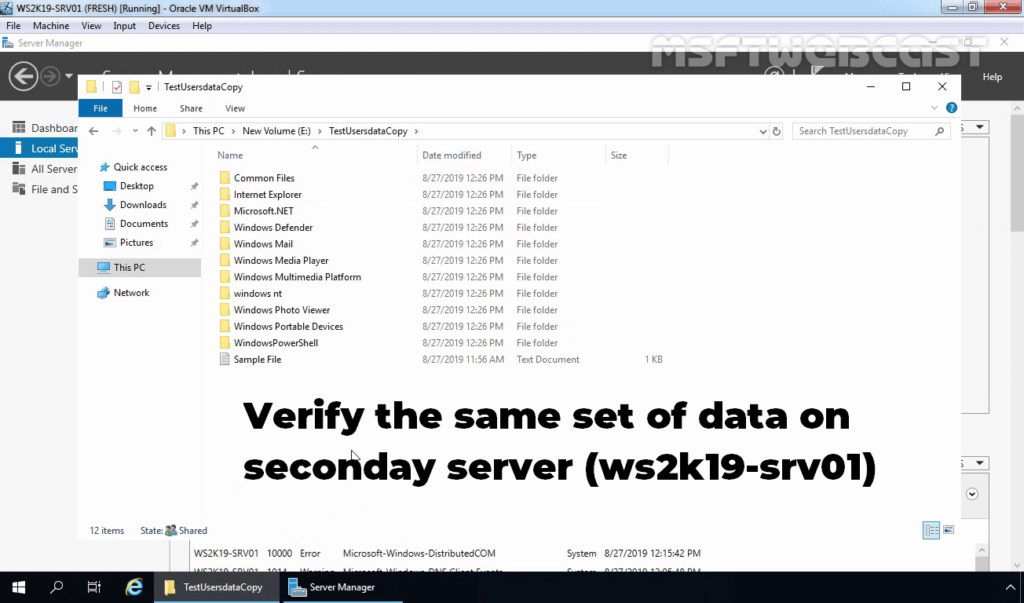
25. Verify the data on Secondary Server (WS2K19-SRV01).
I hope this article will be helpful for you all. Thank you for reading.