In this article, we will install and configure DFS (Distributed File System) Namespaces in Windows Server 2019.
What is DFS?
DFS Namespaces is a role service in Windows Server that allows you to group shared folders located on different servers into one or more logically structured namespaces.
DFS allows you to configure shared folders hosted on different servers in one or more logically structured namespaces.
Virtual Lab Setup:
- WS2K19-DC01: Active Directory Domain Controller with DNS.
- WS2K19-SRV02: Member Server for mylab.local domain.
Installing the DFS role:
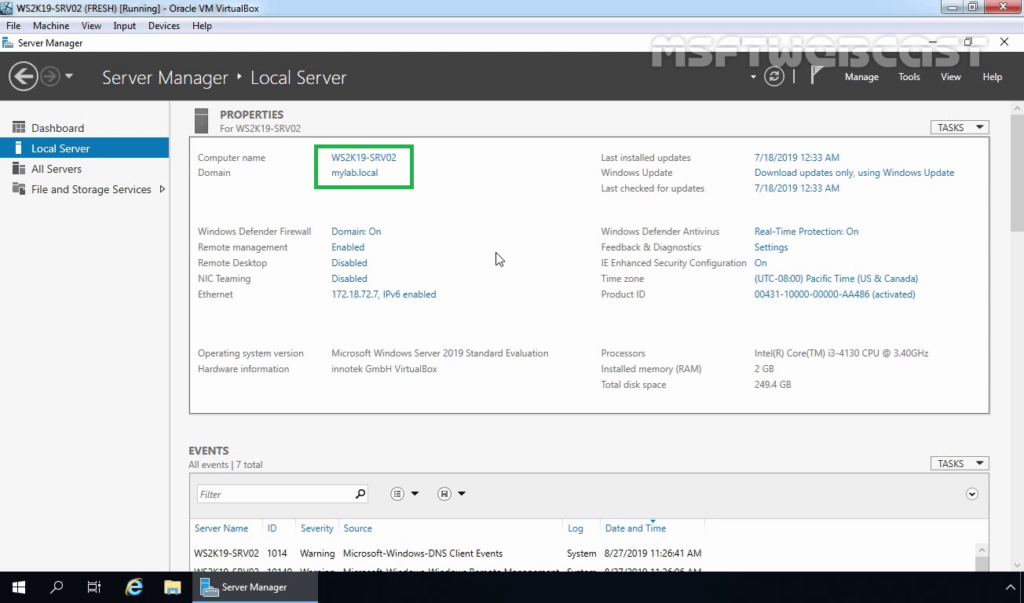
Log in to your Windows Server 2019 and open the Server Manager console.
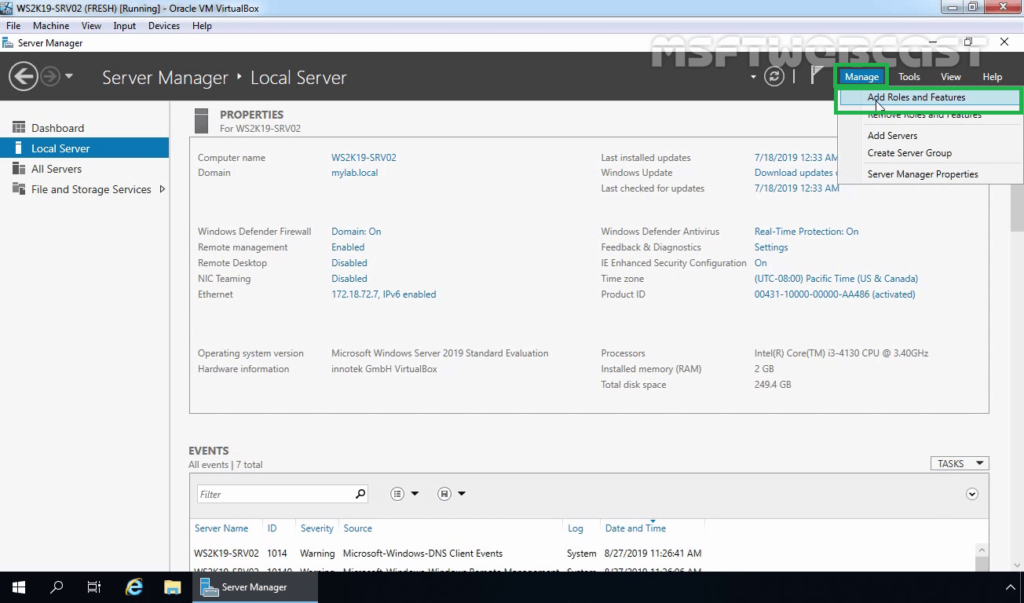
Click on Manage and select Add roles and features.
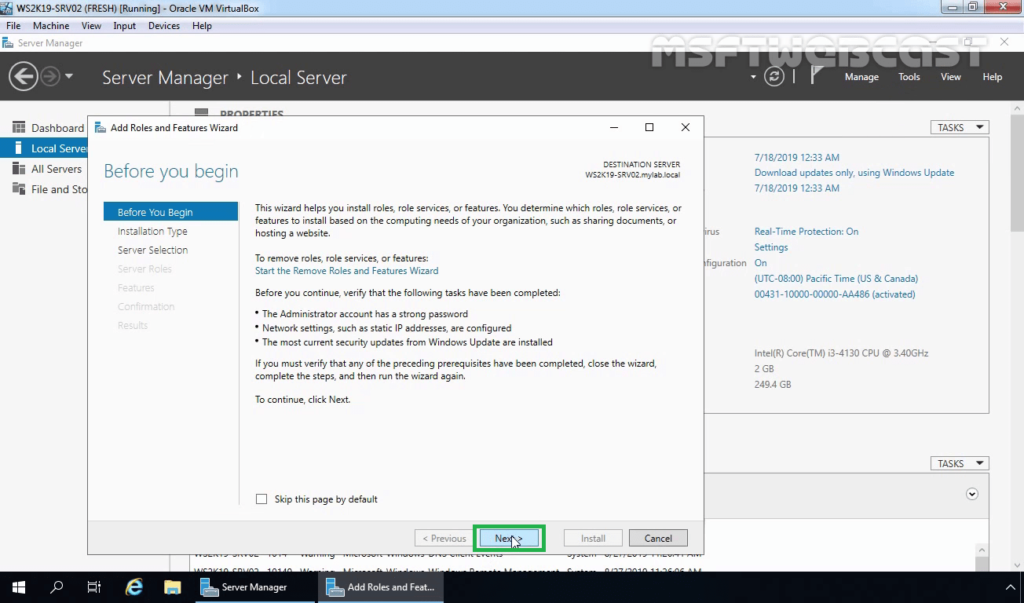
Click on Next on Before you begin console.
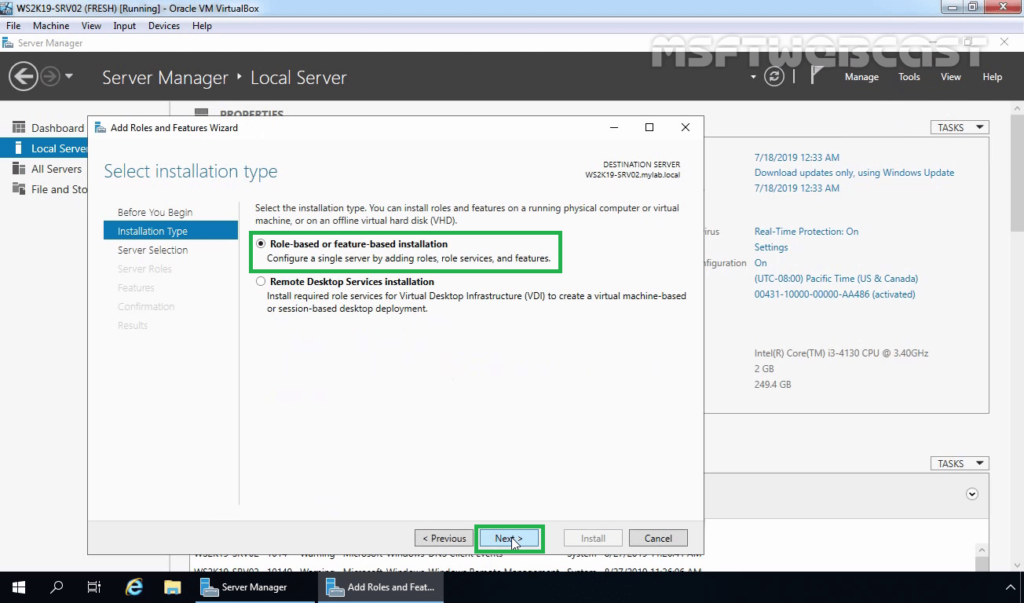
Choose Role-based or Feature-based installation and click Next.
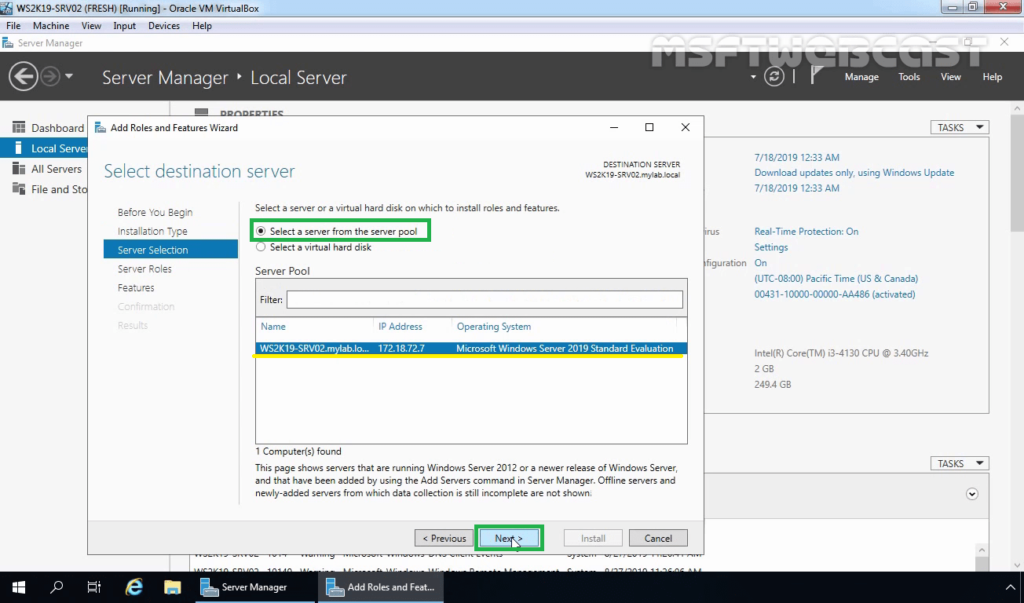
Select your server on which you want to install the DFS server role. Click on Next.
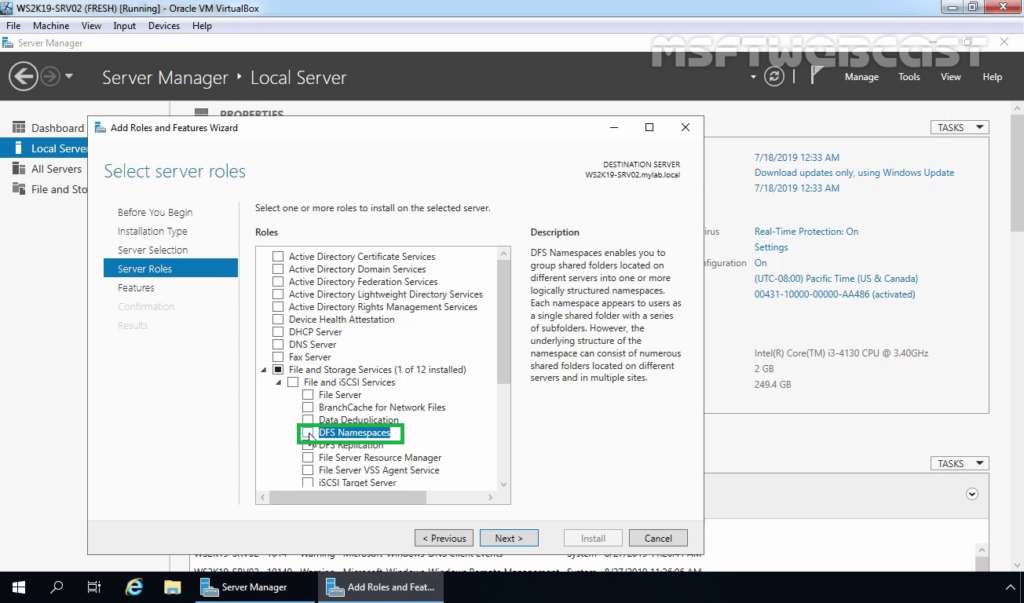
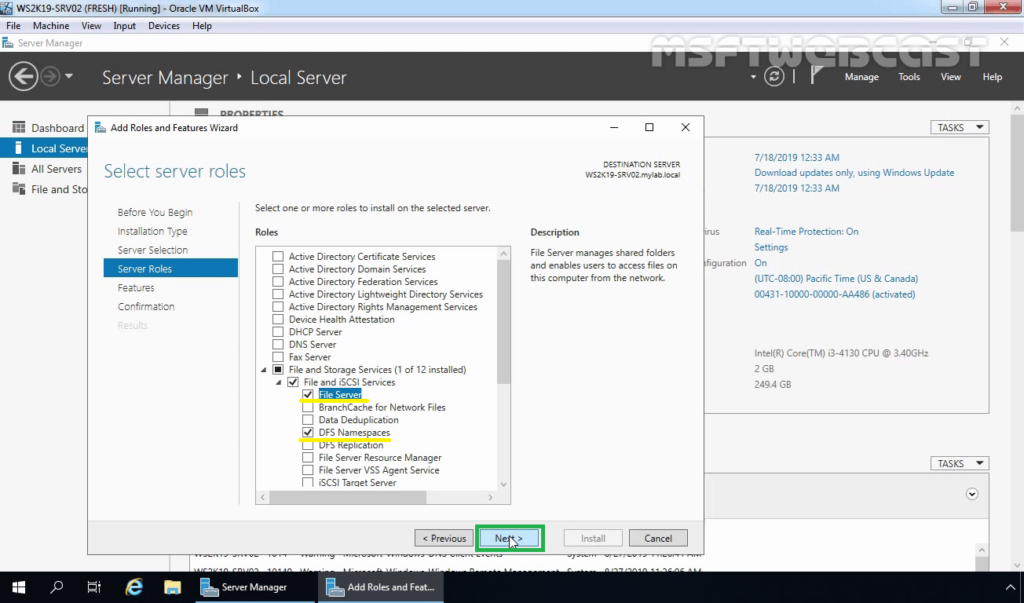
On select server role console, expand the File and Storage Services, expand File and iSCSI Services and select DFS Namespaces from the list.
Click on Add Features when prompted to install the Management tools.
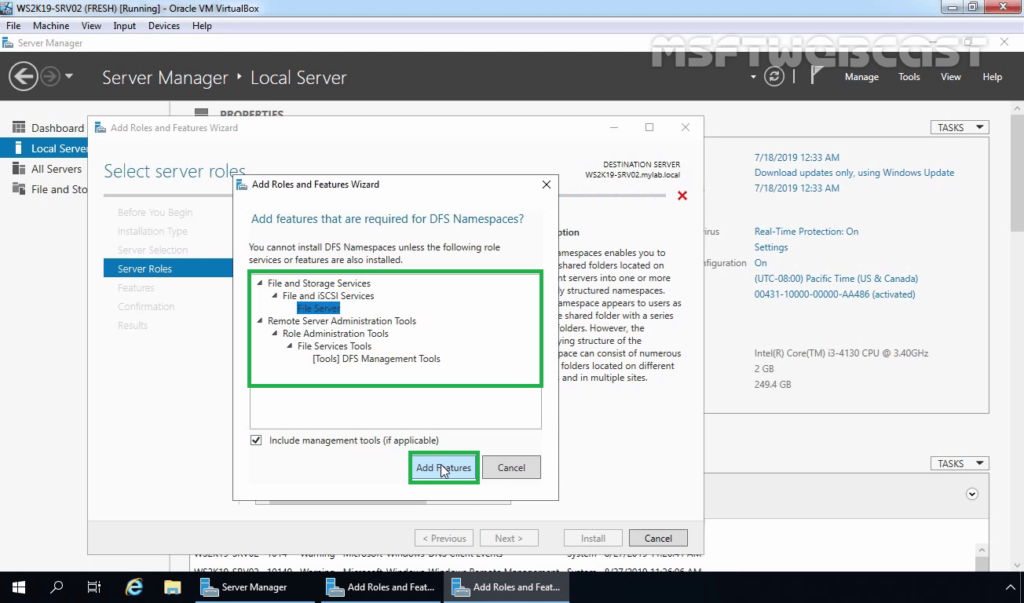
If you have not installed the File Server role, DFS will also install it as the File Server role is one of the prerequisites for DFS Namespace. Click on Next.
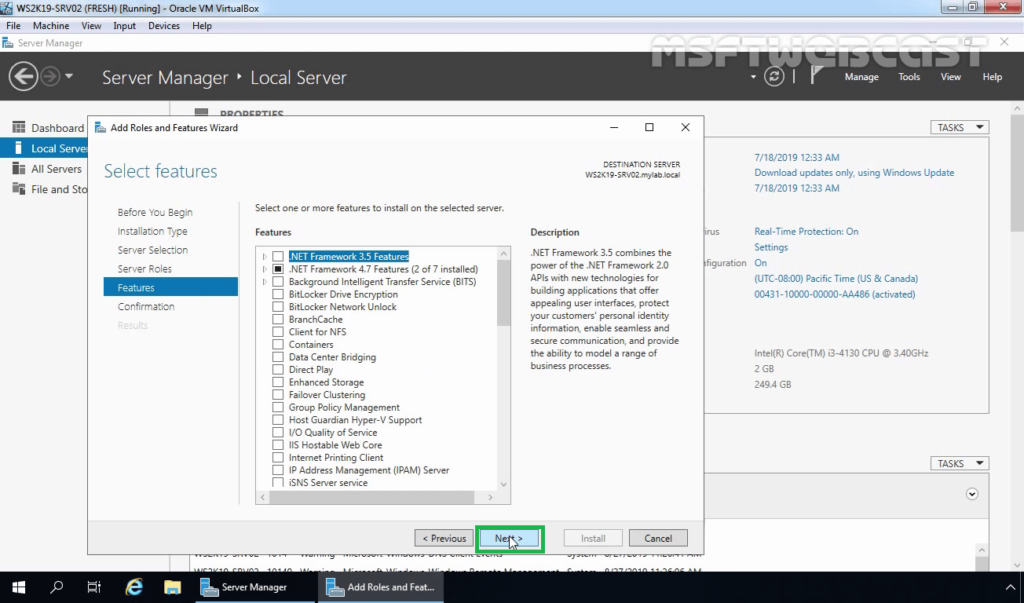
On Select features console, click on Next to continue.
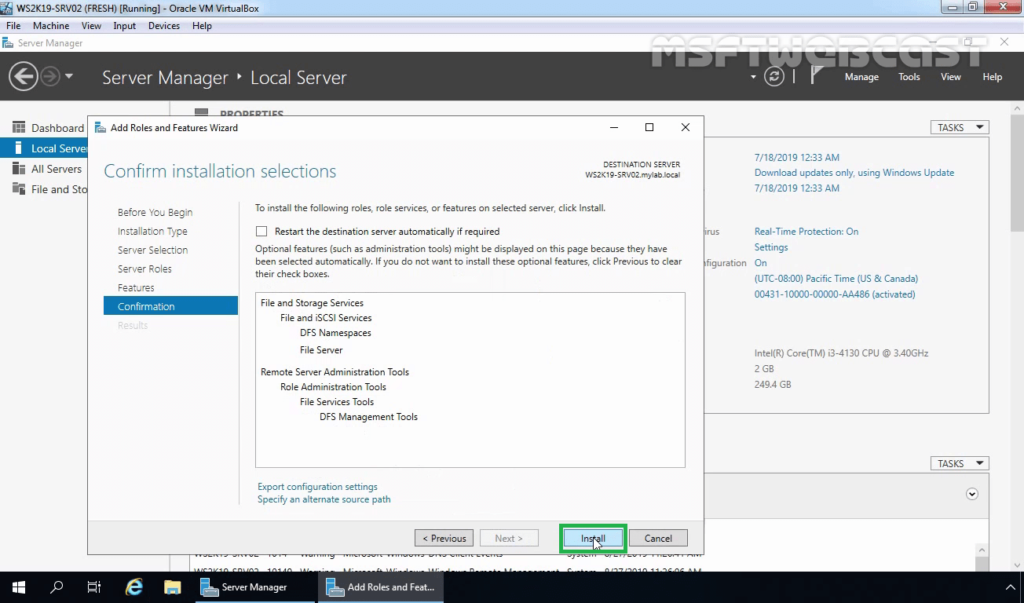
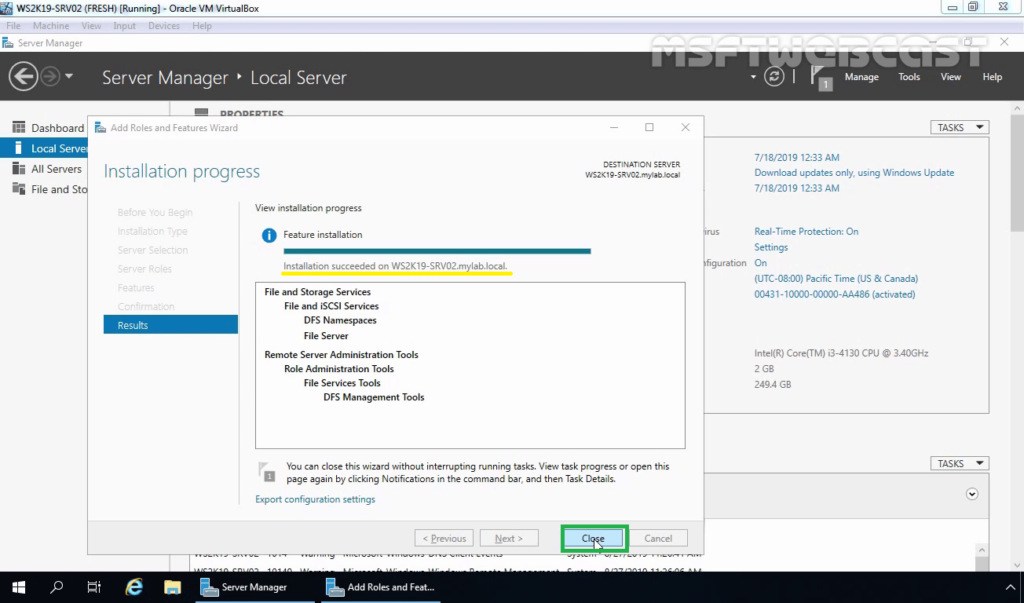
Click Install and wait for the installation process to complete.
Click on Close to close the console.
Configure DFS Namespace:
After installing the DFS role, our next step is to configure DFS namespace.
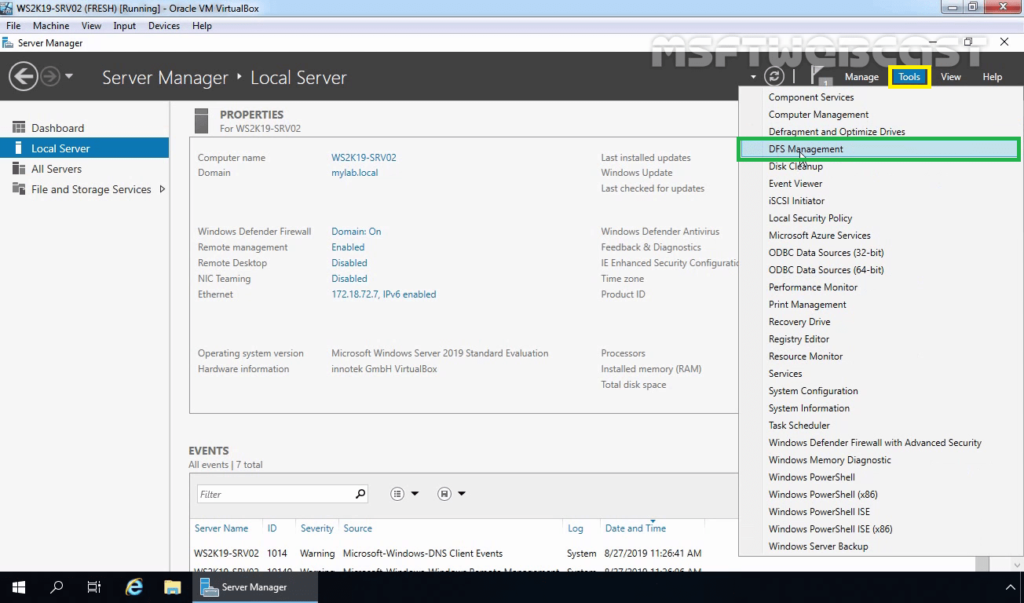
From the Server Manager console, select DFS Management from the Tools menu.
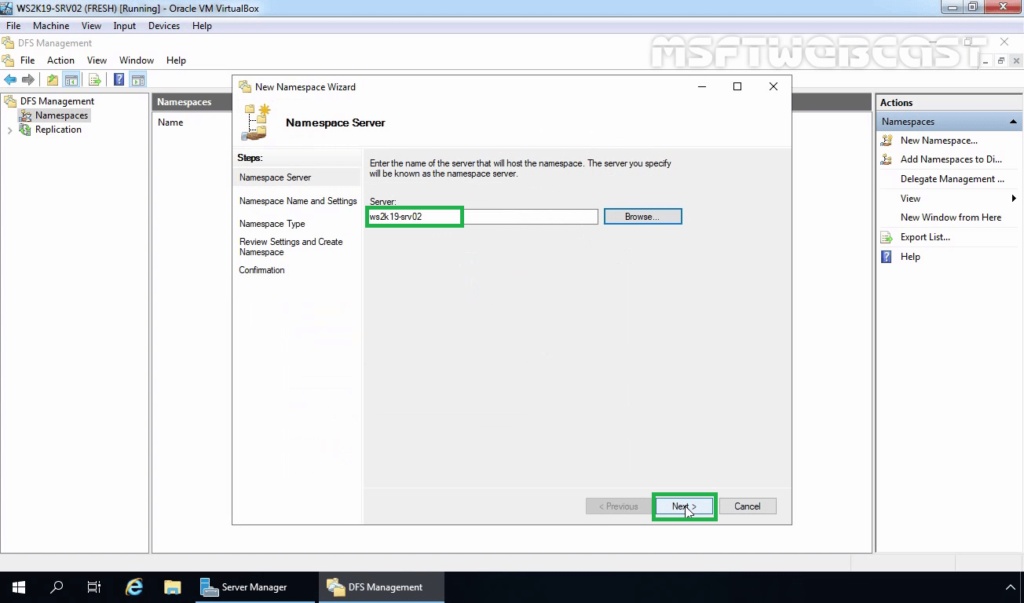
Expand DFS Management, right-click on Namespaces and select New Namespace:

Type the name of the server that will host the namespace. In our case, WS2K19-SRV02 is going to host the DFS Namespace. Click on Next.
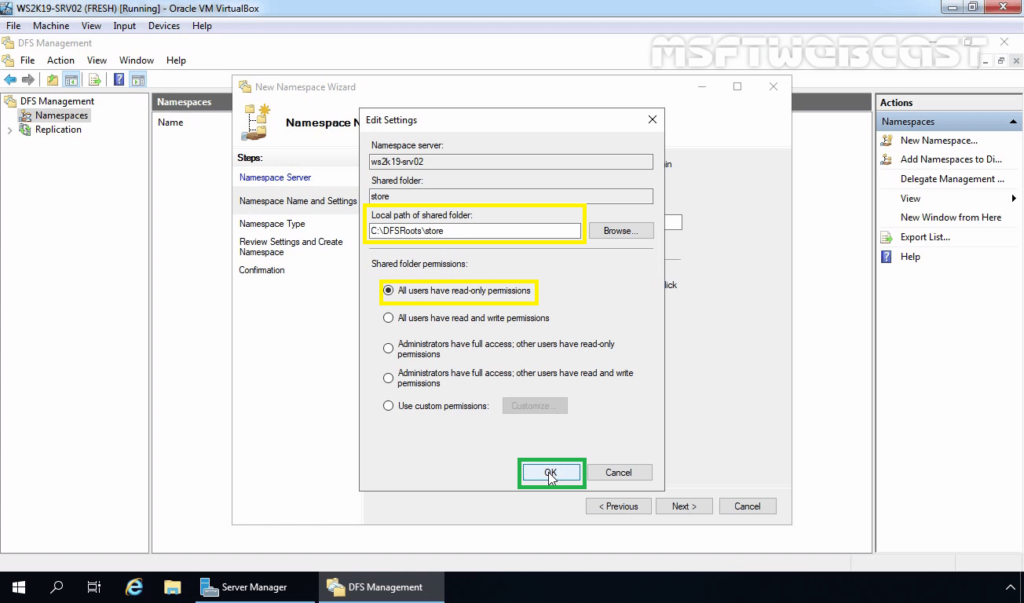
Type the name for the new DFS Namespace (Store) then click on Edit Settings.
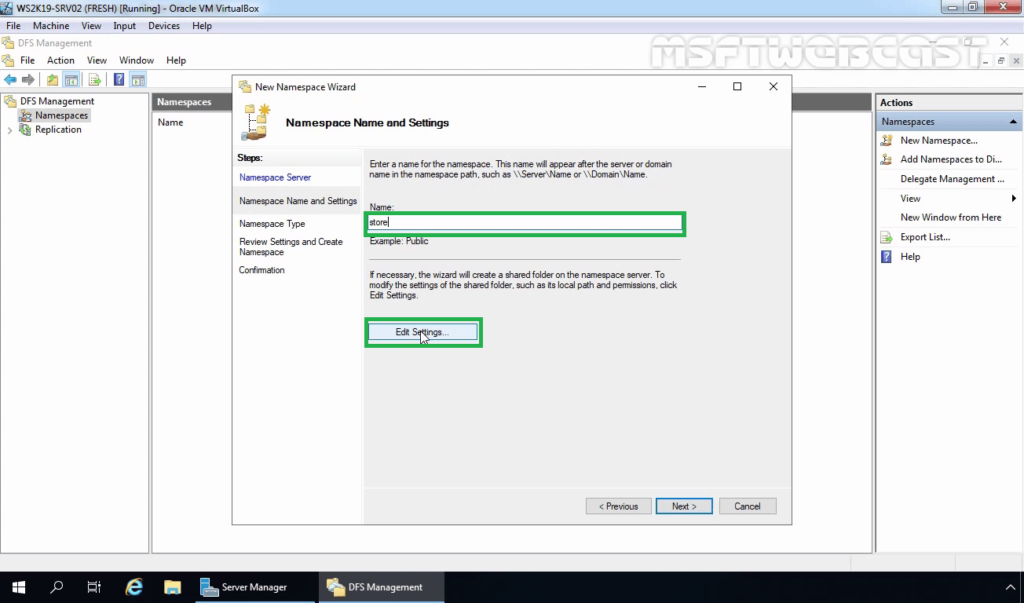
You can change the path and shared folder permissions for the new namespace. By default, all users have “read-only” permission. Click on Next.
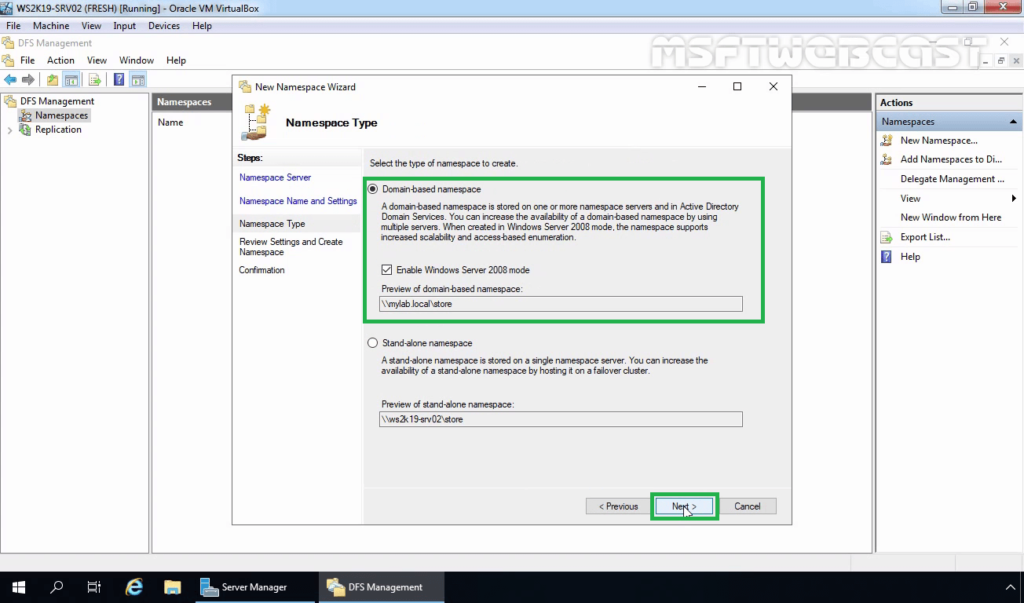
Choose the Domain-based namespace and click on Next.
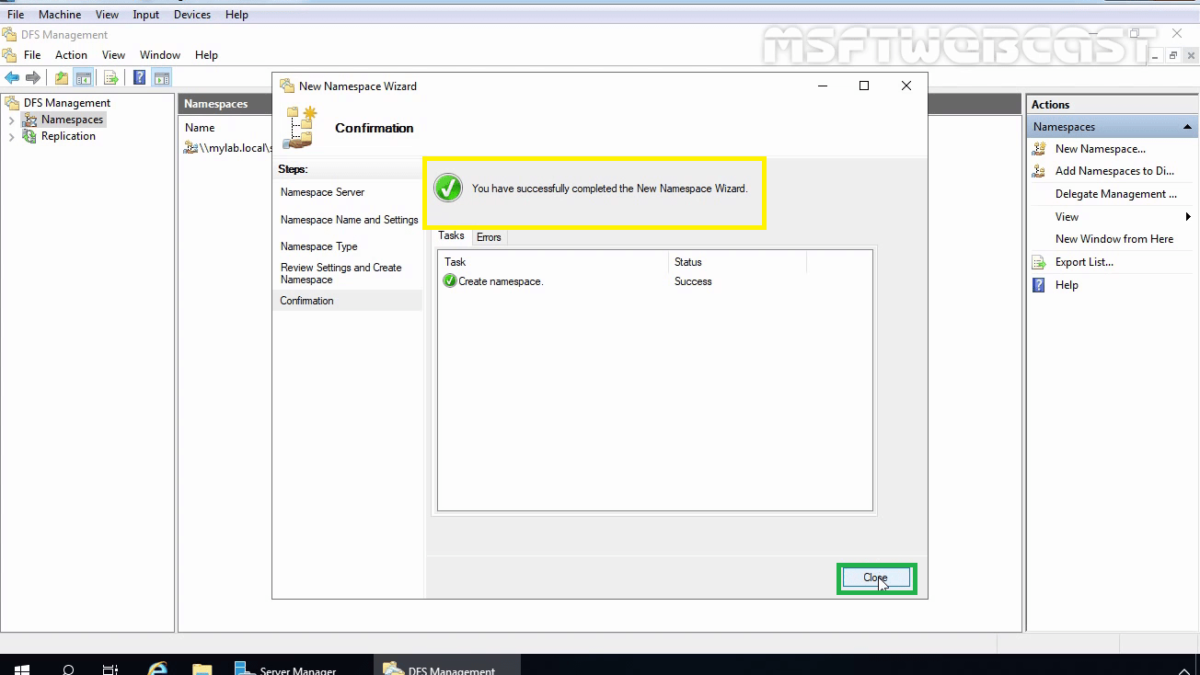
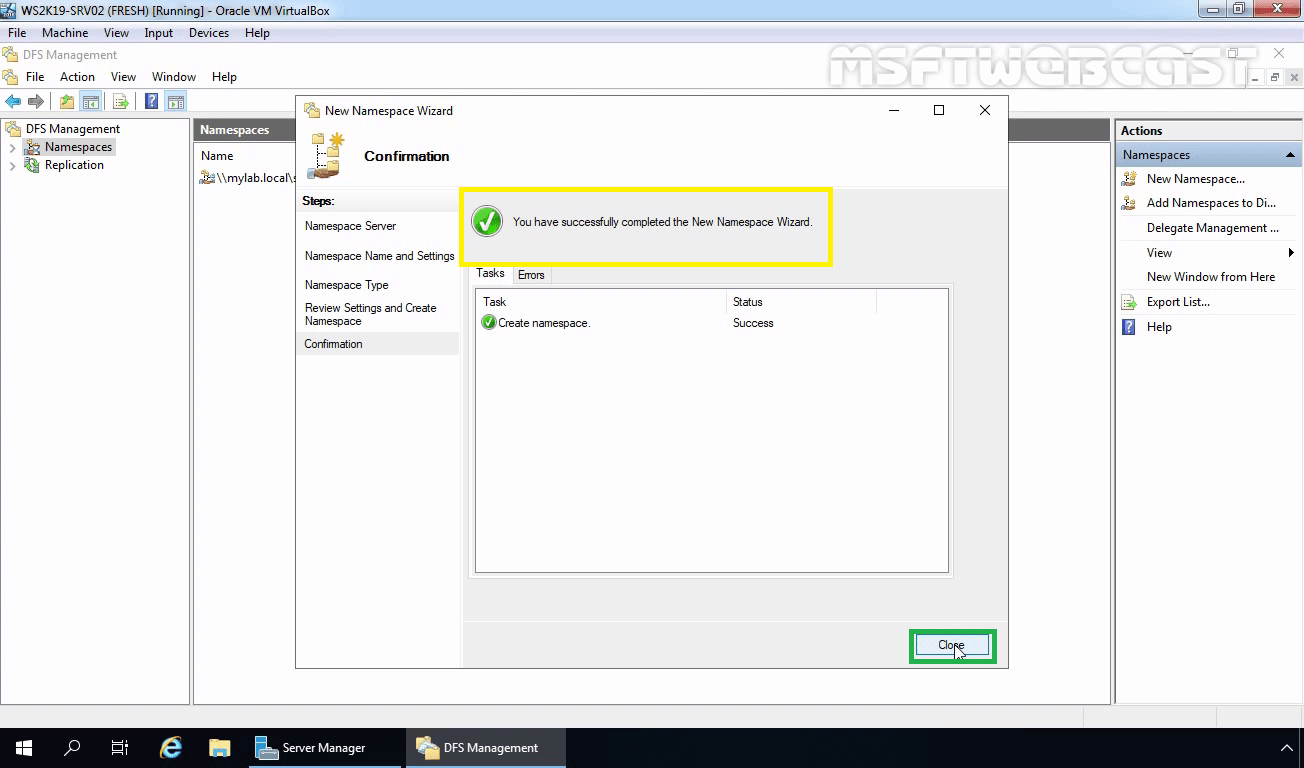
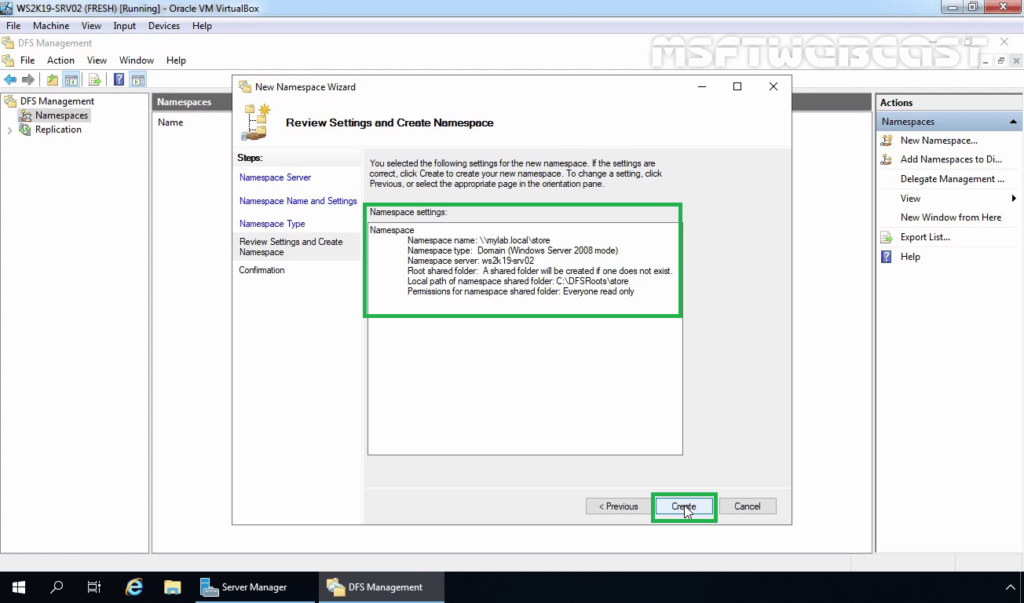
Review the settings and then click on Create.
Click on Close to close the namespace wizard.

Create DFS folders with Folder Target:
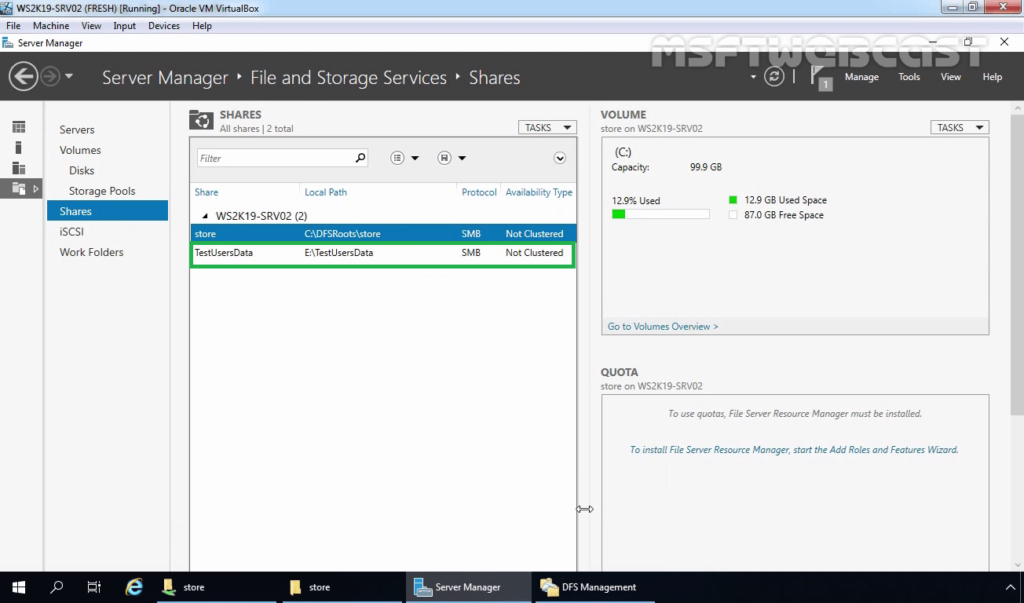
For the testing purpose, I have created one shared folder with proper NTFS permission on the local server WS2K19-SRV02. We will add that folder to the DFS namespace.
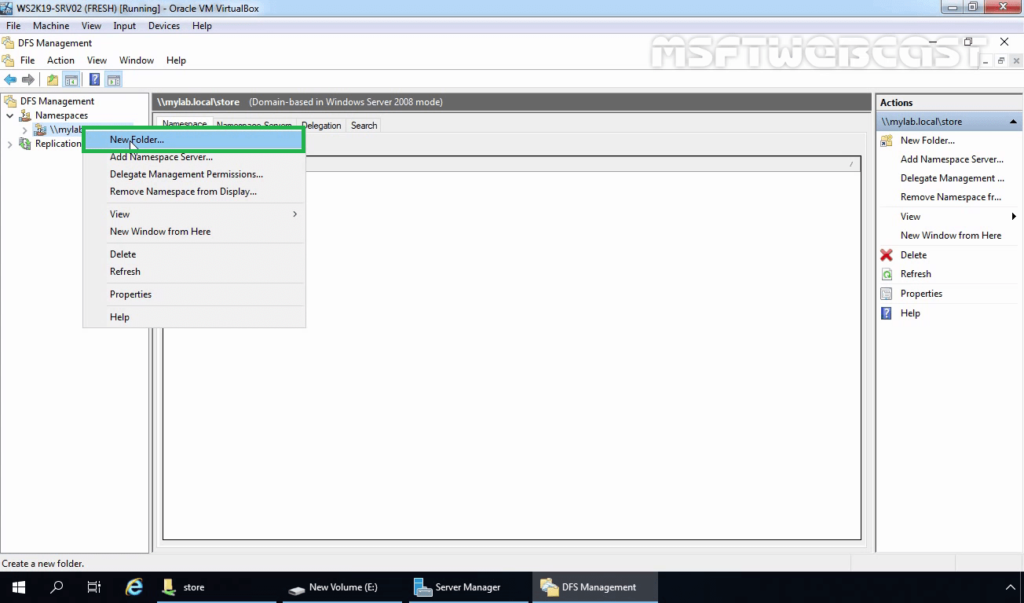
In DFS Management console, right-click on the namespace we just created, and choose New Folder.
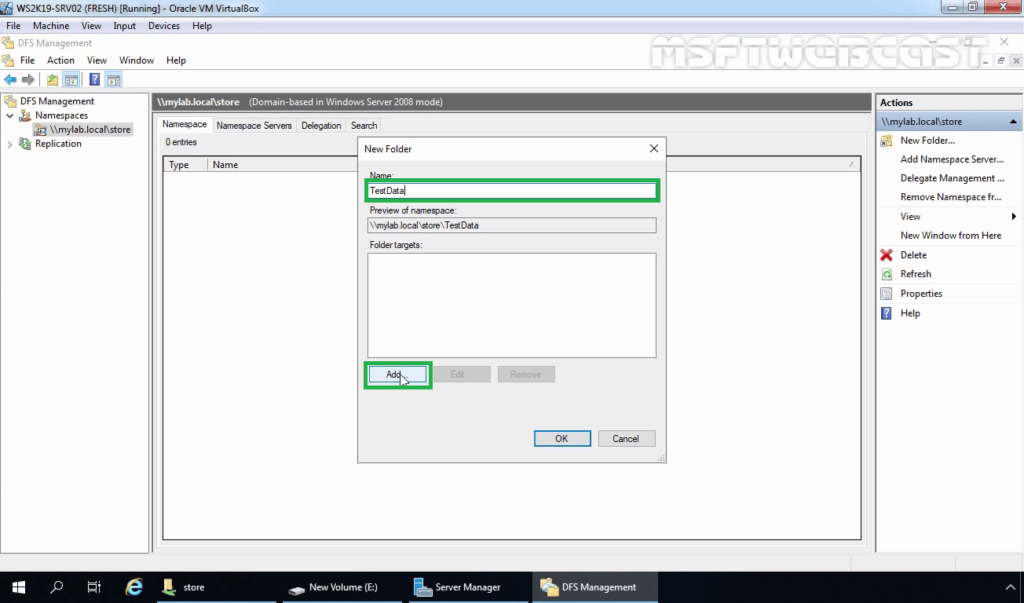
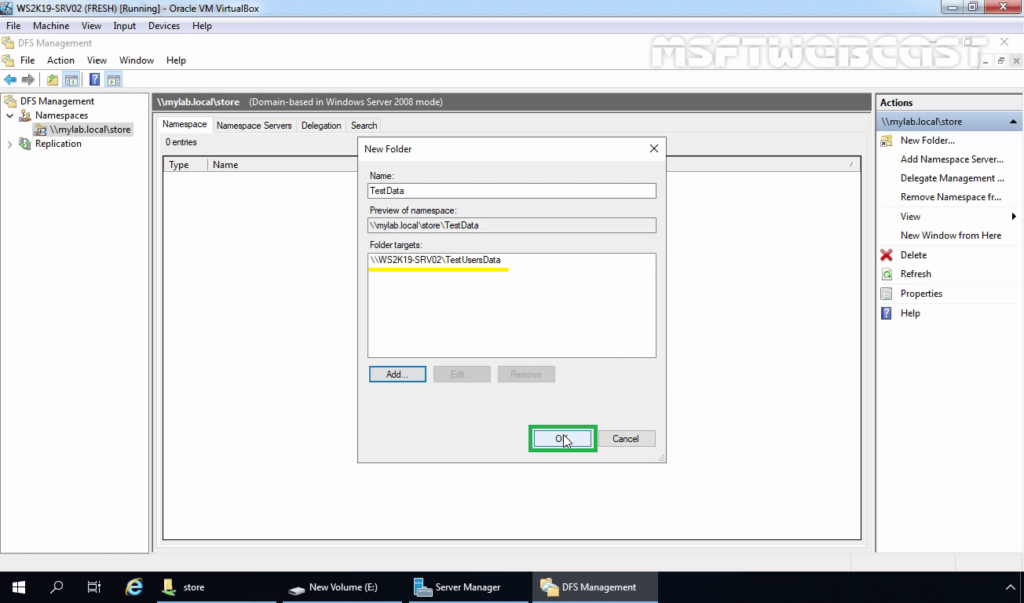
Type the name for the folder, and then click on Add to add folder targets.
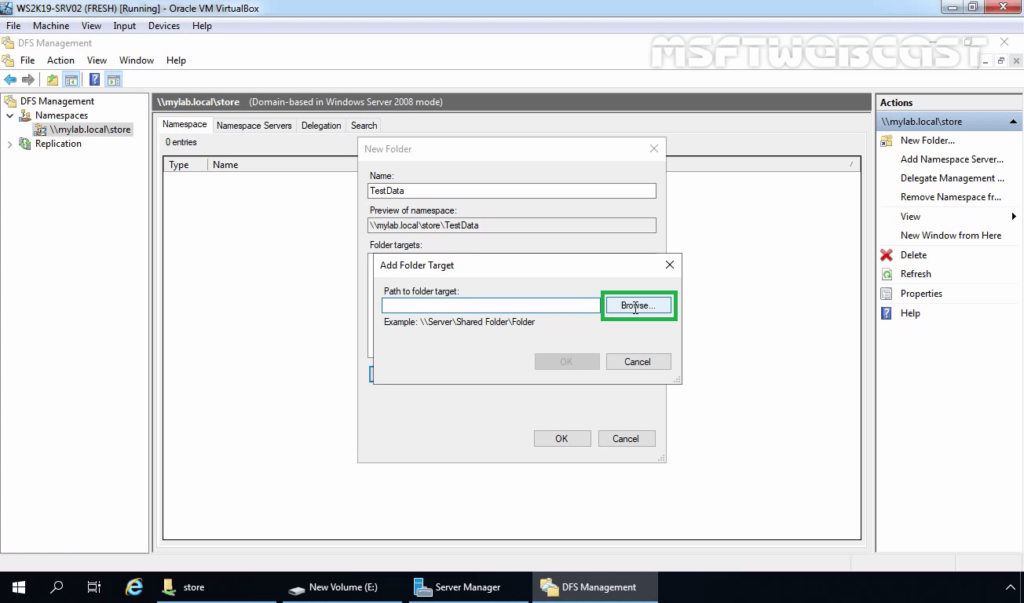
Click on Browse to browse for folder targets.
You can add an existing shared folder, or create a new one.
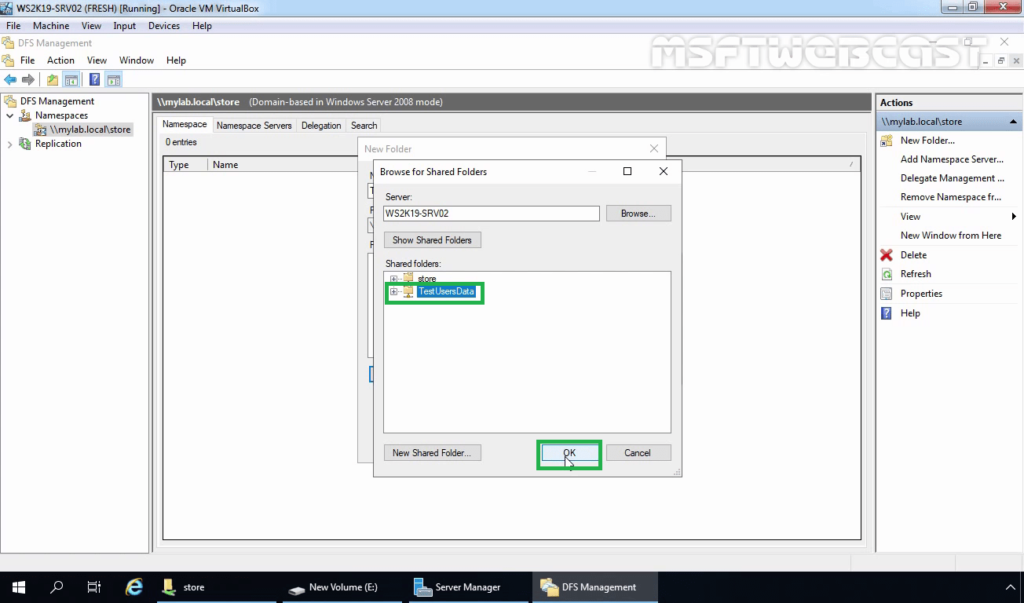
Click on OK.
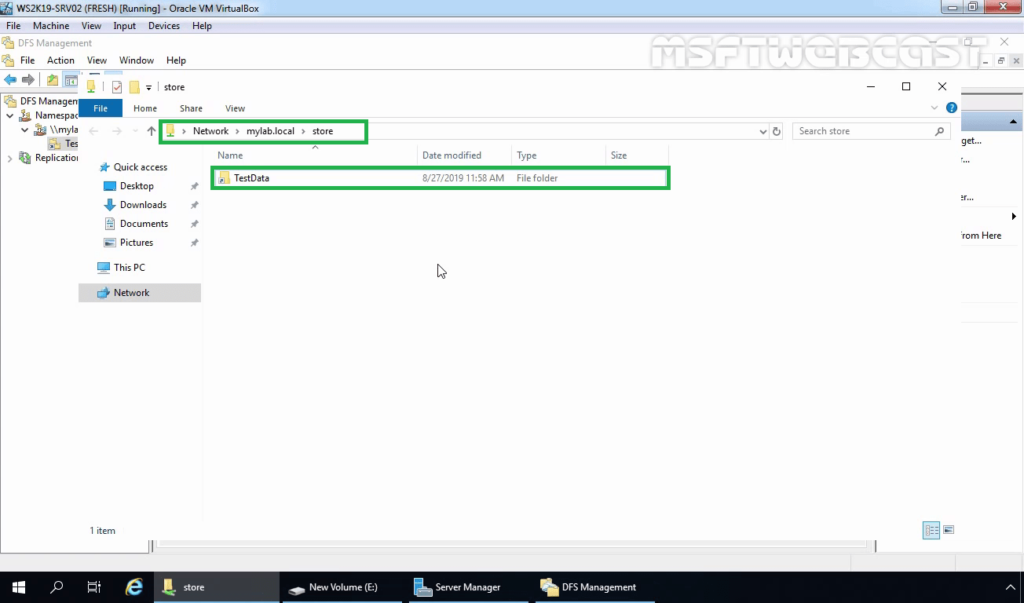
Let’s go to the network path (\\mylab.local\store). You should see the folder we just added.
DFS Namespaces is a great feature to organize your network share folders. With DFS namespace, all shared folders are accessible from a single path.
Hope this article will help you in setting up DFS namespace in Windows Server 2019. In the next post, we will configure DFS replication in Windows Server 2019.