In this article, I will explain how you can install and configure an NFS Server on a Windows 2019 Server. I will also show you the steps to create an NFS shared folder and mount the shared folder on Linux clients.
What is the Network File System (NFS)?
Network File System (NFS) provides a file-sharing solution that lets you transfer files between computers running Windows Server and other non-Windows operating systems such as Linux or UNIX using the NFS protocol.
NFS in Windows Server includes Server for NFS and Client for NFS. A computer running Windows Server can use Server for NFS to act as an NFS file server for other non-Windows client computers.
Client for NFS allows a Windows-based computer running Windows Server to access files stored on a non-Windows NFS server.
Understanding Test lab:
For this, we will use the virtual test lab created in VirtualBox.
- WS2K19-DC01: Domain Controller and DNS
- UBUNTU1804: Ubuntu OS, NFS client.
Install Server for NFS role service in Windows Server 2019:
To install the Server for NFS role service in Windows Server 2019, follow the below steps:
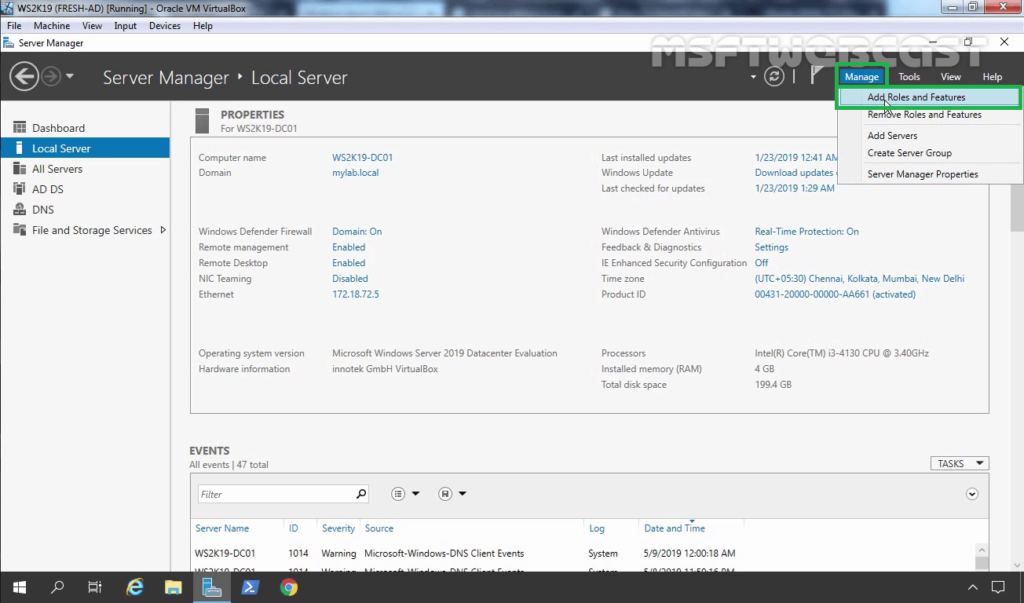
1. Open Server Manager. Click on Tools and select Add Role and Features.
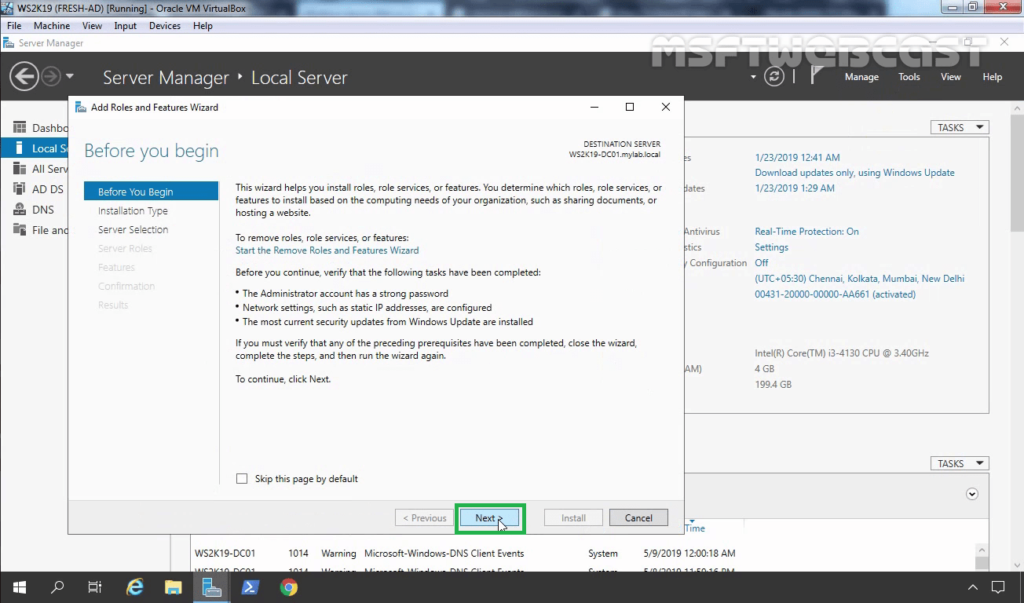
2. On the Before you begin page, click Next.
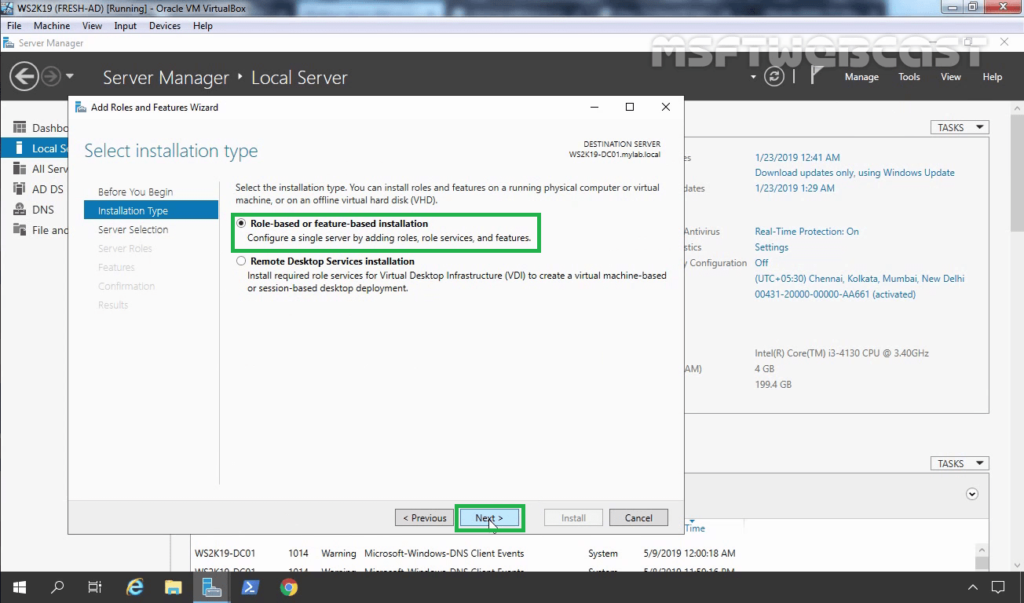
3. Select Role-based or feature-based installation and click Next.
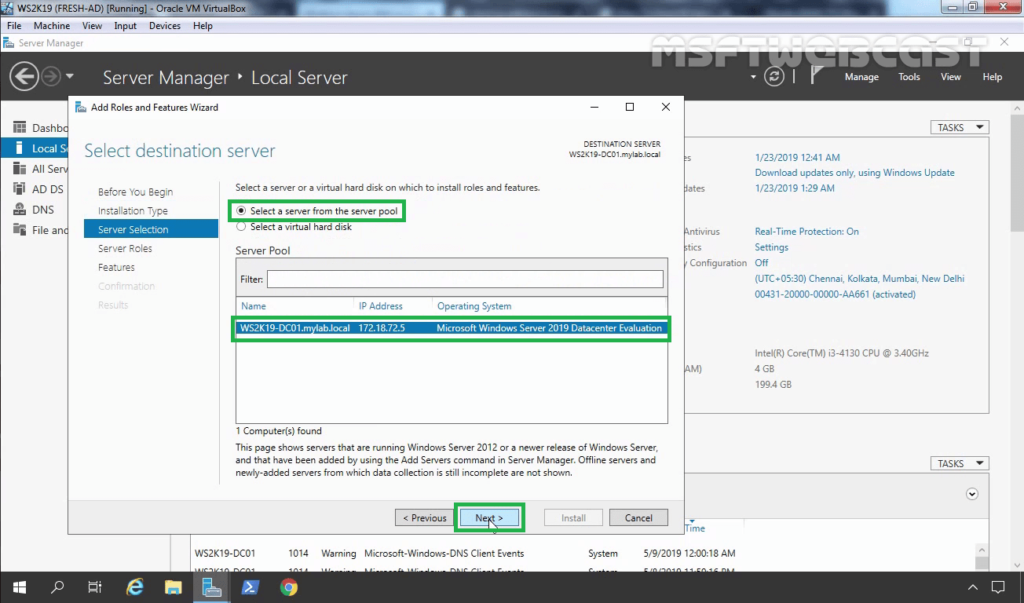
4. Select a server from the server pool on which you want to install the Network File System for Server role service, click Next.
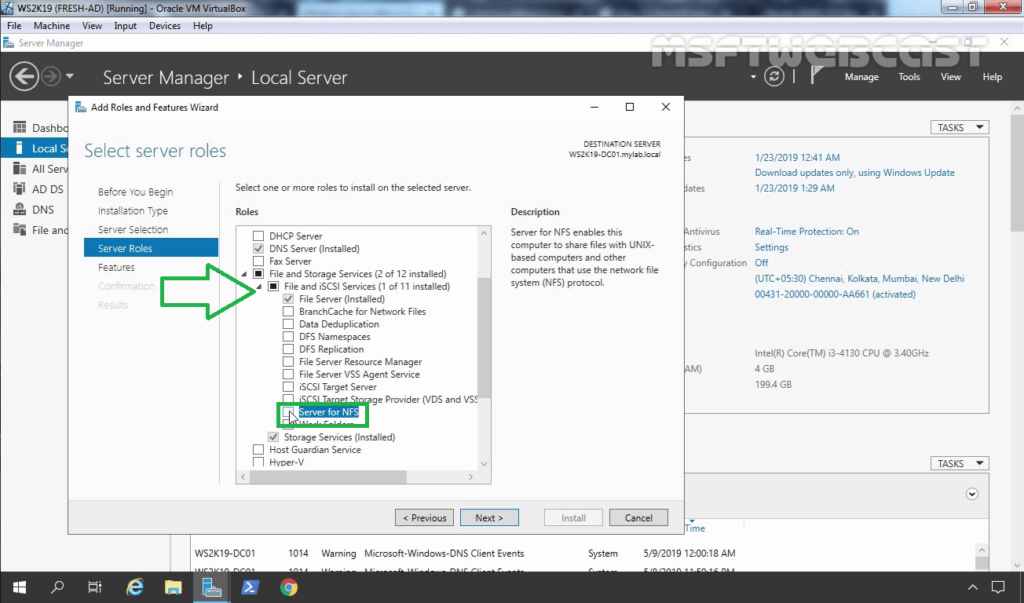
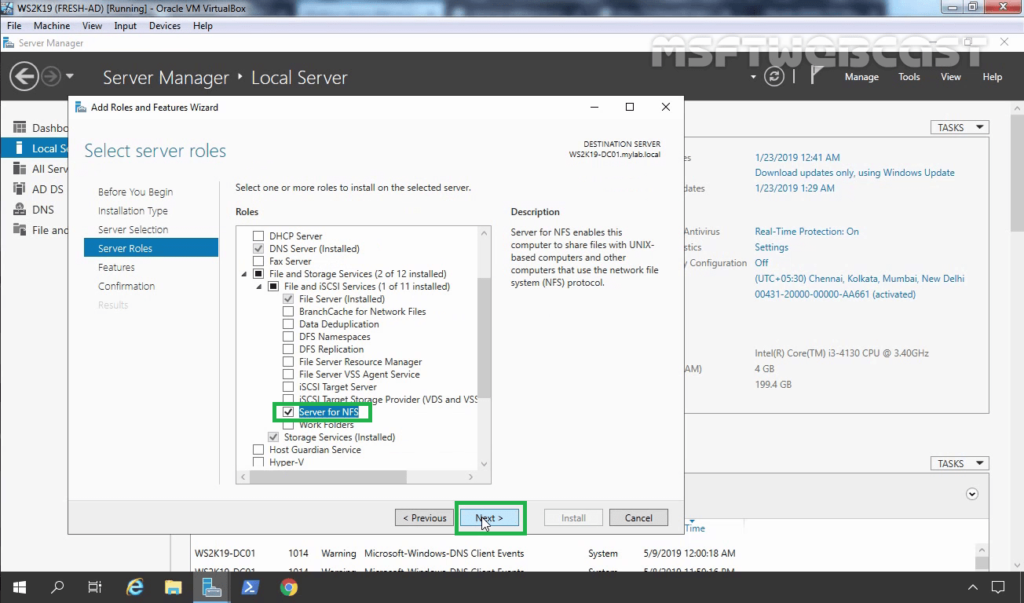
5. On select server roles page, expand File and Storage Services, expand File and iSCSI Services. Select Server for NFS checkbox.
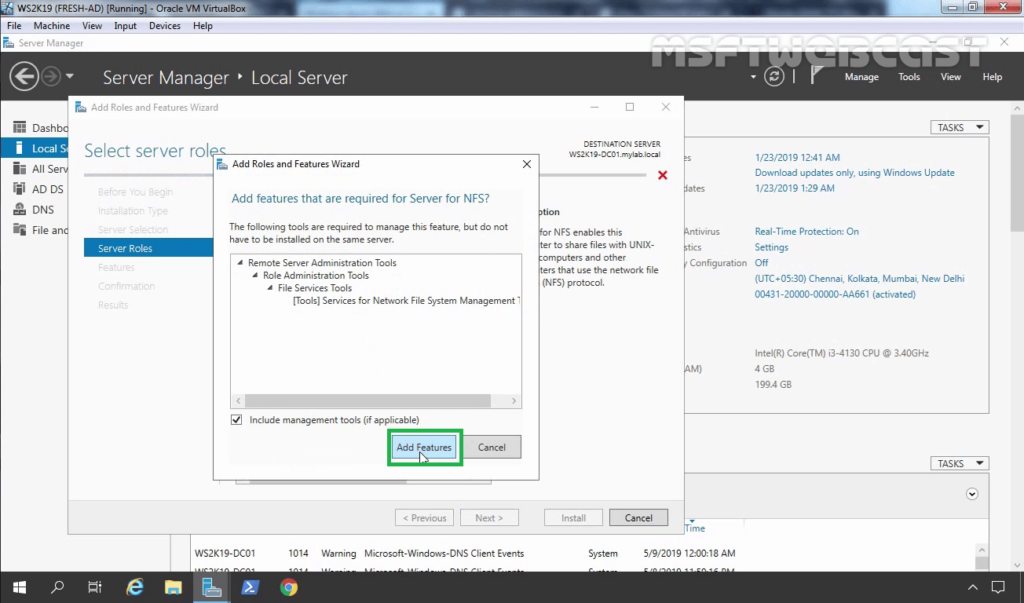
6. A new window will pop up, click on Add Features to include required features and management tools needed by the NFS server.
7. Make sure that the Server for NFS role service is selected. Click Next.
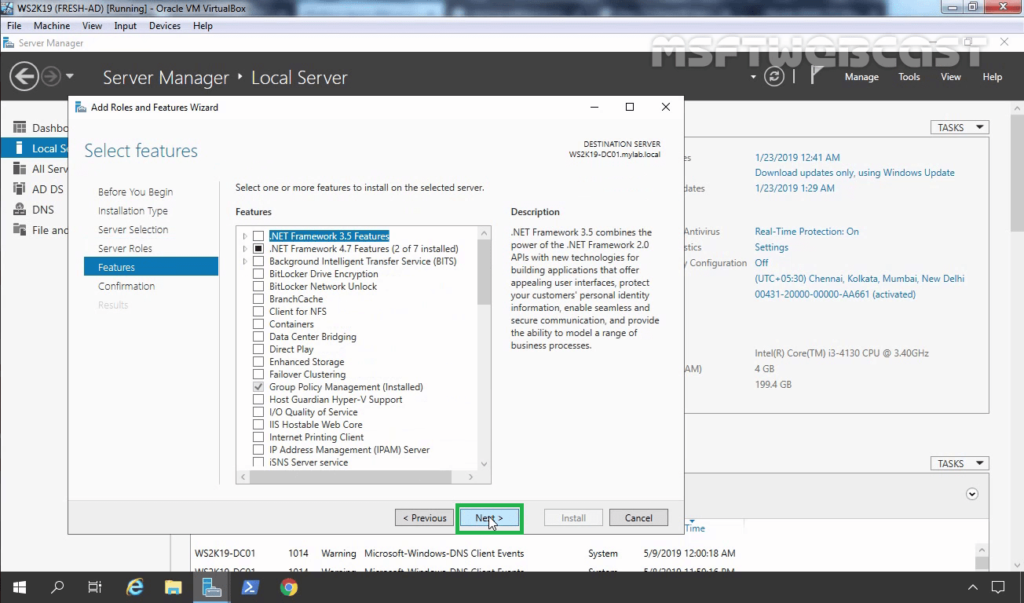
8. On select features, click Next.
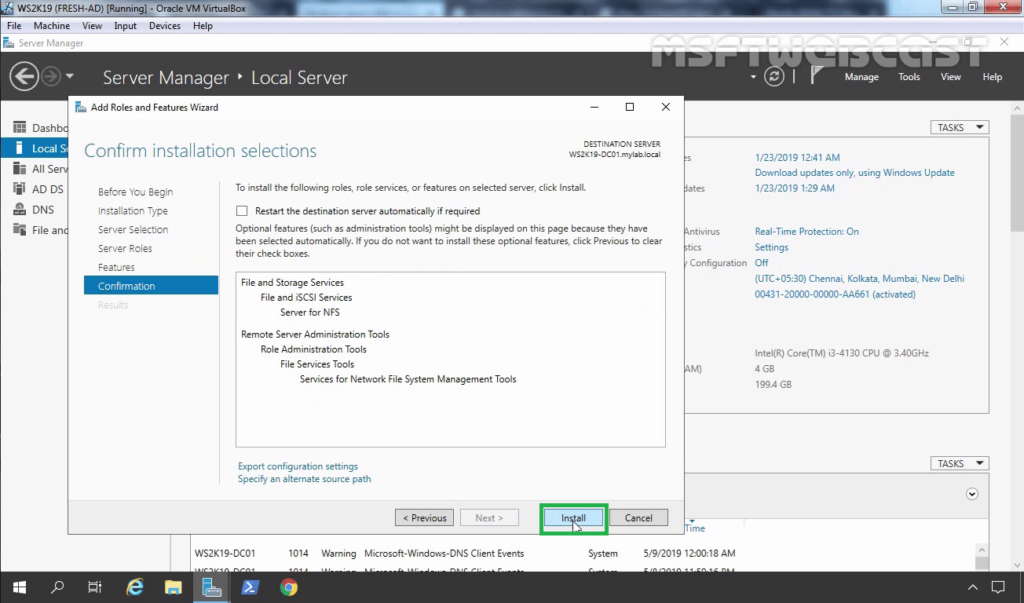
9. Click Install and complete the installation process.
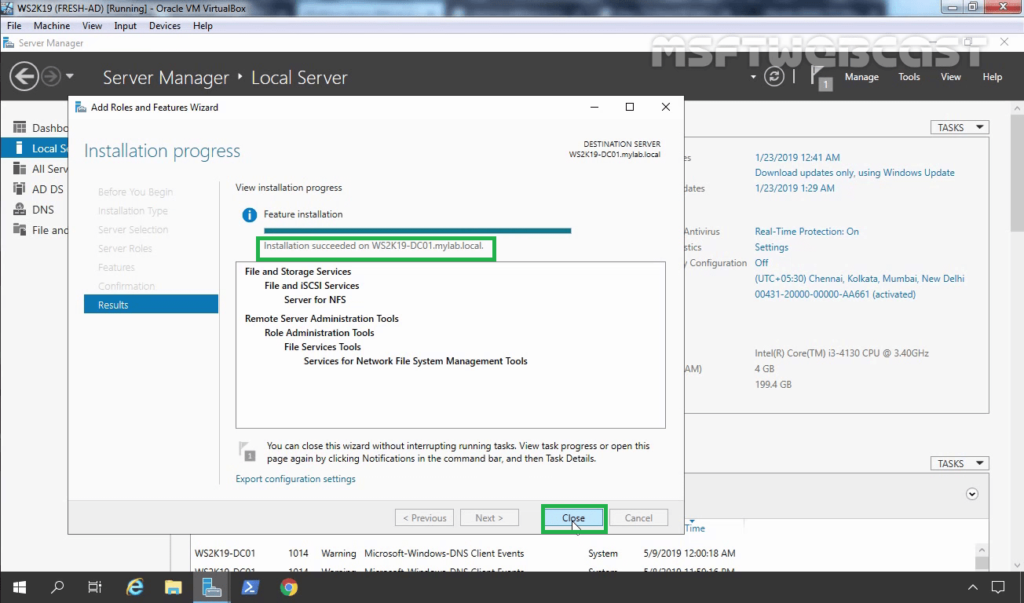
10. Click Close to finish the installation.
How to Create an NFS Shared Folder on Server 2019:
After installing the Server for NFS on Windows Server 2019, the next step is to create an NFS shared folder by using the File and Storage Services console.
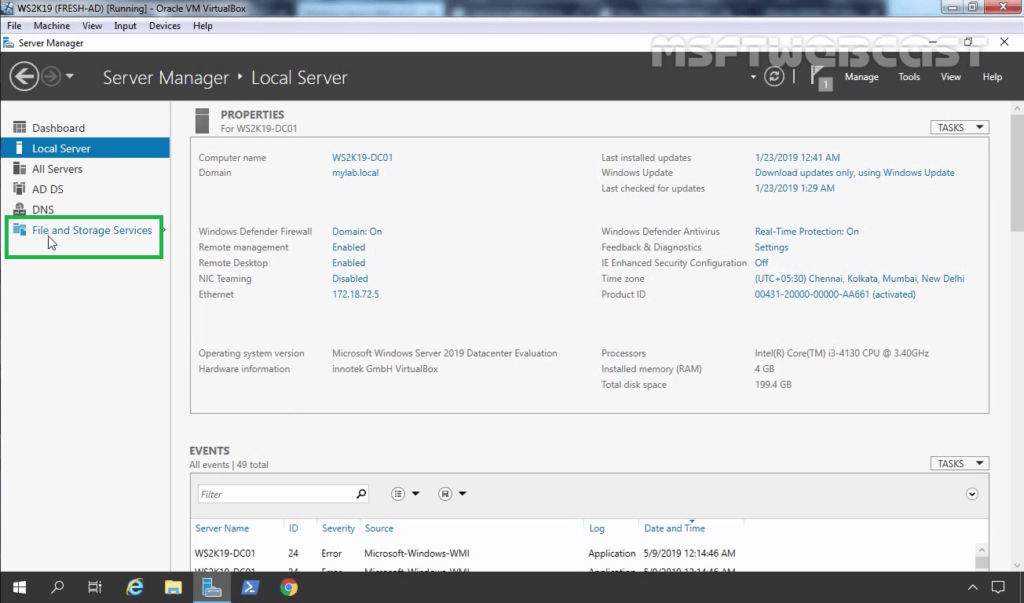
11. On the Server Manager Console, click on File and Storage Services.
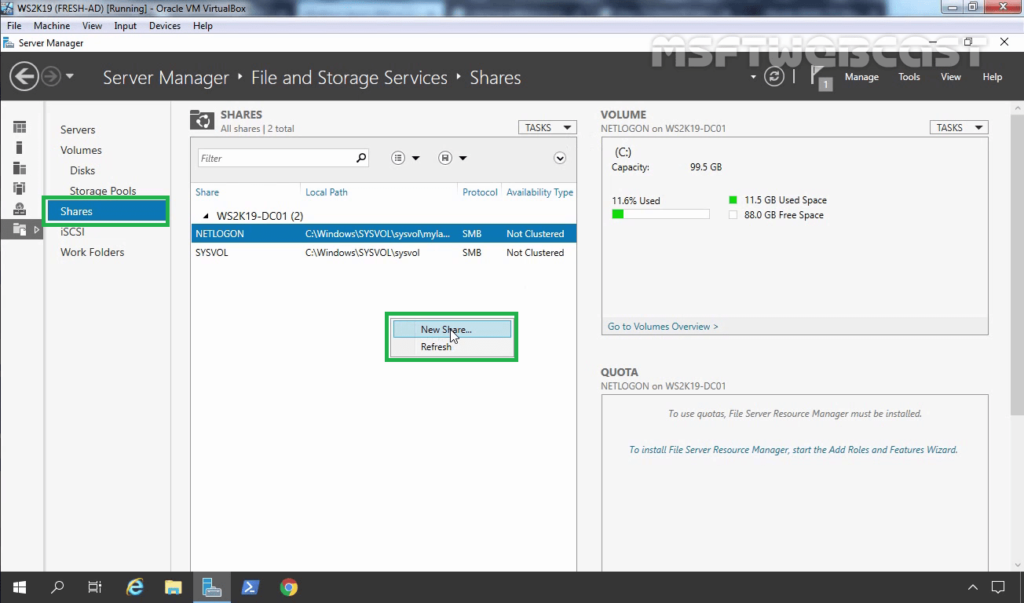
12. Click on Shares. Right-click in the empty area and select New Share.
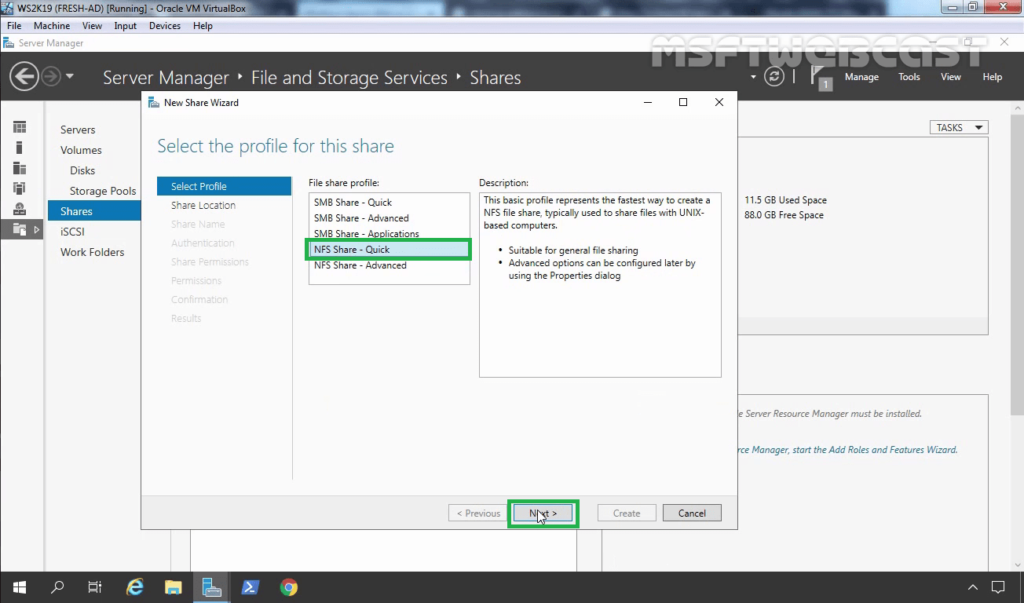
13. On Select the profile for this share, select NFS Share – Quick profile. Click Next.
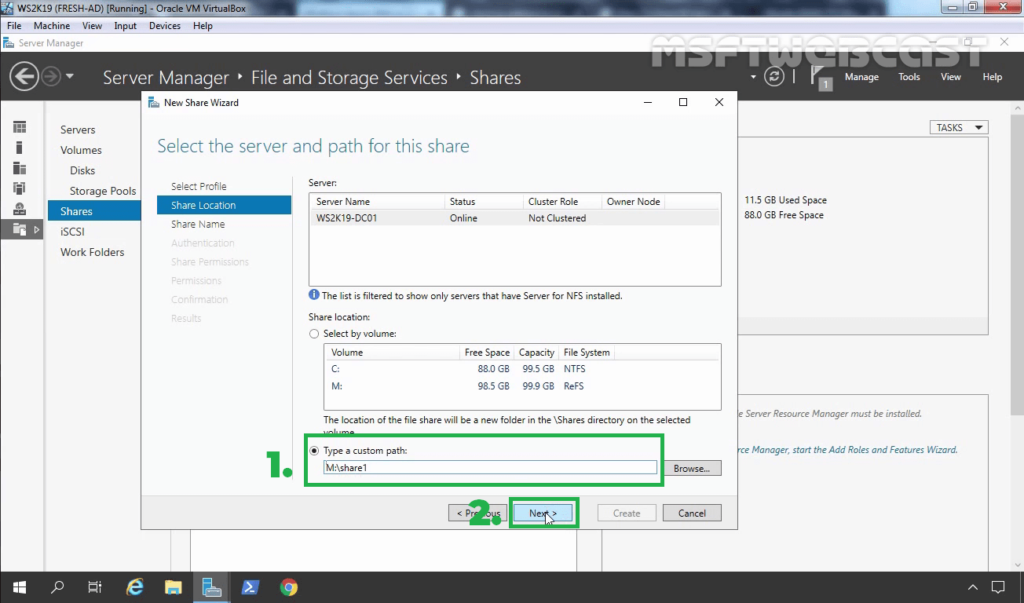
14. To configure a specific folder as NFS shared folder, select the checkbox Type a custom path and type the path for the specific folder you’d like to set as a shared folder. Click Next.
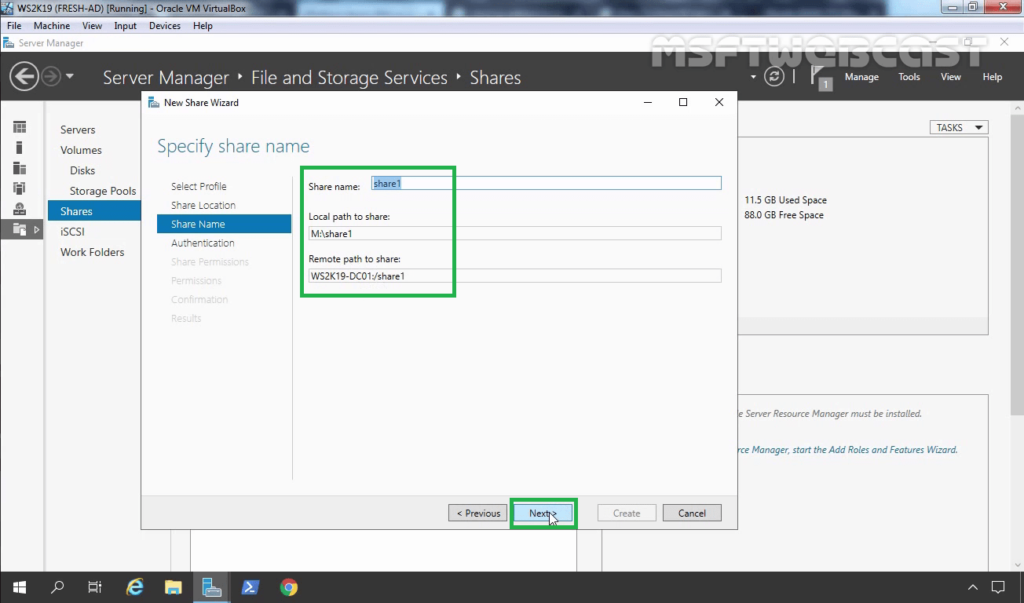
15. Verify share name, local path and remote path for NFS shared folder. Click Next.
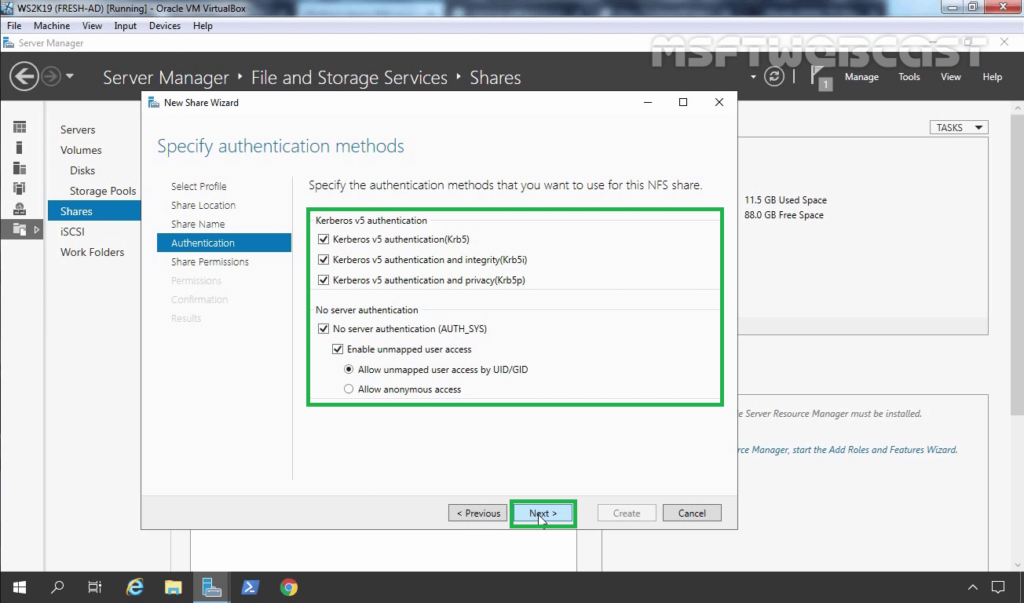
16. Specify the Authentication methods as per your requirement.
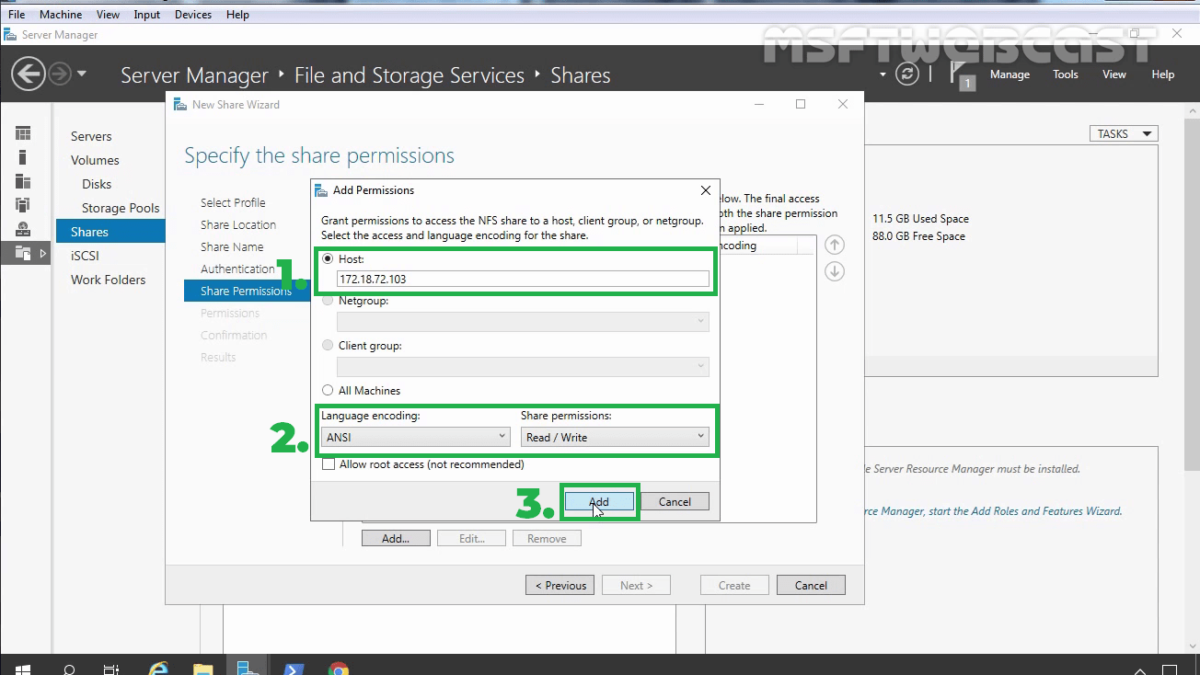
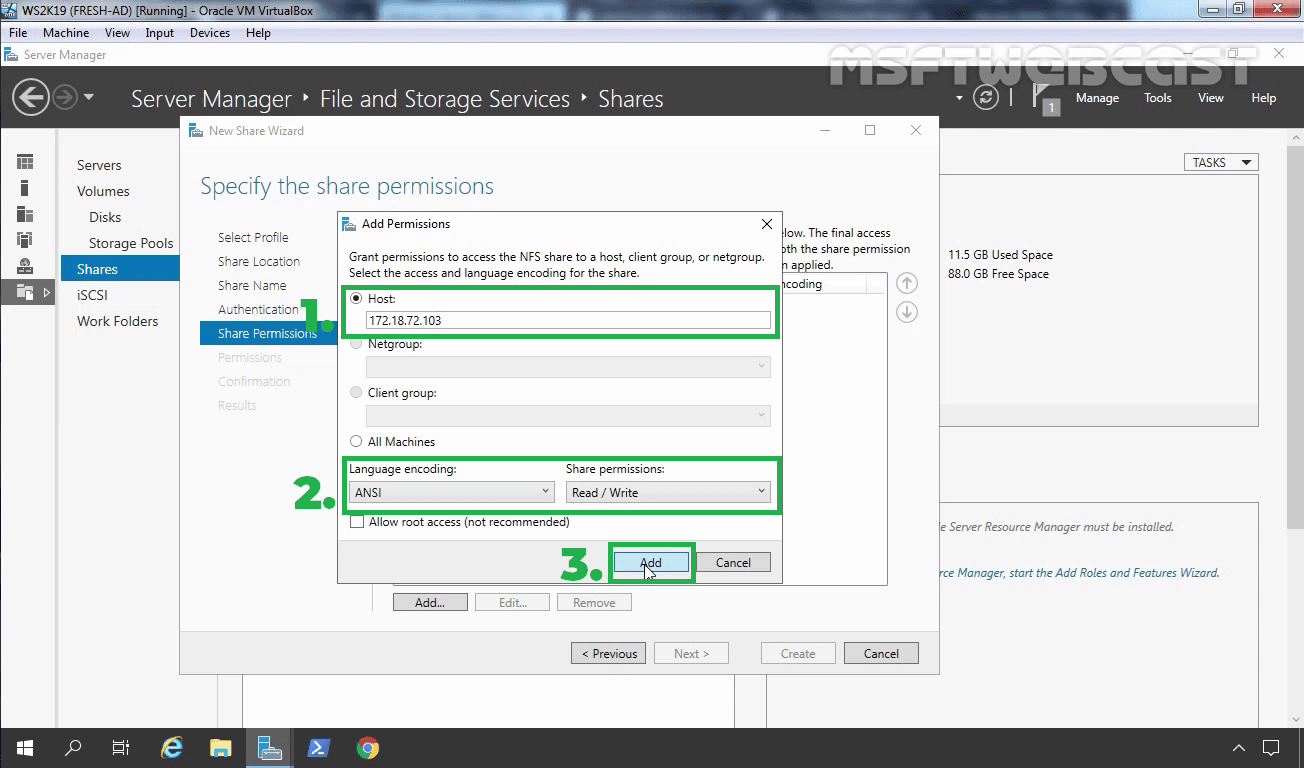
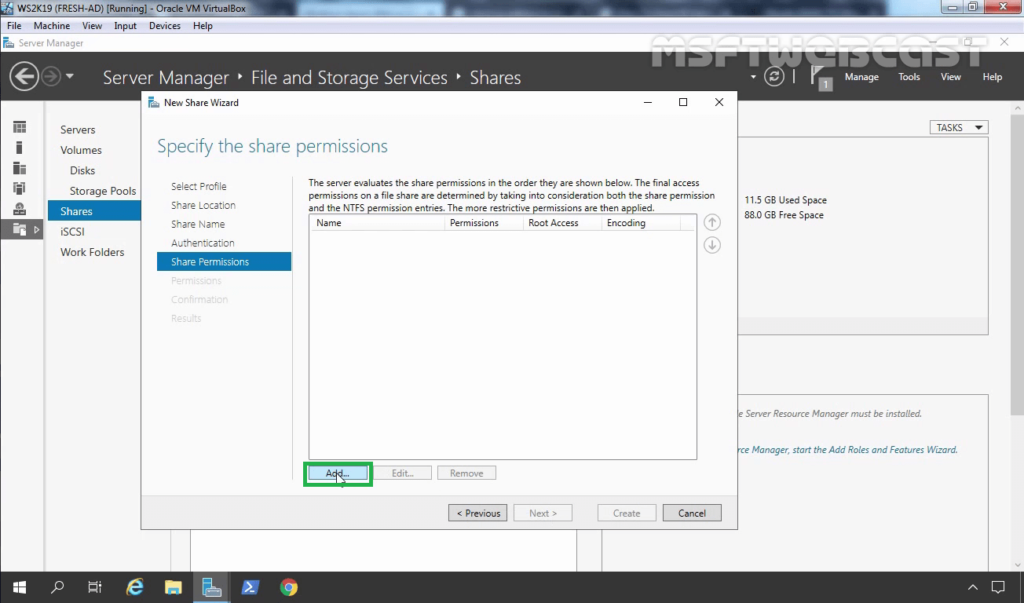
17. To set up the NFS share permissions, click Add button.
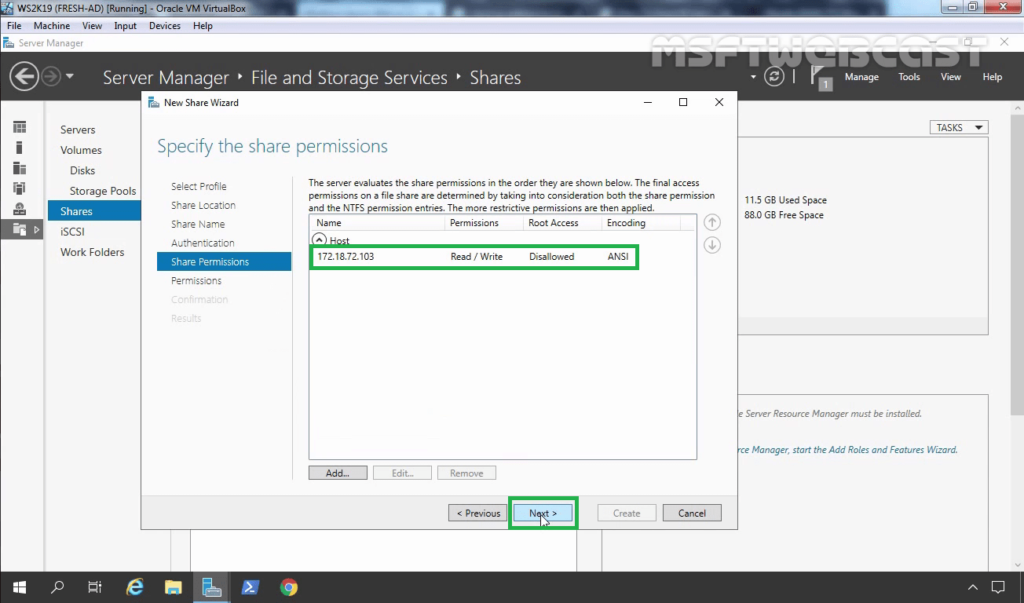
18. Specify the Hosts you’d like and assign the access permissions from the drop-down menu.
- Host: 172.18.72.103 (IP address of Ubuntu VM)
- Share Permissions: Read/Write
19. Click on Add.

20. Using the same steps, you can add permission for other Hosts as well. Click Next.
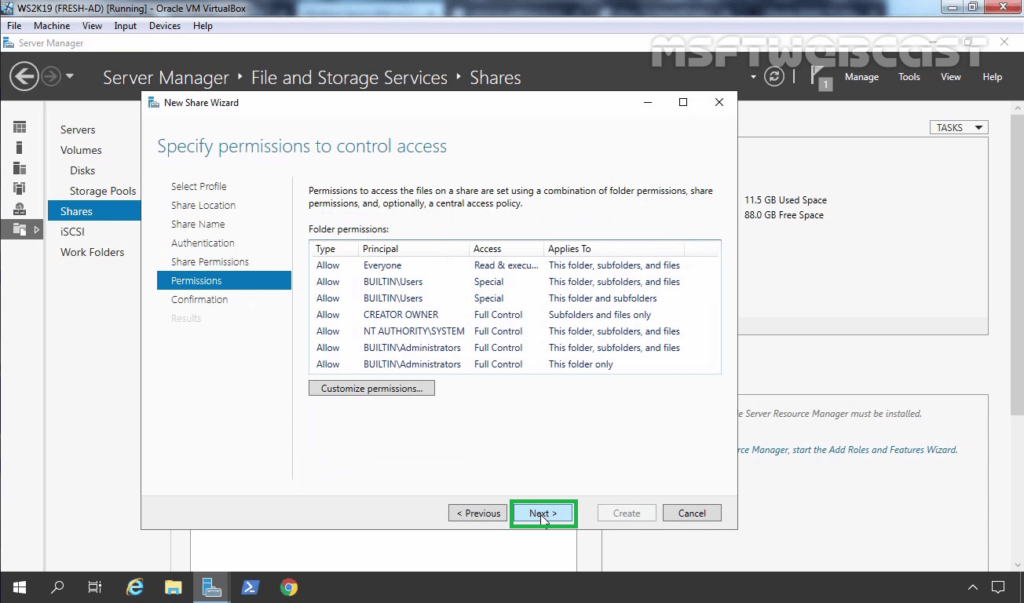
21. Specify NTFS permission. As we are just testing NFS sharing, we are going with default permission. Click Next.
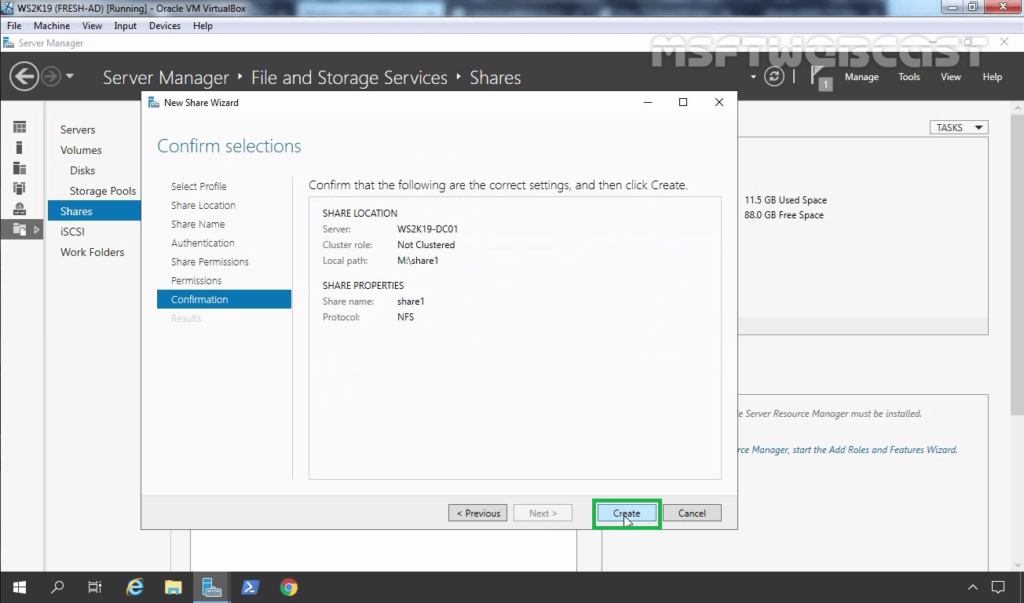
22. Review the selections, click on the Create button.
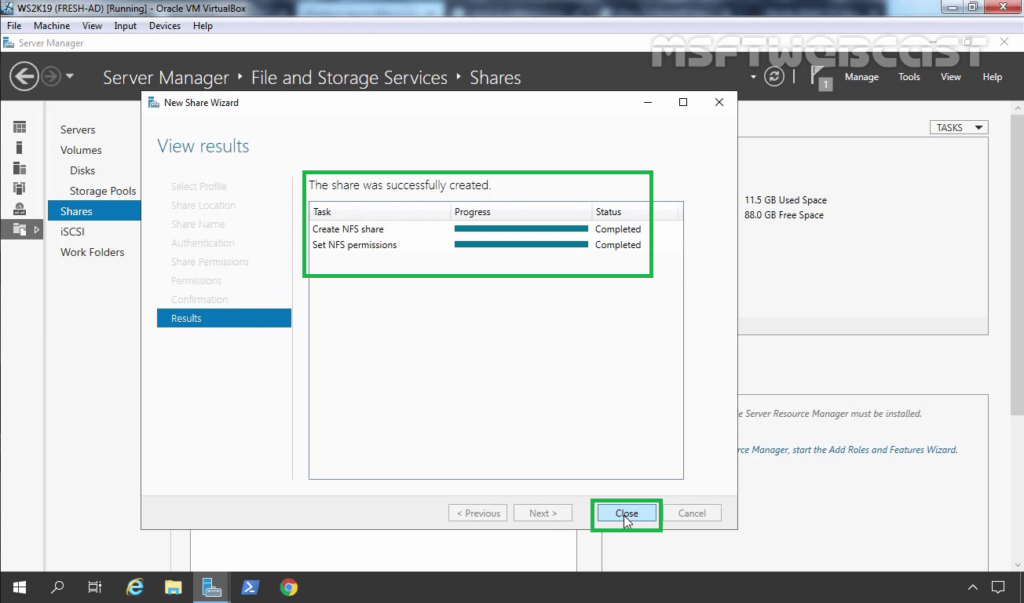
23. Click on the close button after verifying the successful creation of the NFS shared folder.
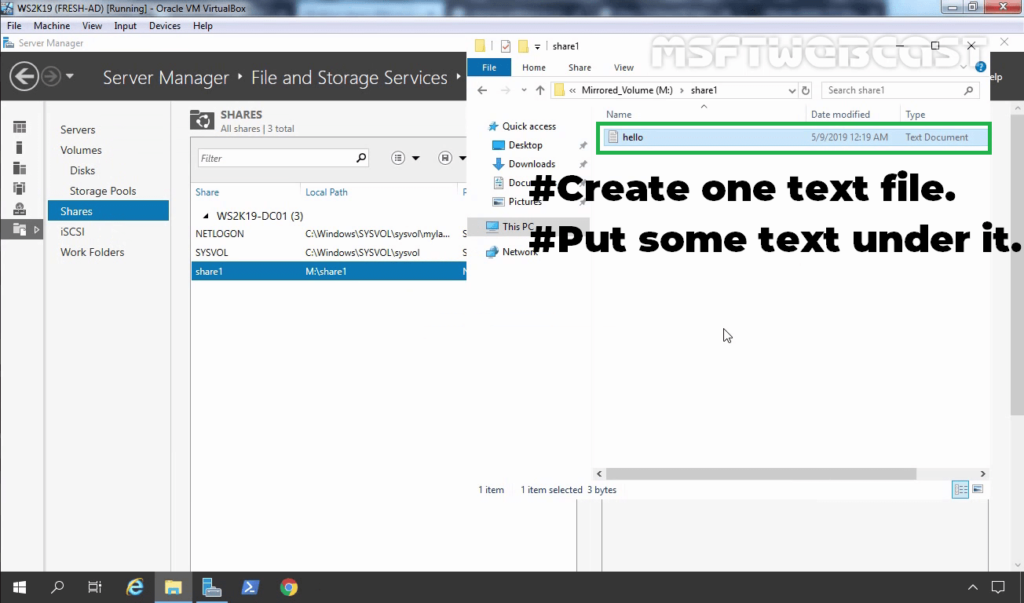
24. Verify the NFS shared folder under the shares list. Access the local path of the NFS shared folder. Create one text file and put some text under it.
Mount the NFS shared Folder on Linux Client (Ubuntu Machine):
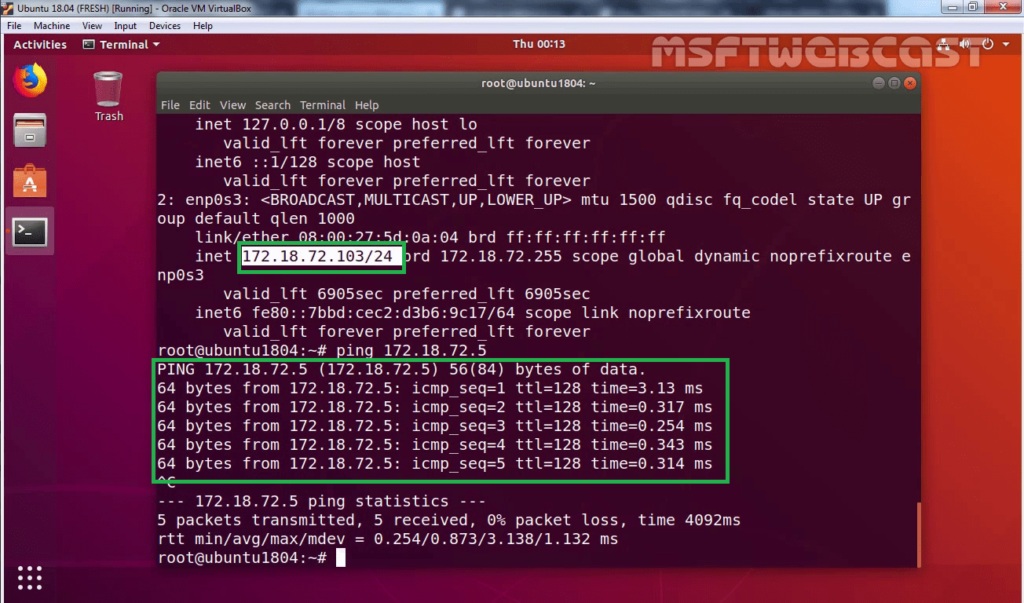
25. On the Ubuntu machine, verify the local IP address and network connectivity with the NFS server.
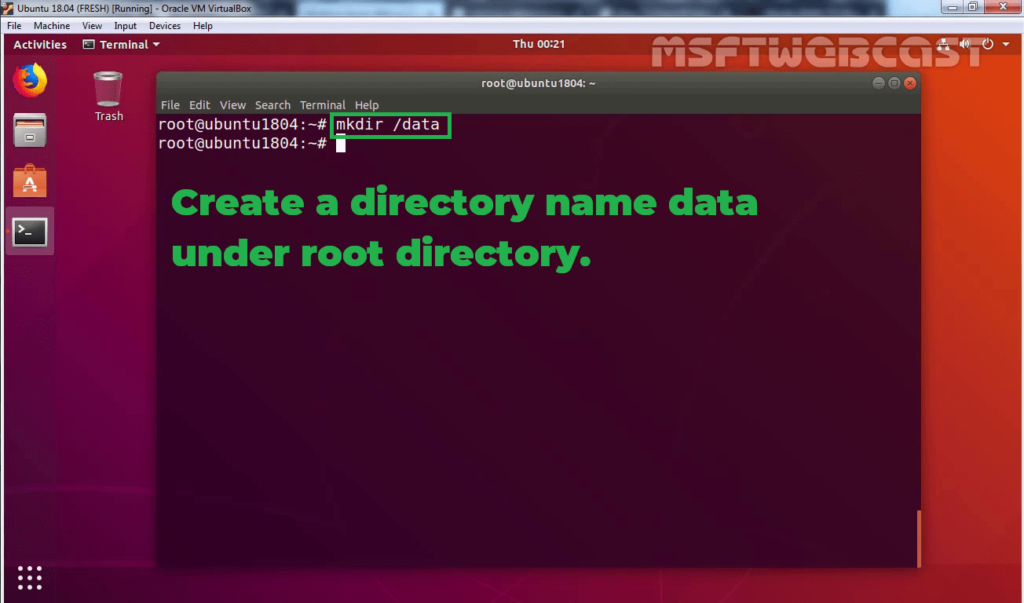
26. To mount an NFS shared folder on a Linux machine, open terminal. Type command: mkdir /data
This command will create one directory name data under the root directory.
27. Type command:
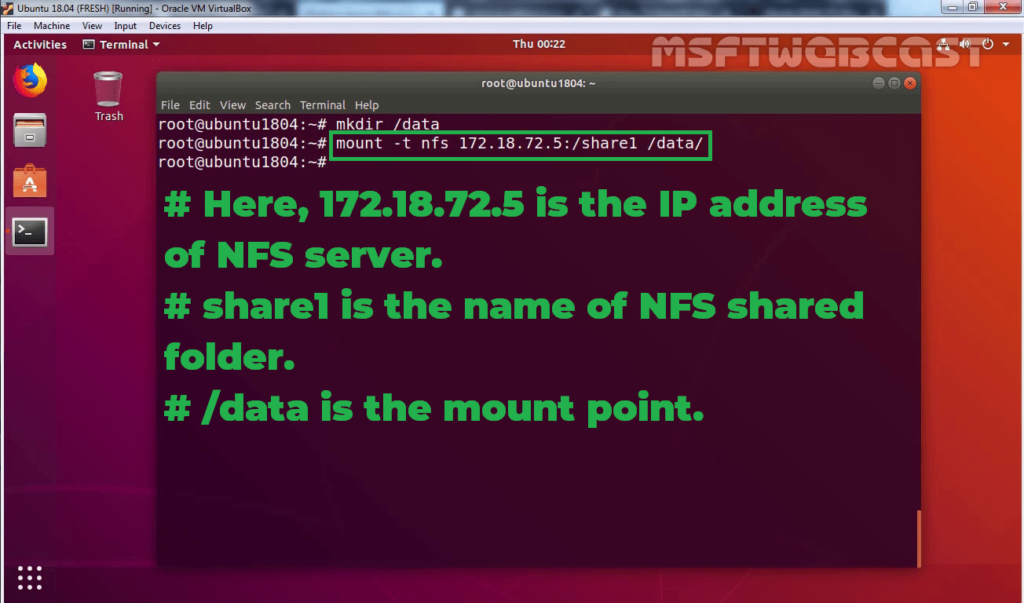
Syntax: mount -t nfs <NFS-Server-IP>/<NFS-Shared-Folder-Name> /<Mount-Point>
For example, to mount an NFS shared folder named share1 of the NFS server that is configured with IP address 172.18.72.5, the folder should be mapped on the /data mount point.
In our case command will look like:
mount –t nfs 172.18.72.5:/share1 /data
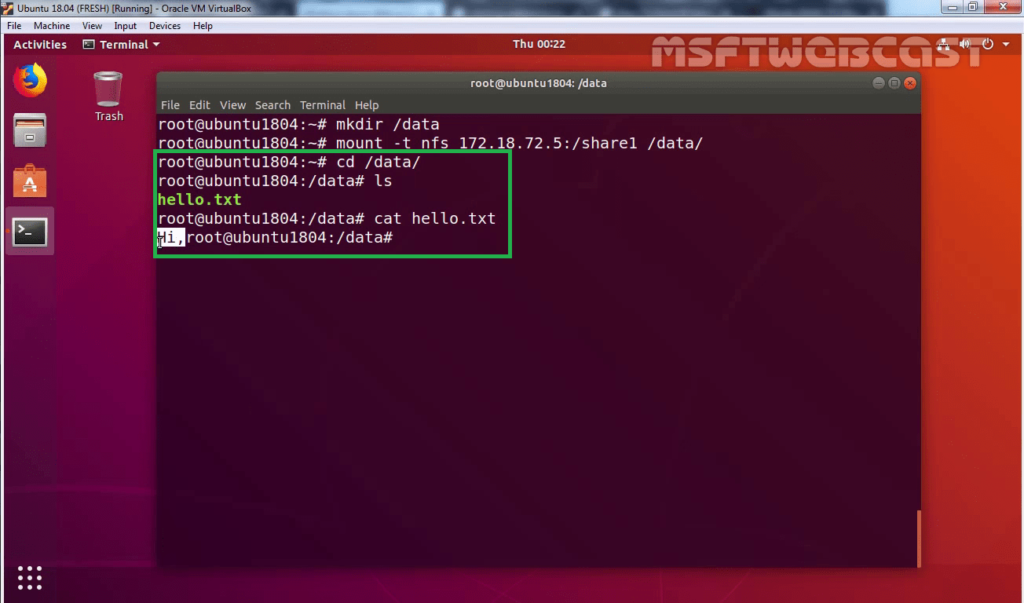
28. Verify the content of the text file which we have created earlier on the NFS server.
In this blog post, we have learned the steps on how to install and configure NFS in Windows Server 2019.
I hope, you enjoyed it. Thank you for reading.