In this article, we will learn the steps on how to deploy a Standalone Root Certificate Authority in Windows Server 2019.

Introduction

The standalone CA works without Active Directory and does not need Active Directory, however, the server can be a member of a domain. Users can request certificates using a manual procedure or web enrollment, where they have to identify information and specify the certificate they need.

Standalone CA does not provide some features like Certificate Templates, Auto-Enrollment, and Key Archival.

Install Active Directory Certificate Services

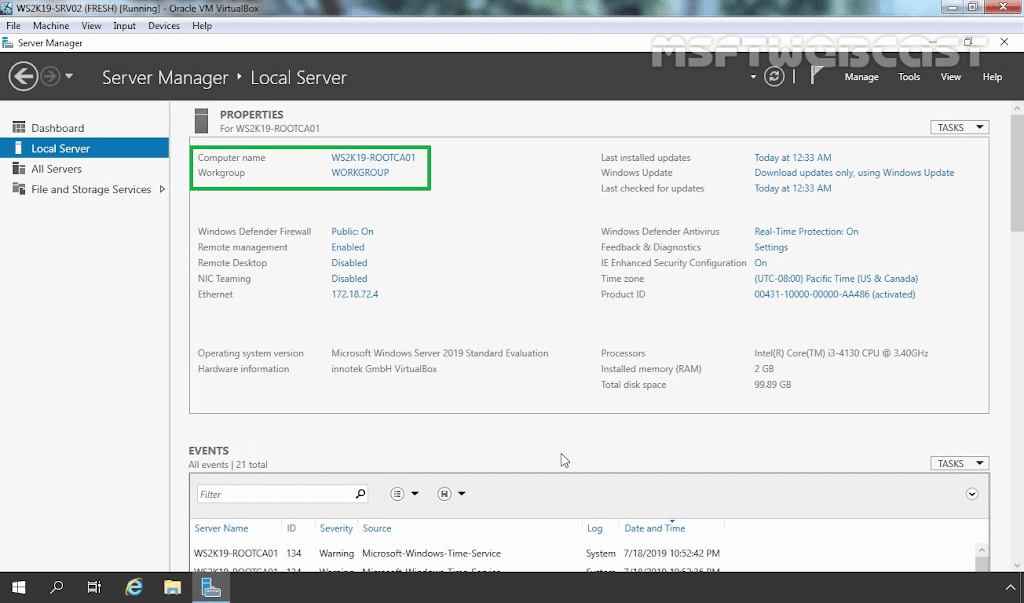
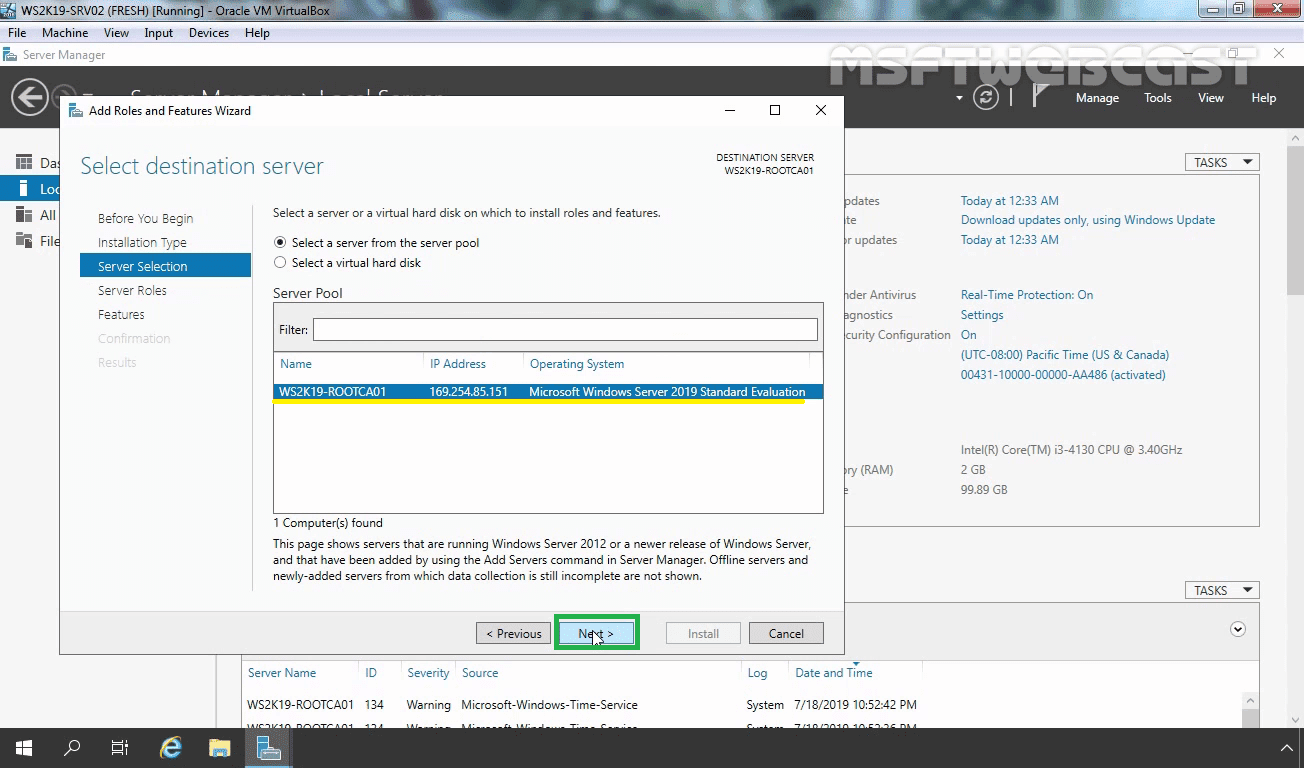
For this CA deployment guide, I will be using only one server which is workgroup name WS2K19-ROOTCA01. Let’s get started.

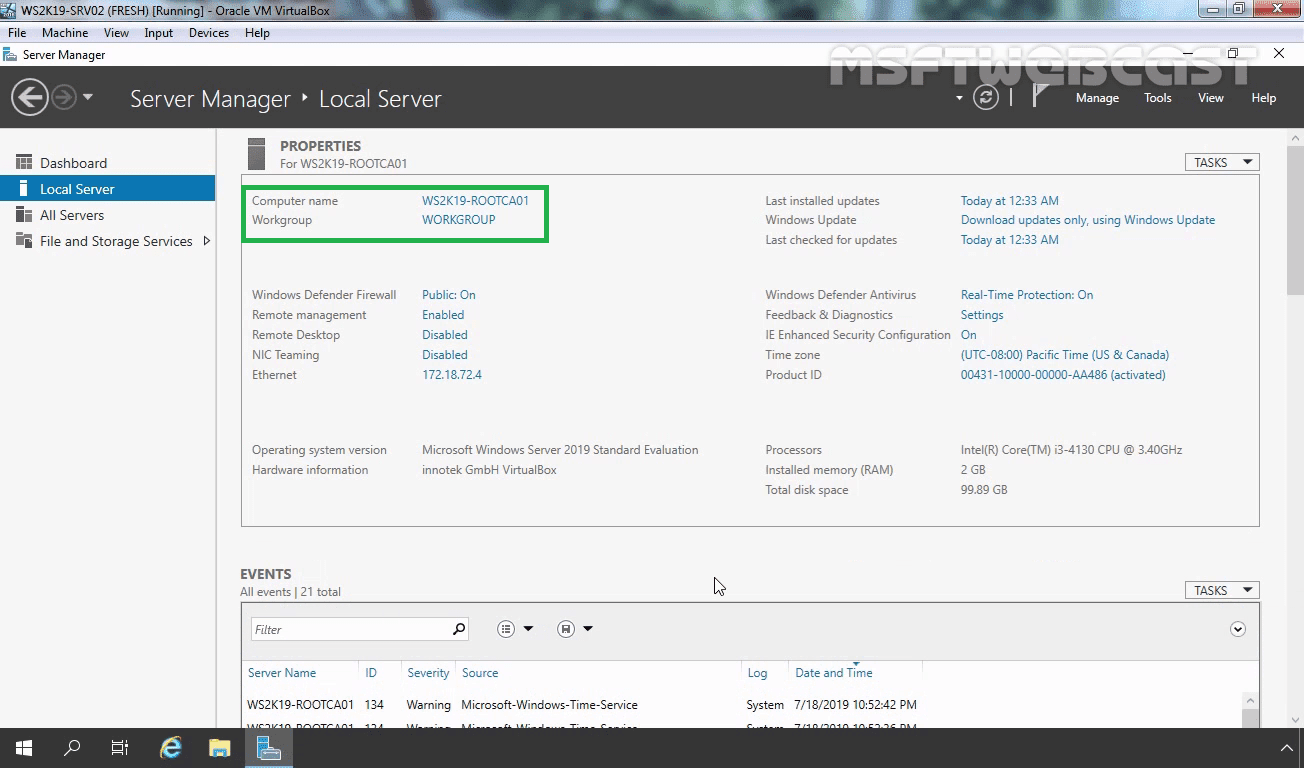
1. Open Server Manager Console.

2. Click on Manage and then click Add roles and features.

3. On before you begin screen, click Next.
4. On the Select installation type page, make sure you choose Role-based or feature-based installation. Click on Next button.
5. On the Select destination server page, choose the local server. Click Next.
6. On the Select server roles page, select Active Directory Certificate Services.
7. When the Add Roles and Features Wizard window appears, click Add Features.
8. Click Next to continue.
9. On the Select features page, click Next.
10. On the Active Directory Certificate Services page, click Next.
11. On the Select role services page, ensure that Certification Authority role is selected and then click Next.
12. On the Confirm installation selections page, click Install.

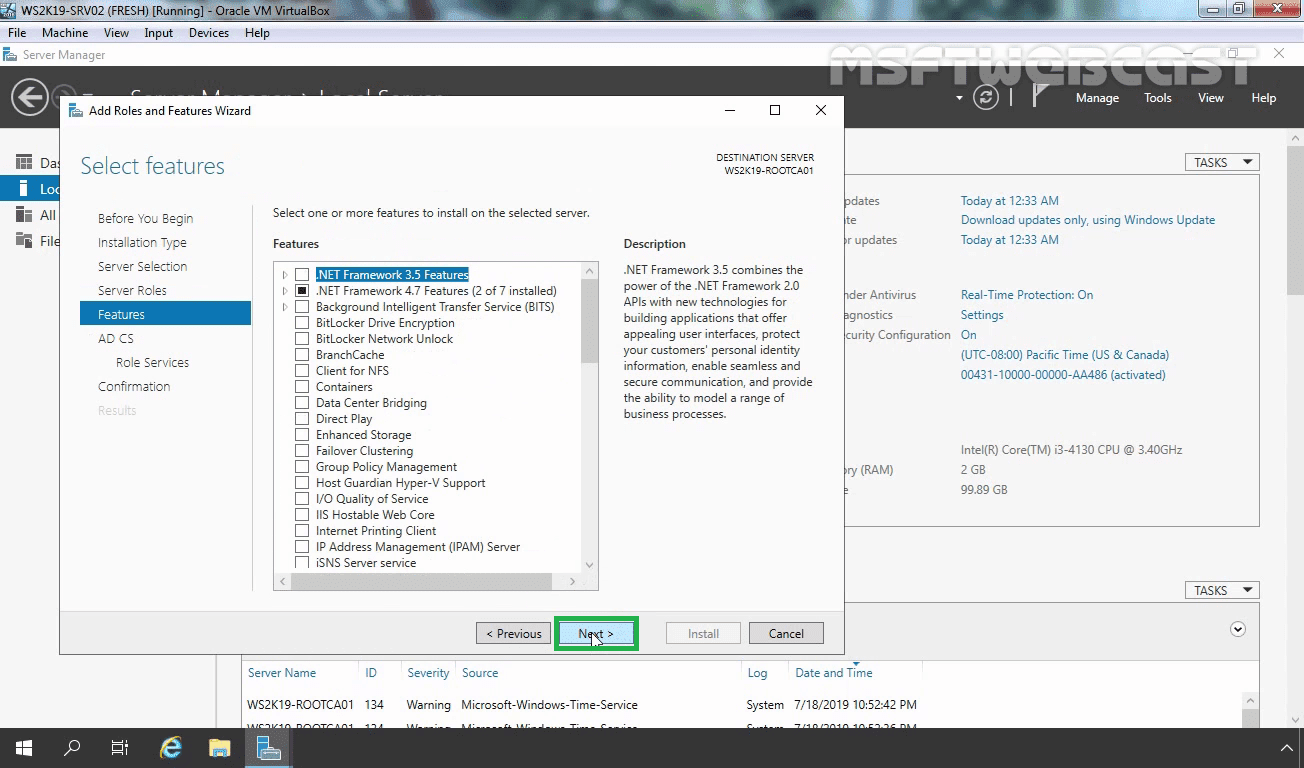
Wait for the installation process to complete.

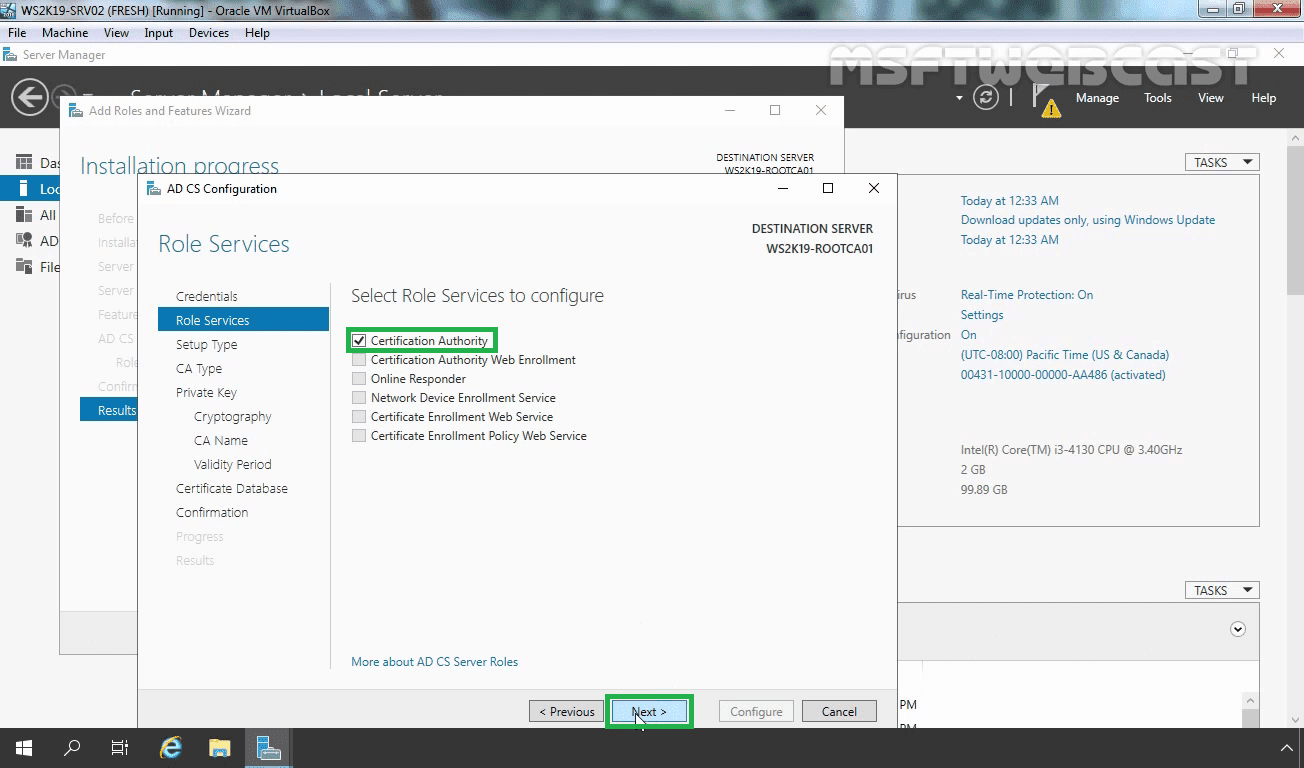
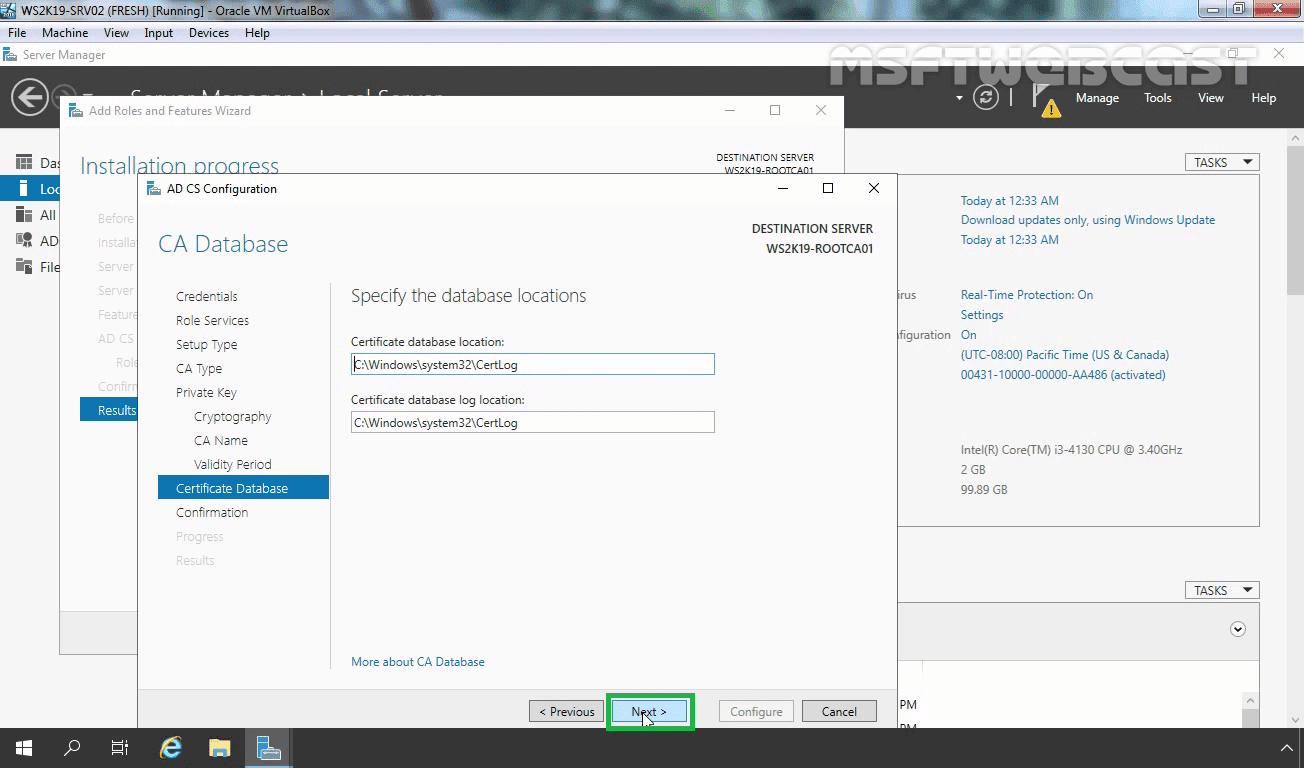
Step-2 Configure Active Directory Certificate Services

13. On the Installation progress page, after installation is successful, click on Configure Active Directory Certificate Services on the destination server link.

14. On the Credentials page, click Next.
15. On the Select role services to configure page, click Certification Authority and click Next.
16. On the Setup Type page, select Standalone CA, and then click Next.
17. On the CA Type page, ensure that Root CA is selected, and then click Next.
17. On the Private Key page, ensure that Create a new private key is selected, and then click Next.
18. On the Cryptography for CA page, keep the default selections for Cryptographic Service Provider (CSP) and Hash Algorithm. For better security, change the Key length to 4096, and then click Next.
19. On the CA Name page, you can specify any name of your choice. Click Next when you are done.
20. On the Validity Period page, the default is 5 years. Click Next.
21. The CA Database page displays where the certificate database will be stored. Click Next.
22. On the Confirmation page, click on Configure.
23. On the Results page, click on Close.
At this point, we have successfully installed the Certificate Service on Windows Server 2019 and our server 2019 is now acting as a Standalone Root Certificate Authority.