In this article, we will learn the steps to Backup and Restore an Active Directory Integrated DNS zones in windows server 2019. DNS is one of the core components of Active Directory Domain Services. The backup of the AD integrated DNS zones is very important.
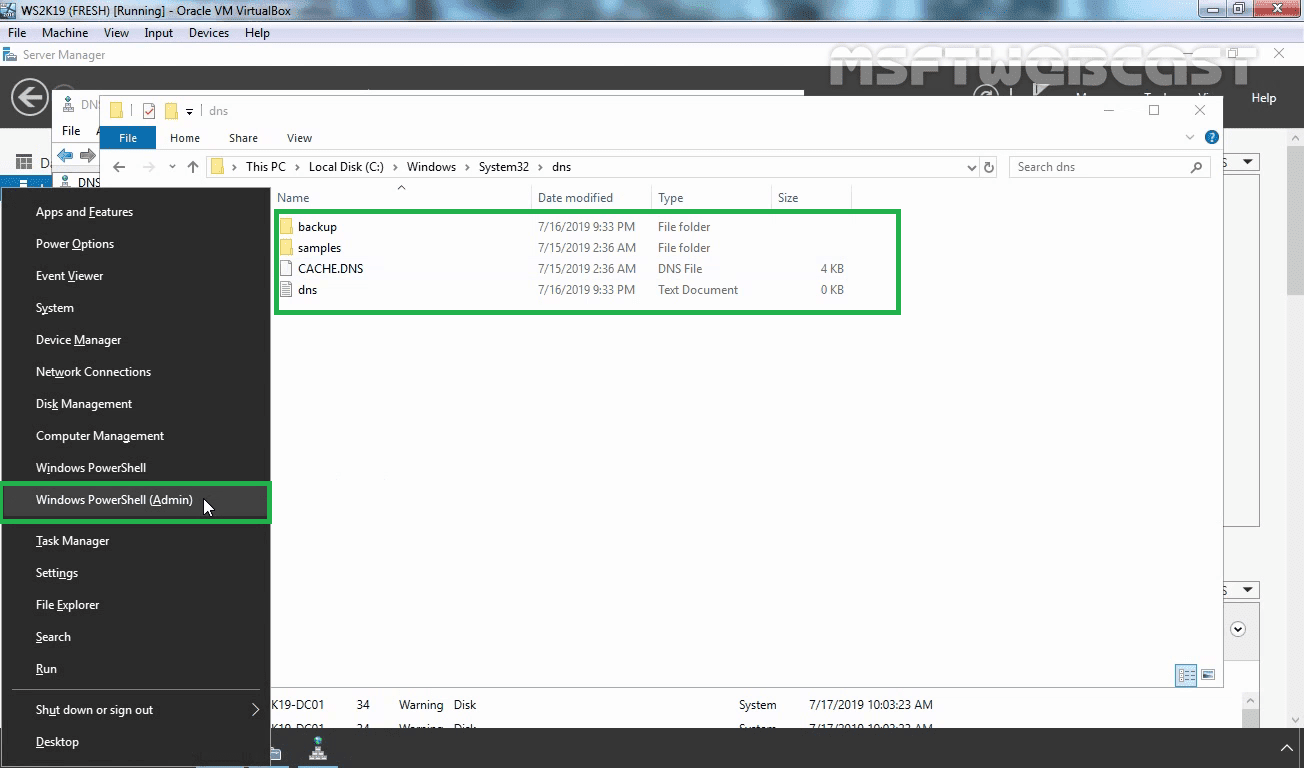
By default, DNS service stores all information such as logs, basic DNS files, and backups under the DNS folder located under “%systemdrive%WindowsSystem32”. Active Directory Integrated DNS stores, its data in the Active Directory database, we can back it up by using Active Directory backup and restore it by using AD restore. The Active Directory restoration process is time-consuming and it leads to increased downtime, which impacts productivity.
Luckily, it’s possible to back up a DNS server using the DNSCMD command-line tool and PowerShell.
How to Backup the AD Integrated DNS zone:
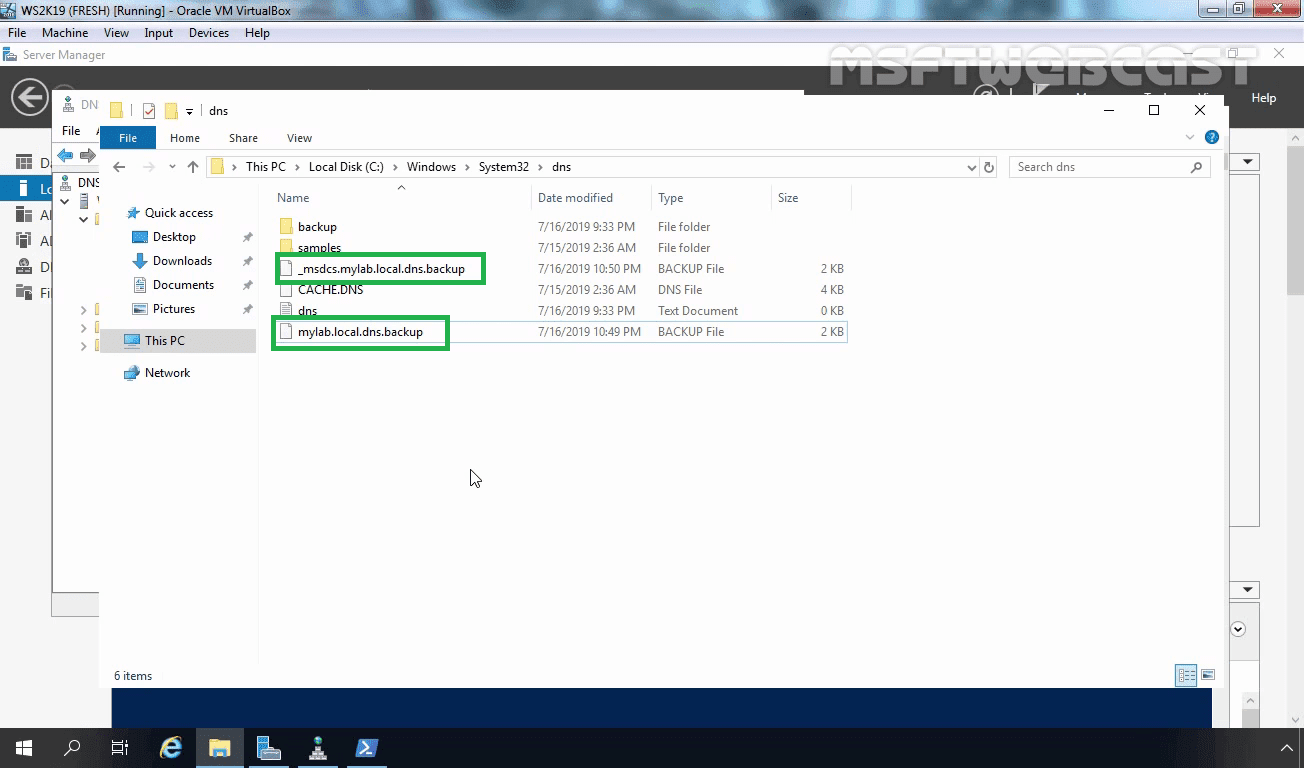
In this article, we will use the DNSCMD command to backup (export) mylab.local Active Directory Integrated DNS zone.

To back up the mylab.local zone locally on a DNS server, you’d run the below command on the DNS server:
dnscmd /zoneexport mylab.local mylab.local.dns.backup

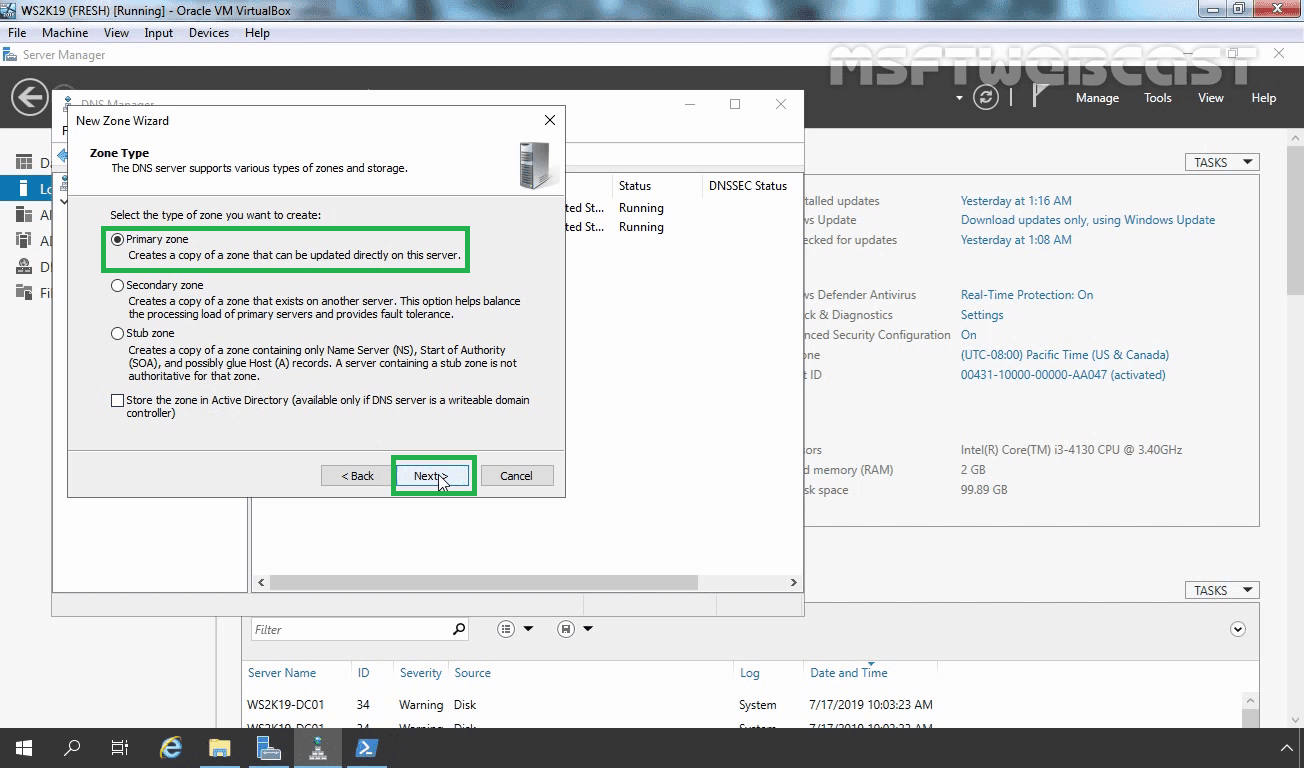
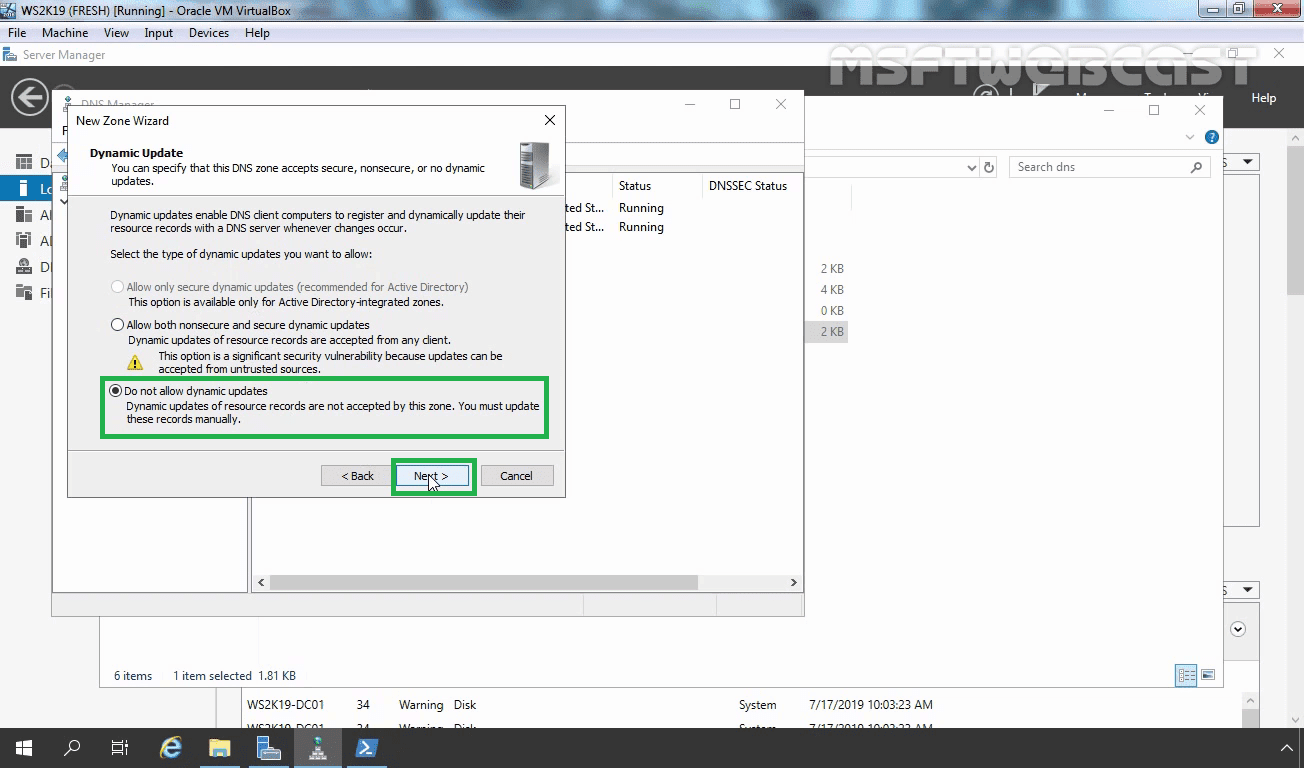
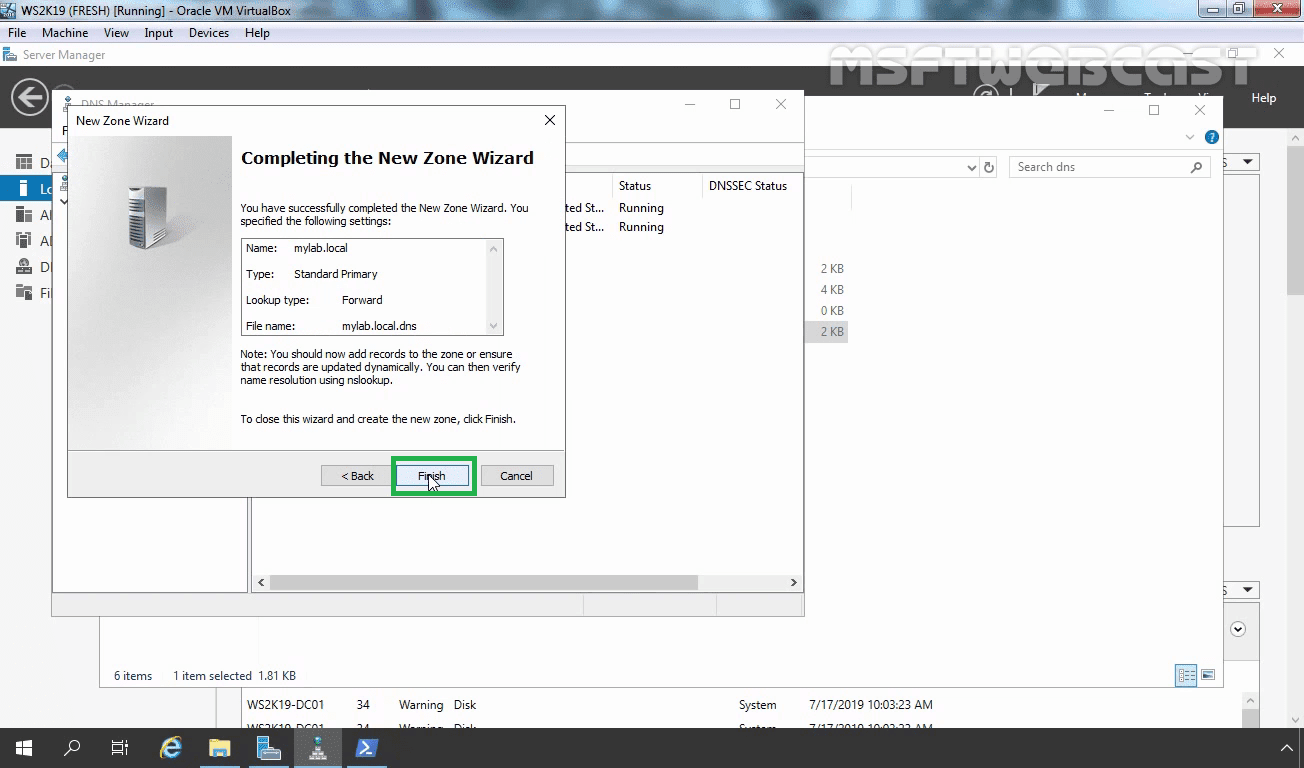
How to Restore the AD Integrated DNS zone using the GUI method:
In the DNS Manager Console. Expand the Server, then right-click Forward Lookup Zone and Click New Zone.


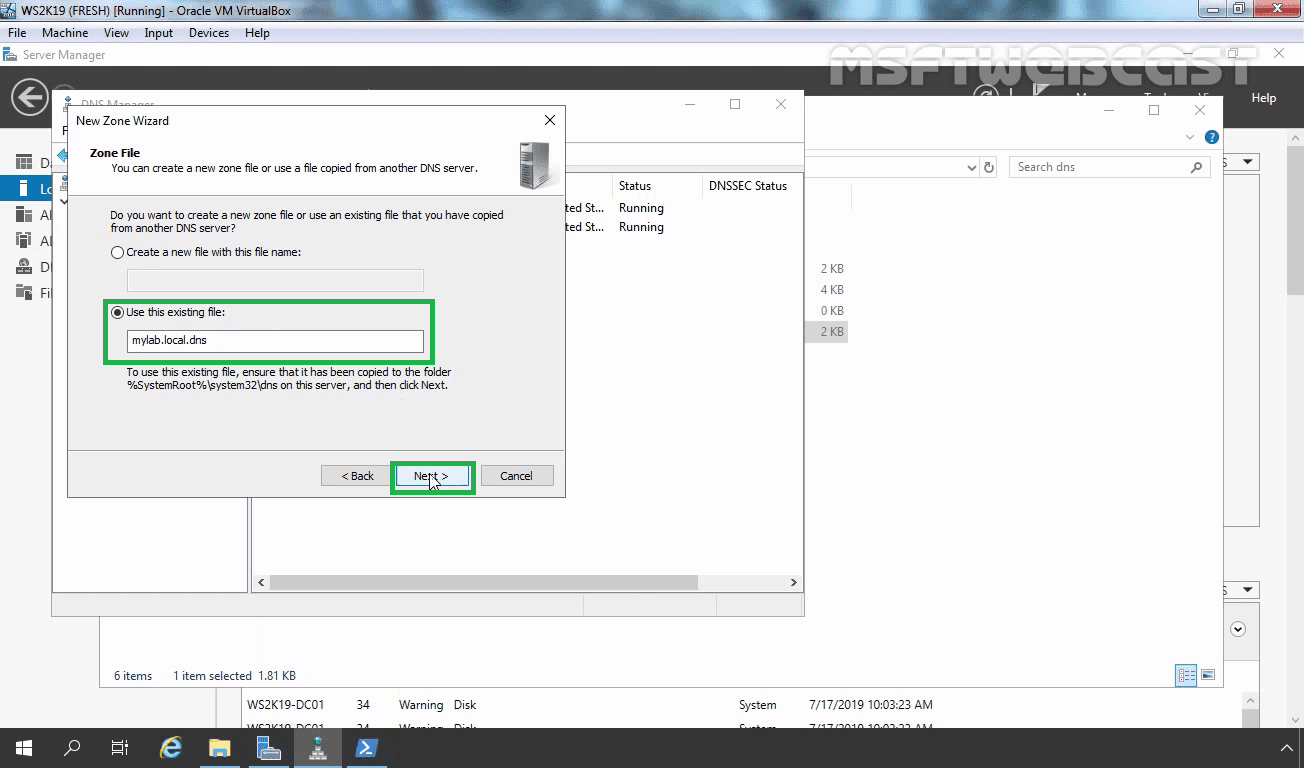


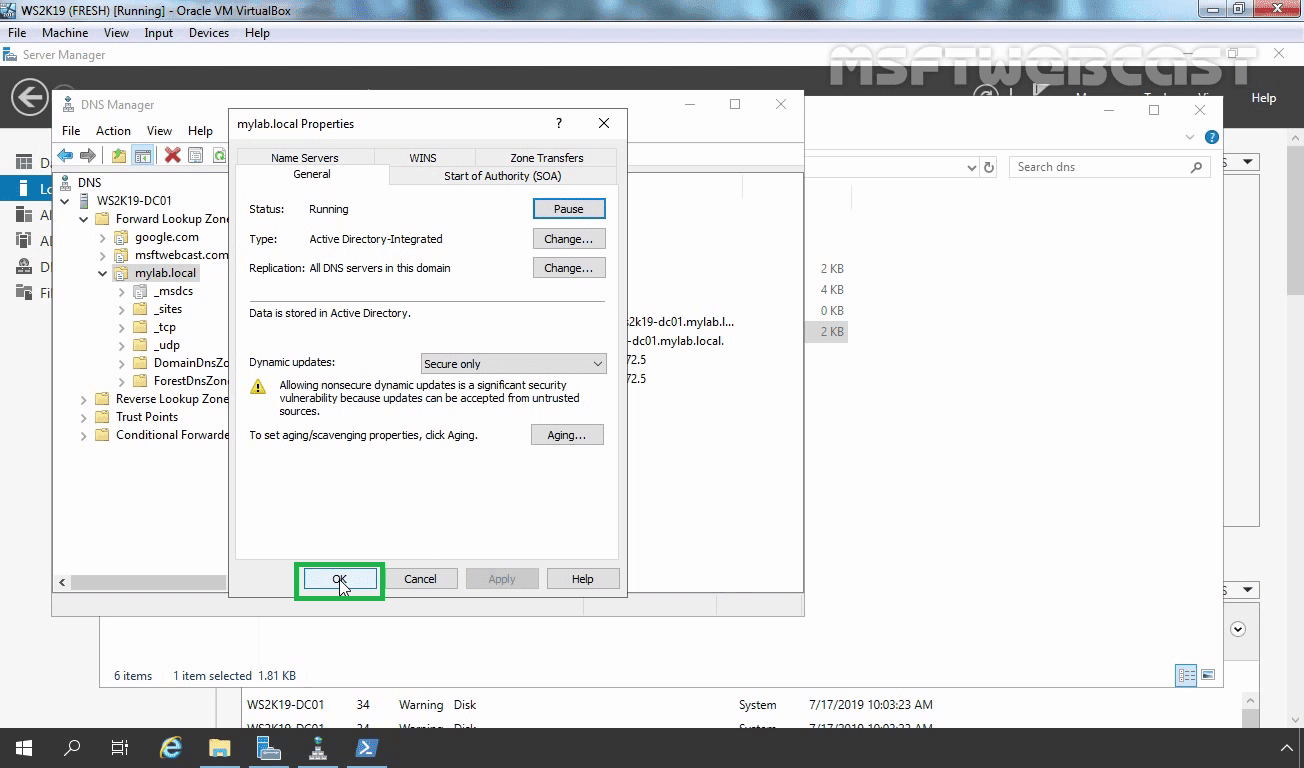
Finally, we have Active Directory Integrated DNS Zone up and running, restored from the existing backup file.
I hope you will find this information useful. Thank you!
Link to my video on How to Backup-Restore An Active Directory Integrated DNS Zone.