In this post, we will learn the steps to deploy desktop wallpaper using group policy in Windows Server 2019. By using this group policy setting, we can deploy common desktop wallpaper on the user’s desktop and prevent users from changing the desktop wallpaper.
We can use JPG (.jpg) or Bitmap (.bmp) image file to deploy desktop wallpaper through Group Policy. It is common practices in the organization to set up a common desktop background on the computers using GPO.
We have two virtual machines for this demo.
- ws2k19-dc01.mylab.local (Windows Server 2019 DC)
- ws10-cli01.mylab.local (Windows 10 client computer)
(Note: We will apply common desktop background policy at domain level)
Follow the step by step below instructions to set wallpaper using group policy:
Step:1 Create a shared folder to store wallpaper image:
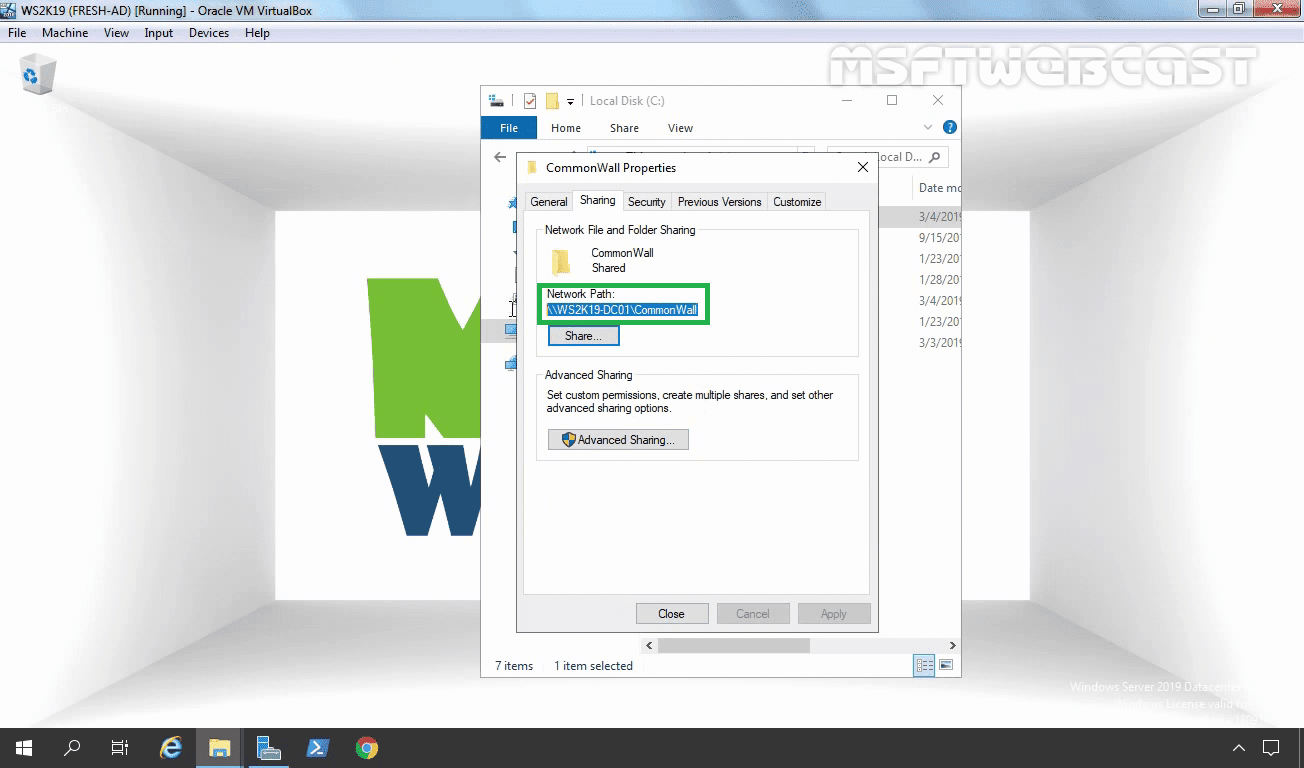
1. On C: drive create a new folder name CommonWall. Share this folder with everyone read-only permission.
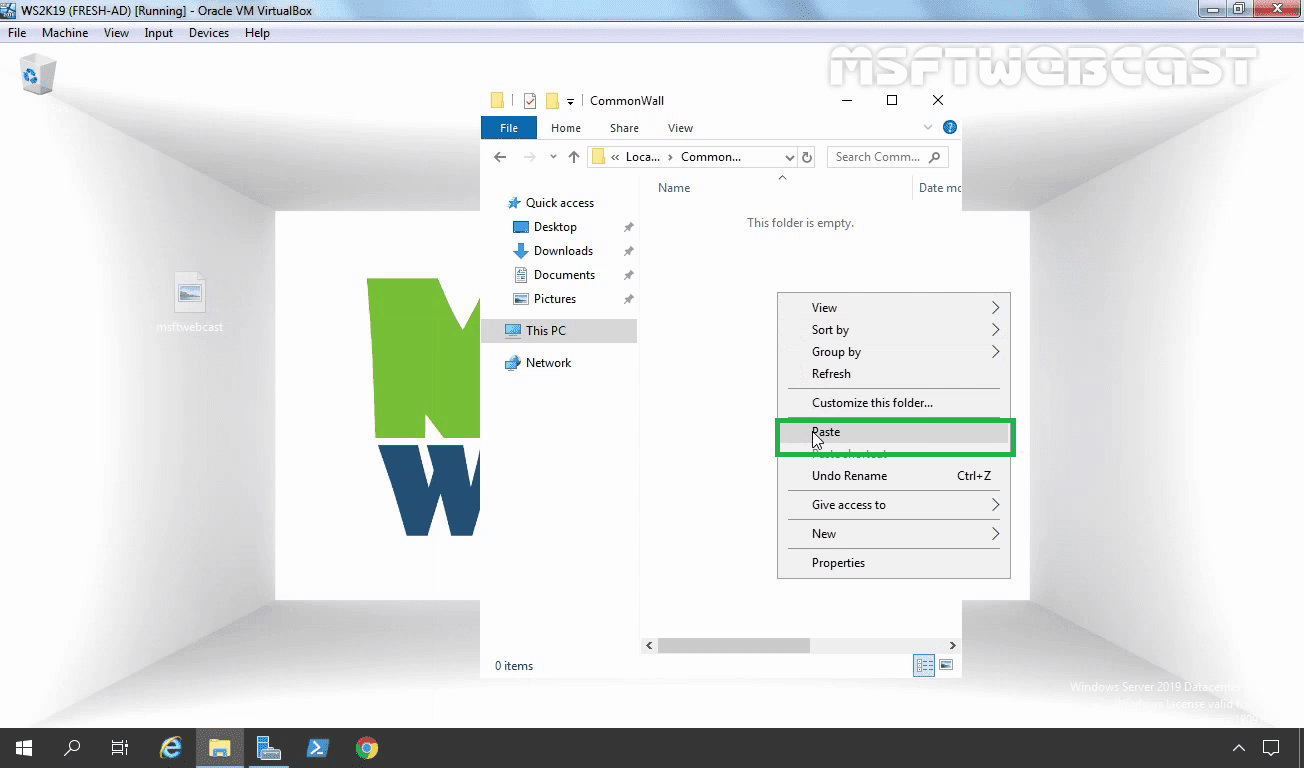
2. Now you need to copy the image which you want to set up as a desktop background to this shared folder.
Step:2 Create a GPO and define desktop wallpaper setting:
You can create and manage Group Policy Objects using the Group Policy Management Console (GPMC) in an Active Directory Domain environment.
To open Group Policy Management Console,
3. On server manager console, click on tools and select Group Policy Management.

4. On the Group Policy Management console, expand the forest, expand domains, right-click on the domain name and click on Create a GPO in this domain and link it here.
You can also create a group policy object and later use the option to link an existing GPO.

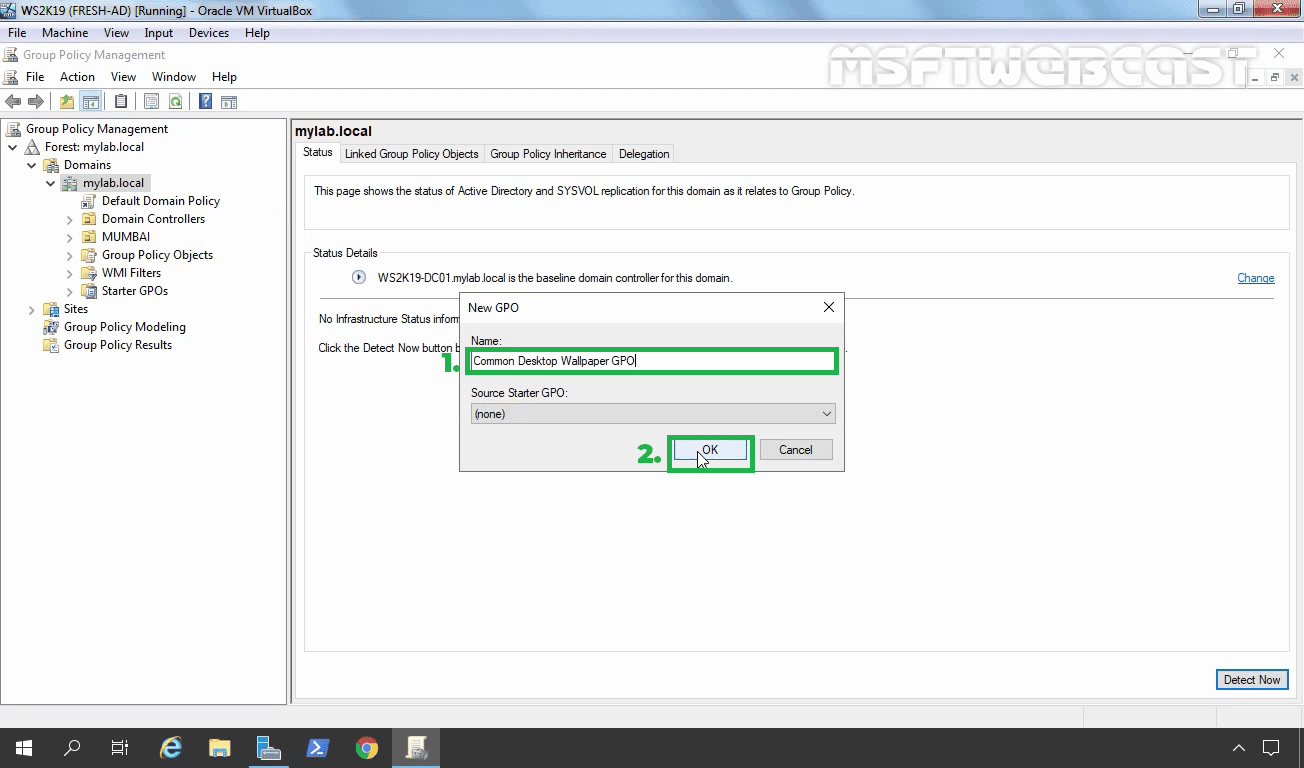
5. Give a proper name to the GPO. For example, Common Desktop Wallpaper GPO.
Click on the OK button to create it.
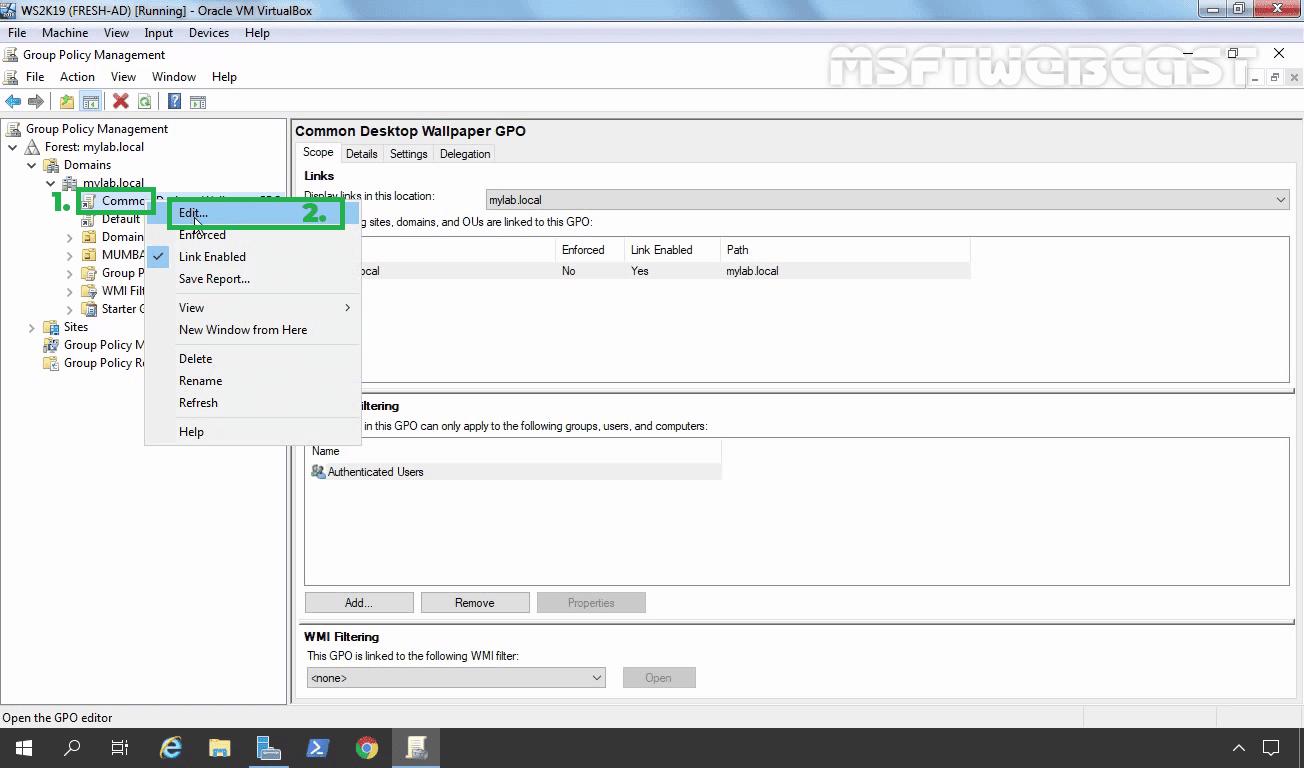
6. Right-click on the GPO and click on edit. This will open the Group Policy Management Editor console.
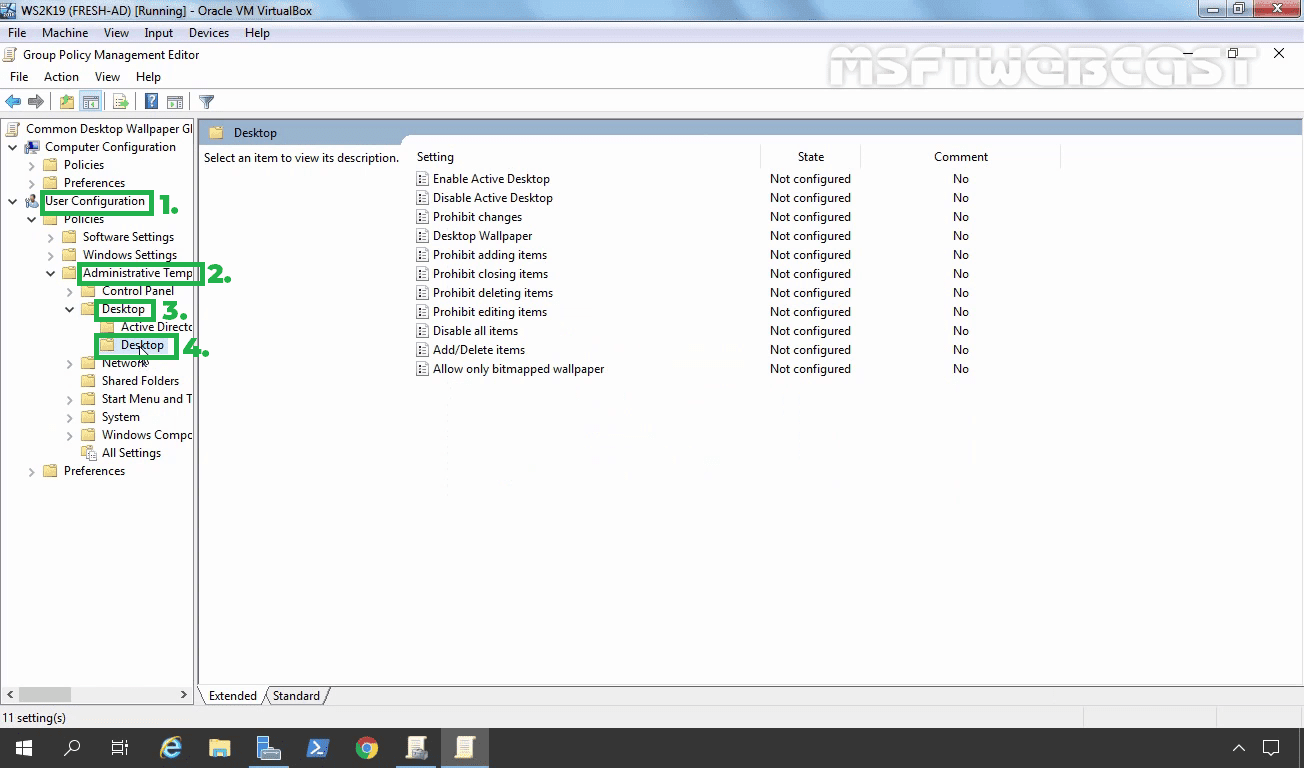
7. In Group Policy Management Editor Console go to User Configuration > Administrative Templates > Desktop > Desktop.
8. On the right pane, double click on Desktop Wallpaper setting.
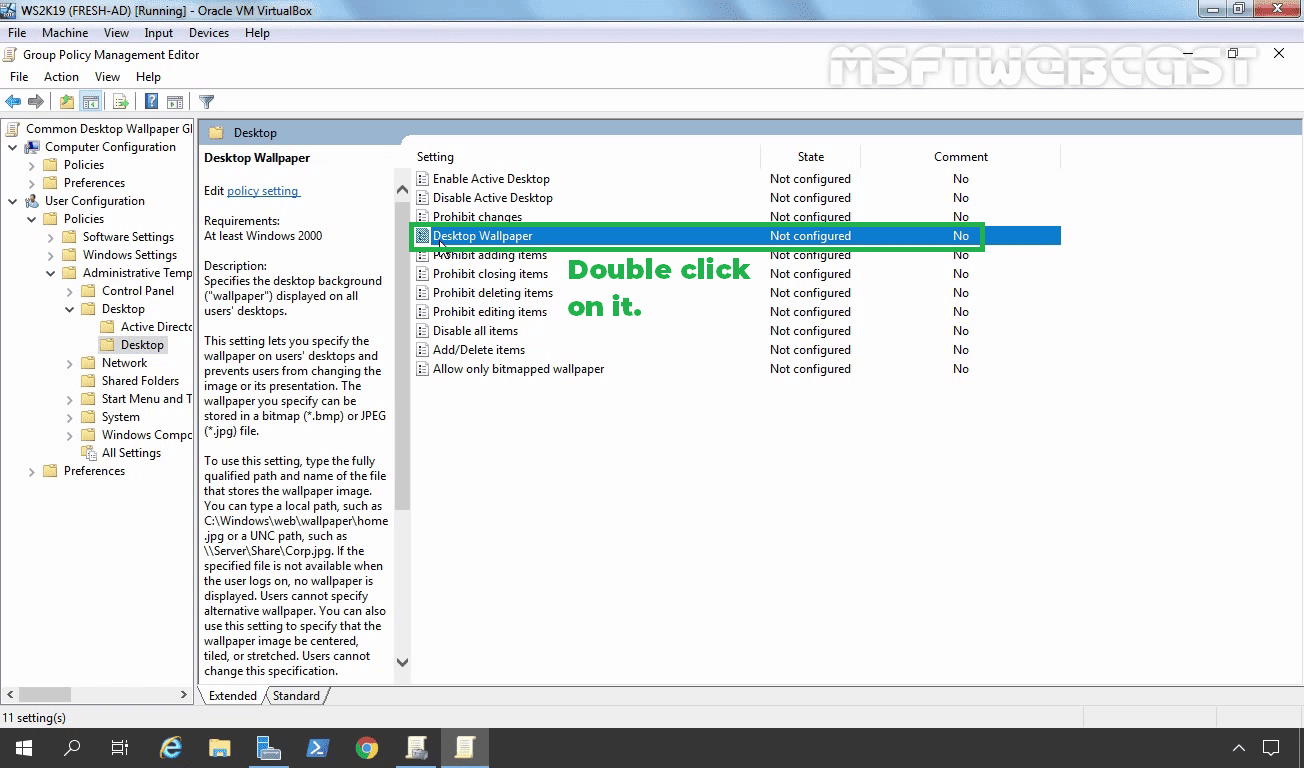
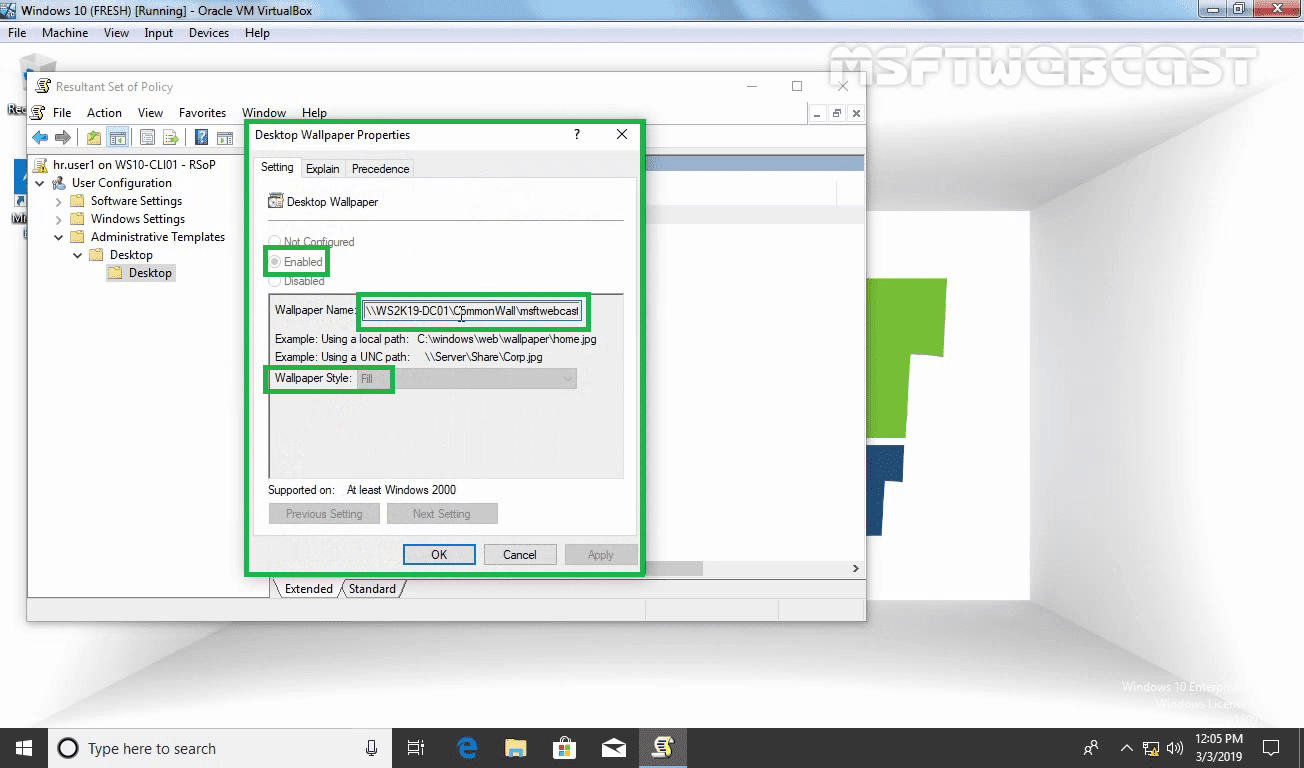
Under Desktop wallpaper console, we have to give the fully qualified path and name of the file that stores the wallpaper image.
9. Select Enabled to enable the policy setting. Under Wallpaper name specify the UNC path \\ws2k19-dc01commonwallmsftwebcast.png.
Set the wallpaper style as Fill. Click Apply and OK.

10. Close the Group Policy Management Editor console.

Step:3 Check the result on a client machine:
11. On the Windows 10 client machine wait for the policy to get updated automatically or manually update the group policy settings by running command gpupdate /force in command prompt.

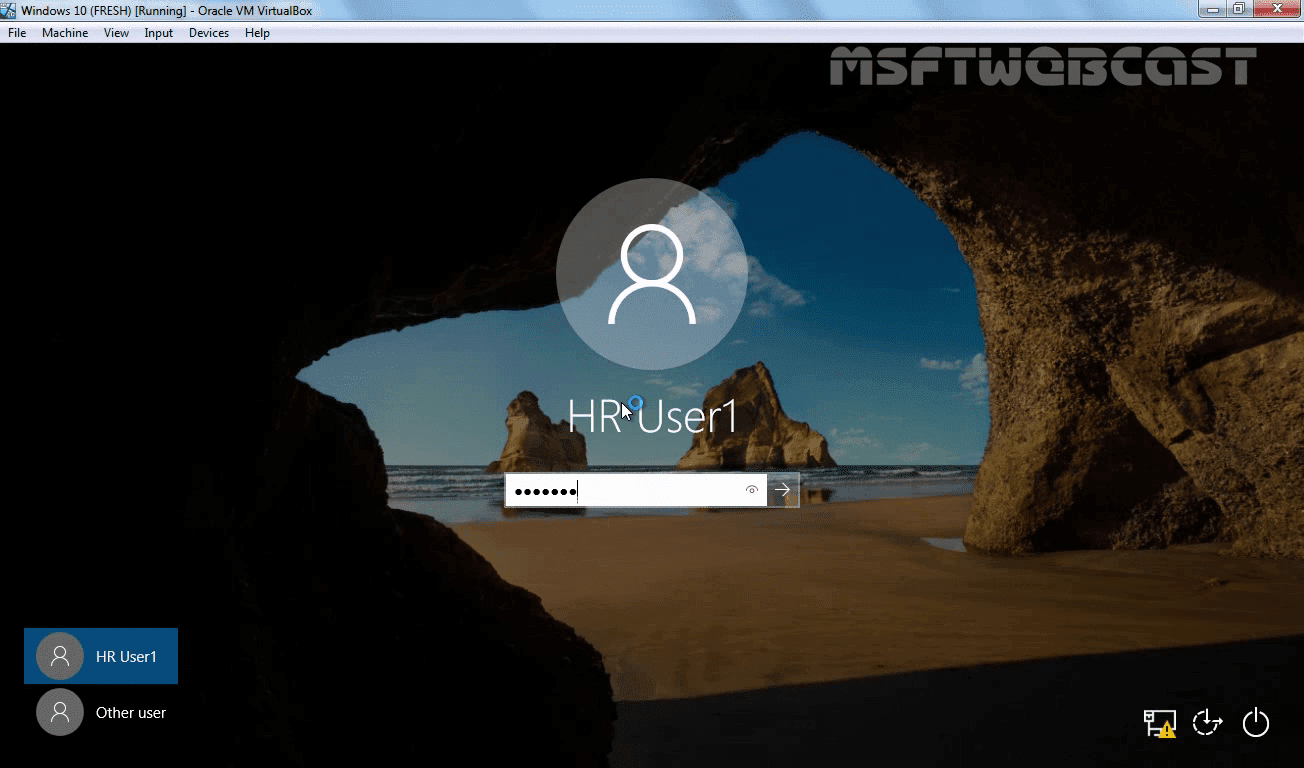
12. The users may have to log off and login once to see the changed desktop wallpaper.
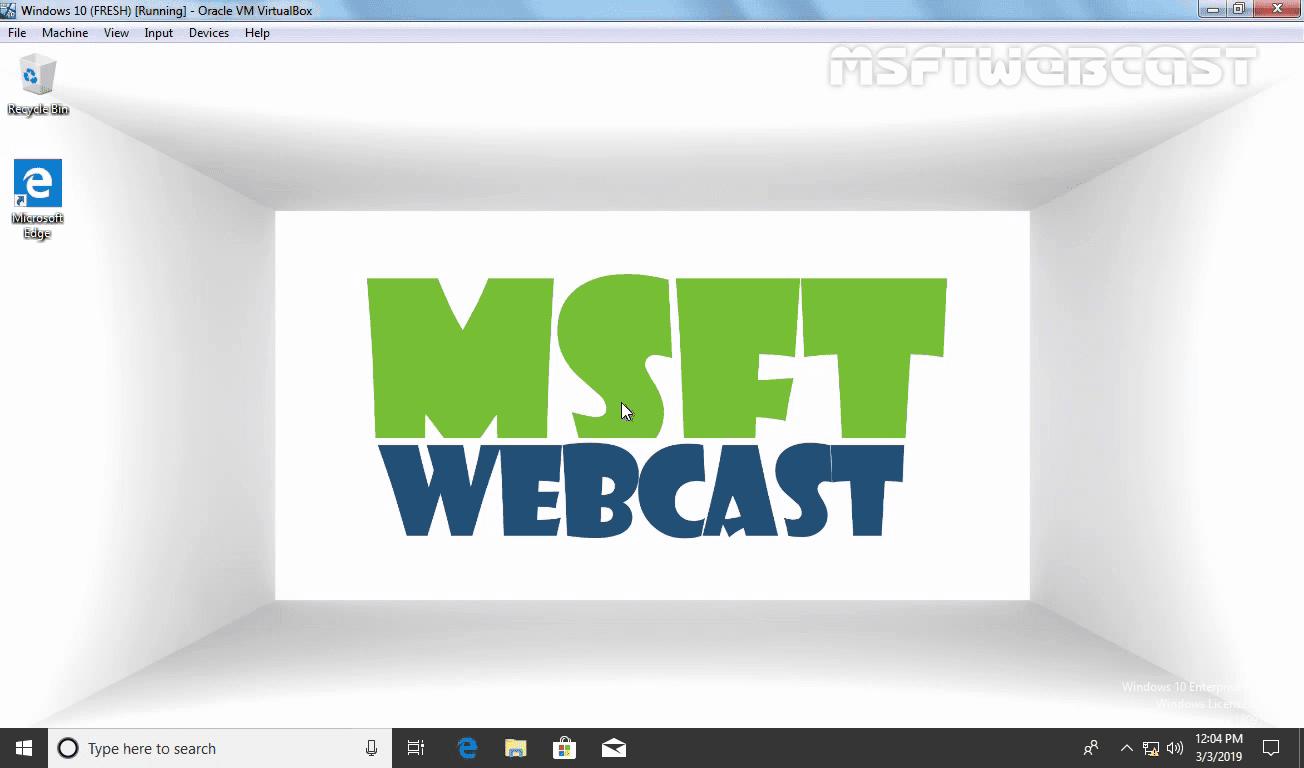
After the policy applied, notice that the desktop background wallpaper has been changed.
13.We can also run command rsop.msc to check which group policy settings is currently applying on computer.
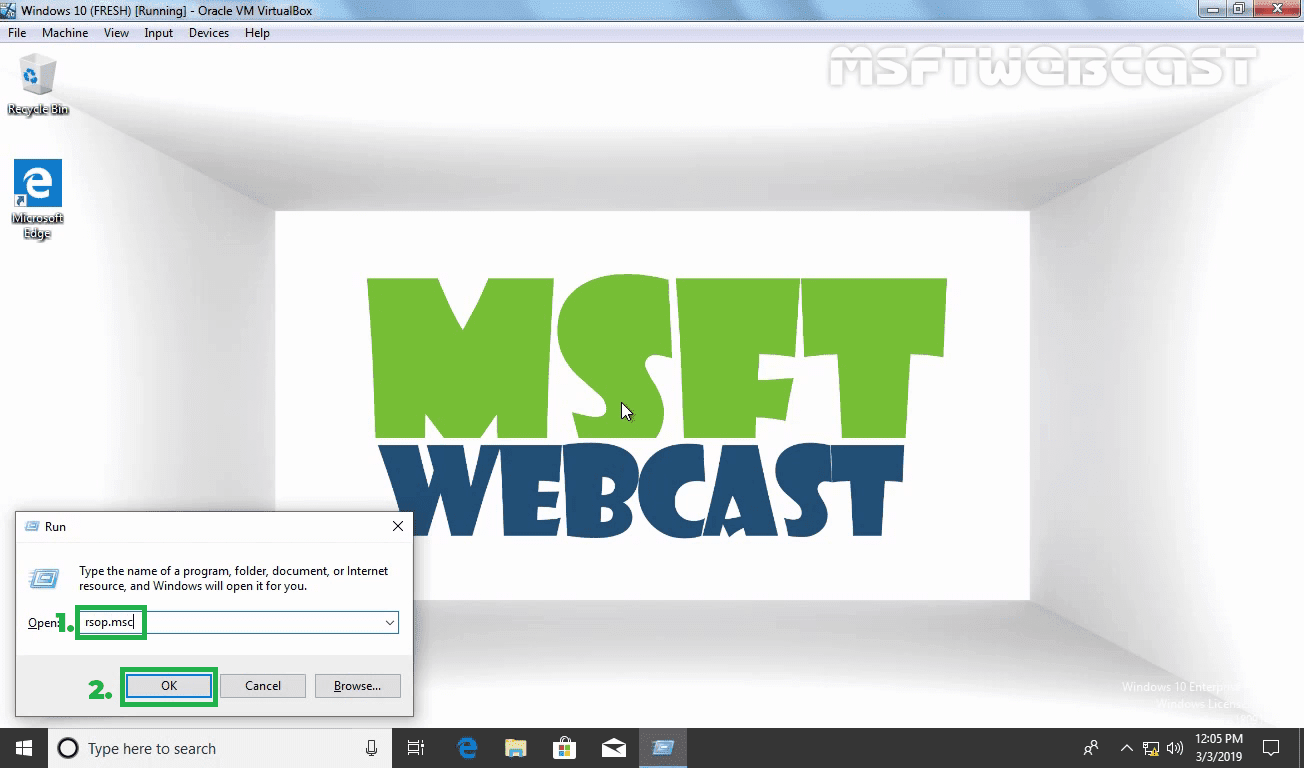
14. In the below image we can see that desktop wallpaper policy settings have been successfully applied to the windows 10 client computer.
1 Comment
Leave a Reply
You must be logged in to post a comment.
Please add the option to add a local file (using the File Extension in User Configuration/Preferences/Windows Settings/Files) to your guide.
Having a synced file reduces network load, and the file will still be present and loaded when the computer is not connected to the network, so users won’t have a black screen as a background.