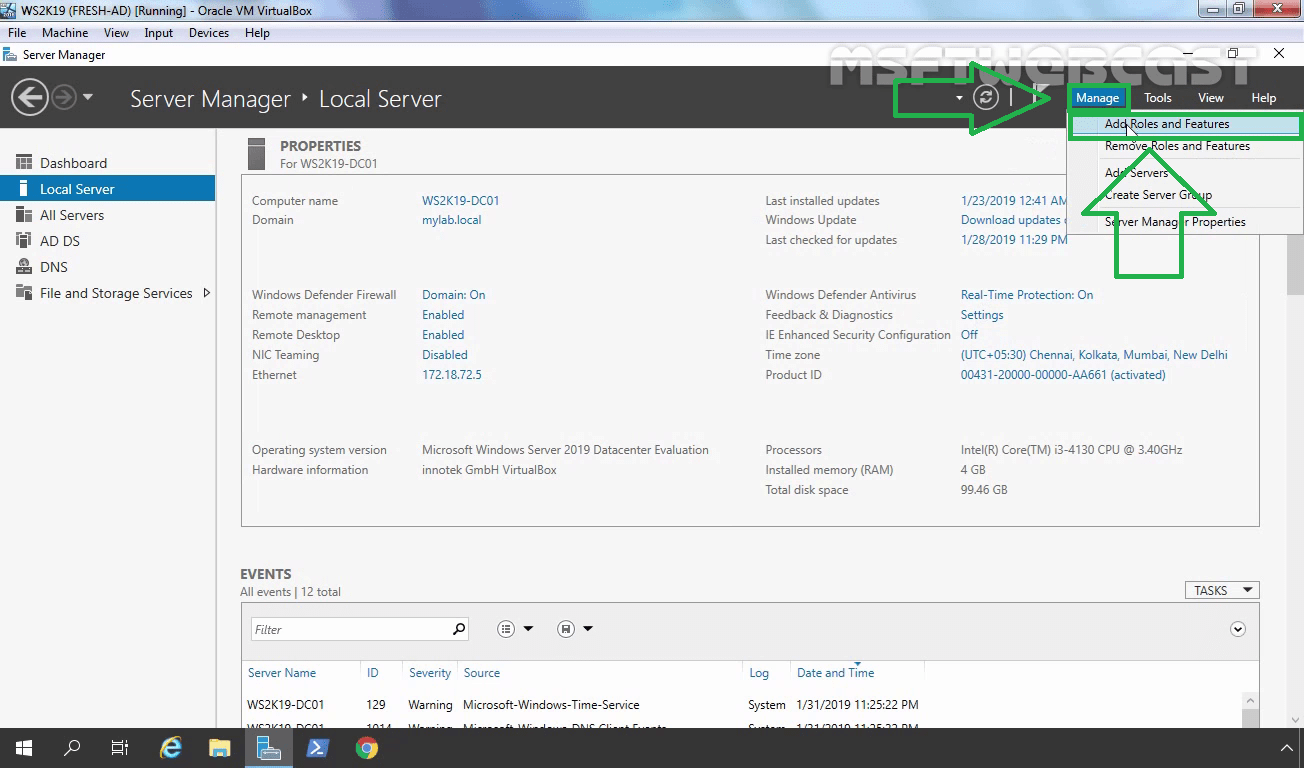
This will be the two-part tutorial in which I will cover each and every step to install and configure the DHCP server role on Windows Server 2019.
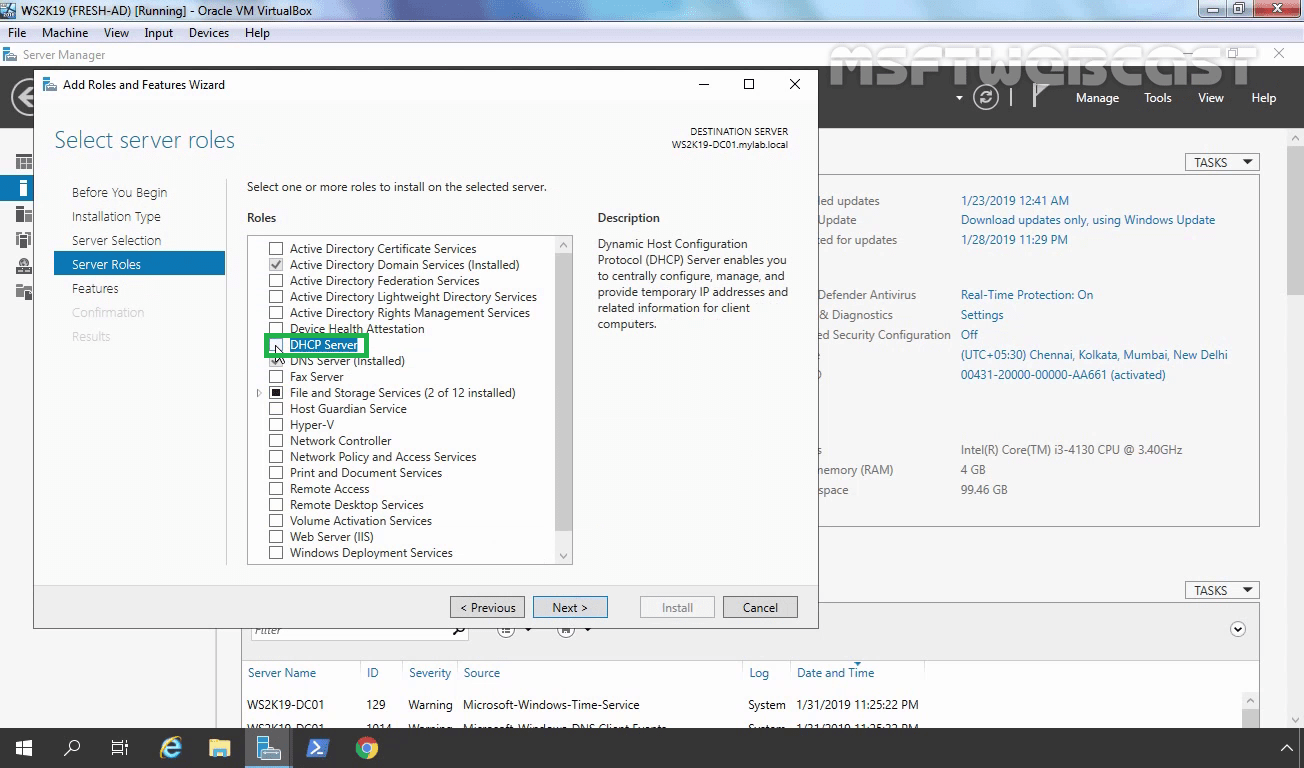
In the first part of this tutorial, I will show you the steps to install and configure the DHCP server role on Windows Server 2019. Dynamic Host Configuration Protocol (DHCP) is a network protocol used in Internet Protocol (IP) networks. The server that supports the protocol is called a DHCP server. As its name indicates, DHCP is a service that provides TCP/IP settings, such as IP address, subnet mask, default gateway address and DNS server address to the clients automatically.
For this tutorial, I will be using my domain controller named as WS2K19-DC01 that is configured with IP address 172.18.72.5/24 and hosts the Active Directory Domain Service role for the mylab.local domain. We have one more Windows 10 virtual machine to test the DHCP server functionality.
Things to check before you start:
- Assign static IP address to the server.
- You must have administrative privilege to install DHCP server role.
Let’s get started.


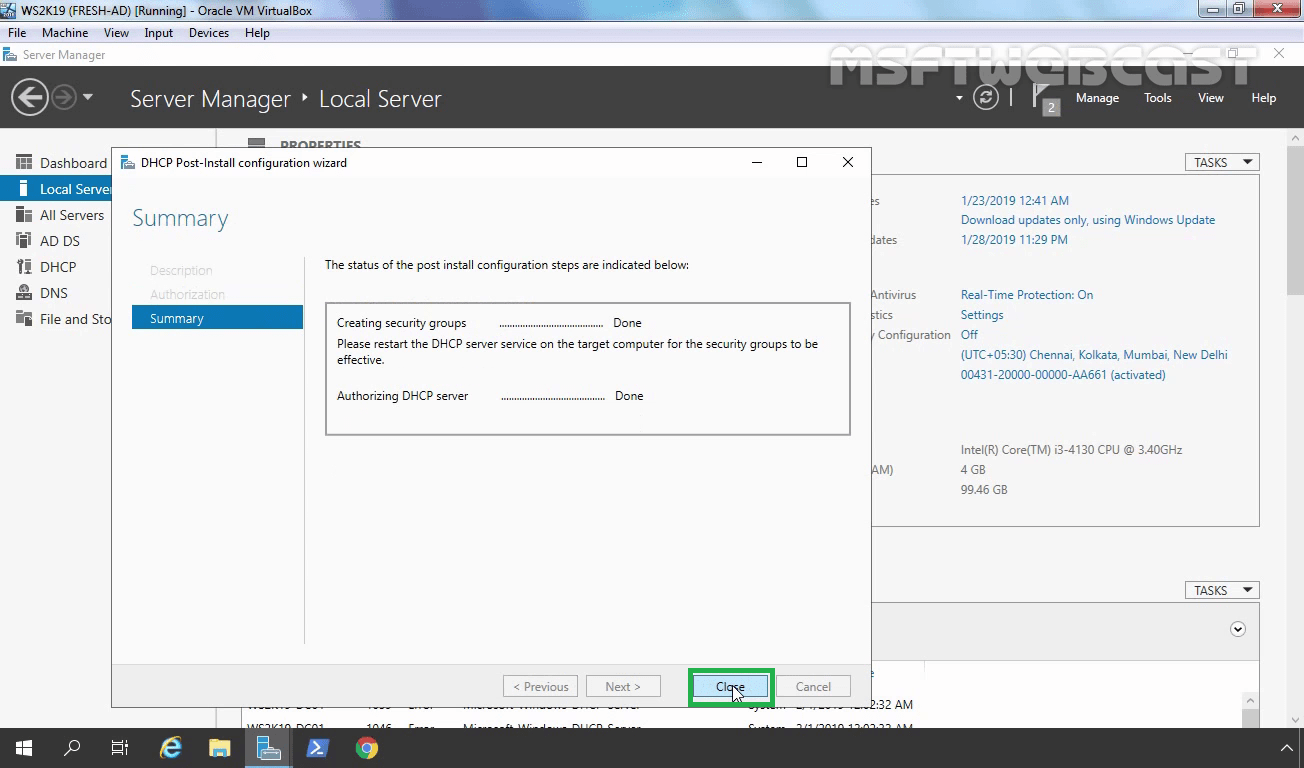
- DHCP Administrators
- DHCP Users


In the second part of this tutorial on the DHCP server, we will see the steps to configure DHCP server role on Windows Server 2019. In which we will create DHCP scope and then we will check on our client machine whether it receives IP address from DHCP server or not?
Hope, you will find this post helpful.
Thank for reading.