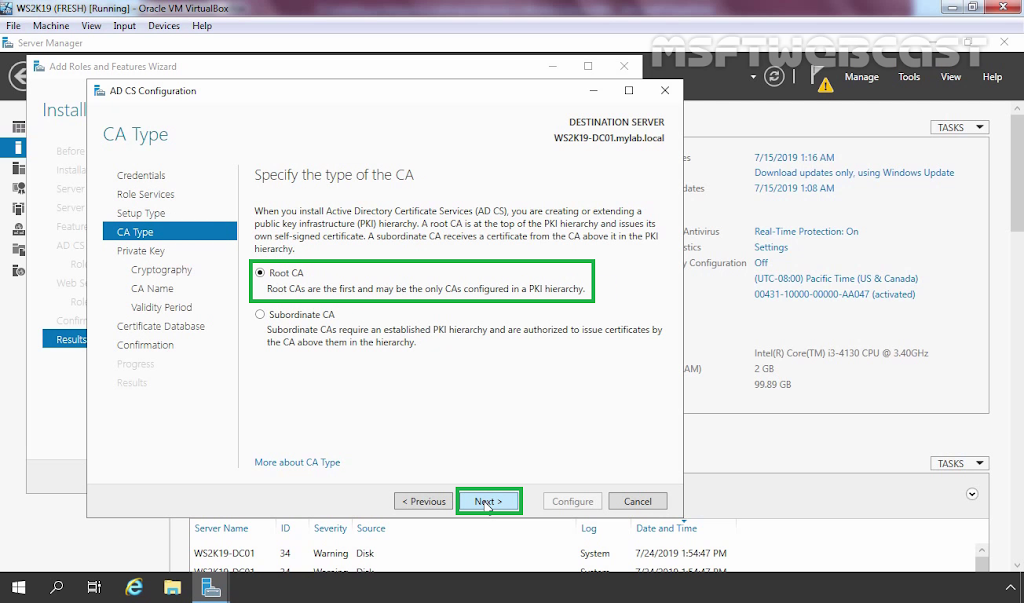
In this blog post, we will learn the steps on how to install and configure an Enterprise Root Certificate Authority on Windows Server 2019.

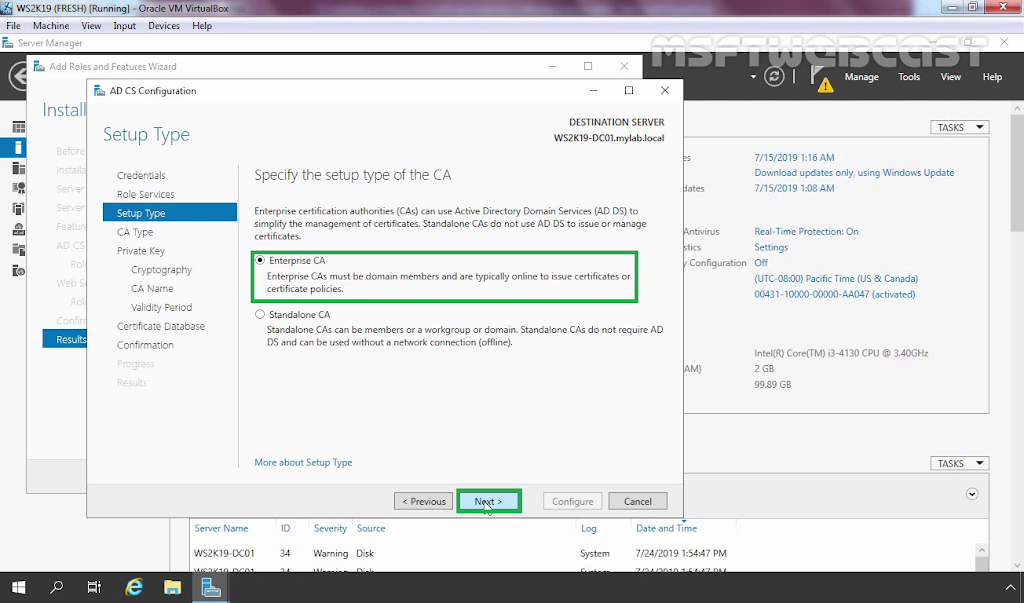
An Enterprise Certificate Authority requires Active Directory and is typically used to issue certificates to users, computers, devices, and servers for an organization. Users can request certificates using manual enrollment, web enrollment, auto-enrollment, or an enrollment agent.

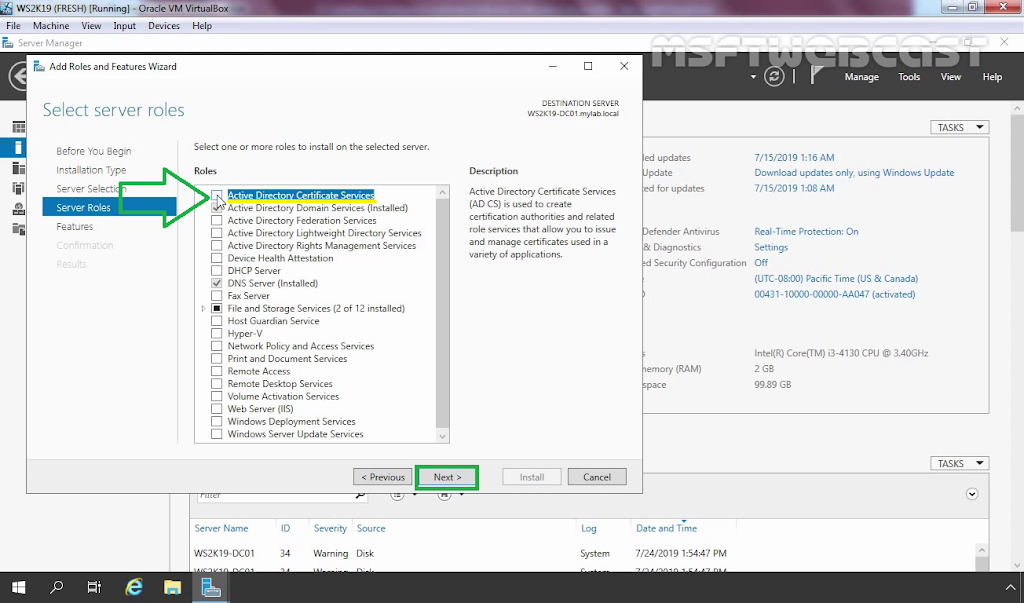
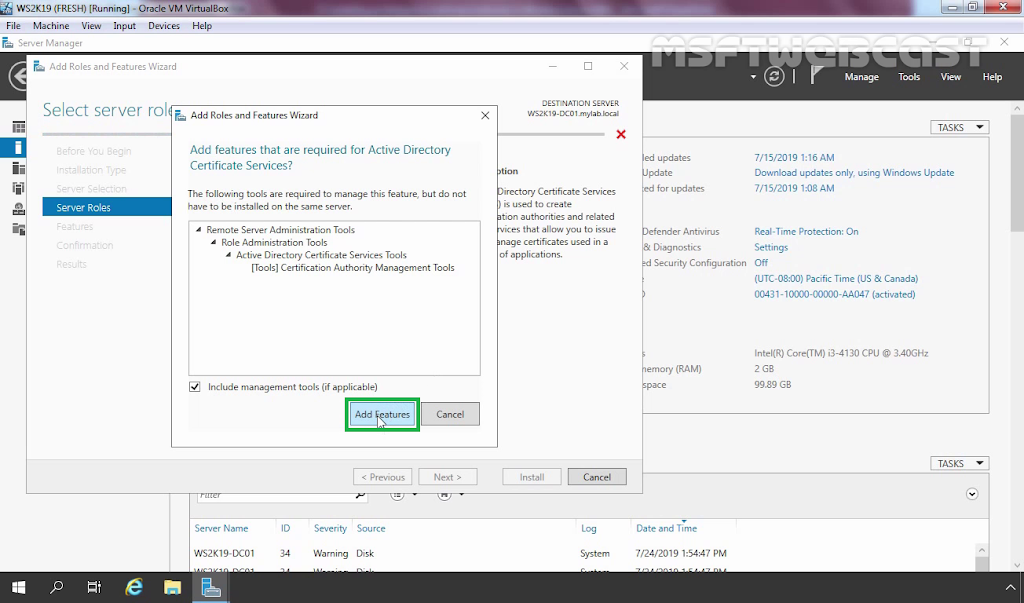
Step-1. Install Active Directory Certificate Services

As this is a virtual test lab, I have chosen to install the CA on to my Domain Controller rather than a dedicated server. 

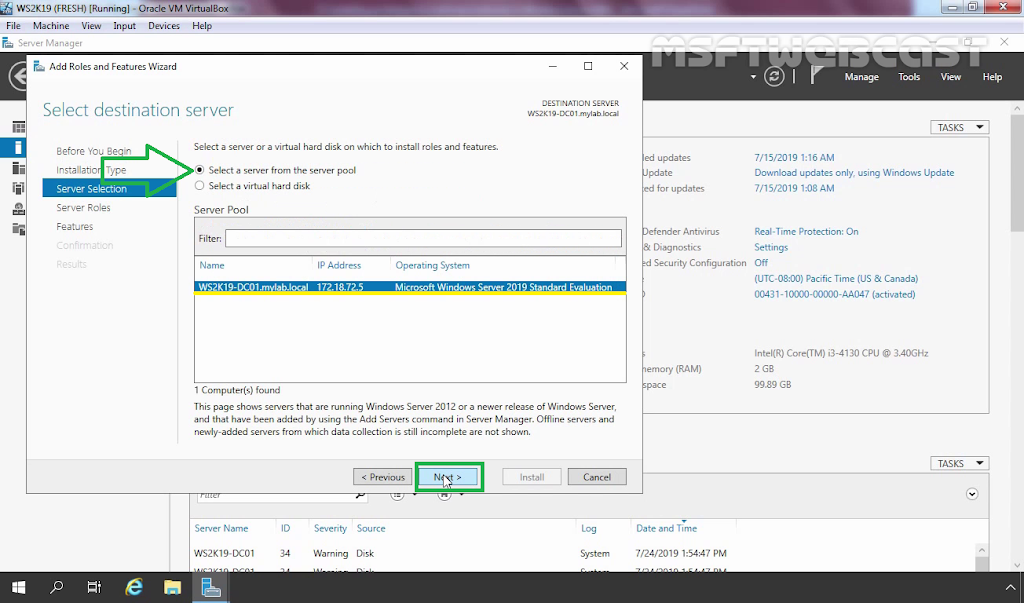
Domain Controller: WS2K19-DC01.mylab.local

1. Open Server Manager Console.

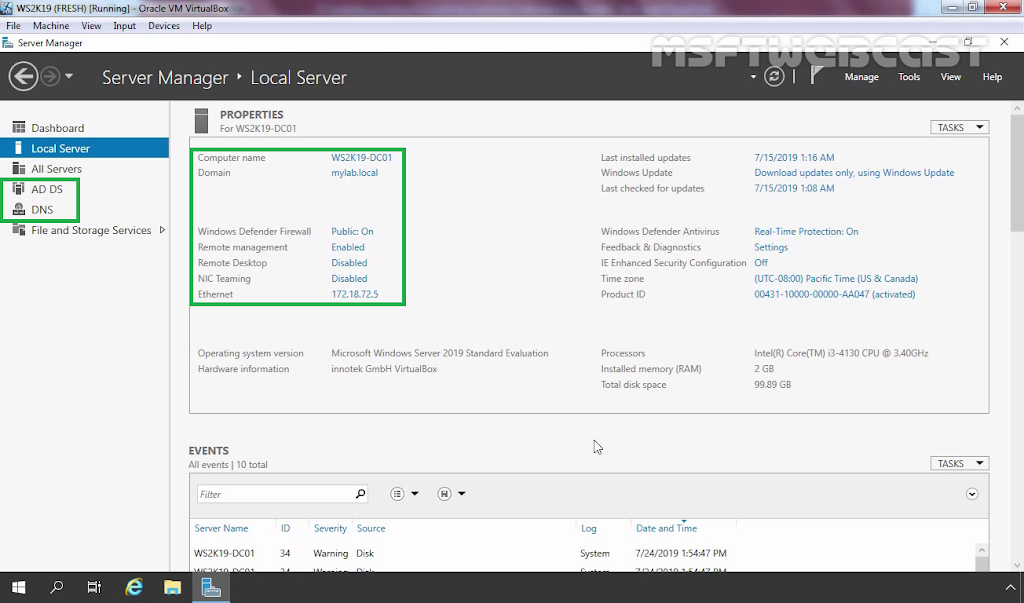
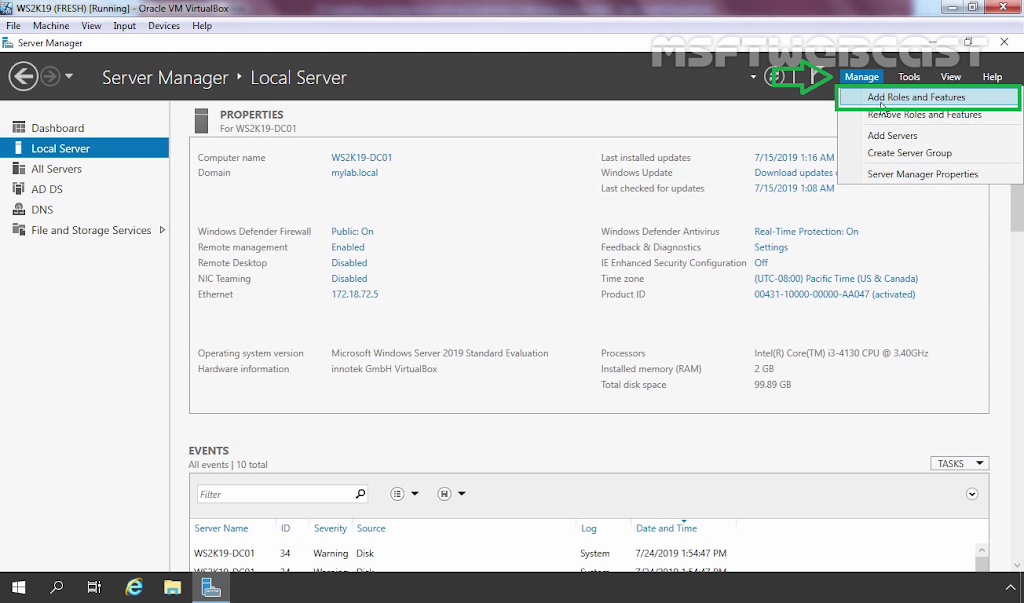
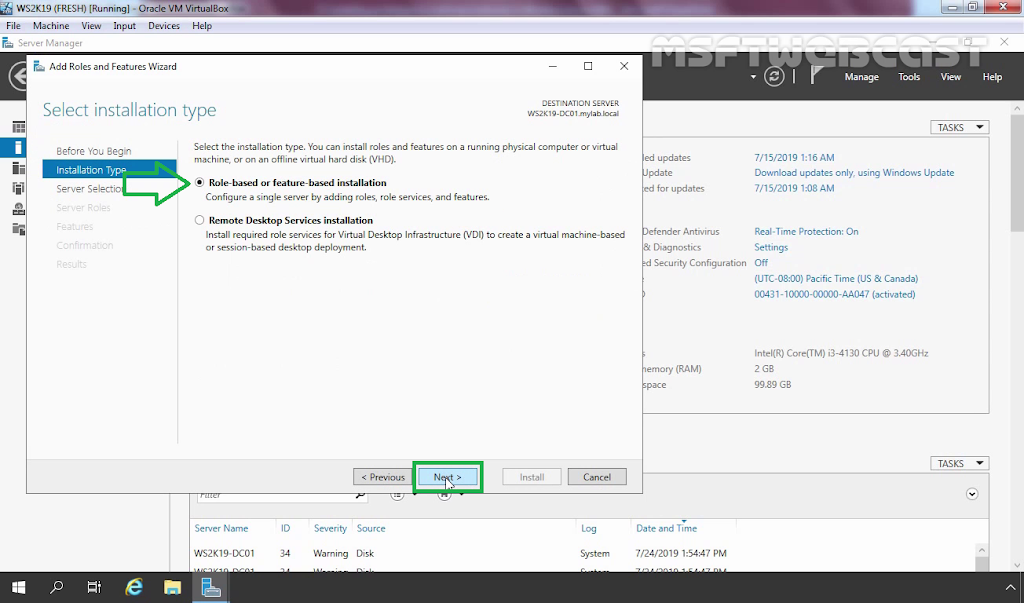
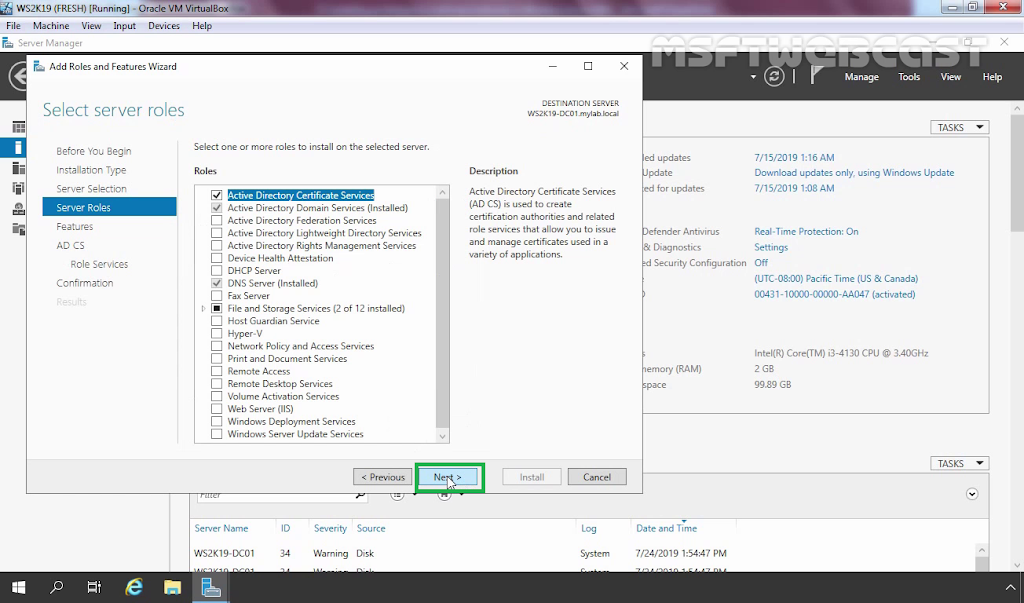
2. In the Server Manager console, click on Manage and select Add roles and features.

3. On before you begin screen, click Next.
4. On the Select installation type page, make sure you choose Role-based or feature-based installation. Click Next.
5. On the Select destination server page, choose the local server. Click Next.
6. On the Select server roles page, select Active Directory Certificate Services.
7. When the Add Roles and Features Wizard window appears, click Add Features.
8. Click Next to continue.
9. On the Select features page, click Next.
10. On the Active Directory Certificate Services page, click Next.
11. On the Select role services, make sure you tick Certificate Authority and Certification Authority Web Enrollment checkbox.
12. When you select Certification Authority Web Enrollment, which will open a window explaining about additional features that are required to install Certification Authority Web Enrollment. Click on Add Features.
13. Click on the Next button until you reach to Confirm installation selection page.
14. On the Confirm installation selections page, click on Install button.

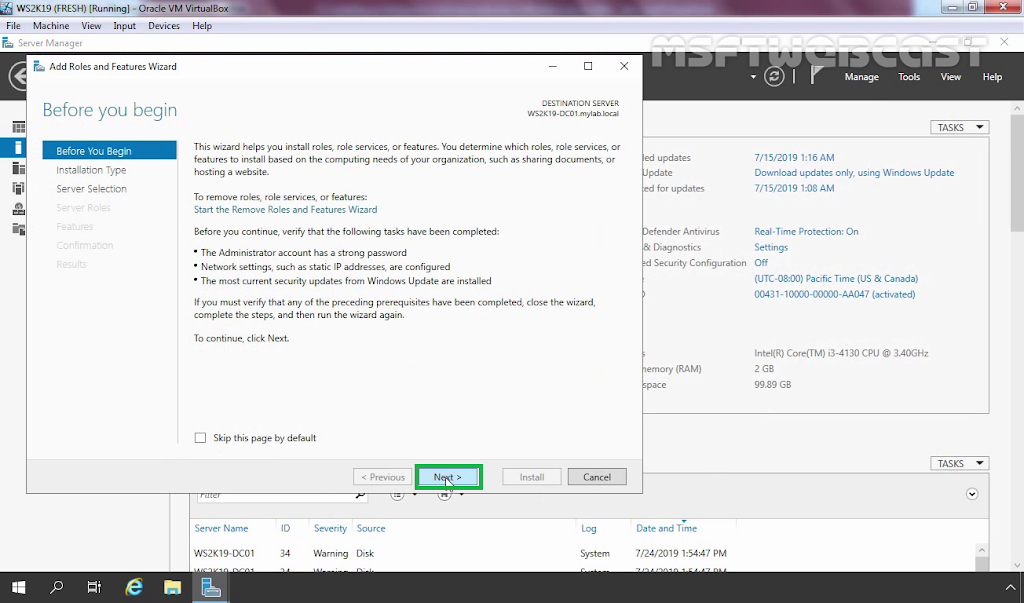
Wait for few minutes to complete the installation.

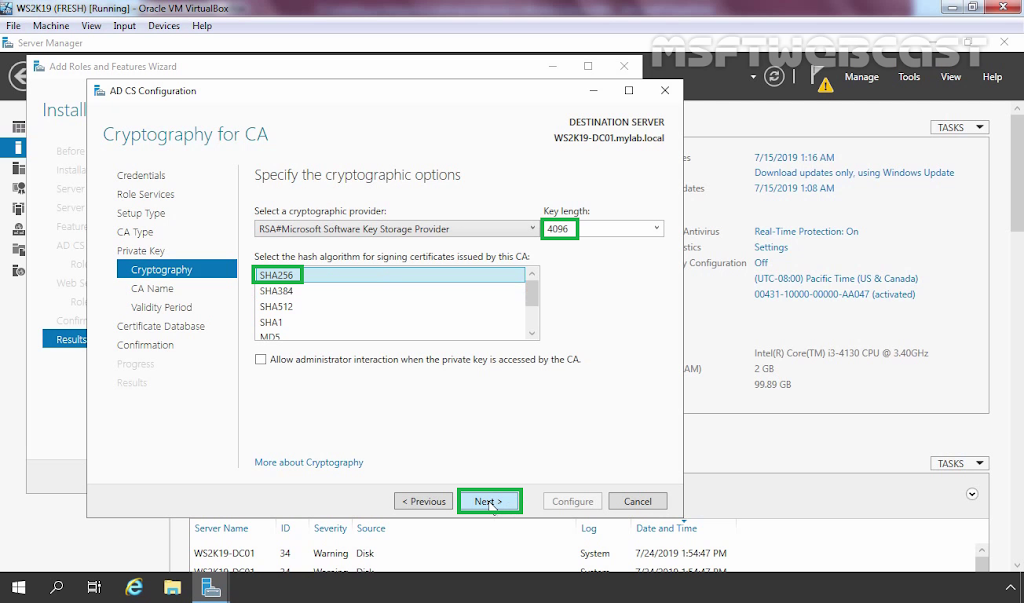
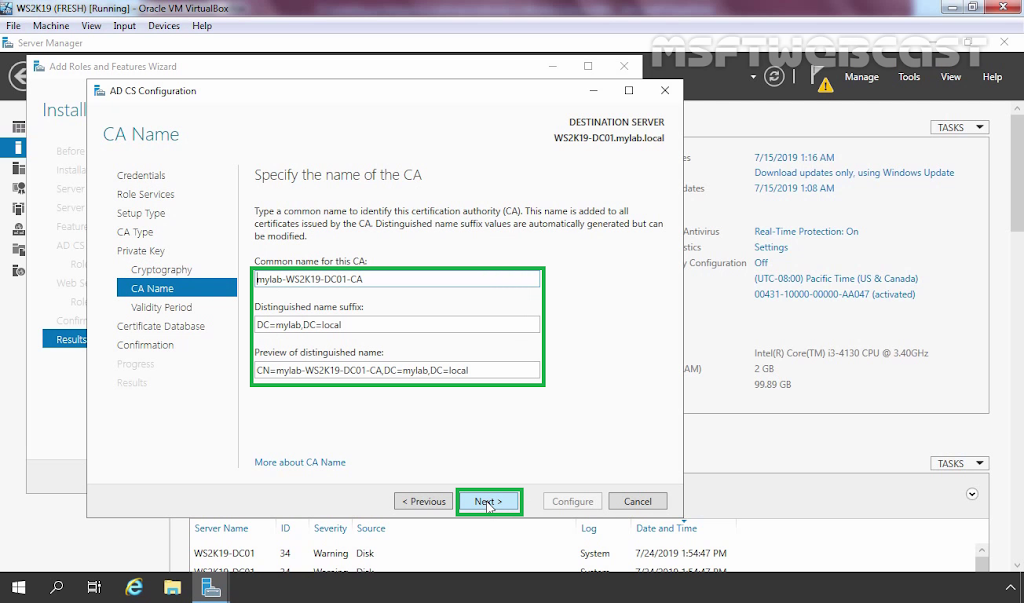
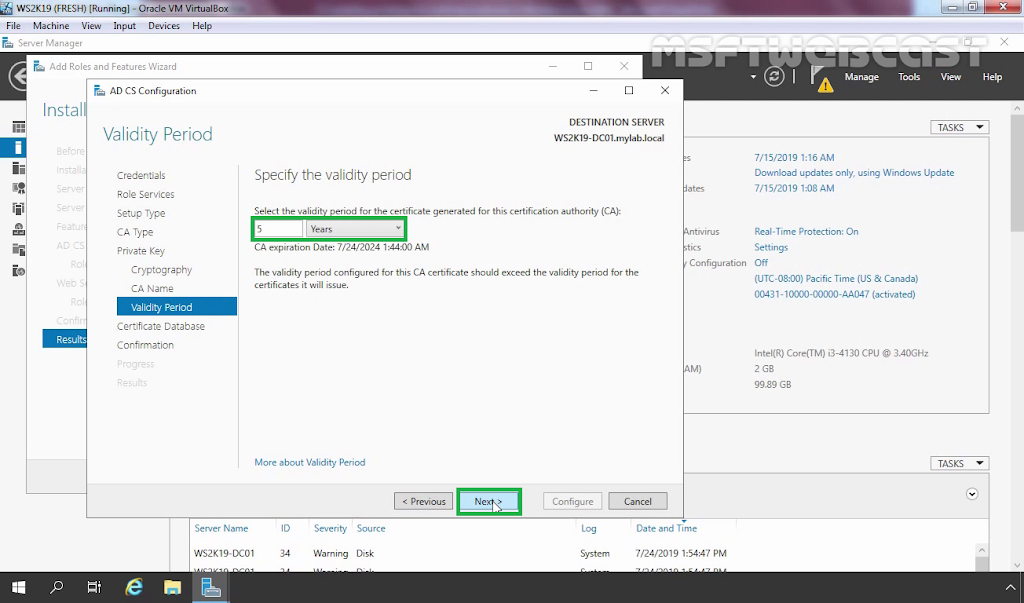
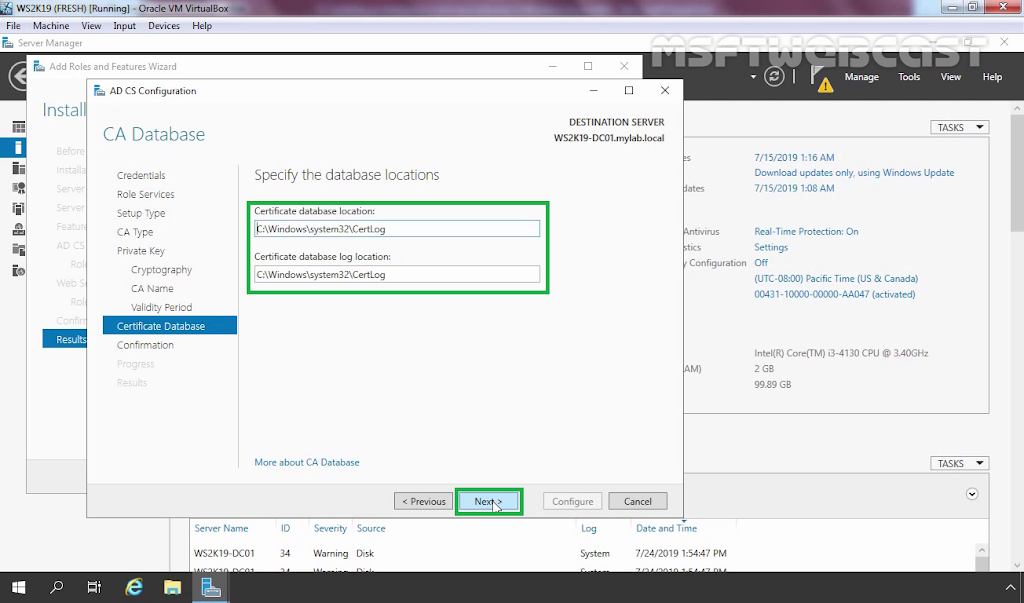
Step-2 Configure Active Directory Certificate Services

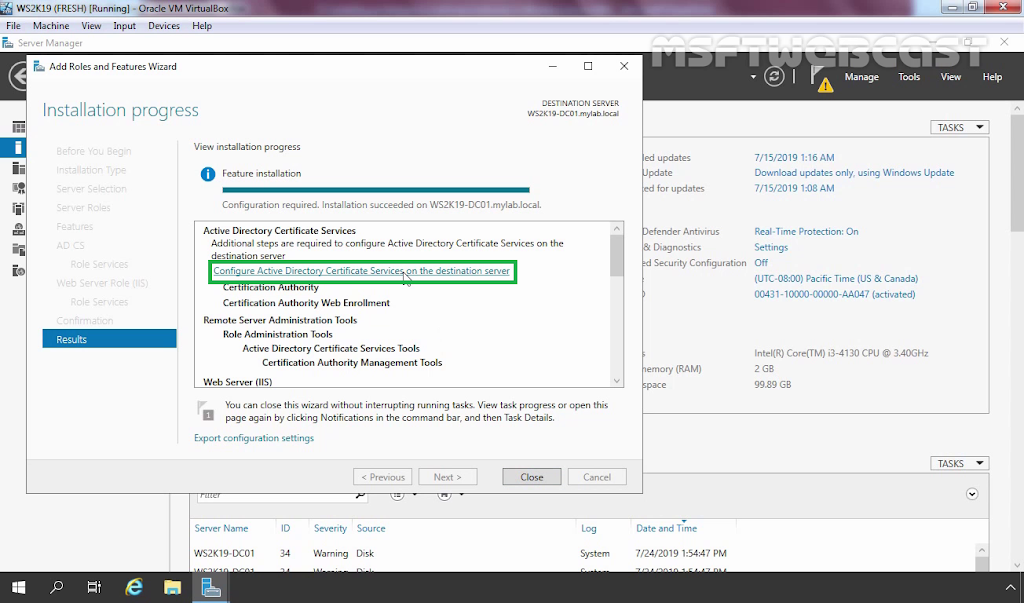
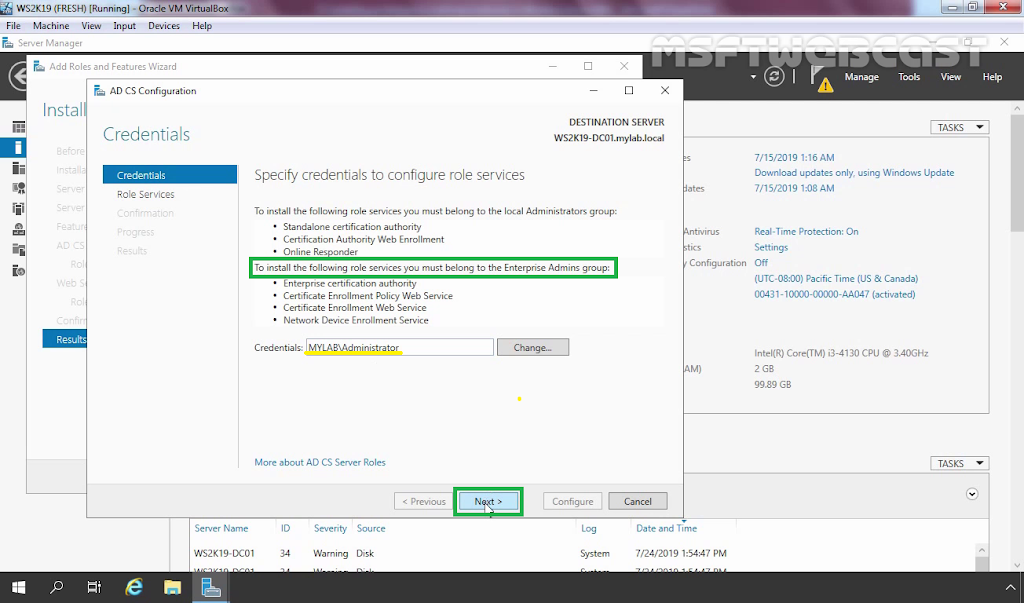
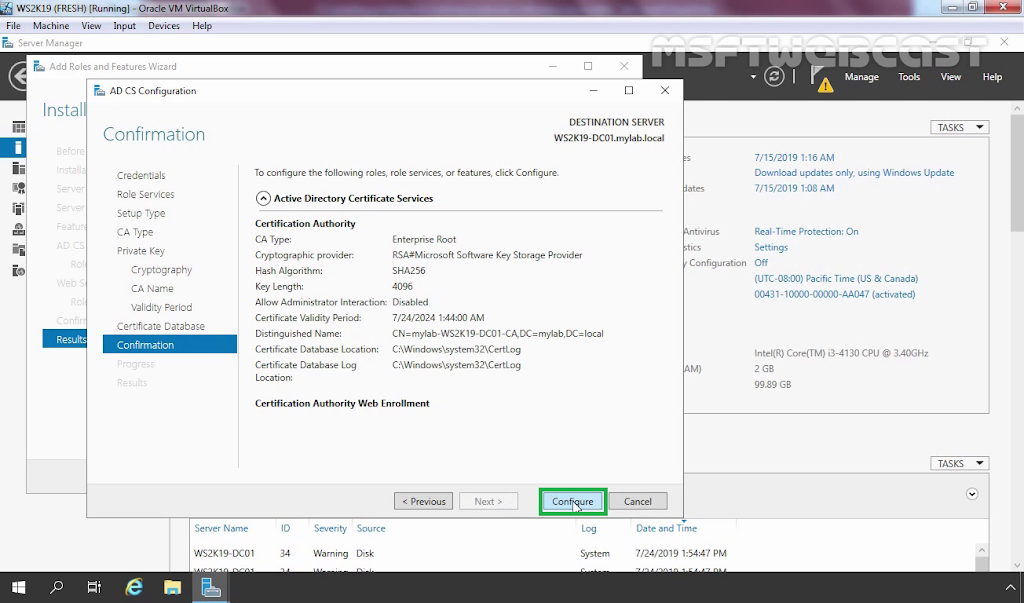
15. On the Installation progress page, after installation is successful, click on Configure Active Directory Certificate Services on the destination server link.

16. On the Credentials page, click Next as already we have login to the server with the credential of Domain Admin.
17. On the Select role services to configure page, select Certification Authority and Certification Authority Web Enrollment service. Click Next.
18. On the Setup Type page, select Enterprise CA, and then click Next.
19. On the CA Type page, ensure that Root CA is selected, and then click Next.
20. On the Private Key page, ensure that Create a new private key is selected, and then click Next.
21. On the Cryptography for CA page, keep the default selections for Cryptographic Service Provider (CSP) and Hash Algorithm. For better security, change the Key length to 4096, and then click Next.
22. On the CA Name page, you can specify any name of your choice. Click Next when you are done.
23. On the Validity Period page, the default is 5 years. Click Next.
24. The CA Database page displays where the certificate database will be stored. Click Next.
25. On the Confirmation page, click Configure.
26. On the Results page, click Close.

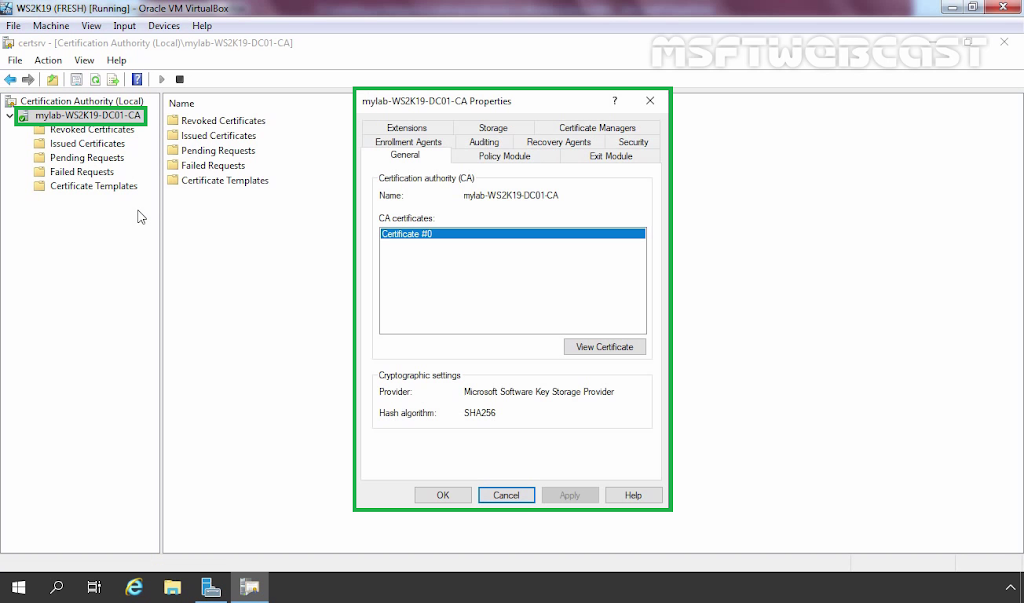
Step-3 Verify AD CS installation and configuration

27. To confirm that the web enrollment page is working open a web browser and access the URL https://localhost/certsrv.

28. To launch the CA Management Console, On Server Manager console, click on Tools and select Certification Authority.
At this point, we have successfully deployed the Enterprise Root Certificate Authority with Web Enrollment Service on Windows Server 2019.