This article describes the steps to install IIS (Internet Information Service) version 10 in Windows Server 2019. The Web Server (IIS) role in Windows Server 2019 provides a secure, easy-to-manage, modular and extensible platform for reliably hosting websites, services, and applications.
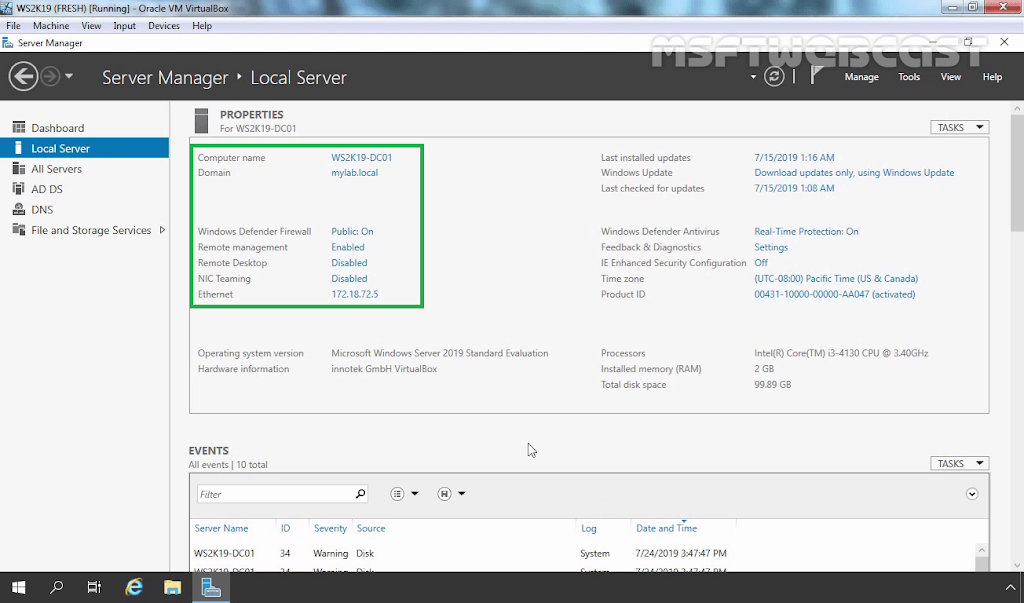
Open Server Manager Console.
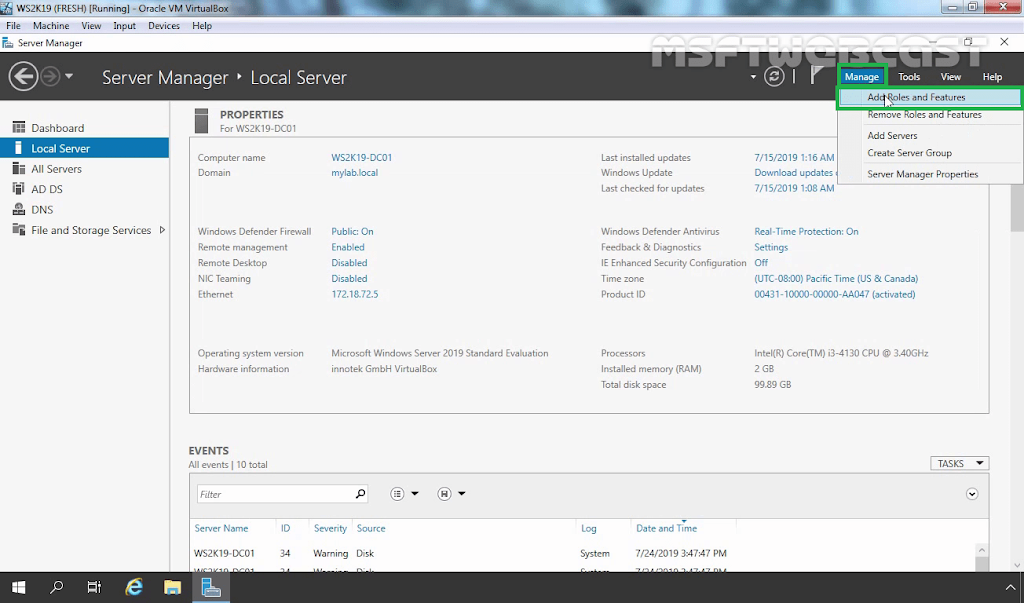
Click on Manage and select Add Roles and Features.
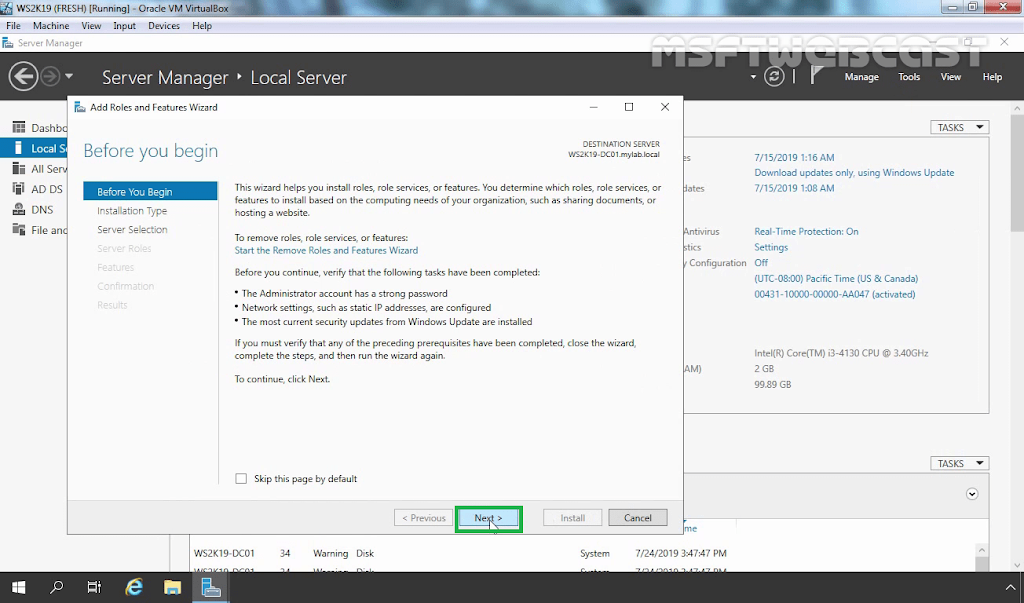
On before you begin screen, click Next.
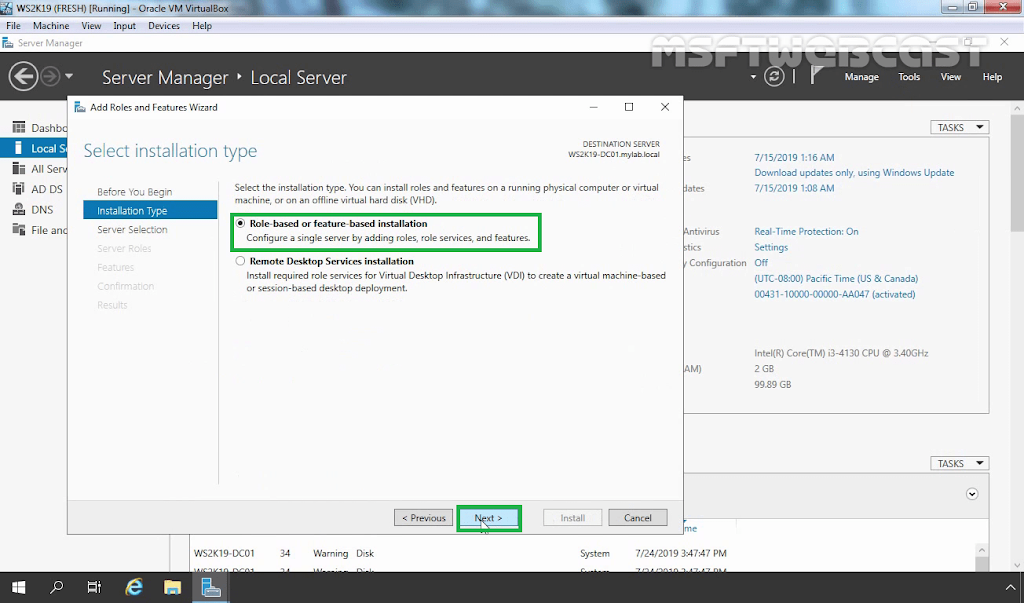
On the Select installation type window, leave Role-based or feature-based installation selected and click Next.
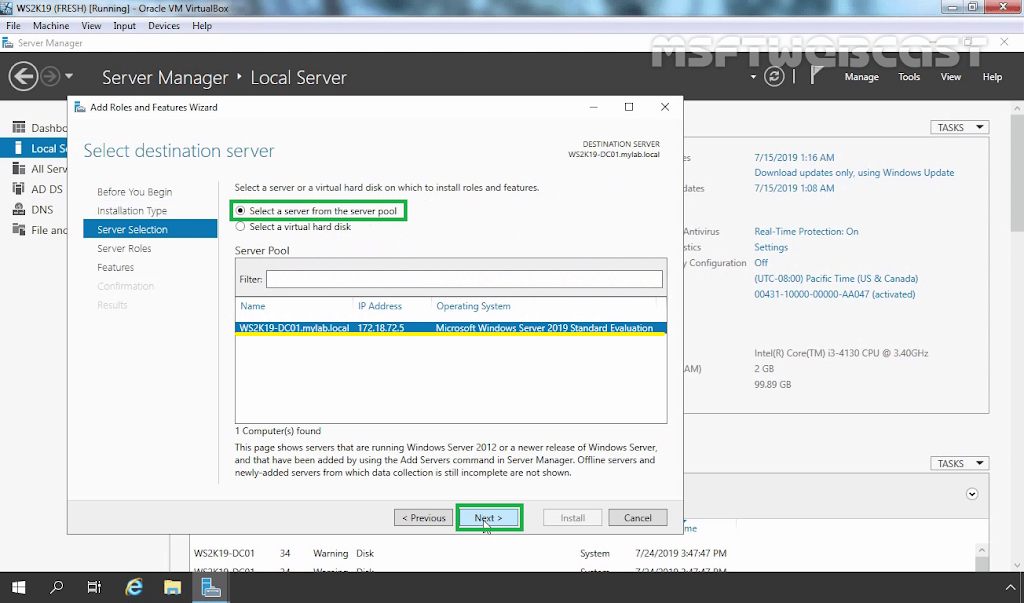
Select the appropriate server. The local server is selected by default. Click Next.
From the Select server roles window, check the box next to Web Server (IIS).
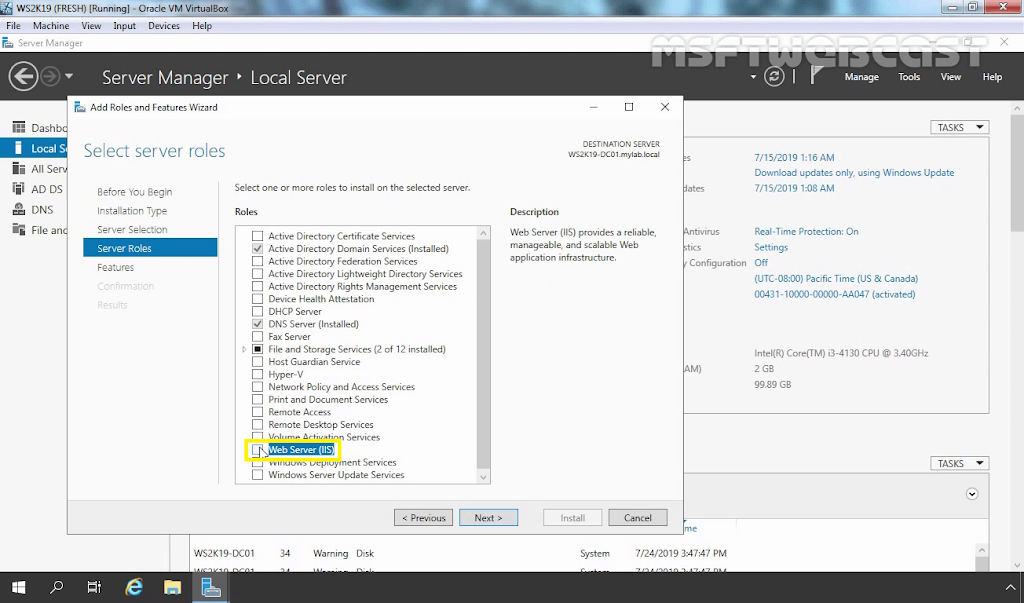
Click on the Add Features button to install the required features as well.

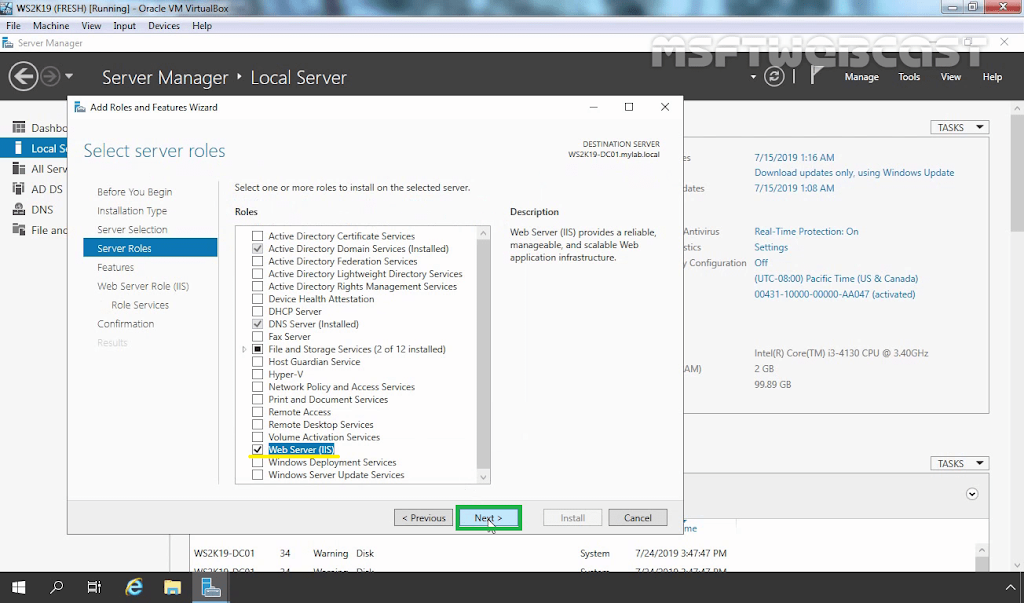
Make sure Web server role is selected, Click on Next.
No additional features are necessary to install the Web Server role, so click Next.

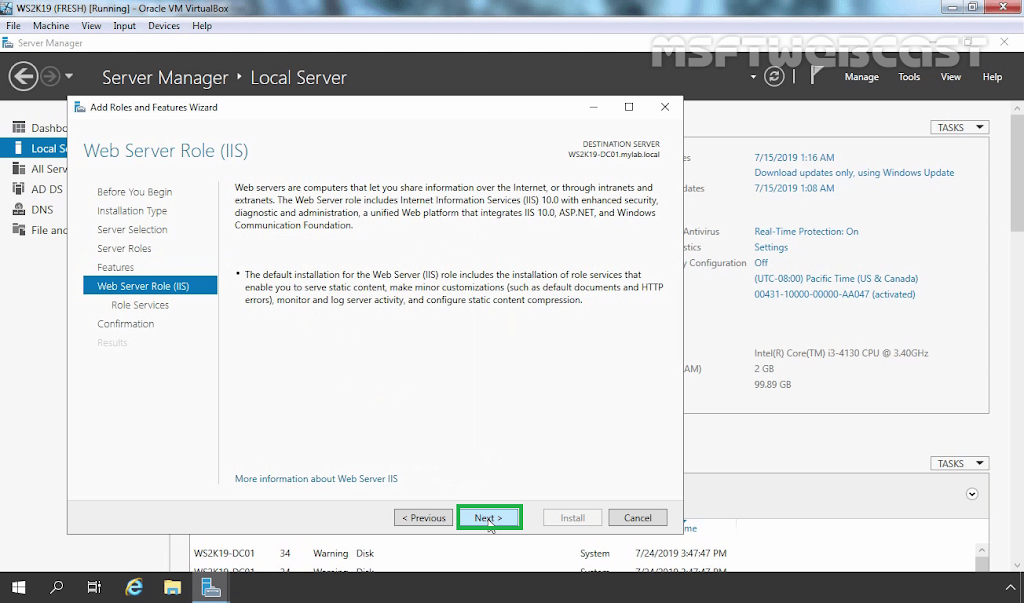
On the Web Server Role (IIS) dialog box, click Next.
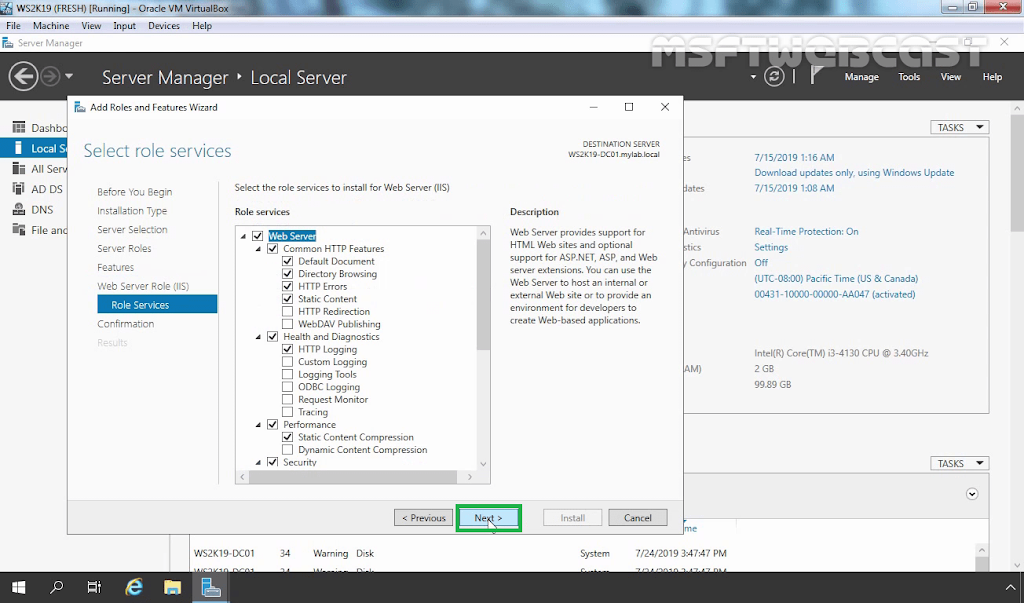
On the Select role services dialog box, you can install additional services for IIS if required. Click Next.
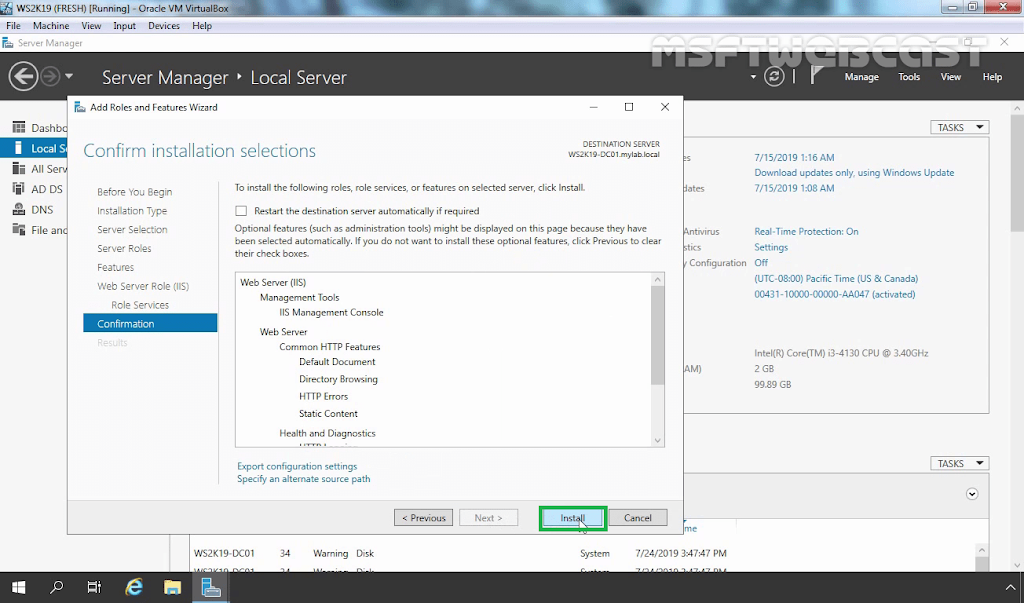
Verify that your settings are correct and click Install.
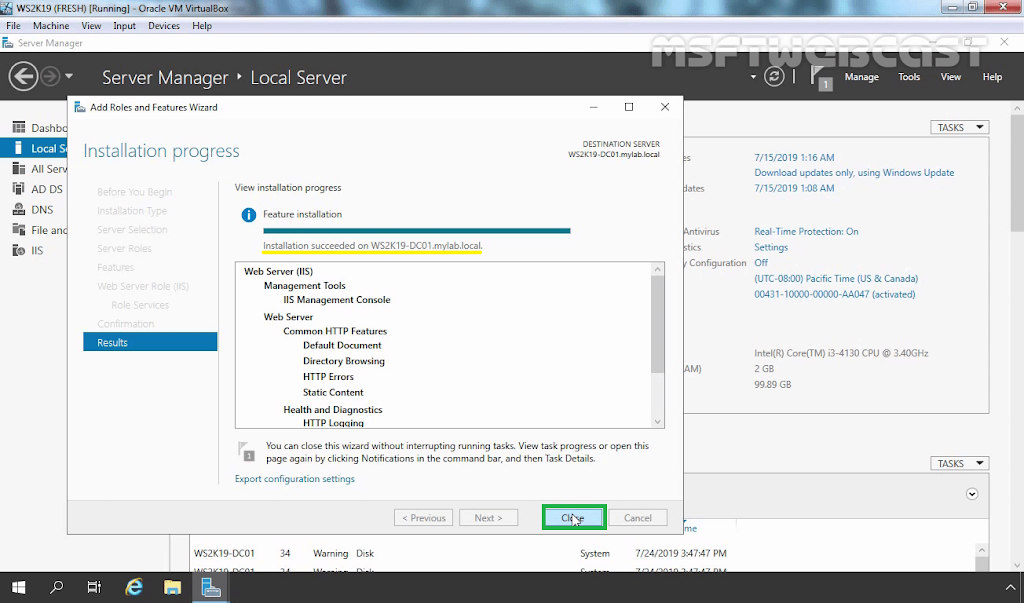
When the installation completes, click Close to exit the wizard.
At this point, the default website should be running on TCP port number 80.
Let’s test that by opening up a web browser. Type the URL http://localhost or http://IP_Address of the server in the browser and press enter key. You should see the default IIS web page in your web browser.
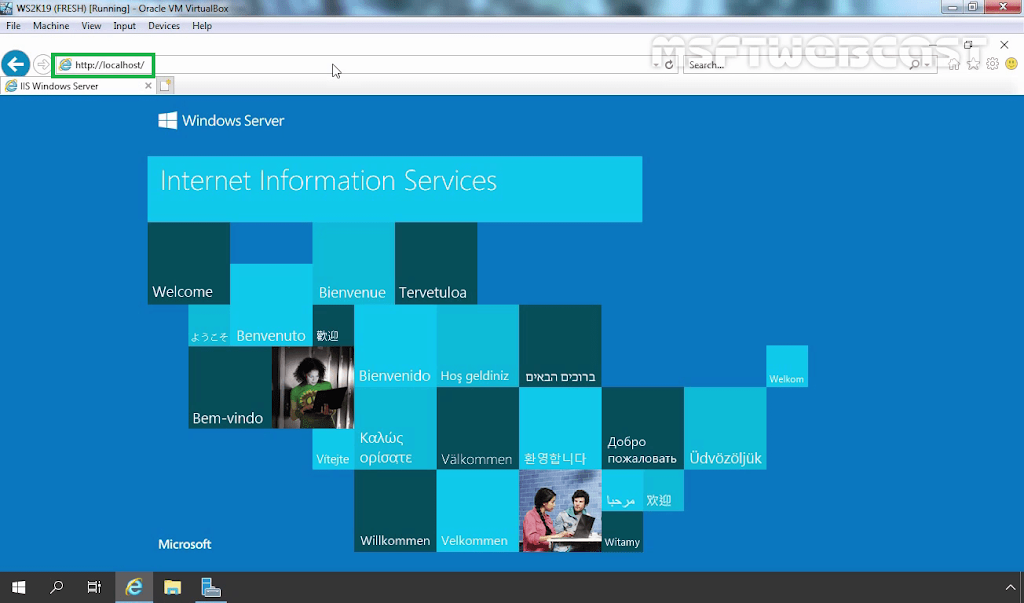
Congratulations! You have installed IIS 10 on Windows Server 2019 successfully.