In this post, we will configure port forwarding on local router to open required ports for VPN connection. We will also create a VPN connection on Windows 10 to test VPN connectivity to our Windows Server 2019 VPN server.
This is the fourth and last part of a four-part blog series on “How to Install and Configure VPN using Remote Access Service in the Windows Server 2019”.
- PART-1 How to Install Remote Access Service on Windows Server 2019
- PART-2 How to Install and Configure VPN in Windows Server 2019
- PART-3 Configure Network Policy Server (NPS) for VPN in Windows Server 2019
- PART-4 Configure Port Forwarding and Test VPN Connection on Windows 10
Understanding VPN Test Lab:
- WS2K19-DC01: Domain Controller and DNS server.
- WS2K19-VPN01: Remote Access Server with NPS role.
- WS10-CLI01: Windows 10 Client Machine.
Configure port forwarding on the router:
Note: Might be these steps will be different in your case, based on the router which you are using.
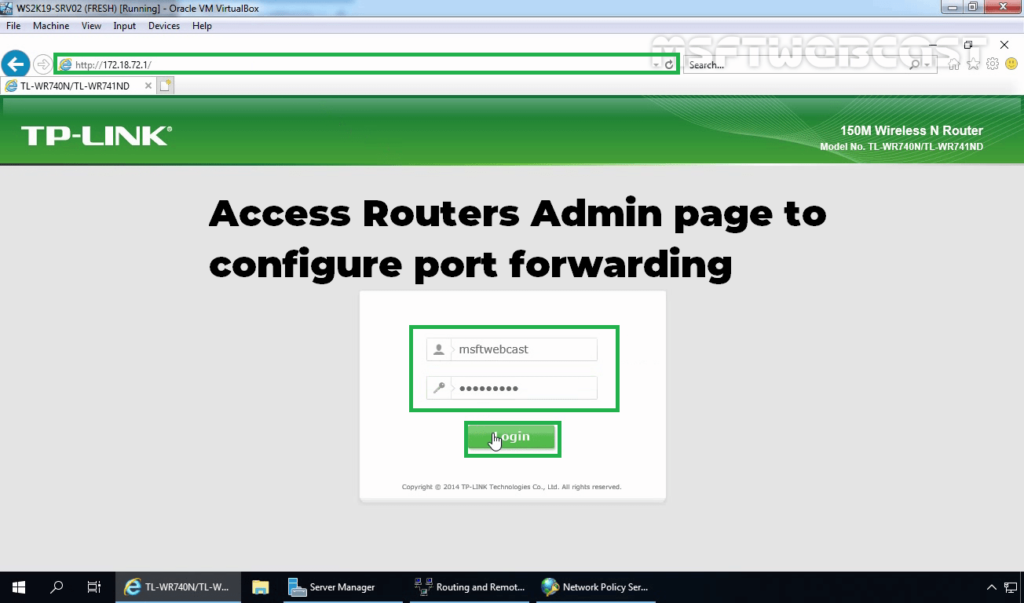
1. Open the web browser and access your local router.
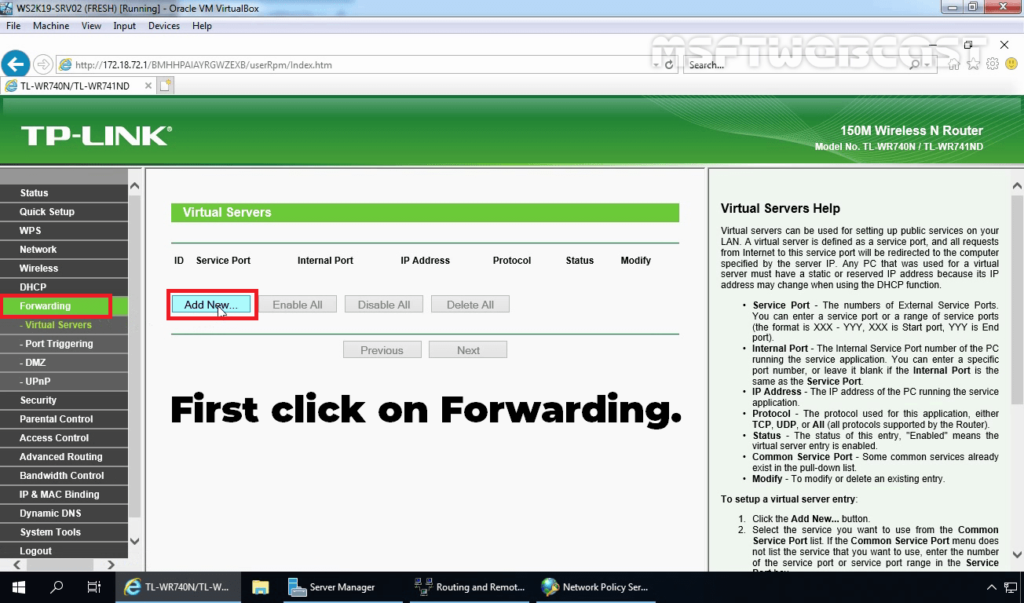
2. Click on Forwarding. Click on Add New to create a new rule.
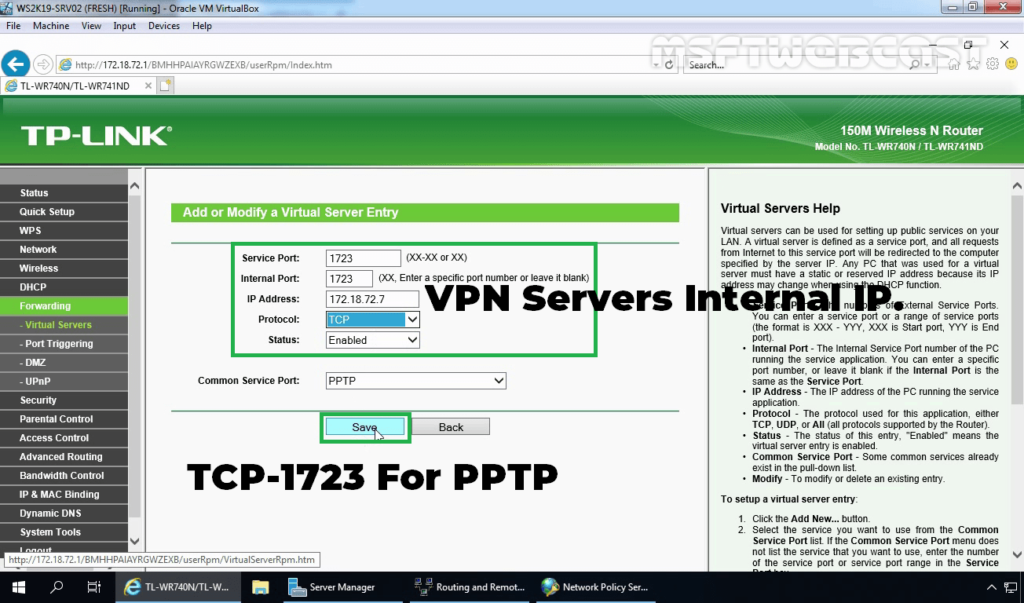
3. Specify port number, IP address (Here you need to specify the local IP Address of VPN Server), and service details. Click on Save.
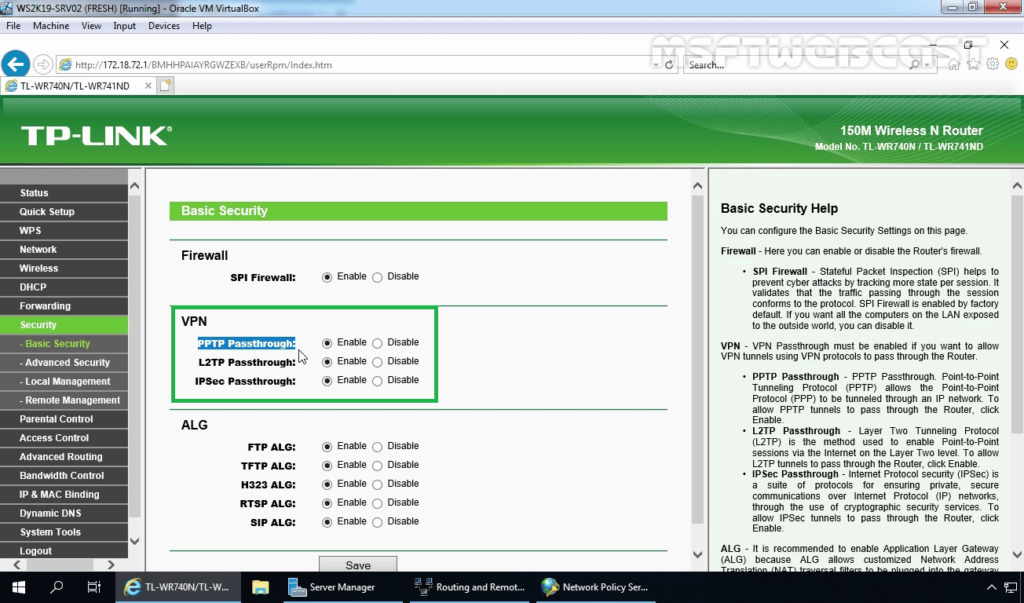
4. Click on the Security section. Verify the status of the PPTP pass-through. It should be enabled to allow GRE (protocol 47) packets.
Create and Test VPN Connection on Windows 10:
On Windows 10 client machine, we need to create a new VPN connection.
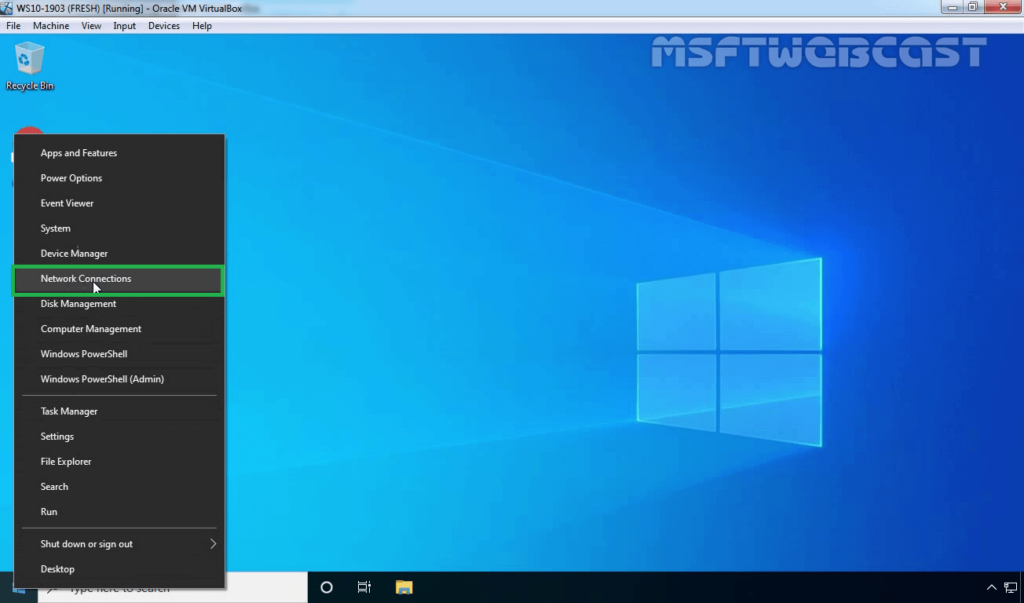
5. Right-click on the Start button and select Network Connections.
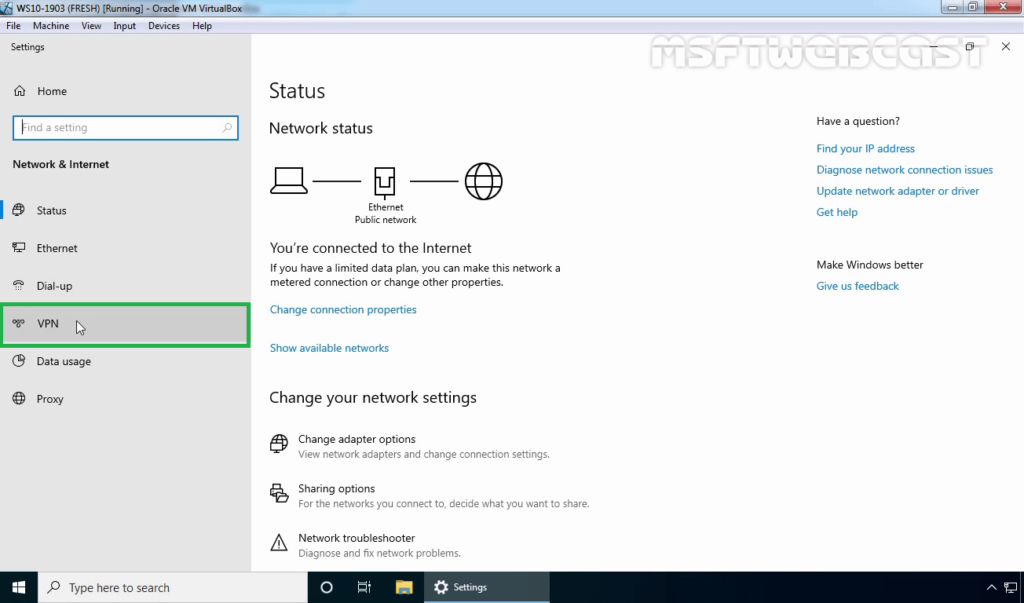
6. On left-pane, click on VPN.
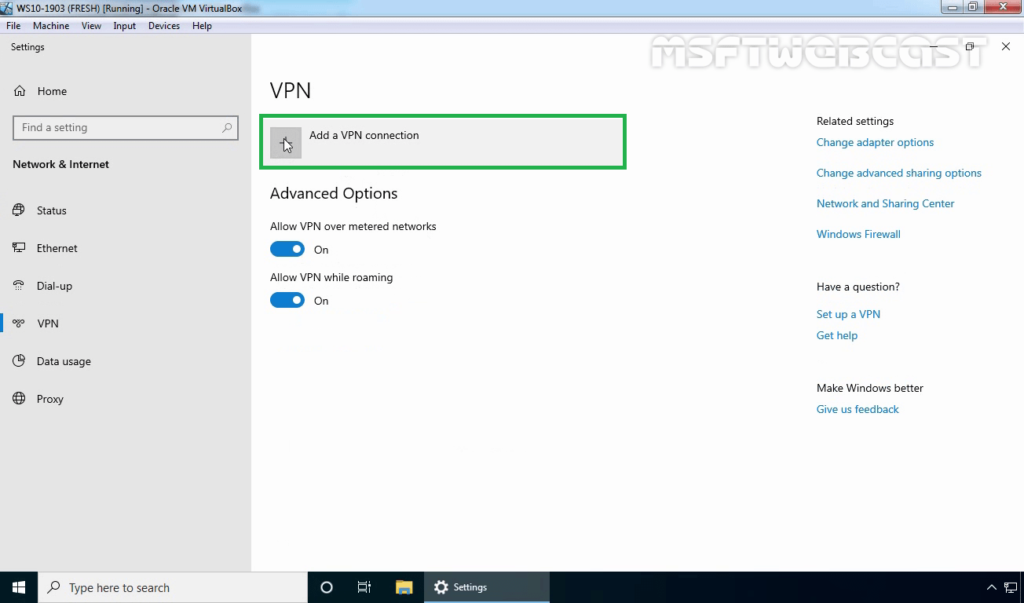
7. Click on add a new VPN connection.
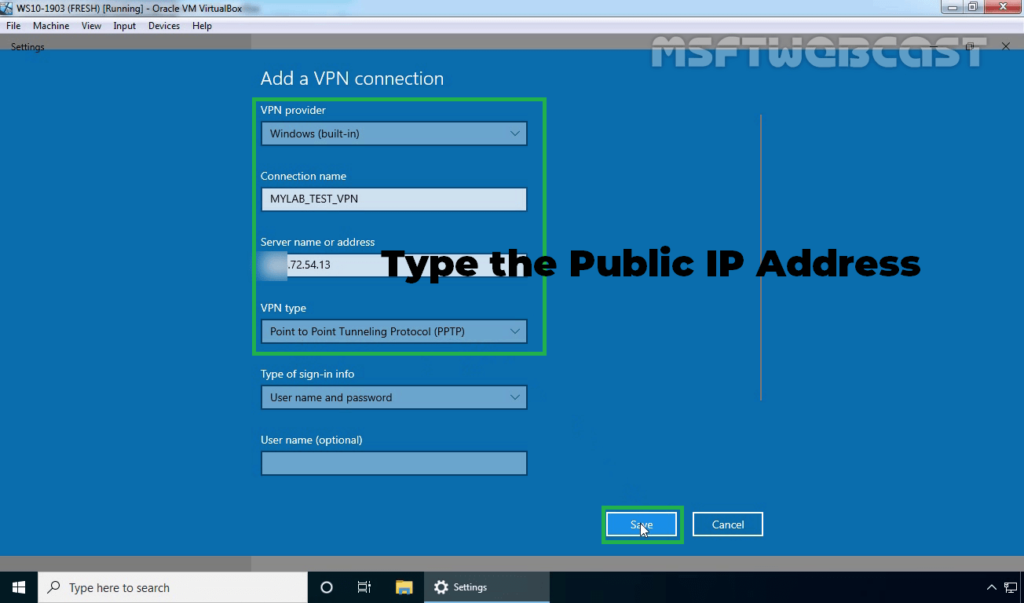
8. Specify the required information for the VPN connection.
- VPN Provider: Windows (Built-in)
- Connection Name: Name of your choice
- Server Name or IP Address: Public IP Address of VPN server.
- VPN Type: PPTP
9. Click on Save.
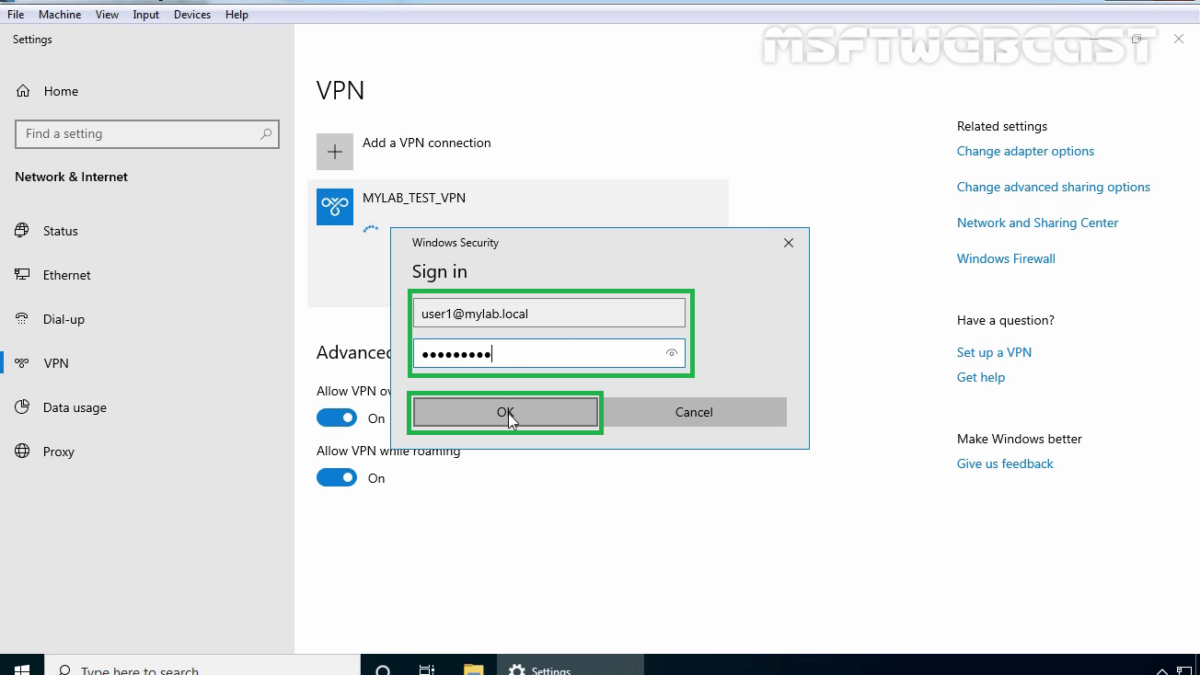
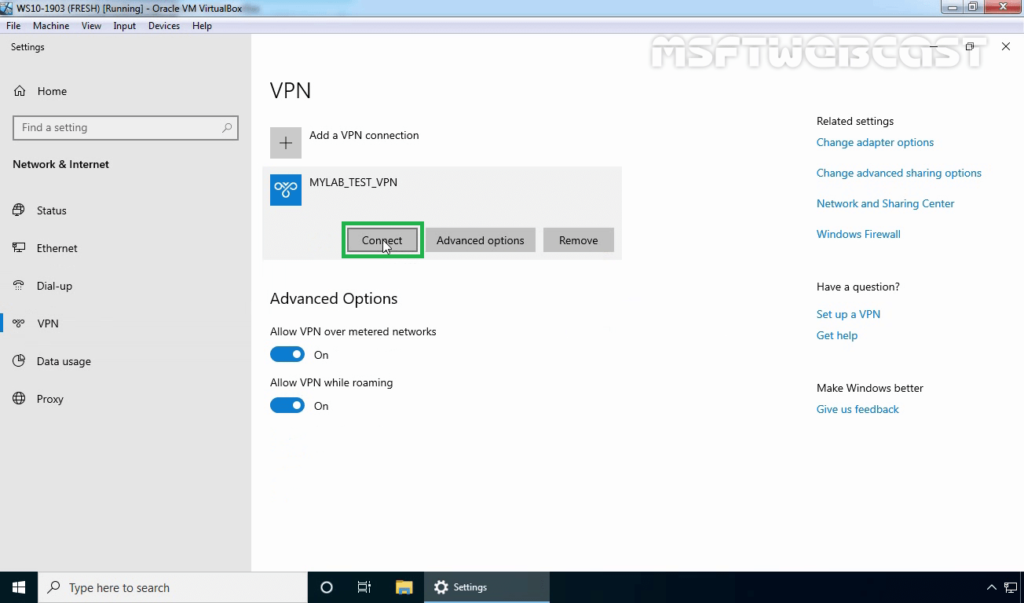
10. Click on VPN connection and select Connect.
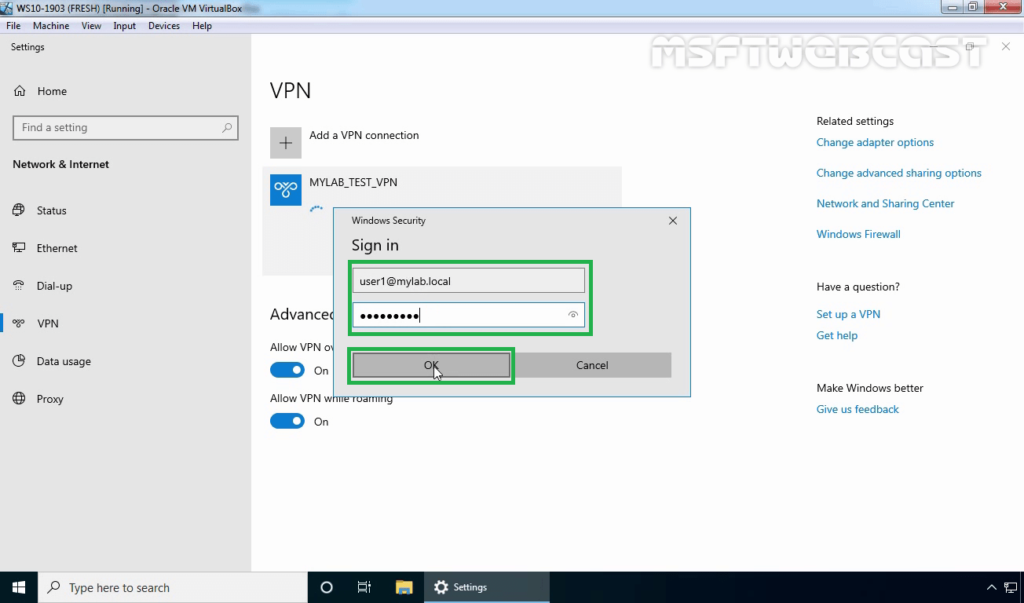
11. Specify a username and password to connect the VPN server. Click OK to connect.
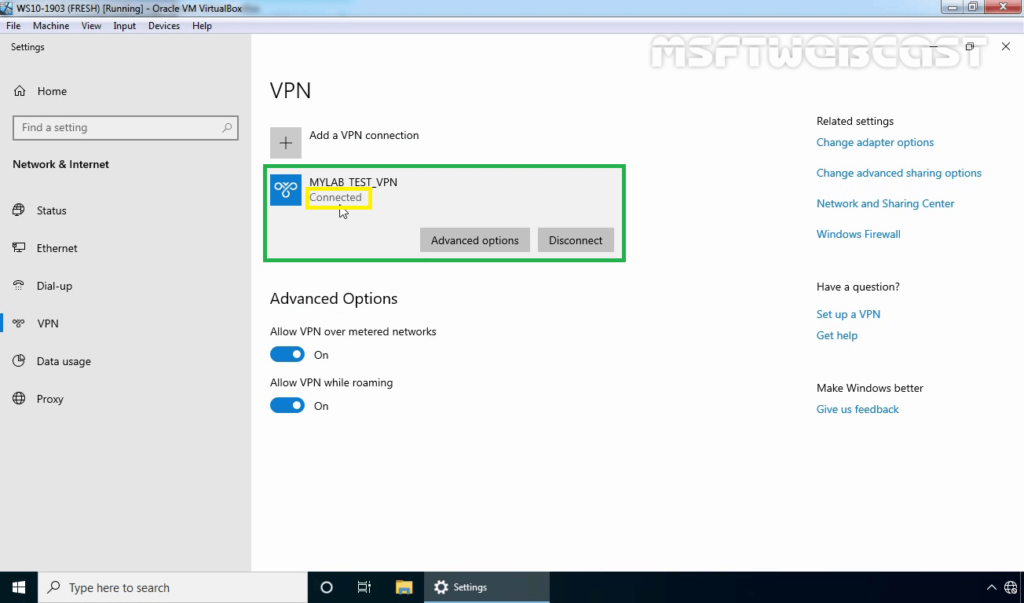
12. After few seconds, check the VPN connection status. It should be connected.
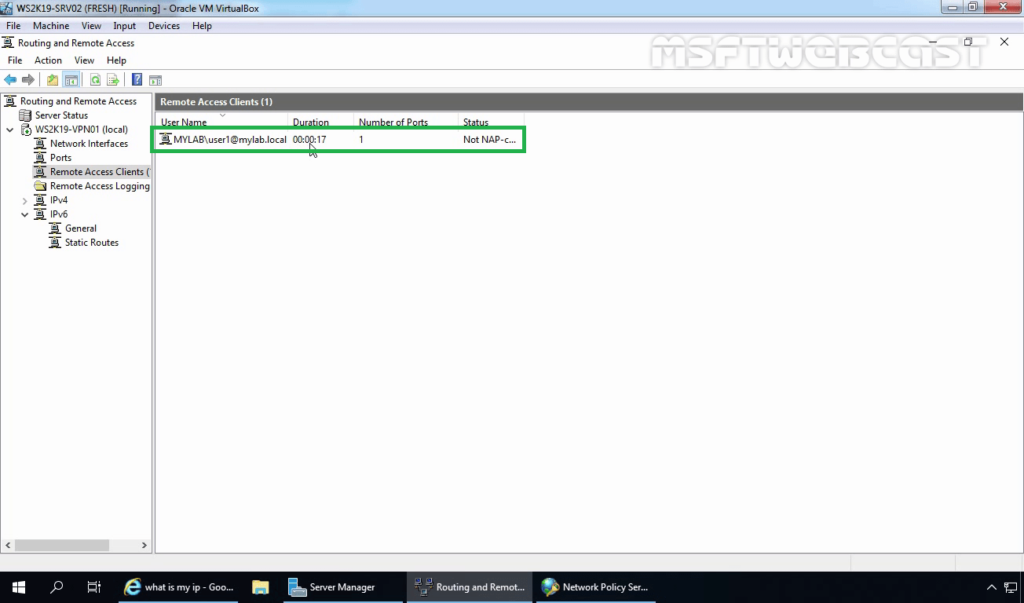
Monitor VPN Connections on Server 2019:
On the VPN server:
13. On routing and remote access console, click on Remote Access Clients. Verify one VPN session from User1 is currently established with the VPN server.
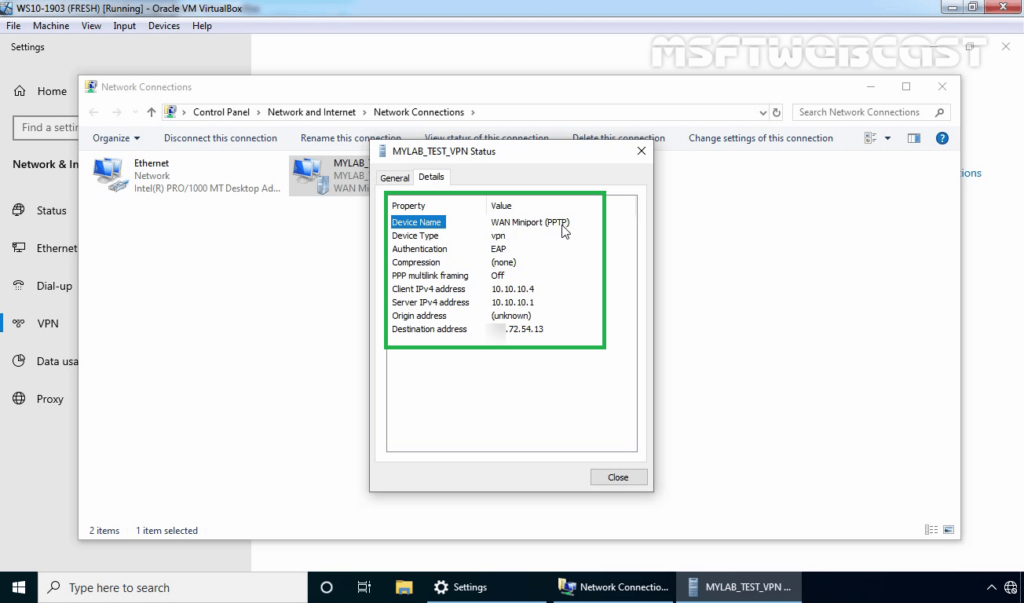
On Windows 10 Client Machine:
14. Press Windows Key and R key together. At Run menu type ncpa.cpl and press enter to open Network Connection console.
15. Right-click on VPN connection and click on the Status button. Click on details to see information about VPN connection like Authentication Method etc.
In this post, we have learned the steps to configure port forwarding on router to allow VPN connection to VPN server. We have also learned the steps on how to create a new VPN connection to connect VPN server from Windows 10 PC.
In this blog series, we have learned the steps on How to Install and Configure VPN using Remote Access Service on Windows Server 2019.
Hope you have enjoyed it. Thank you for reading. Cheers.