Roaming User Profiles redirects user profiles to a file share so that users receive the same operating system and application settings on multiple computers in the Active Directory environment.
In this blog article, I will show you how to use Windows Server 2019 to deploy Roaming User Profiles to Windows client computers in Active Directory Domain environment.
For this tutorial, we have two virtual machines: the first one is our windows server 2019 domain controller name ws2k19-dc01.mylab.local and second one is our Windows 10 client computer name ws10-cli01.mylab.local.
Note: We have three users and one security group name HRUsers. All three users are a member of a security group. We will use this security group to assign NTFS permission on the shared folder.

Step:1 Setup a shared folder with appropriate NTFS permission
Here’s how to create a file share on Windows Server:
In the Server Manager navigation pane, select File and Storage Services, and then select Shares to display the Shares page.
In the Shares tile, select Tasks, and then select New Share. The New Share Wizard appears.

On the Select Profile page, select SMB Share – Quick.

On the Share Location page, select the server and volume on which you want to create the share. Click on next. In our case it will be c:\roampro
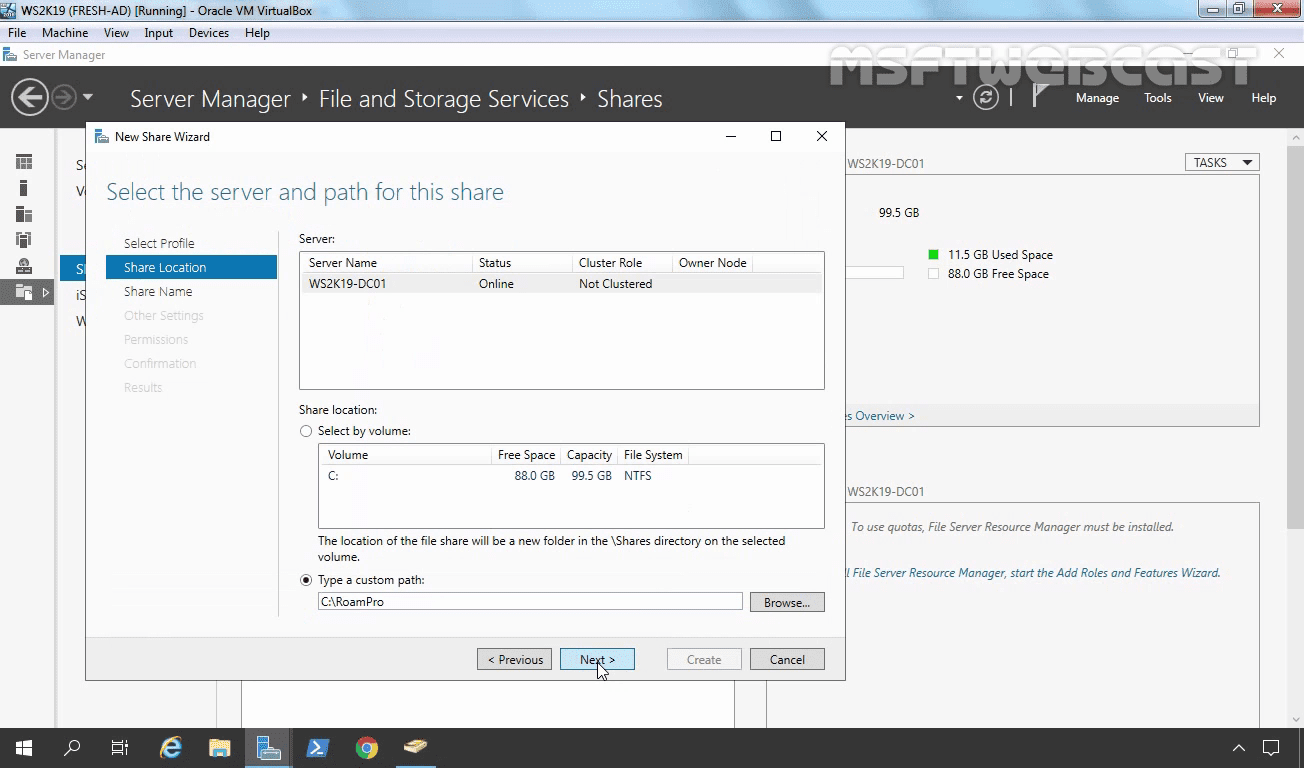
On the Share Name page, Add a $ to the end of the share name to make the shared folder hidden. Click on next.

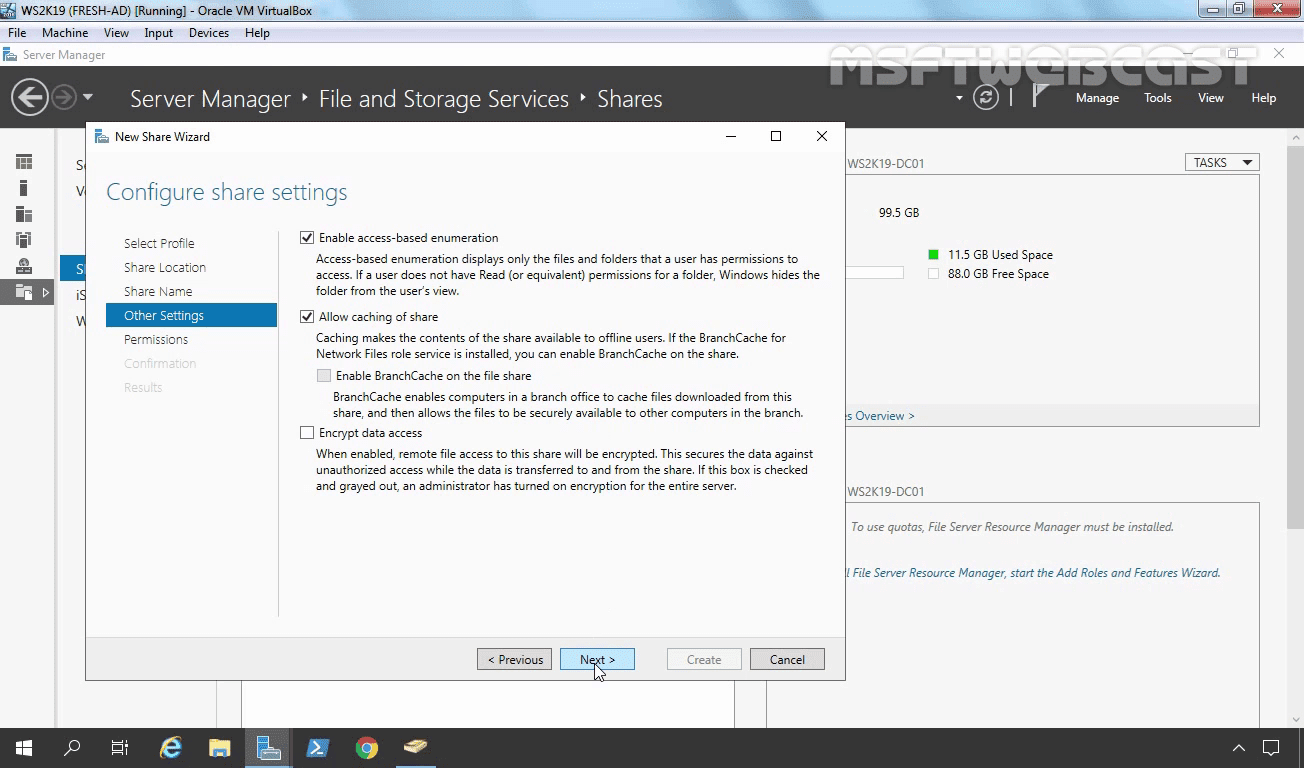
Enable Access-based Enumeration. Click on next.
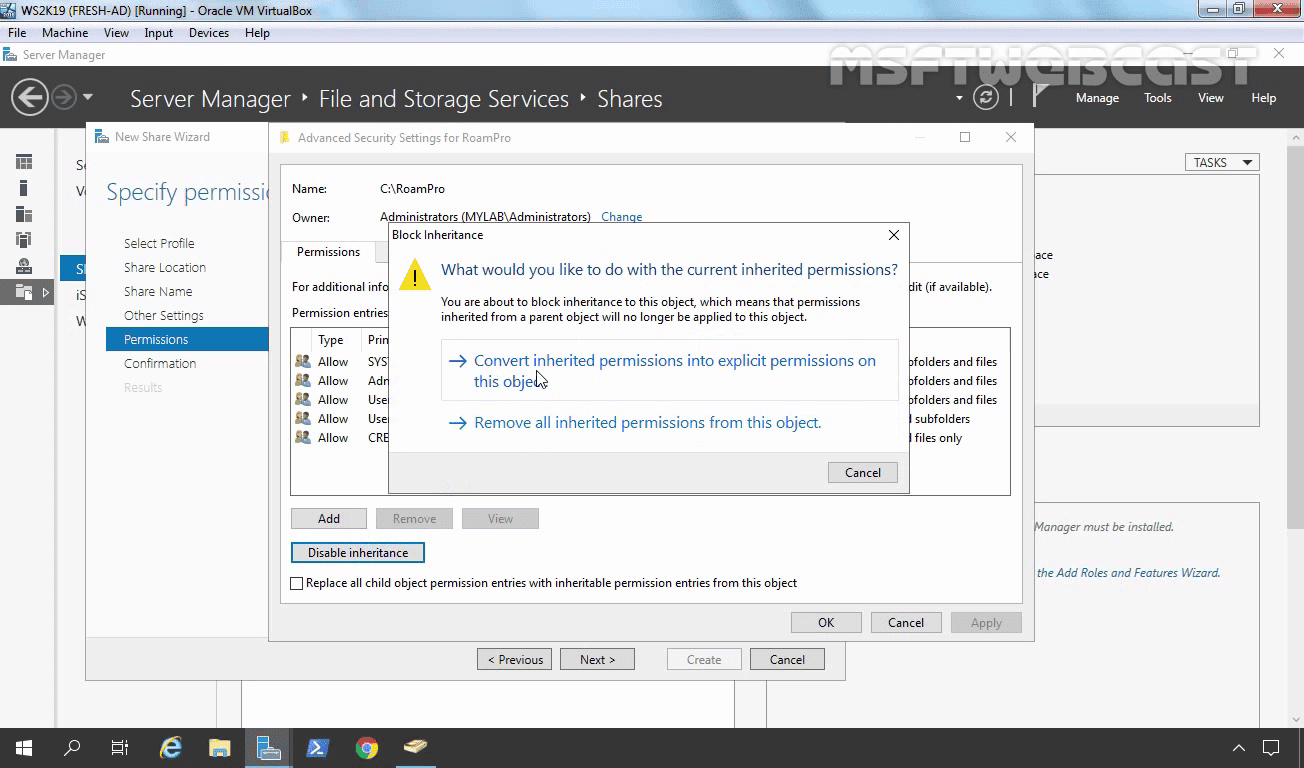
On the Permissions page, select Customize permissions…. The Advanced Security Settings dialog box appears.

Select Disable inheritance, and then select Convert inherited permissions into explicit permission on this object.
Remove both “Users” entries. Click on Add button.

Select HRUsers (security group).
Principal: HRUsers
Type: Allow
Applies to: This folder only
Advanced permissions: List folder/read data and Create folders/append data.
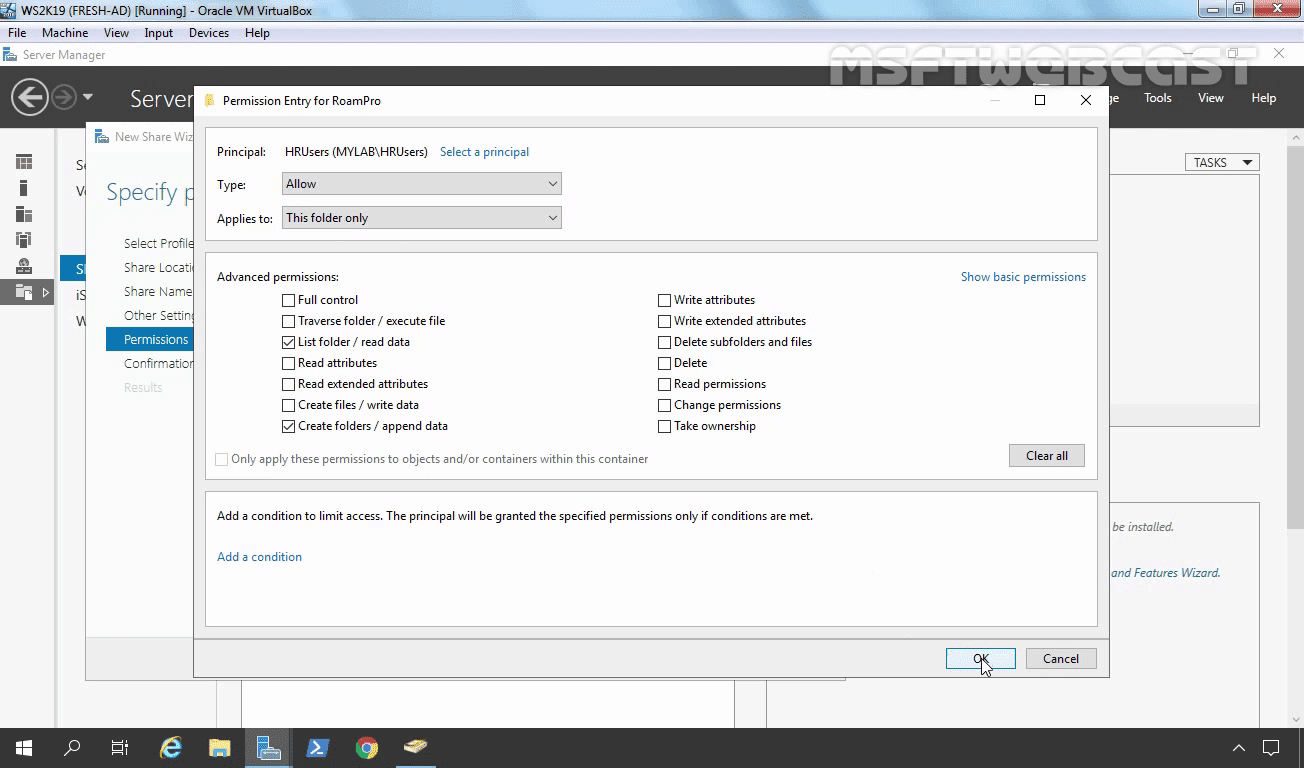
Click on OK. Click on Apply and OK. Click on next.
Click on create button to create a shared folder with our selection.

Click on close to close the new share wizard.

Now we have our shared folder with custom NTFS permission.
Step 2 – Configure the Profile Path for Active Directory Users
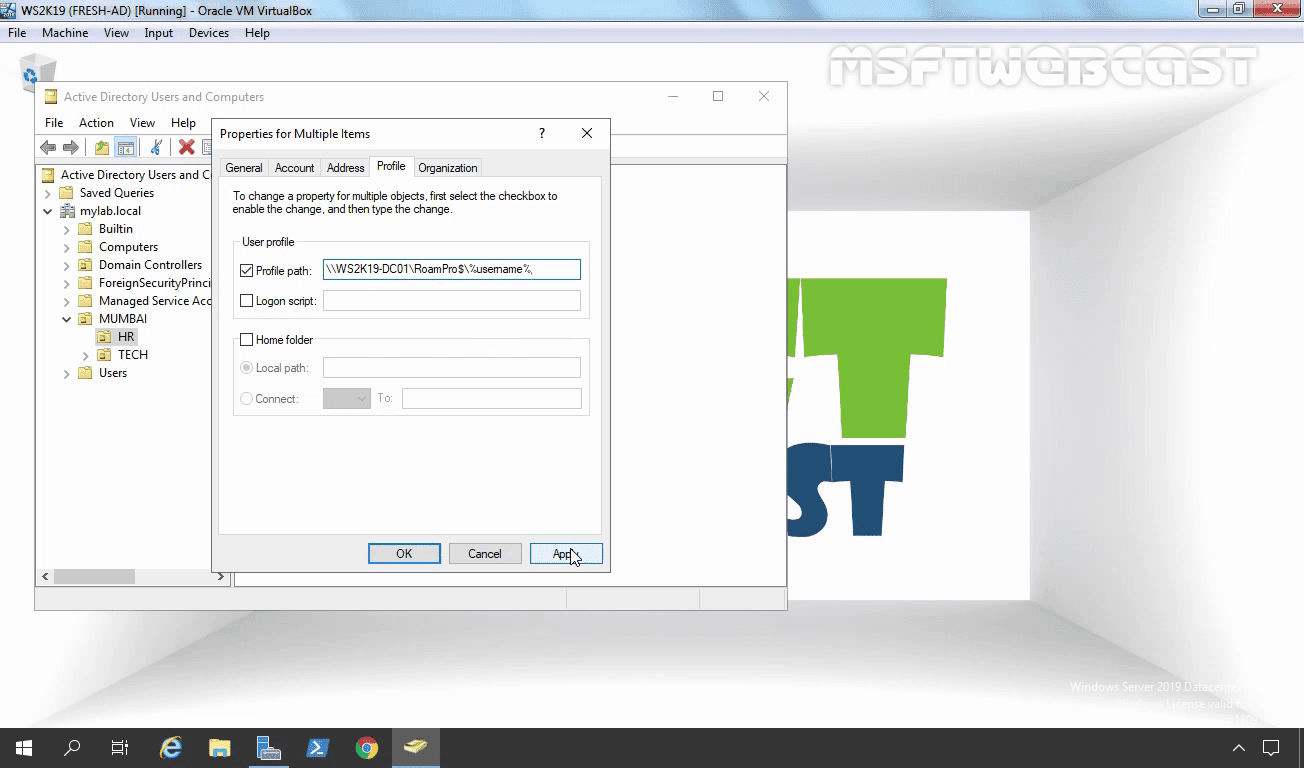
In the Active Directory Users and Computers console, navigate to the HR OU.

Select all users to which you want to assign a roaming user profile, right-click the users and then select Properties.

In the Profile section, select the Profile path: checkbox and then enter the path to the file share where you want to store the user’s roaming user profile, followed by %username% (which is automatically replaced with the user name the first time the user signs in). For example: \\ws2k19-dc01.mylab.local\roampro$%username%
Click on OK and Apply to close the console.
Step 3 – Test Roaming User Profiles
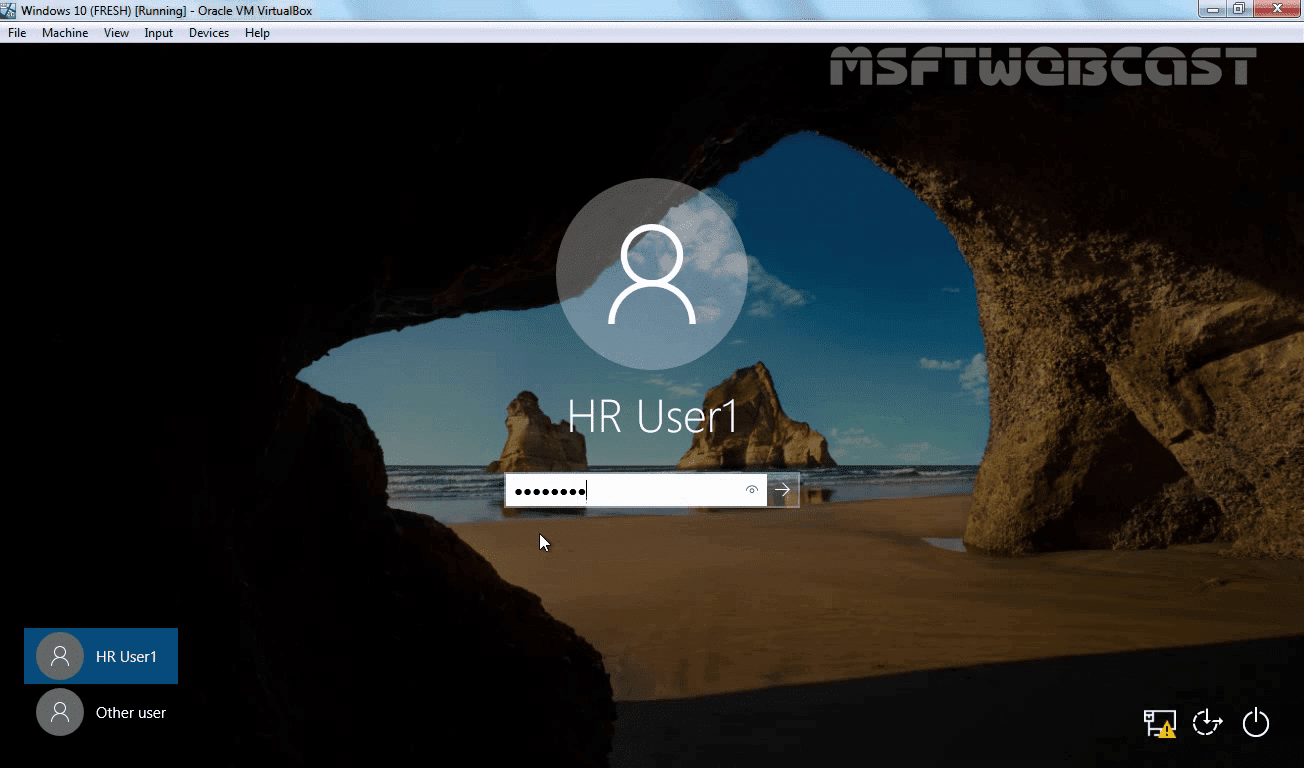
To test Roaming User Profiles, sign in to a computer with a user account configured for Roaming User Profiles. Then confirm that the profile is redirected. In our case, I will be using the credential of hr user1 to sign in to Windows 10 client computer.
Then confirm that the profile is redirected.
To confirm it, you can check the shared folder which we have created on ws2k19-dc01. You will find a new folder name hr.user1.V6. (where hr.user1 is the user’s login name and V6 is the version of users profile based on the OS of client computer).

Done. We have successfully configured roaming profile for windows server 2019 Active Directory user.
Thank you for your time. Cheers.