Hello and welcome to another Windows Server 2019 tutorial. In this article, we will configure NIC teaming in Windows Server 2019.

NIC Teaming feature was initially introduced with windows server 2012. It is also known as Load Balancing/Fail Over (LBFO), NIC Teaming allows you to group between one and 32 physical Ethernet network adapters into one or more software-based virtual network adapters.

These virtual network adapters provide fast performance and fault tolerance in the event of a network adapter failure. After configuring NIC Teaming all the traffic from the OS will pass through that virtual network interface.

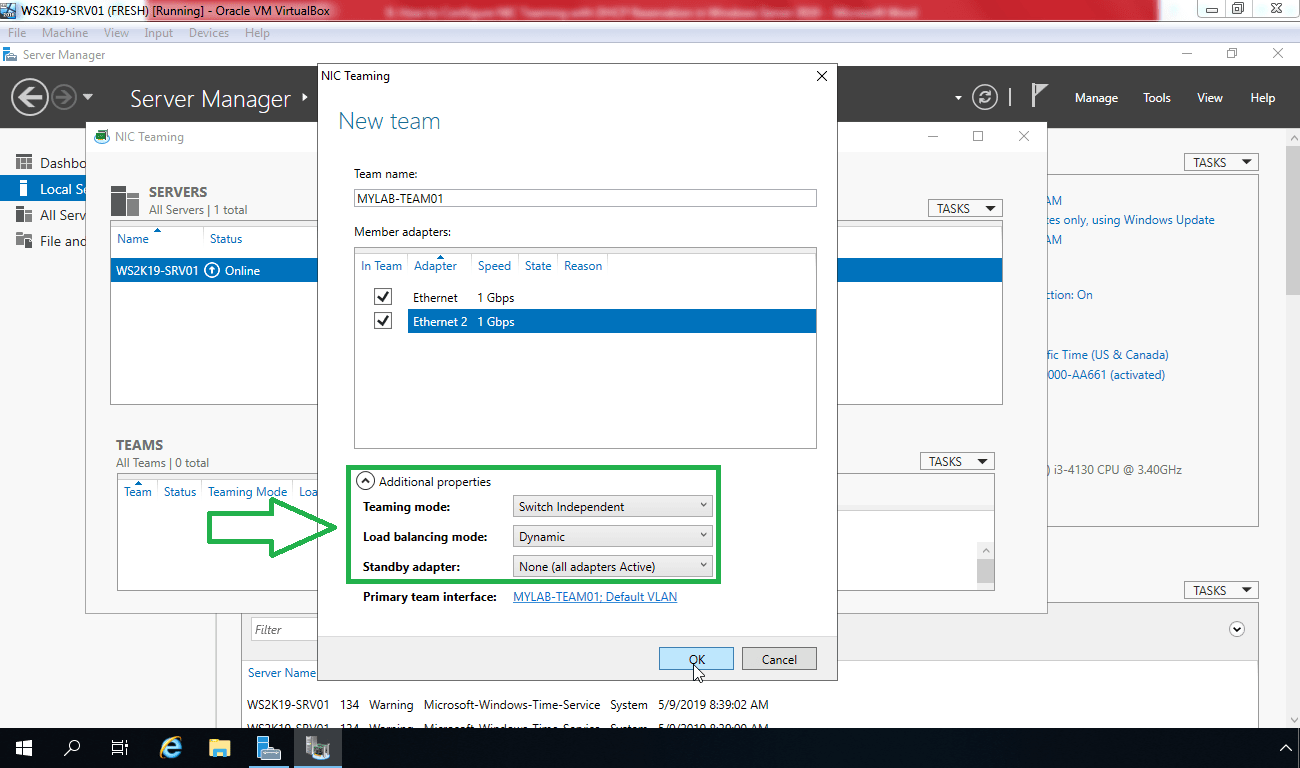
NIC teaming in Windows Server 2019 supports two modes:

  • Switch Independent Mode: In this mode, you can connect your all network interfaces to different switches.
  • Switch Dependent Mode: In this mode, you can connect your all network interfaces to the same switch.

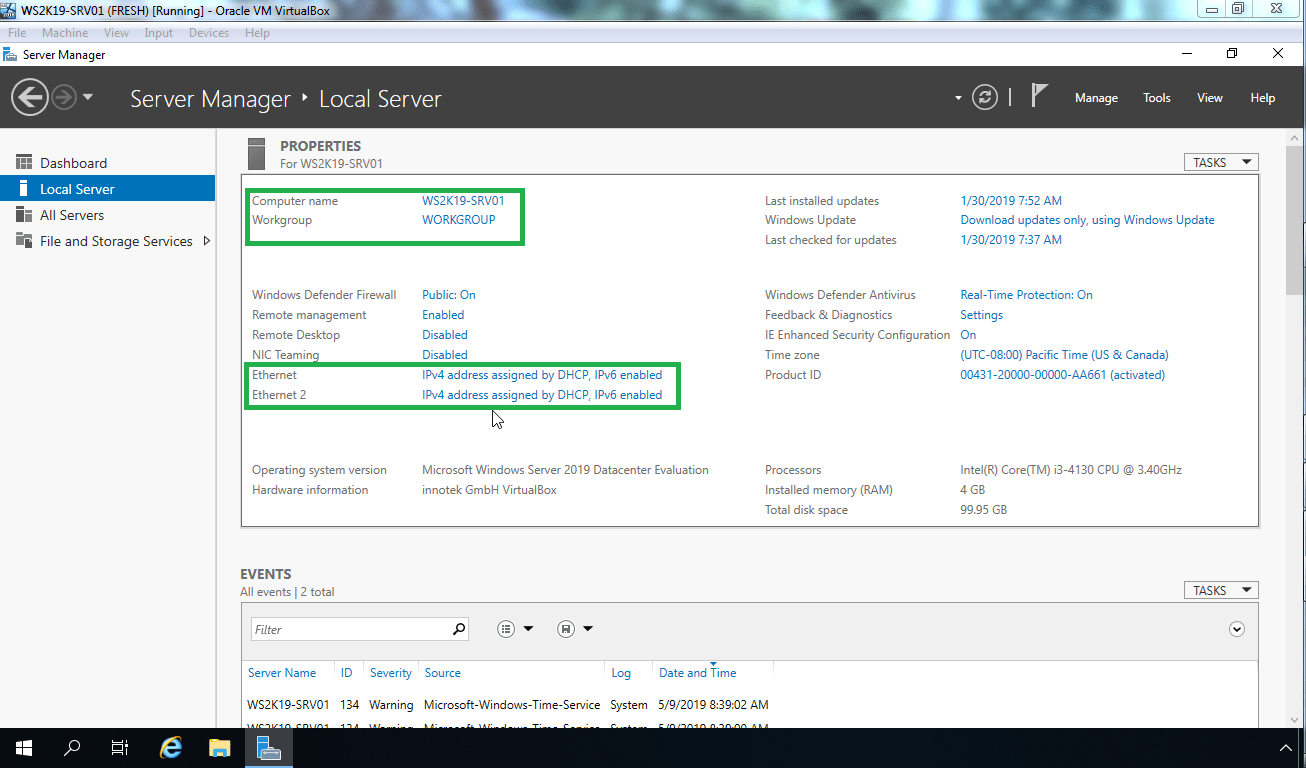
The only requirement to create NIC Teaming is, Windows Server 2019 must have two or more physical network adapters.

Now let’s configure NIC Teaming so we can see how all of this works in Windows Server 2019.

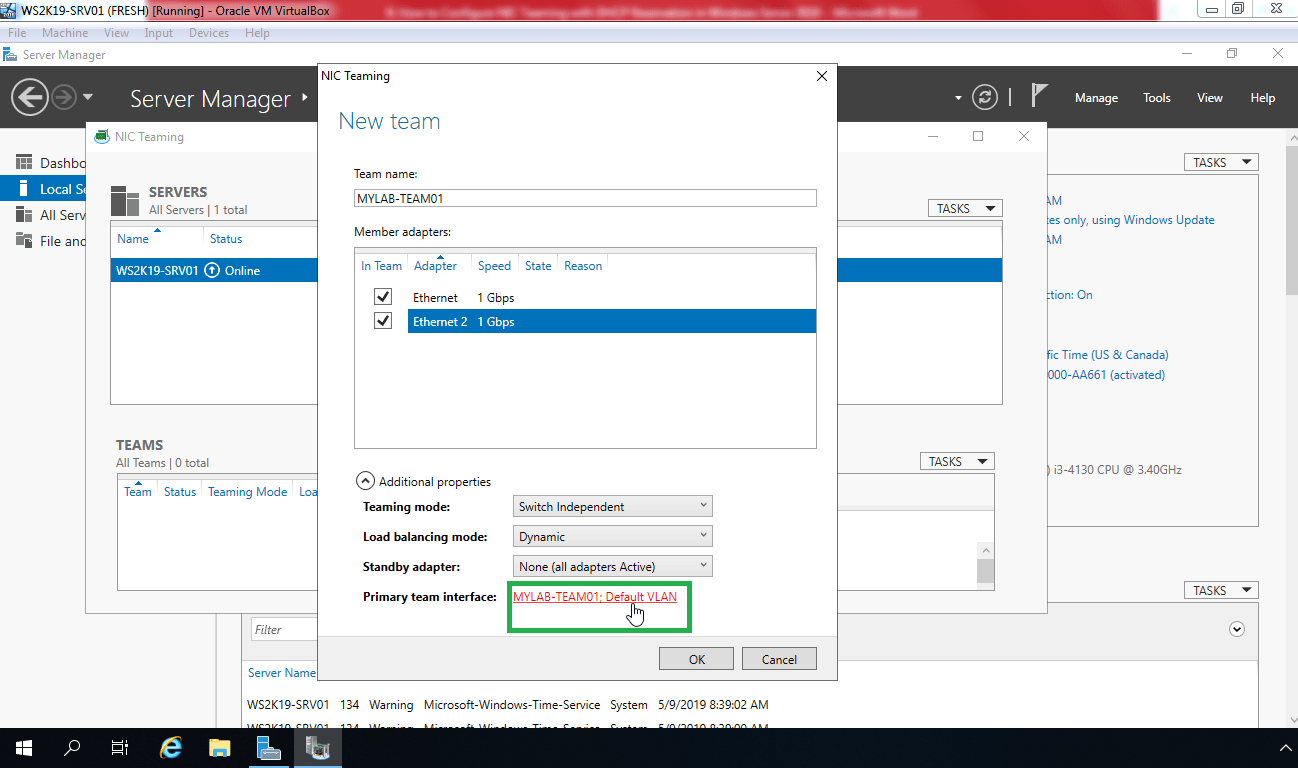
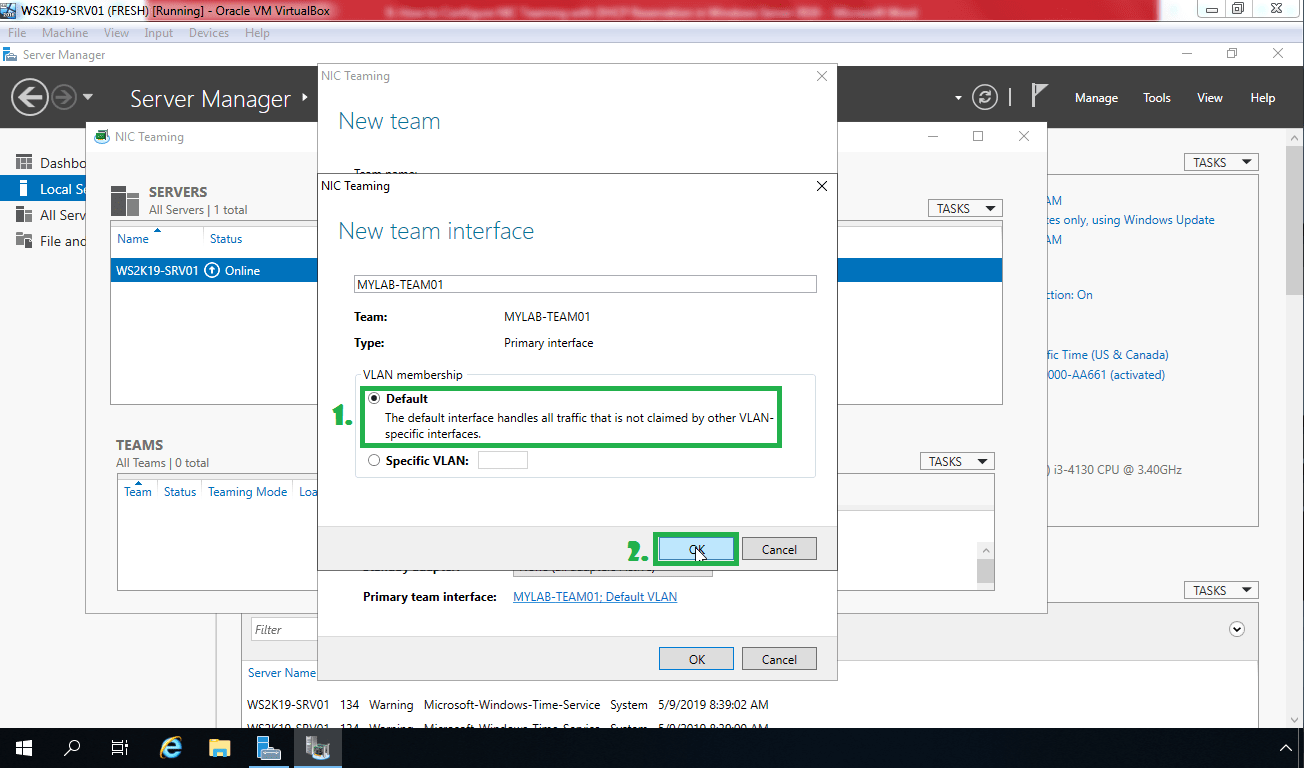
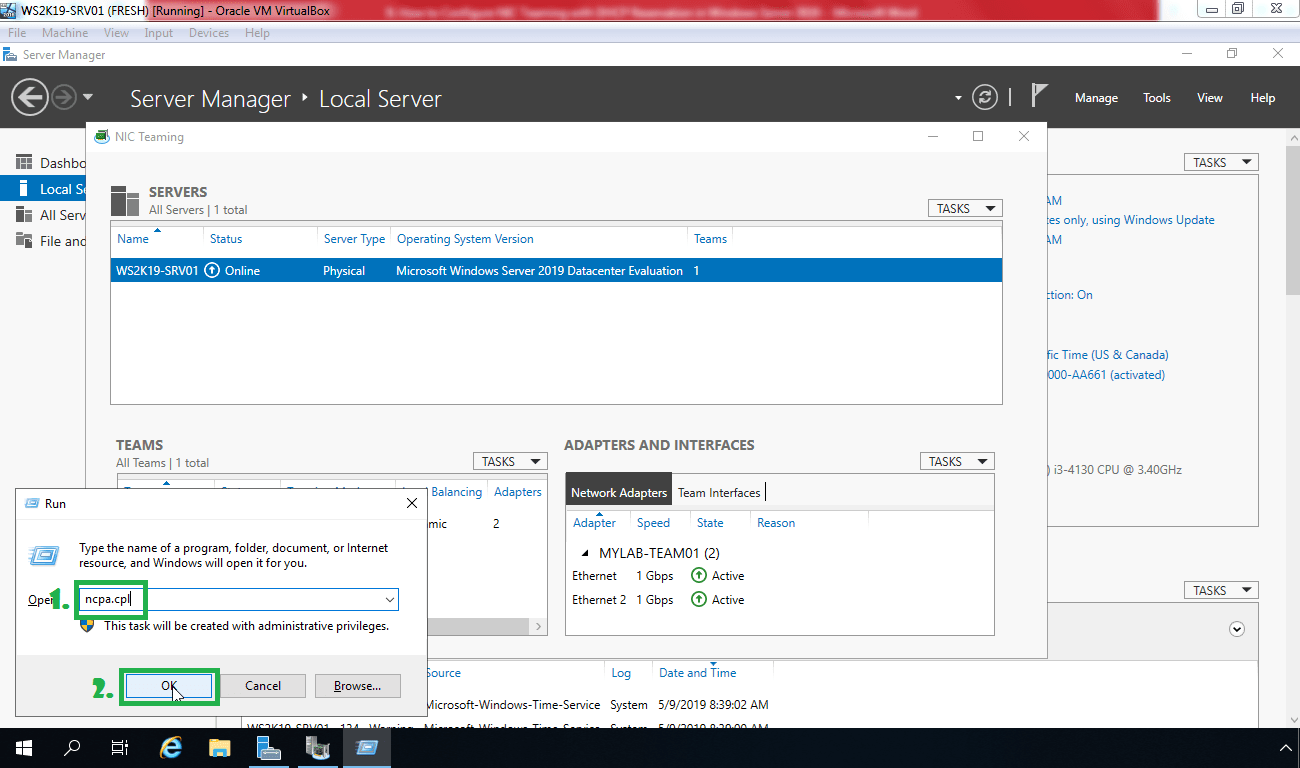
Create a NIC Teaming in Windows Server 2019:

First, Open Server Manager and then click on Local Server. As you can notice that we have two network adapter on this server and both are set to obtain IP address automatically.
Here we can see that NIC teaming is disabled. To configure NIC teaming click on Disabled link. The NIC Teaming dialog box appears.
Go to Tasks pane and click New Team.
In the Team name box, type MYLAB-TEAM1, and select the adapter you want to include in this NIC Team.
In my case, I am going to select, Ethernet and Ethernet 2.
Click on Additional properties. Select values for Teaming mode, Load balancing mode, and Standby adapter.
Teaming Mode: Switch Independent
Load balancing mode: Dynamic
Standby adapter: None
If you want to configure or assign a VLAN number to the NIC Team, click the link to the right of Primary team interface.
But for this tutorial, we are going to use default VLAN. So I am not going to change anything.
Once you are ready with all the settings, click on OK.
Now NIC team “MYLAB-TEAM1” is ready. We can verify the member network adapters of the NIC Team and can also check which network adapter is active or not.
Assign an IP address to the NIC Team:
Open Run menu by pressing Windows Key and R from the keyboard. Type ncpa.cpl and press enter to open Network connection console.
In this console, we can see all the networks Adapters and the NIC team which we have created.To open the properties of New NIC Team (MYLAB-TEAM1), Right click on MYLAB-TEAM1 then click on properties.
Select IPv4 option and then click on properties.
Select the option of Use the following IP address and type an IP address, subnet mask, gateway address, and DNS server address as per your network setup.
In our case, it will be,
IP Address: 172.18.72.7
Subnet Mask: 255.255.255.0
Gateway: 172.18.72.1
DNS server: 172.18.72.5
Now, click on Ok to apply the settings and to close the console.
Right click on “MYLAB-TEAM1” and select status. You can see the speed of NIC team (It will be 2 Gbps, as we have used two adapter). Now click on details as well.
To verify current IP configuration, Let’s open command prompt
Type ipconfig command to check the newly assigned IP address.
Now let’s check network connectivity with domain controller by pinging 172.18.72.5.
Steps to configure NIC teaming in Windows Server 2019 is very easy and straight forward. That’s all for now.
Thank you for taking the time to read this article. See you all in the next Windows Server 2019 tutorial.