This article describes how to use Windows Server 2019 to deploy Folder Redirection with Offline Files to Windows client computers. Let’s see if we can redirect the individual user’s Documents folder to a folder on our server, ws2k19-dc01.
For this demo, I have two virtual machines.
- ws2k19-dc01.mylab.local (Windows Server 2019 DC)
- ws10-cli01.mylab.local (Windows 10 client computer)
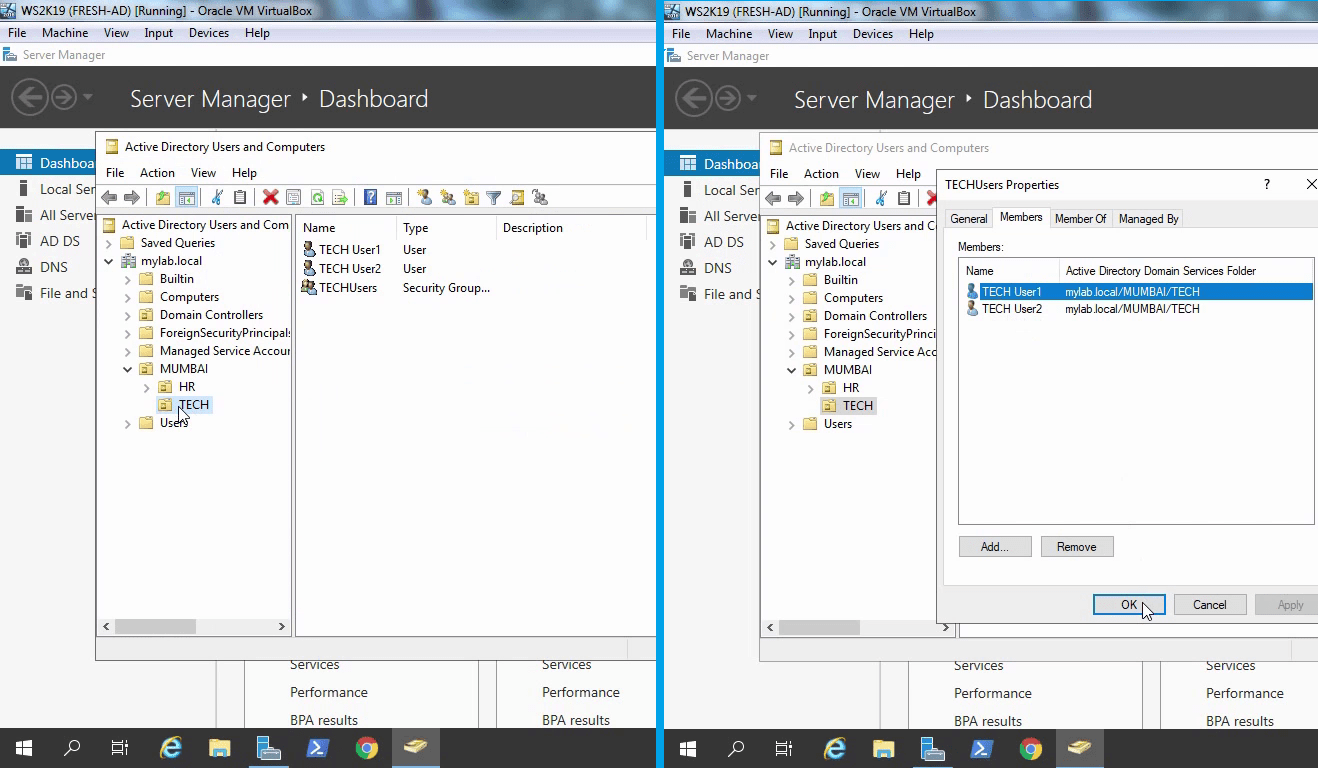
Note: We have two users and one security group name TECHUsers. Both users are a member of a security group. We will use this security group to assign NTFS permission on the shared folder.
Step:1 Setup a shared folder with appropriate NTFS permission:
Here’s how to create a file share on Windows Server:
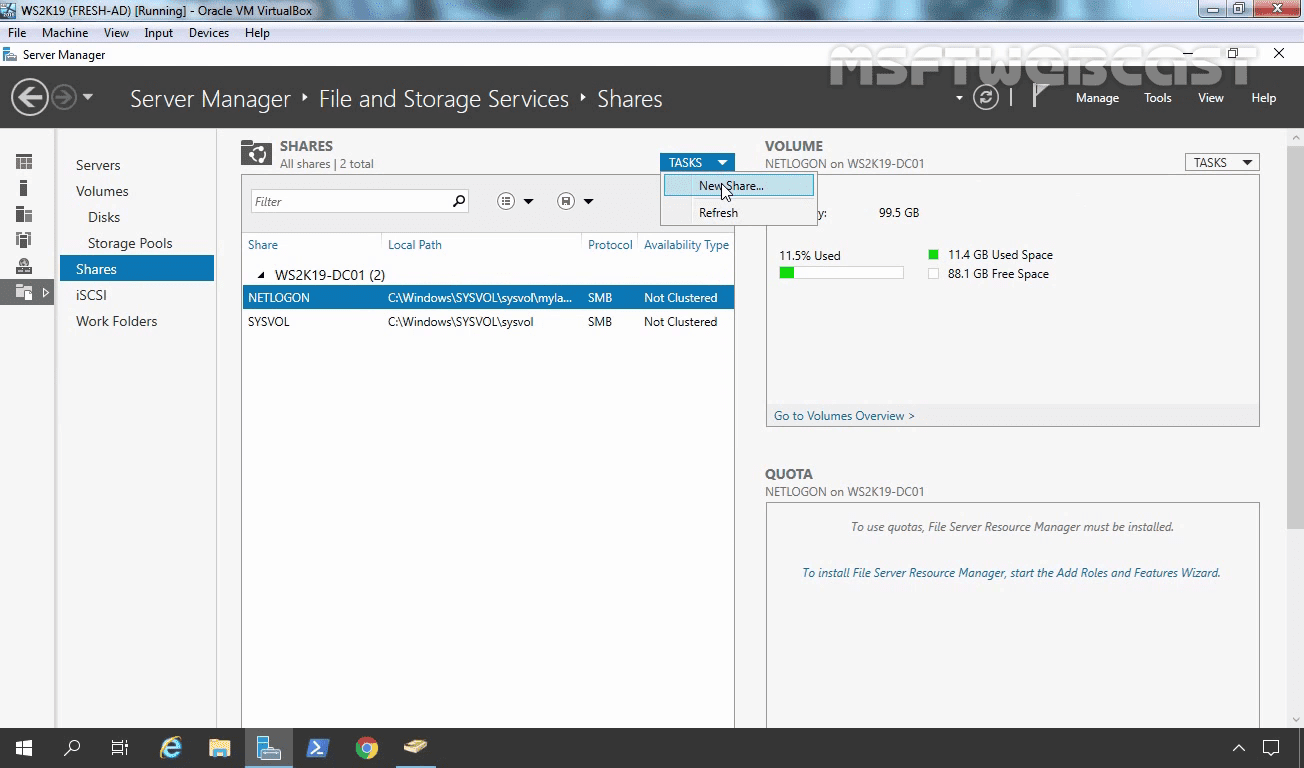
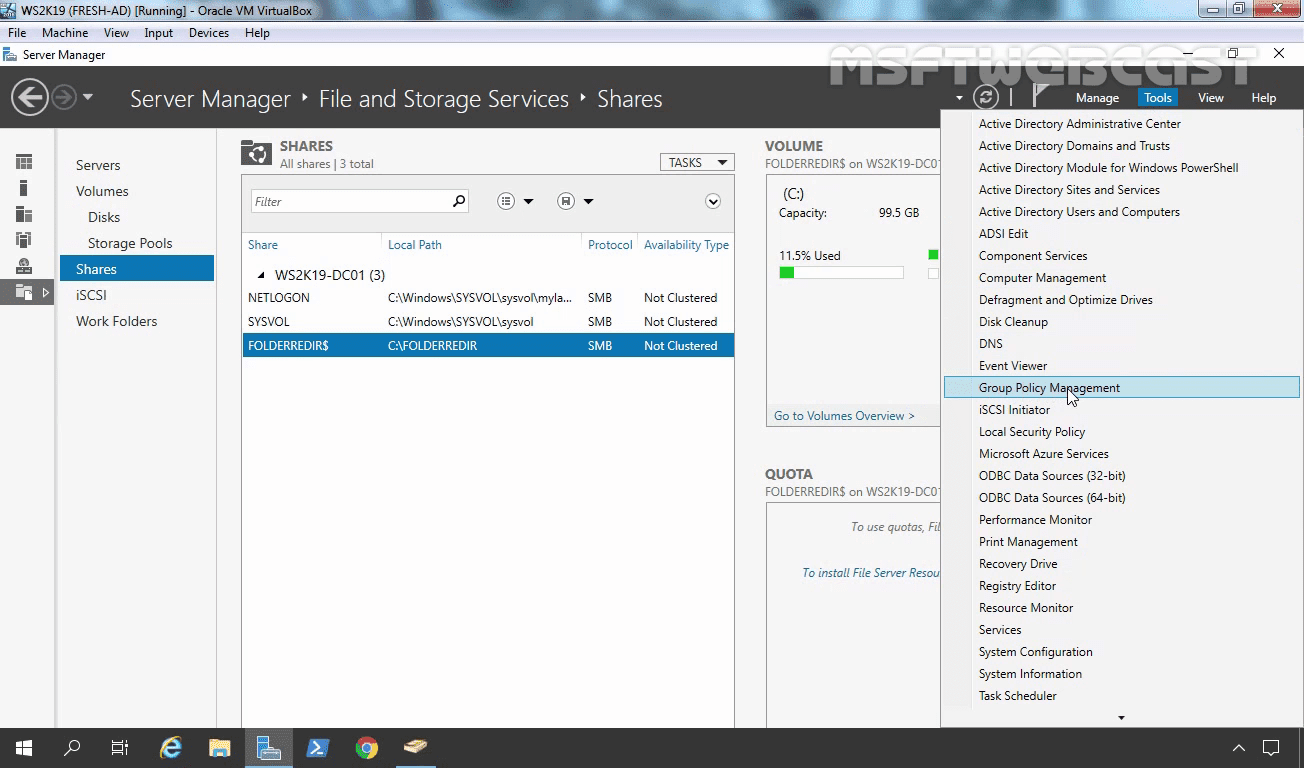
In the Server Manager navigation pane, select File and Storage Services, and then select Shares to display the Shares page.
In the Shares tile, select Tasks, and then select New Share. The New Share Wizard appears.
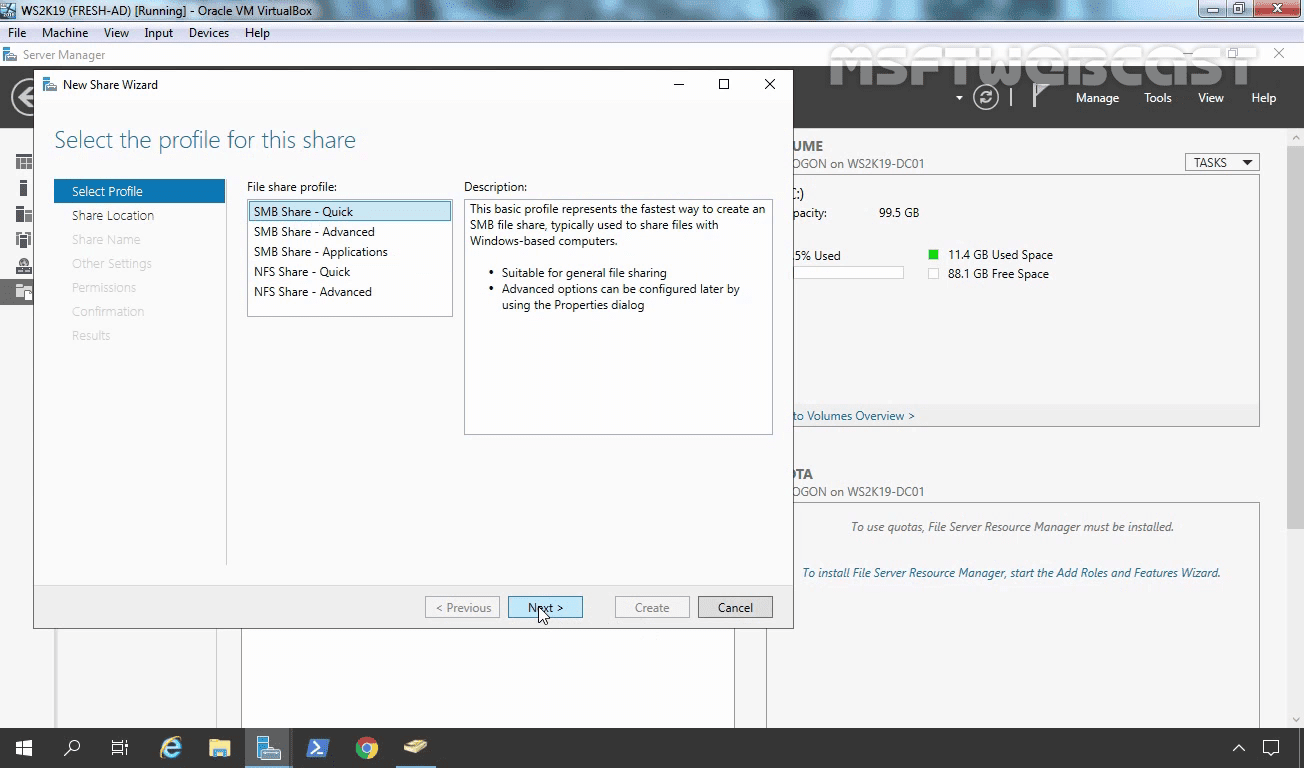
On the Select Profile page, select SMB Share – Quick.
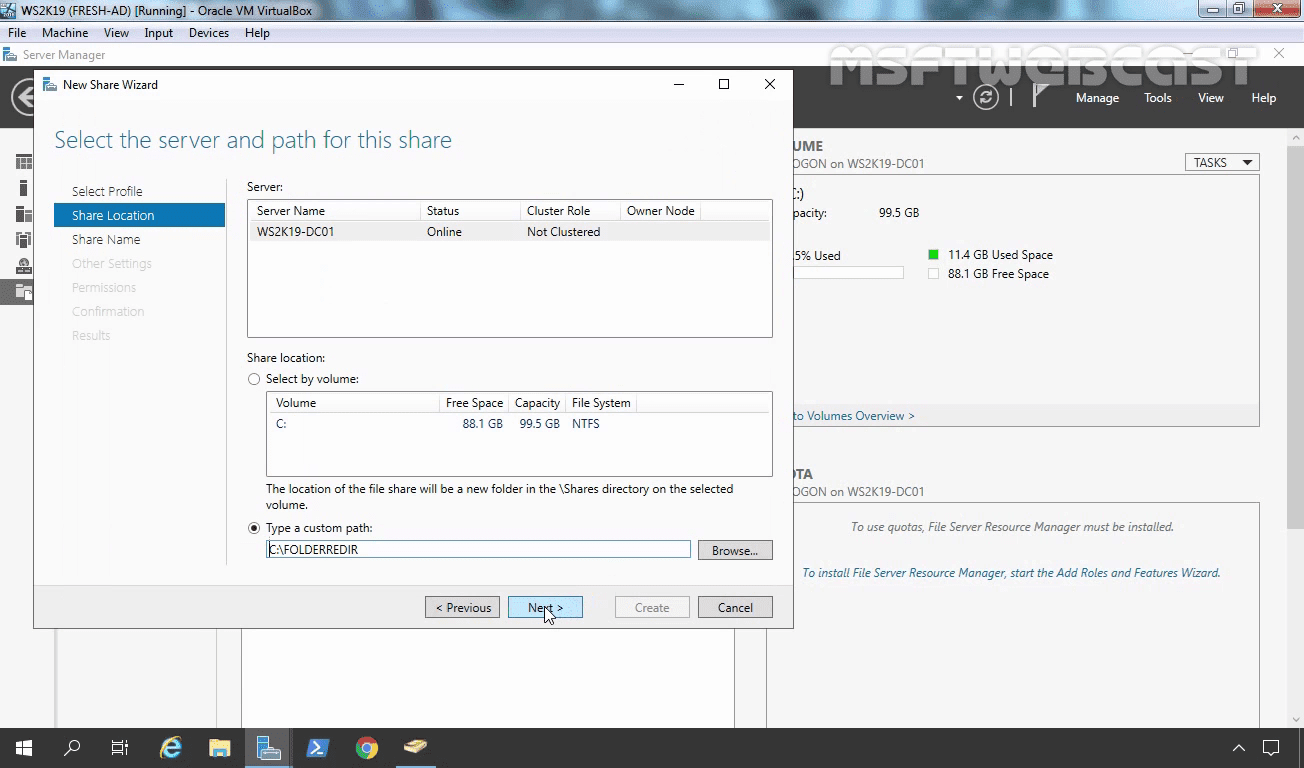
On the Share Location page, select the server and volume on which you want to create the share. For us, the local path will be c:folderredir. Click on next.
On the Share Name page, Add a $ to the end of the share name to make the shared folder hidden. Click on next.

Enable Access-based Enumeration. Click on next.

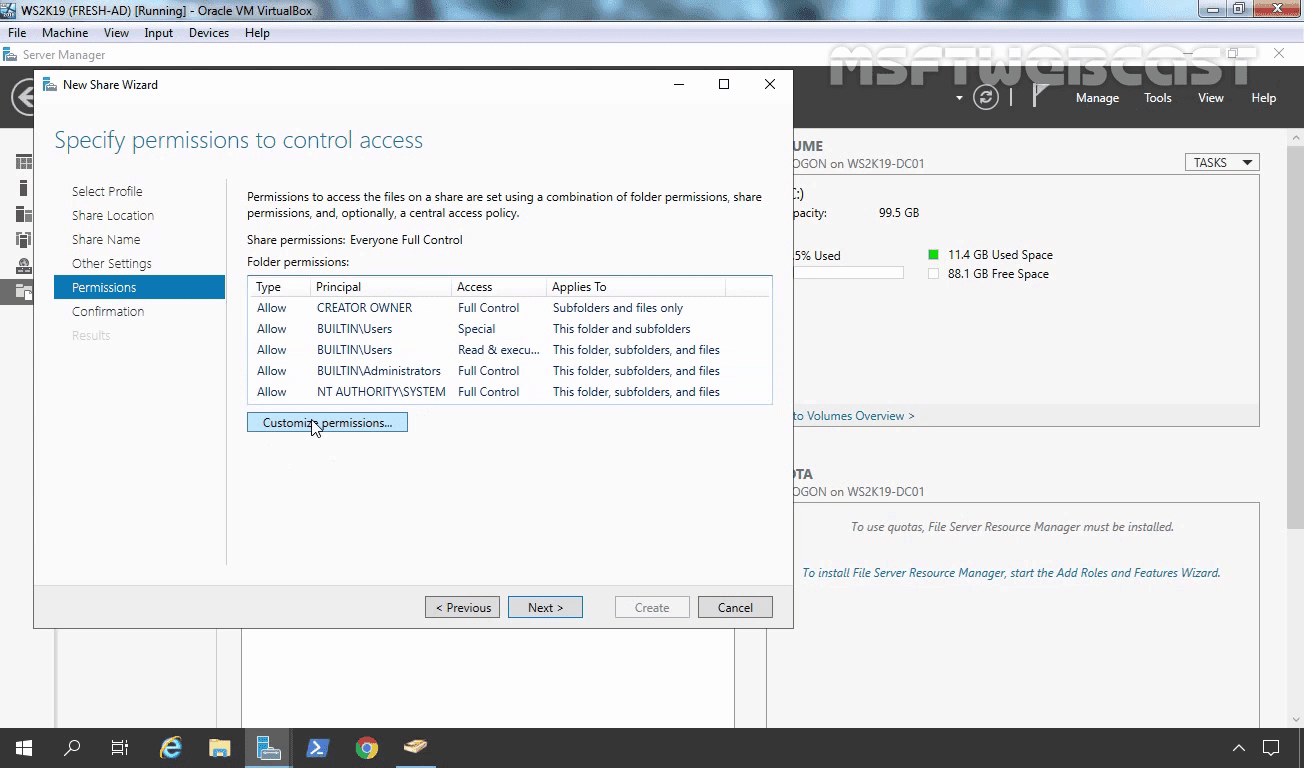
On the Permissions page, select Customize permissions…. The Advanced Security Settings dialog box appears.
Select Disable inheritance, and then select Convert inherited permissions into explicit permission on this object.
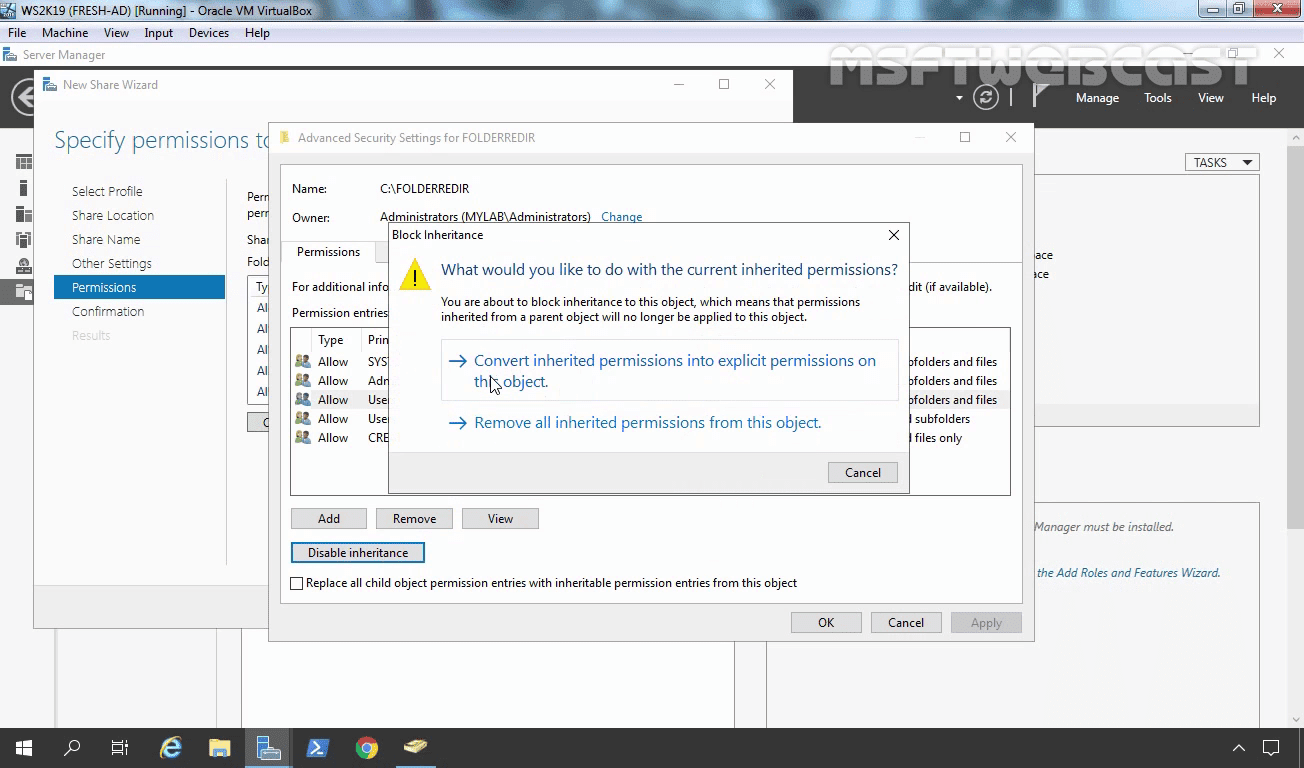
Remove both “Users” entries. Click on Add button.

Select TECHUsers (security group).
Principal: TECHUsers
Type: Allow
Applies to: This folder only
Advanced permissions: List folder/read data.
Create folders/append data.
Read Attributes.
Read Extended Attributes.
Read Permission.
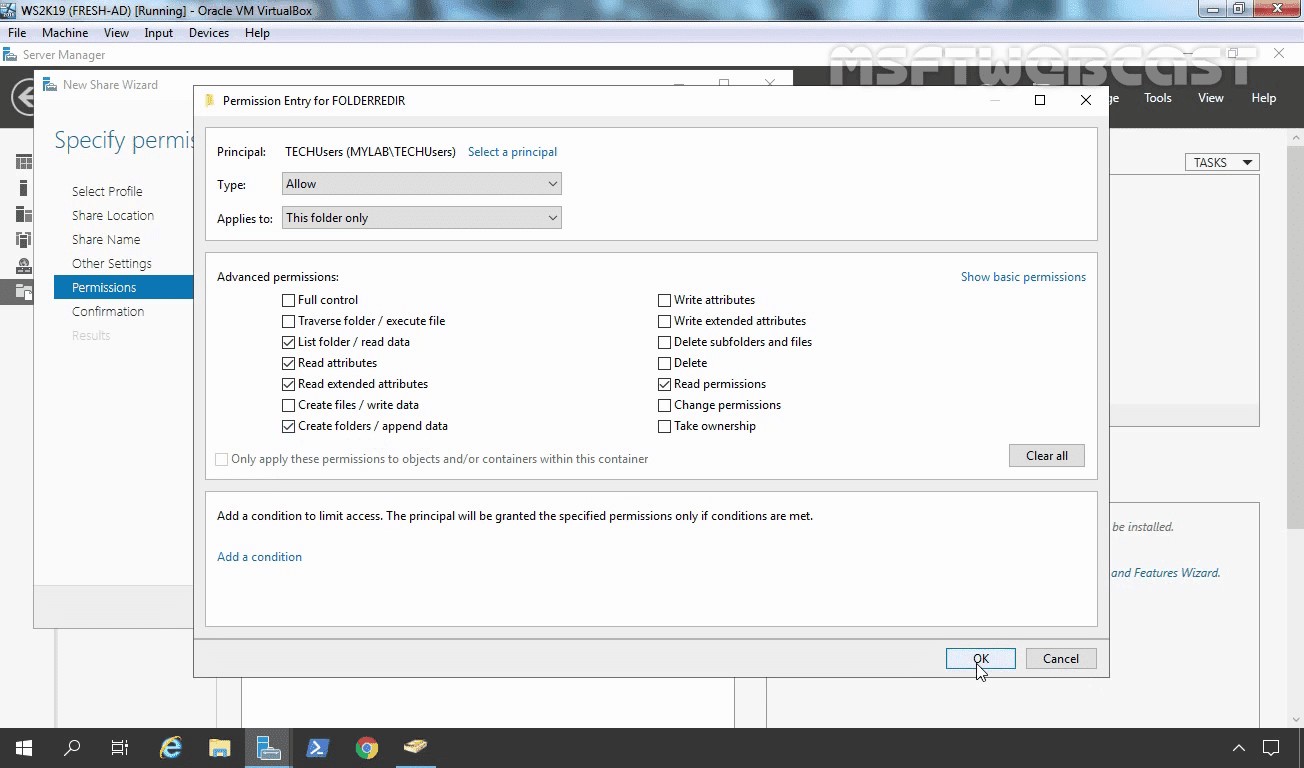
Click on OK. Click on Apply and OK. Click on next.
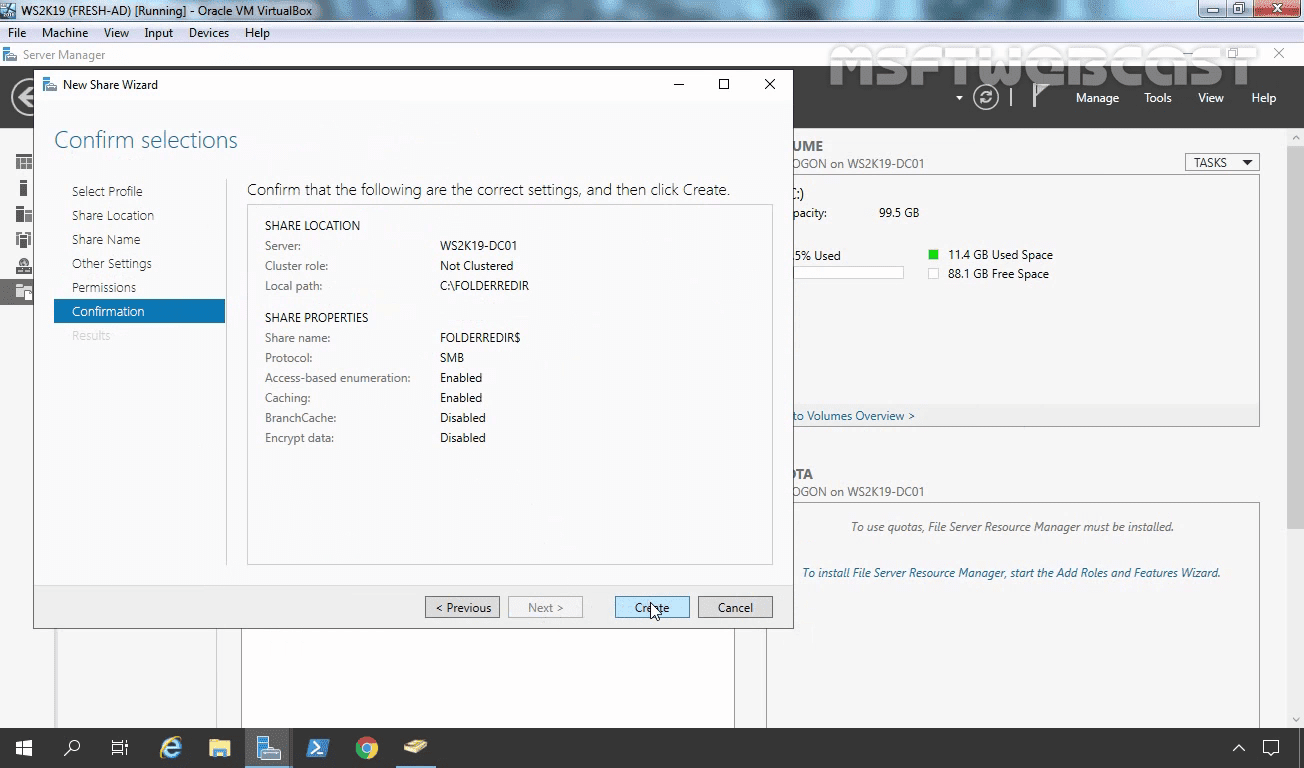
Click on create button to create a shared folder with our selection.
Click on close to close the new share wizard.

Now we have our shared folder with custom NTFS permission.
Step 2: Configure GPO for Folder Redirection:
Here’s how to create a GPO for Folder Redirection:
Open Server Manager.
From the Tools menu, select Group Policy Management.
Right-click on group policy objects, then select New to create a new group policy object.

In the New GPO dialog box, type a name for the GPO (for example, Folder Redirection GPO), and then select OK.
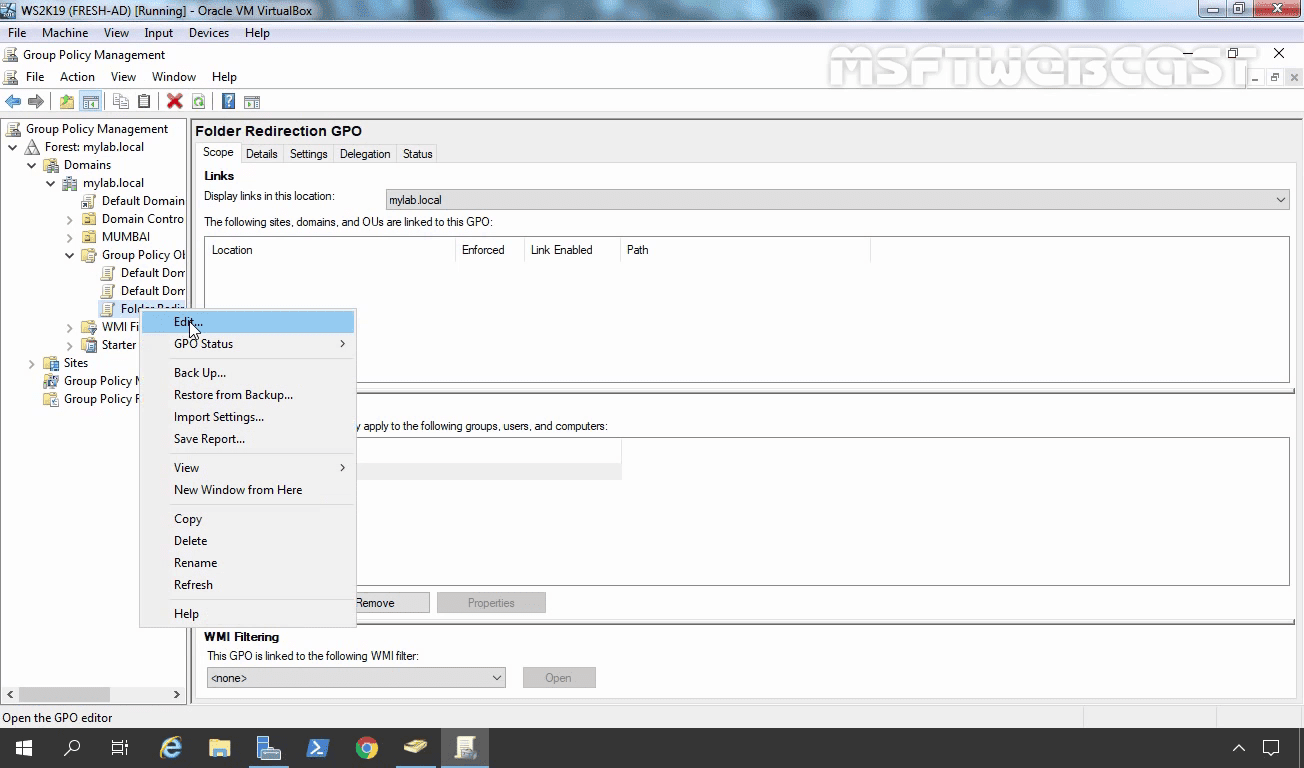
Right-click the newly created GPO and then select edit.
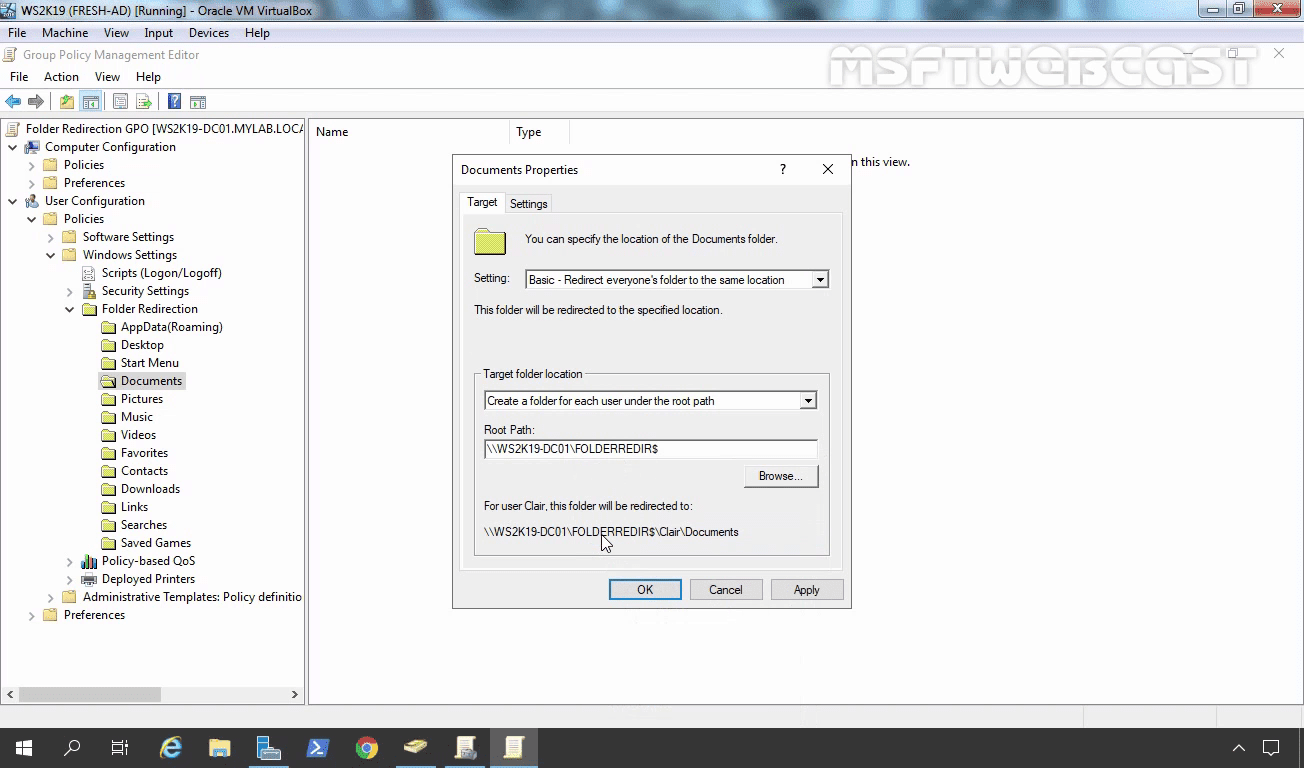
In the Group Policy Management Editor window, navigate to User Configuration, then Policies, then Windows Settings, and then Folder Redirection.
Right-click a folder that you want to redirect (for example, Documents), and then select Properties.

In the Properties dialog box, from the Setting box, select Basic – Redirect everyone’s folder to the same location.
In the Target folder location section, select Create a folder for each user under the root path and then in the Root Path box, type \\ws2k19-dc01.mylab.localfolderredir$
Select the Settings tab, and in the Policy Removal section, optionally select Redirect the folder back to the local user profile location when the policy is removed.

Select OK, and then select Yes in the Warning dialog box.
Follow the same steps for the Desktop folder as well.
Step 3: Link the Folder Redirection GPO to target OU/Domain:
Right click on OU. In our case, it will be TECH OU. Select Link an existing GPO.
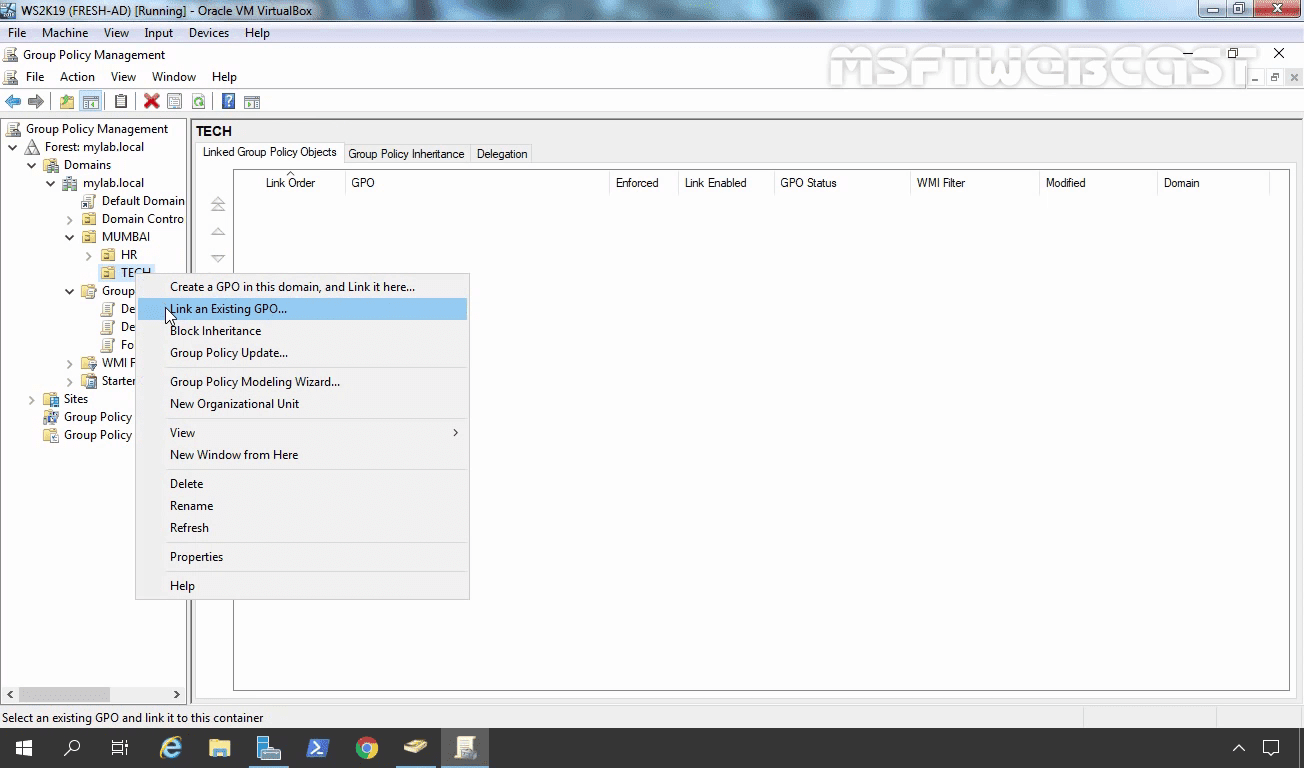
Select Folder Redirection GPO from the console.

Click on OK.
Step 4: Test Folder Redirection GPO:
Sign in to a Windows 10 client computer with a user account for which you have enabled Folder Redirection. Ex: tech.user1

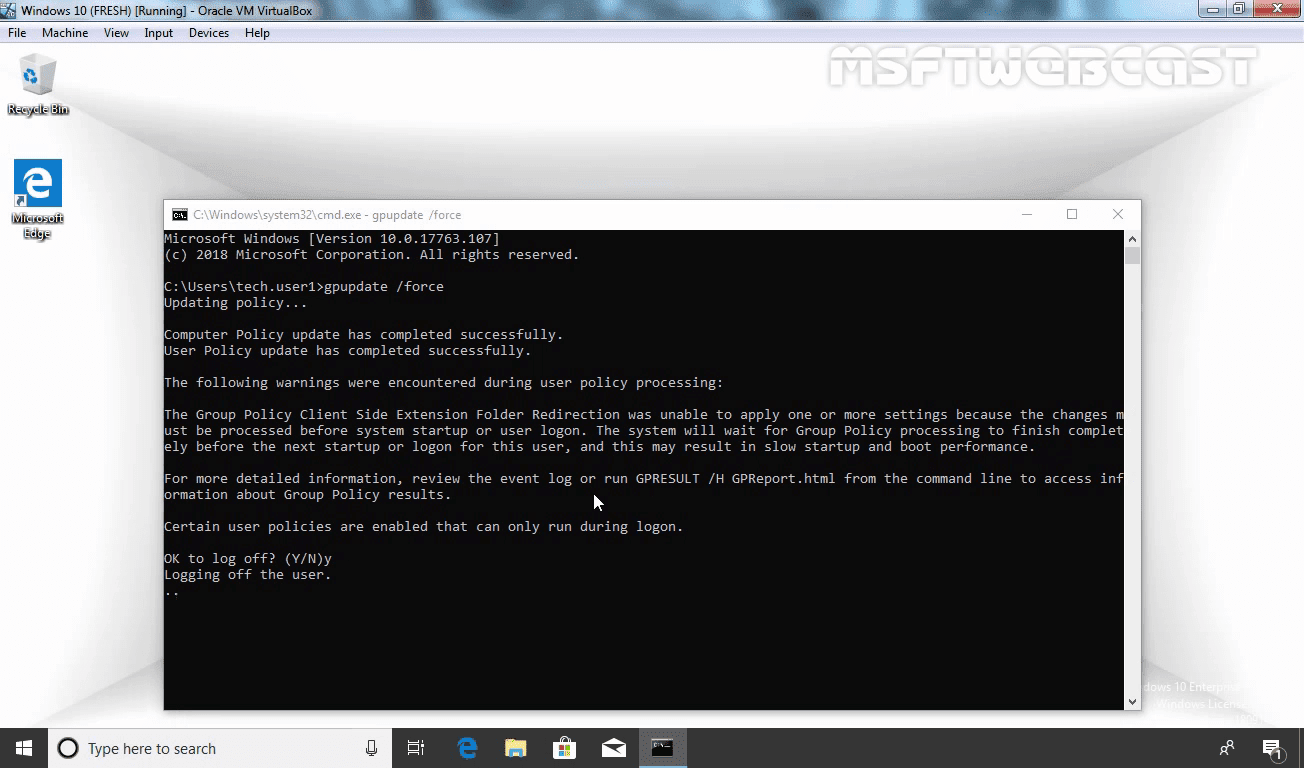
Open an elevated command prompt, and then type gpupdate /force command to ensure that the latest Group Policy settings are applied to the client computer.
If it asks for log out, Press Y to log out.
Login again with the same user account.
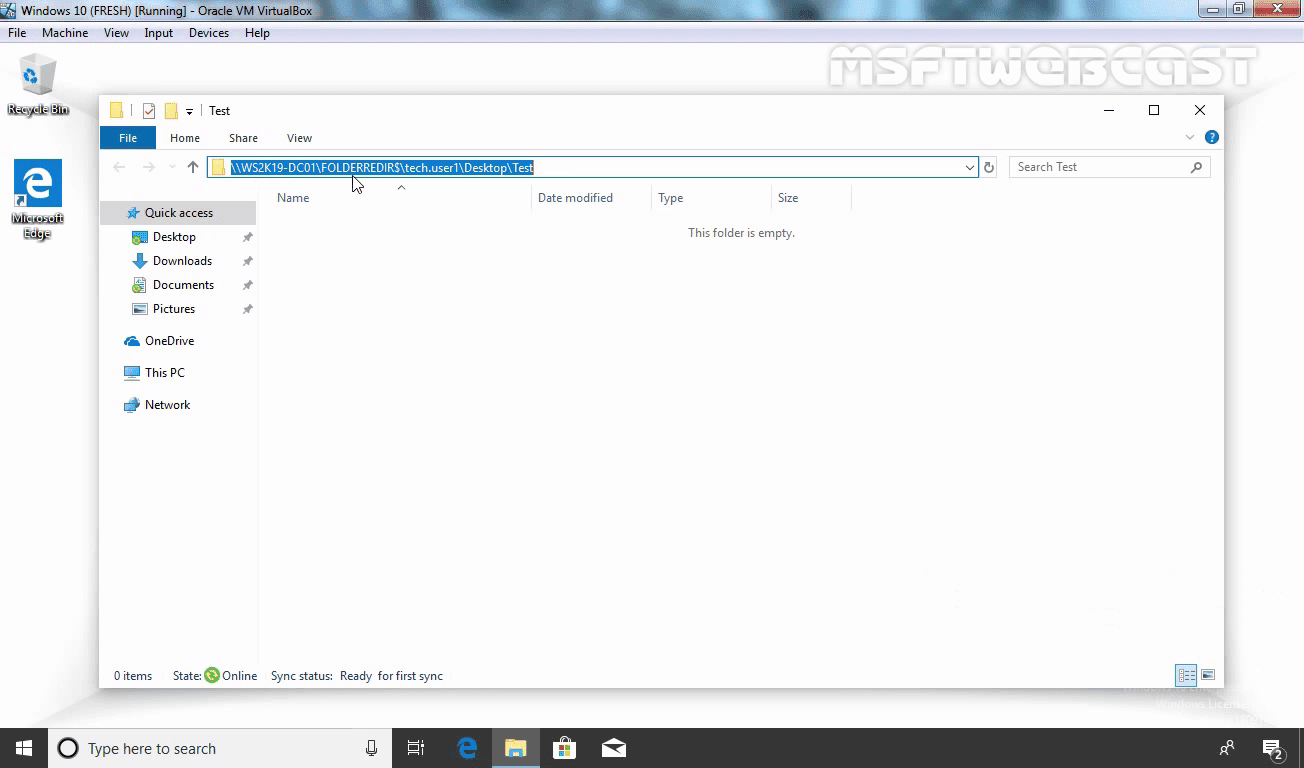
Create one folder on Desktop with the name Test. Open the newly created folder by double-clicking on it.

Select the Location tab, and confirm that the path displays the file share you specified instead of a local path.
That’s it, we have successfully configured folder redirection in Windows Server 2019.
Thank you for reading this post.