In the second part of this article series we will move forward with DHCP configuration. Now you have installed the DHCP server role on your server 2019, the next task is to configure DHCP by creating  DHCP scopes.

If you would like to read the first part in this article series please go to How to install DHCP server role on Windows Server 2019 (Part 1).


What is DHCP Scope?

A scope is a range of IP addresses on a particular subnet that a DHCP server has selected for allocation to clients when they make a DHCP request.

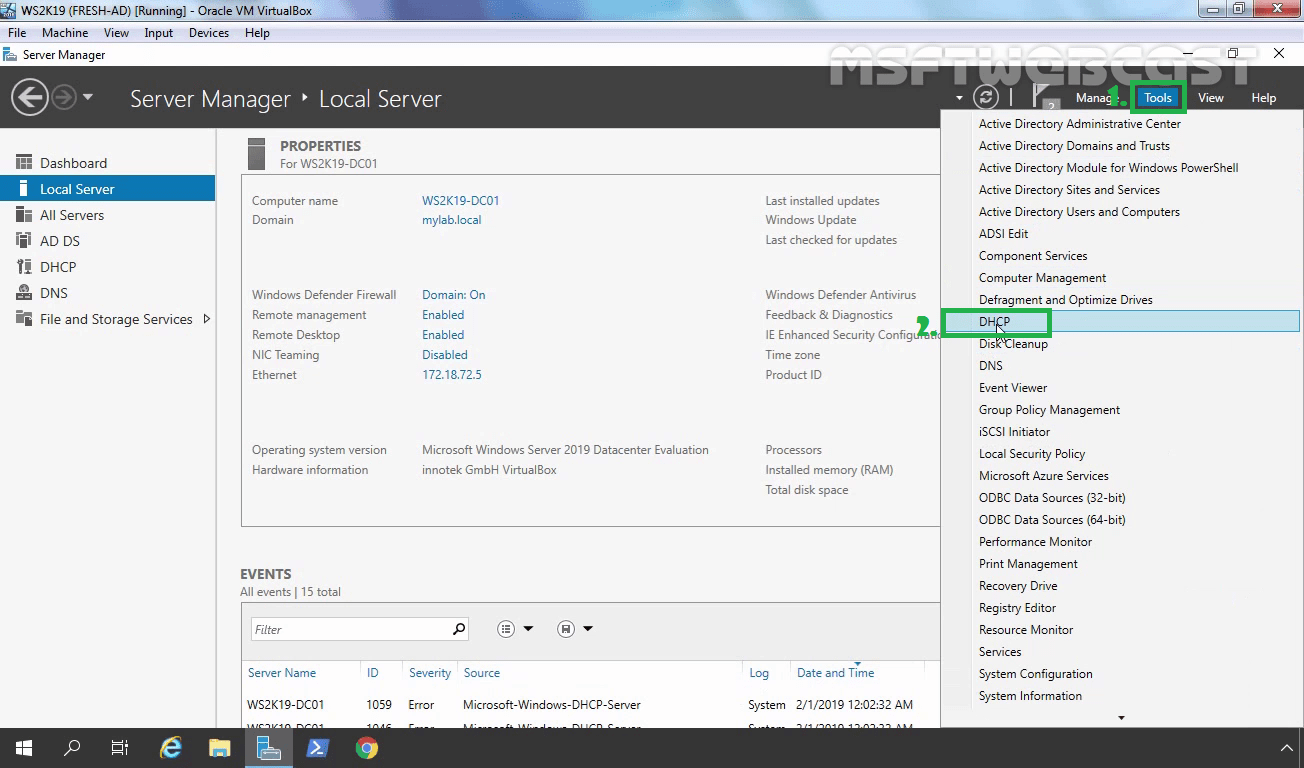
You can use DHCP management console or PowerShell to create DHCP scope. In this tutorial we will create IPv4 DHCP scope using DHCP management console. You can also refer my video on YouTube to Install and Configure DHCP on Server 2019.

Create IPv4 DHCP Scope:

1. On Server Manager console, Click on Tools and select DHCP to open DHCP management tool.
2. On the DHCP console, expand your server name. In my case it is ws2k19-dc01.mylab.local.
3. Select IPv4. On right pane you can see brief overview about DHCP scope and how to create it.
4. Right click on IPv4 and select “New Scope” option.
5. The New Scope wizard starts. Click on Next.
6. On the Scope Name screen, type any name of your choice to scope name. Add a description for scope, so you can identify the scope information. Then click Next button.
7. On the IP Address Range screen, provide an IP address range (Start IP address and End IP address). For this demo I am using 172.18.72.100 to 172.18.72.254 with subnet mask 255.255.255.0.  Once you done with all, click next to proceed.
8. On the Add Exclusions and Delay screen, leave it empty. Click on Next.
9. On the Lease Duration screen, I will change the default lease duration and set new lease duration to 8 hours. You can adjust it as per your requirement. Click on Next to continue.
10. On Configure DHCP Option, we can configure additional DHCP options such as Gateways IP address, DNS server address etc. Select “Yes, I want to configure these options now” and click on Next to continue.
11. On Router (Default Gateway) page, add your gateways IP address and click Next. (Don’t forget to click on add button after specifying gateways address)
12. We have install the DHCP server role on our Domain Controller, so the wizard will automatically detect the DNS server’s address. If you wish to add another DNS server address you can but for this demo will use our local DNS address only. Click Next.
13. If you have any WINS server on your network, you can specify the address here. I am going to click on next button as we don’t have any WINS server.
14. On the Activate Scope screen, select “Yes, I want to activate this scope now”. Until you activate the scope your DHCP server is not able assign IP address to client request. Click Next.
15. On the next screen, click Finish to create a DHCP scope and close the wizard.
16. On the DHCP Console, Now you can see your newly created scope ready to distribute IP addresses to client computers.

 Test DHCP server functionality:

To verify the DHCP server is working properly and distribute the IP address to clients.

1. Go to Windows 10 client machine. Right click on start button and select “Network Connections”.

2. Under change your network settings, click on change adapter settings that will open Network connection console.
3. Select Ethernet adapter, Right click on it and select Properties.
4. Select TCP/IPv4 and click on properties.
5. Make sure you choose Obtain an IP address automatically, same goes to Obtain DNS server address automatically. Click OK button.
6. Click on Close to close “Ethernet Properties” console.
7. Right click on Ethernet adapter again and select status.
8. Click on details option.
9. Here you can verify that our windows 10 client is getting IP address from DHCP Server that you just configured.
10. Even from DHCP management console you can verify that clients are getting IP’s from DHCP server.

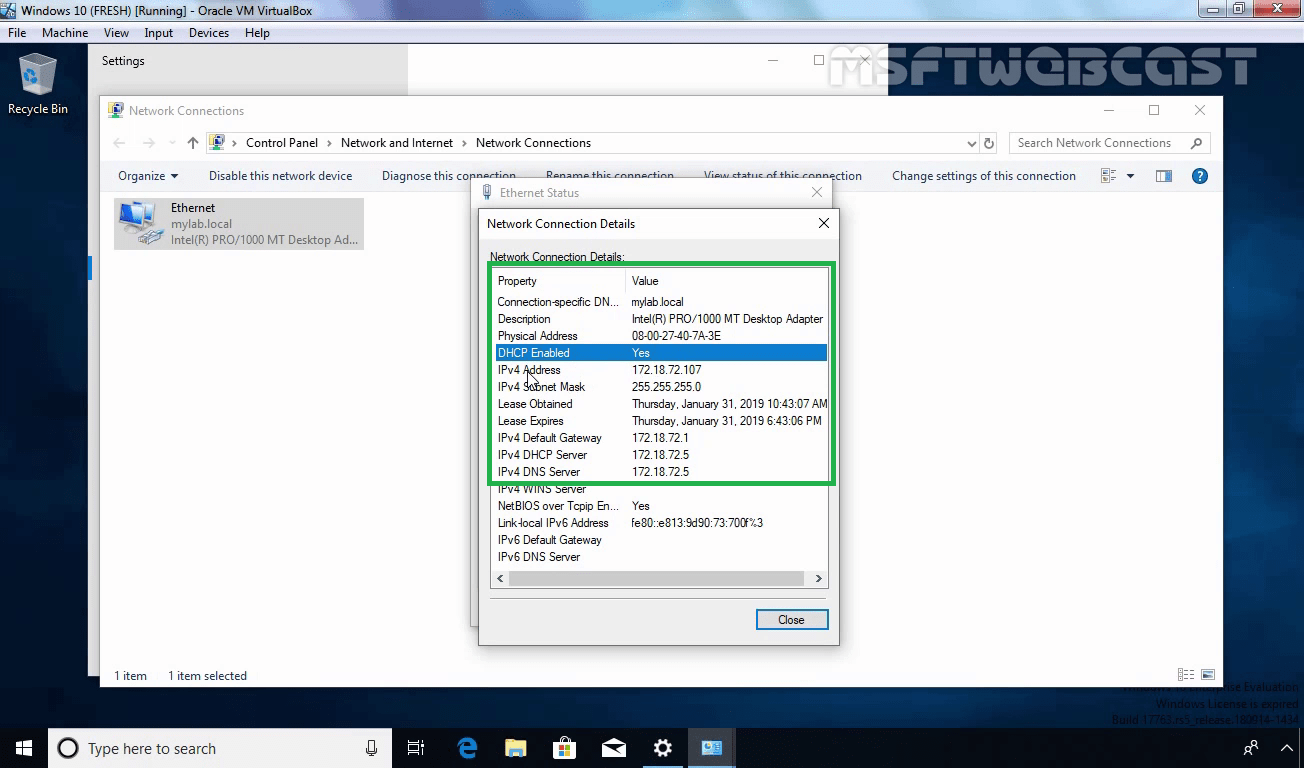
After this we can safely say that our DHCP server is configured and ready to allocate TCP/IP settings to the DHCP clients.

In this post, we have seen the steps to install and configure DHCP server role in Windows Server 2019.

I hope this post will be helpful for all.

Thanks for reading.