Introduction:
In this blog post, we will cover the steps on how to install and configure the iSCSI Target server role on Windows Server 2019.
The iSCSI Target Server is a role service in Windows Server 2019 that enables you to make local storage available via the iSCSI protocol. Internet Small Computer System Interface (iSCSI) uses TCP port number 3260 for communication.
iSCSI create shared storage to share block storage over Ethernet. You can use the iSCSI Target Server to provide block storage leverages your existing Ethernet network.
Test Lab Setup:
Note: For this, we will use the virtual test lab created in VirtualBox.
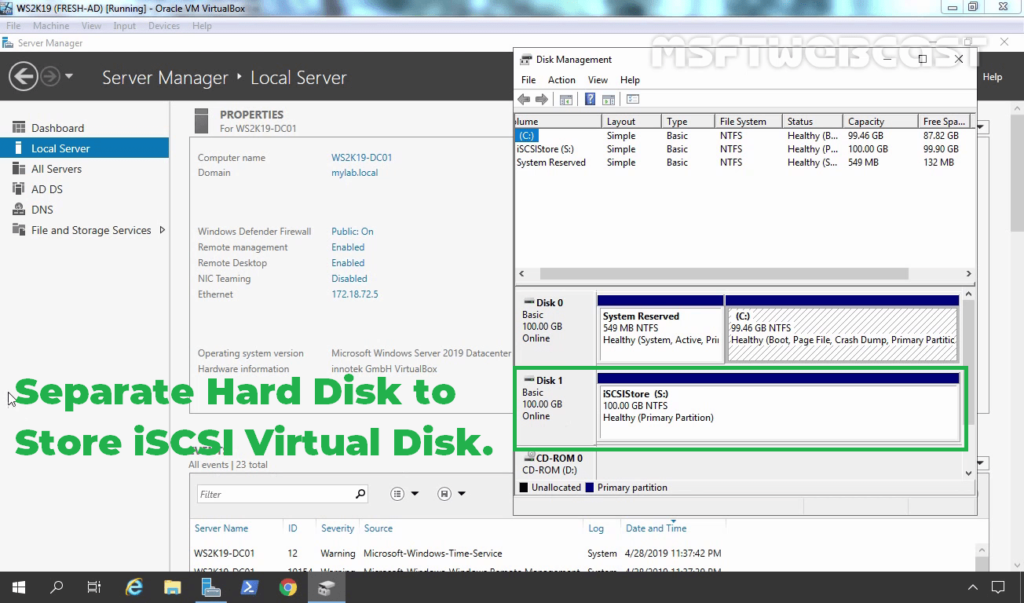
- WS2K19-DC01: Domain Controller and DNS with two Hard Disk.
- Disk 0: For Windows Server 2019 OS (Drive letter C:)
- Disk 1: For iSCSI Storage (Drive letter S:)
Install iSCSI Target Server on Windows Server 2019:
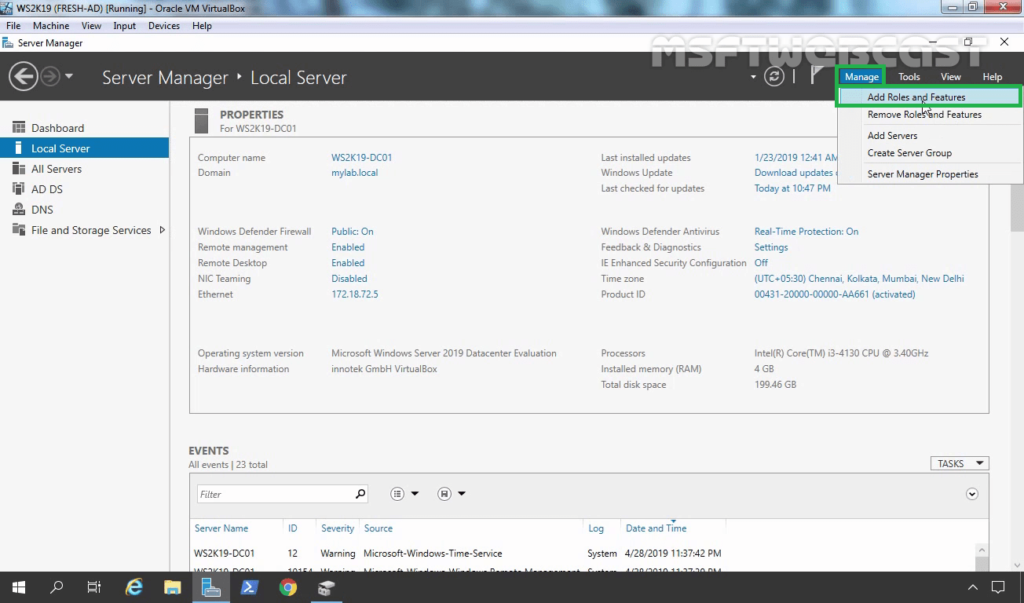
Sign in to Windows Server 2019 with an administrator account and open Server Manager Console to install the iSCSI target server role.
1. Click on Manage and select Add Role and Features.
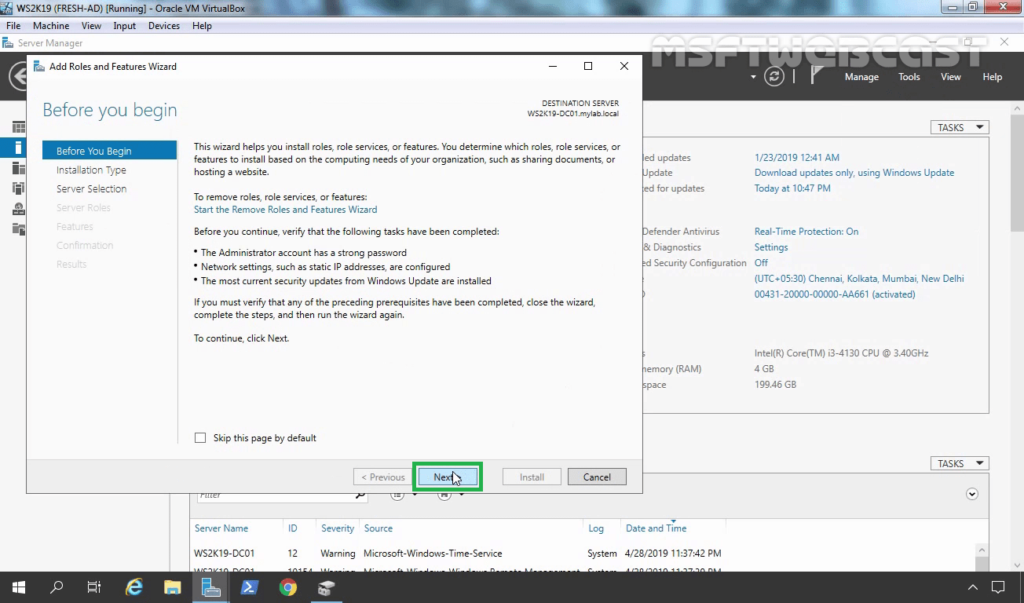
2. On the Before you begin page, click Next.
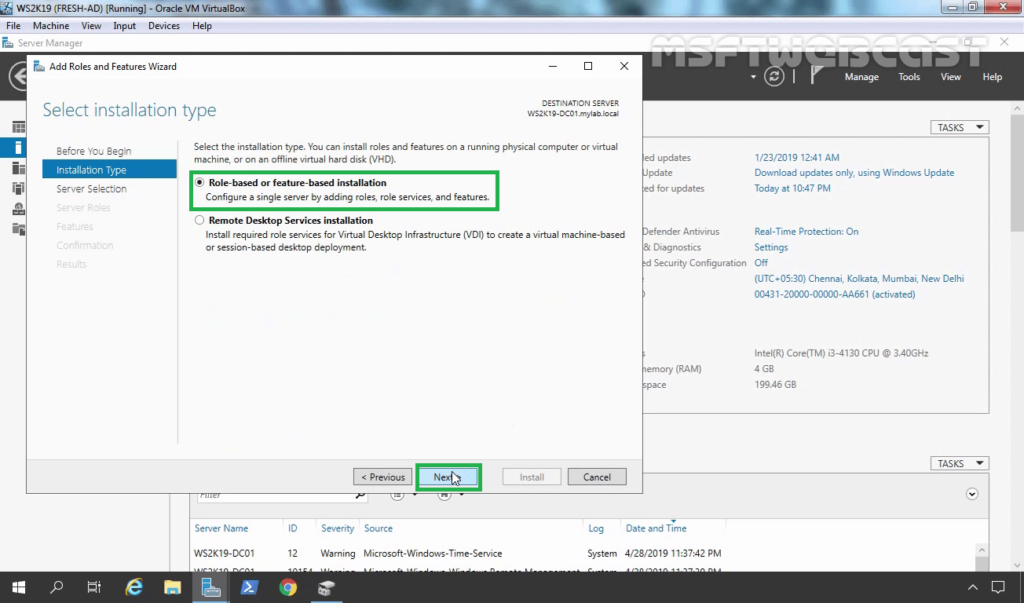
3. Select Role-based or feature-based installation and click Next.
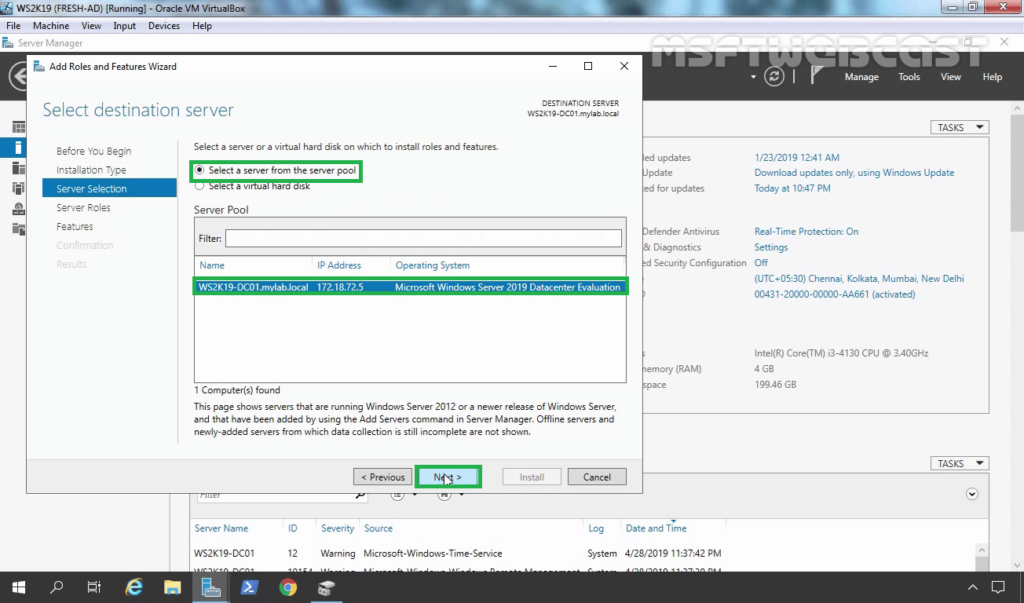
4. Select a server from the server pool on which you want to install the iSCSI Target role service, click Next.
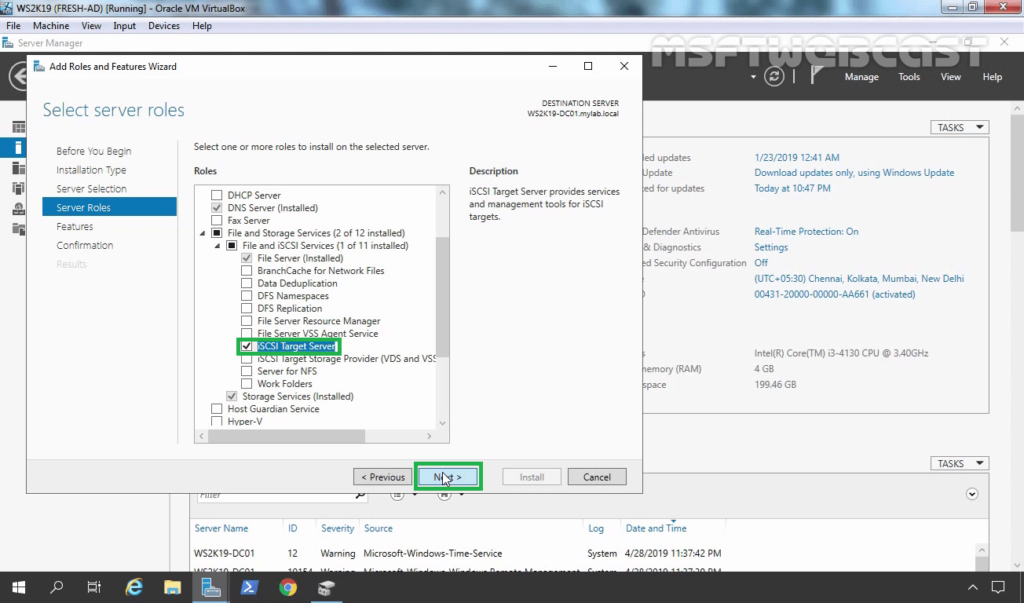
5. On select server roles page, expand File and Storage Services, expand File and iSCSI Services. Select the iSCSI Target Server checkbox. Click Next.
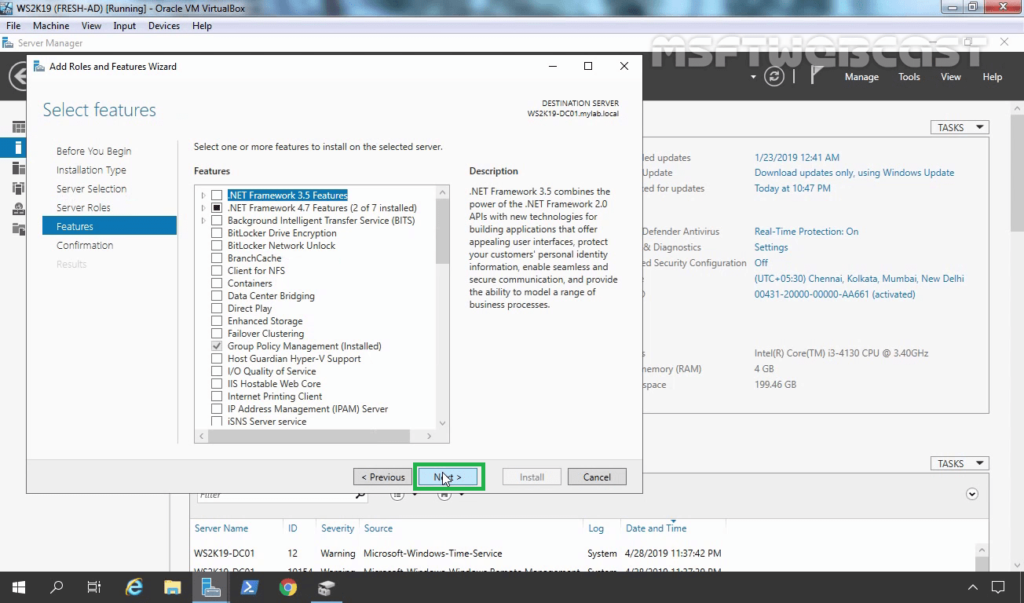
6. On select features, click Next.
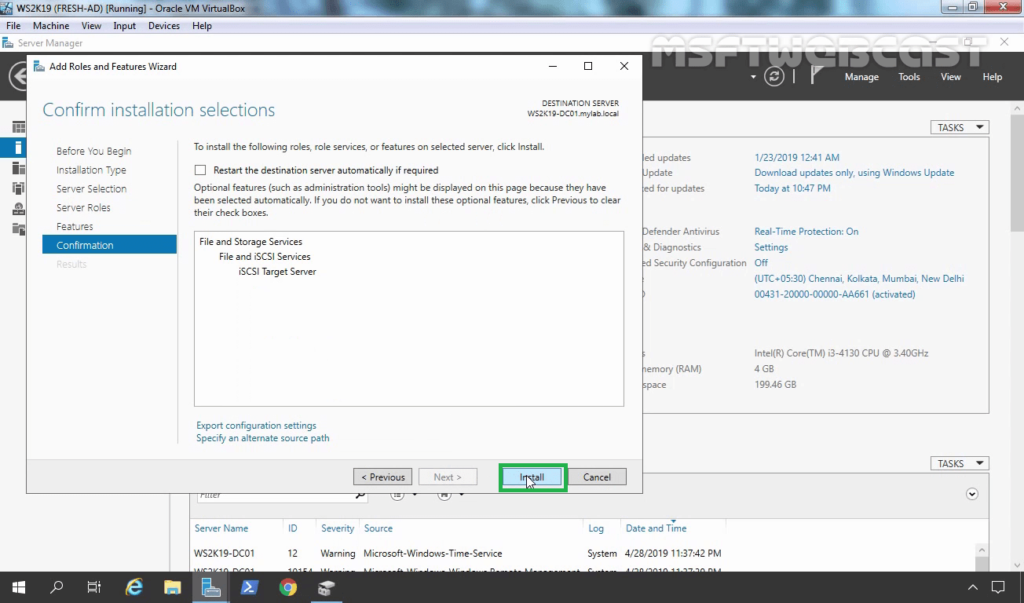
7. Click Install and complete the installation process.
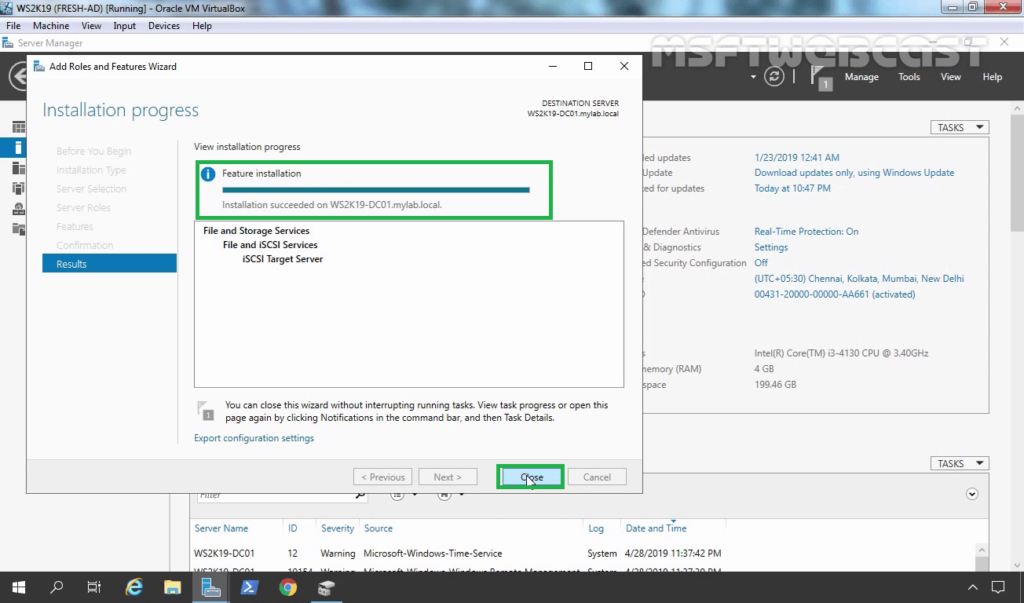
8. Click Close to finish the installation.
Configure iSCSI Target on Windows Server 2019:
After installing the iSCSI Target server role on Windows Server 2019, our next step is to configure it. We will use the File and Storage Services console to create iSCSI Target.
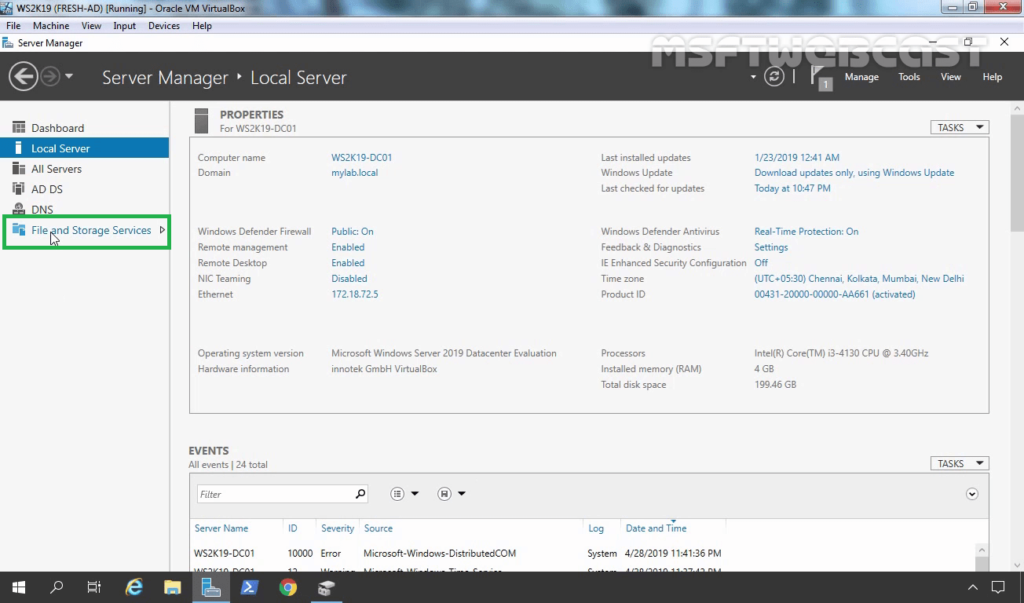
9. On the Server Manager Console, click on File and Storage Services.
10. Click on iSCSI and then click on To create an iSCSI virtual disk link to start the new iSCSI virtual disk wizard.

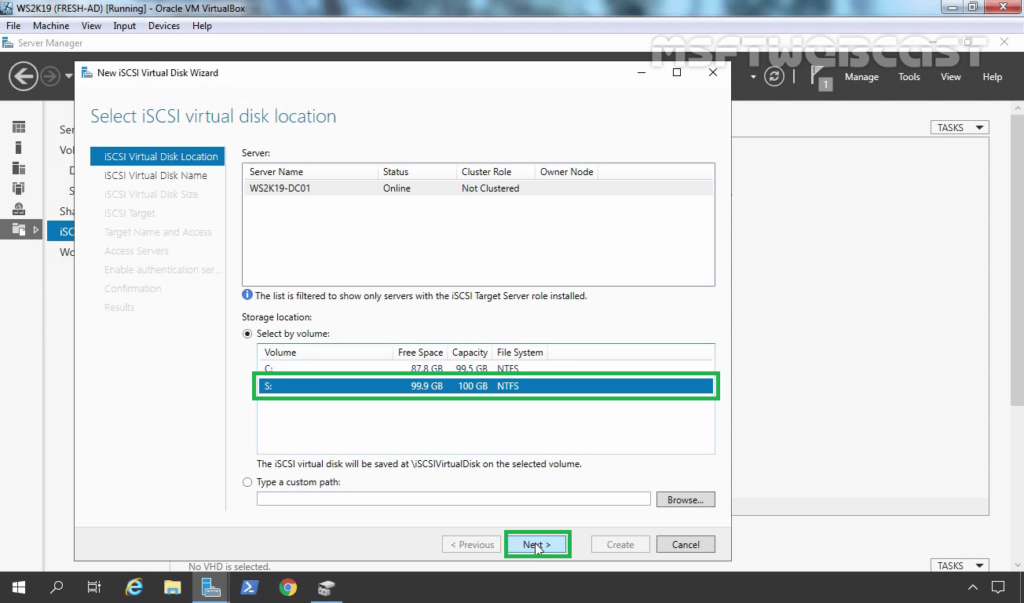
11. Select the location to store the iSCSI virtual disk. In our case, we will select the second hard disk with drive letter “S:”.
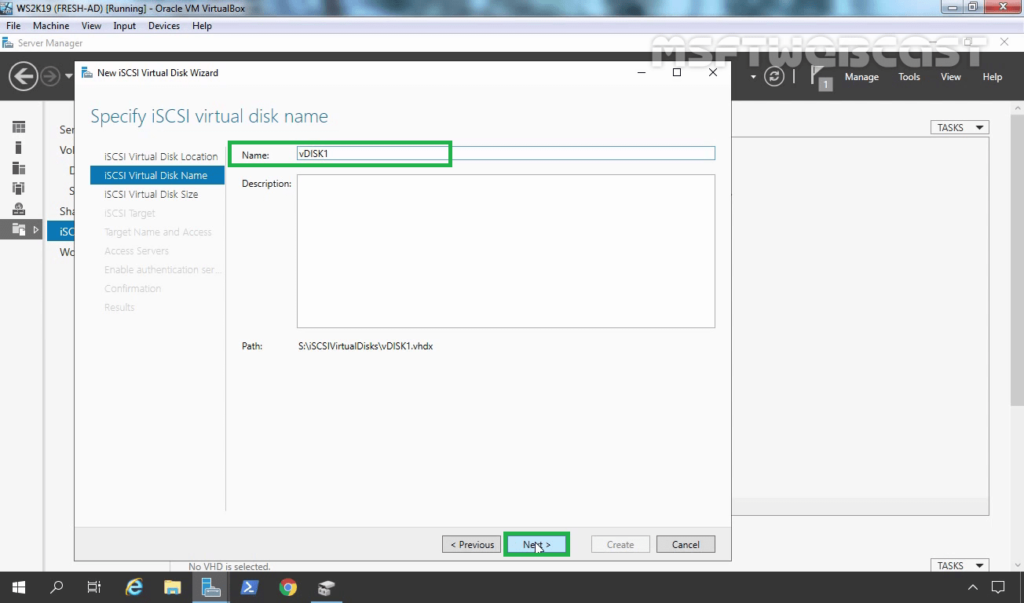
12. Specify the iSCSI virtual disk name and description (optional). Click Next to continue. (Path will be S:\iSCSIVirtualDisks\<virtual-disk-name.vhdx)
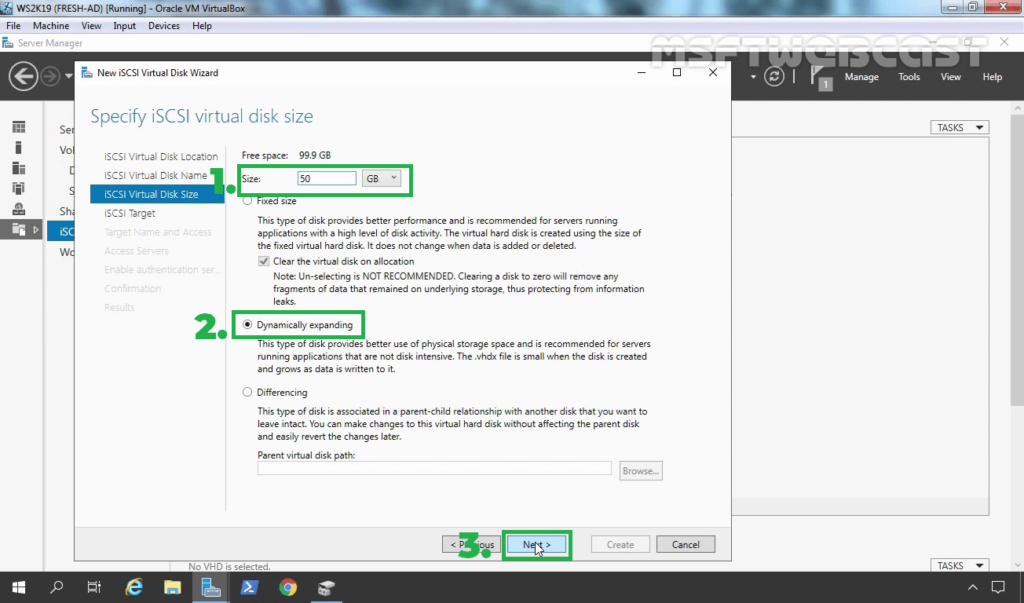
13. Specify the size of the iSCSI virtual disk. Choose the disk type as per your requirement. You have three options to choose from:
- Fixed Size
- Dynamically Expanding
- Differencing
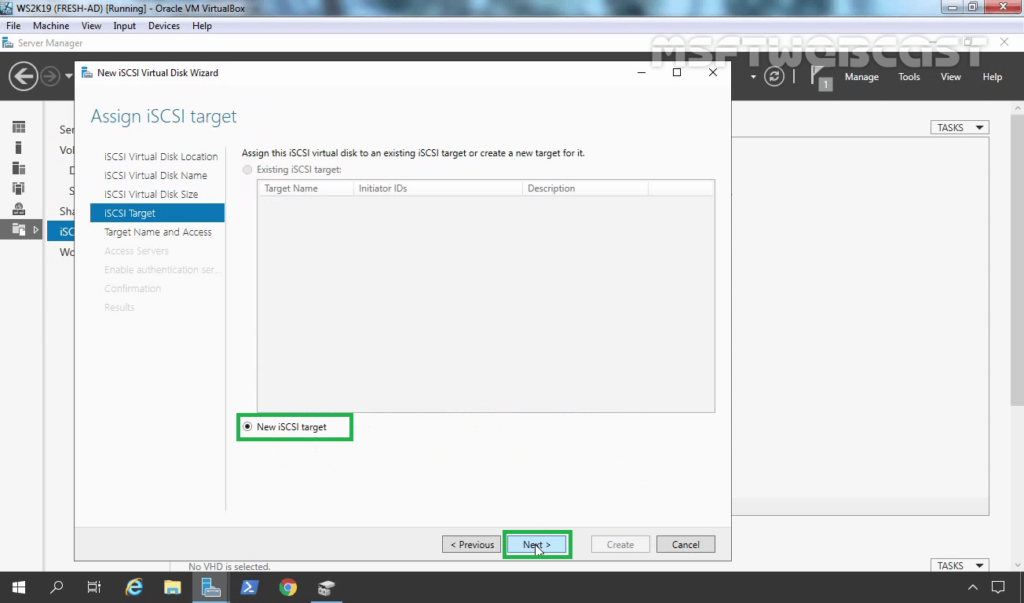
14. To create a new iSCSI target, click the New iSCSI target and click Next. If you have defined the iSCSI target earlier, you can select the target from the existing target list.
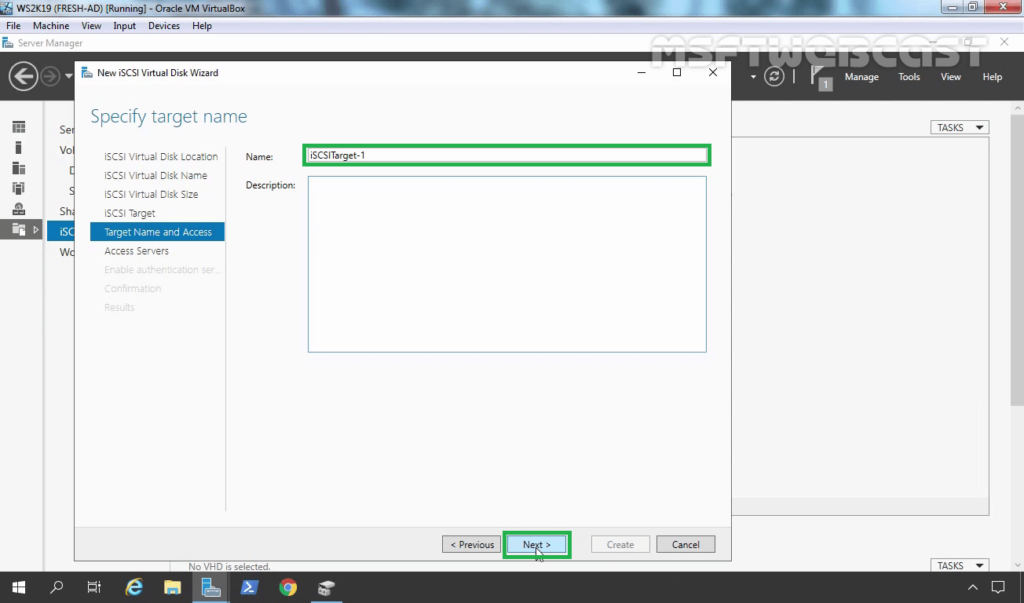
15. If you chose the New iSCSI target, on the Target Name and Access page, type the name of the target. Click Next.
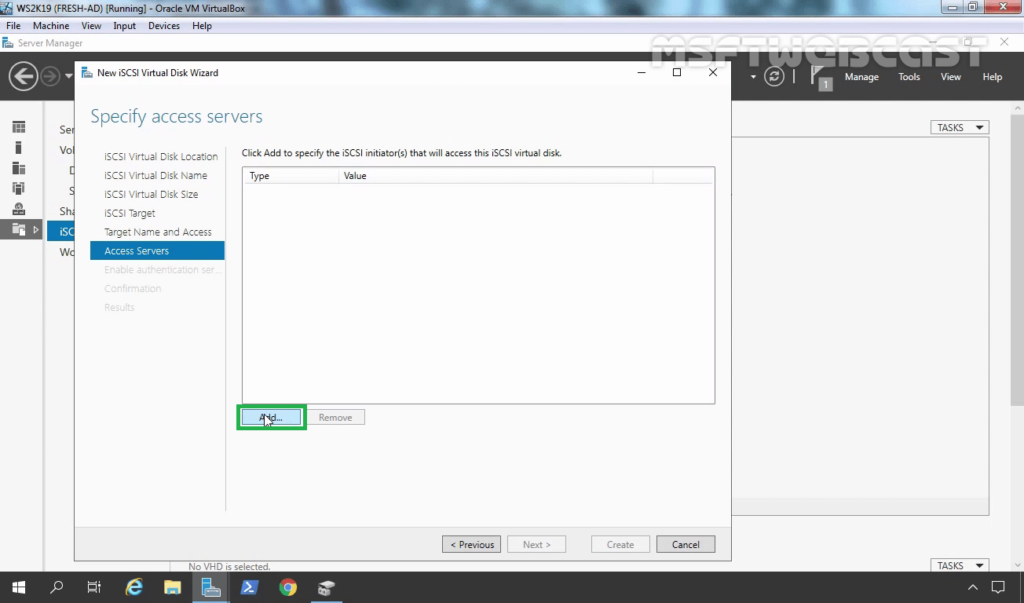
16. Choose the Access Server to specify the details about iSCSI Initiator, who will be accessing the iSCSI virtual disk. Click Add.
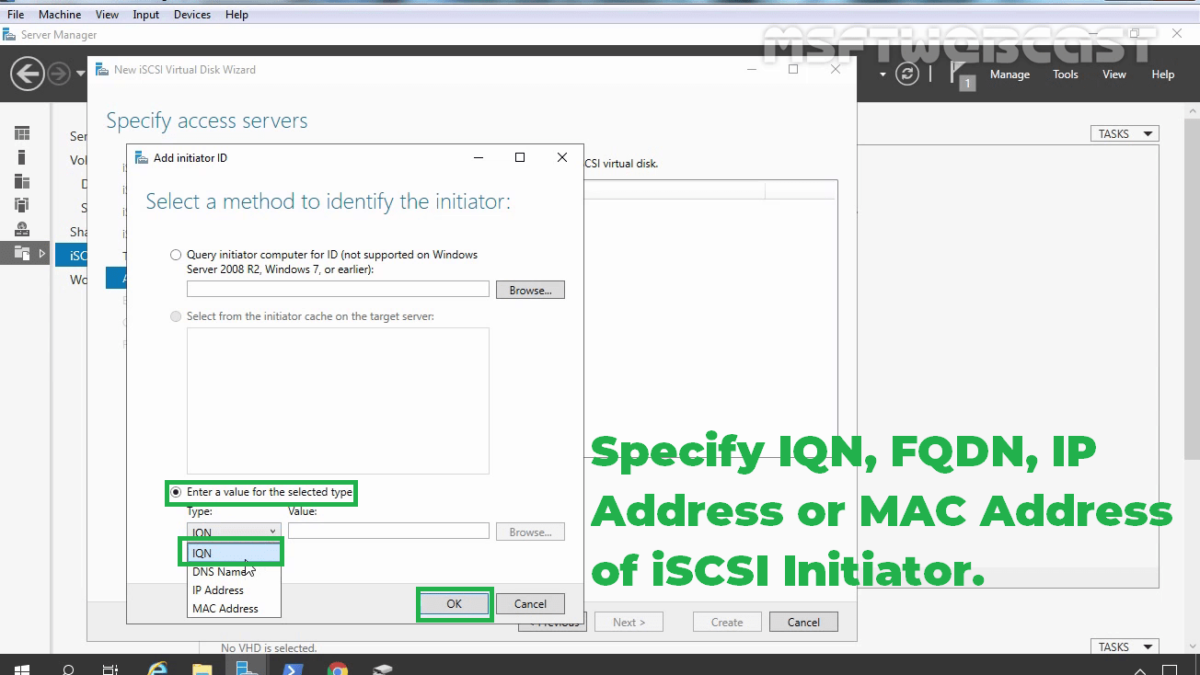
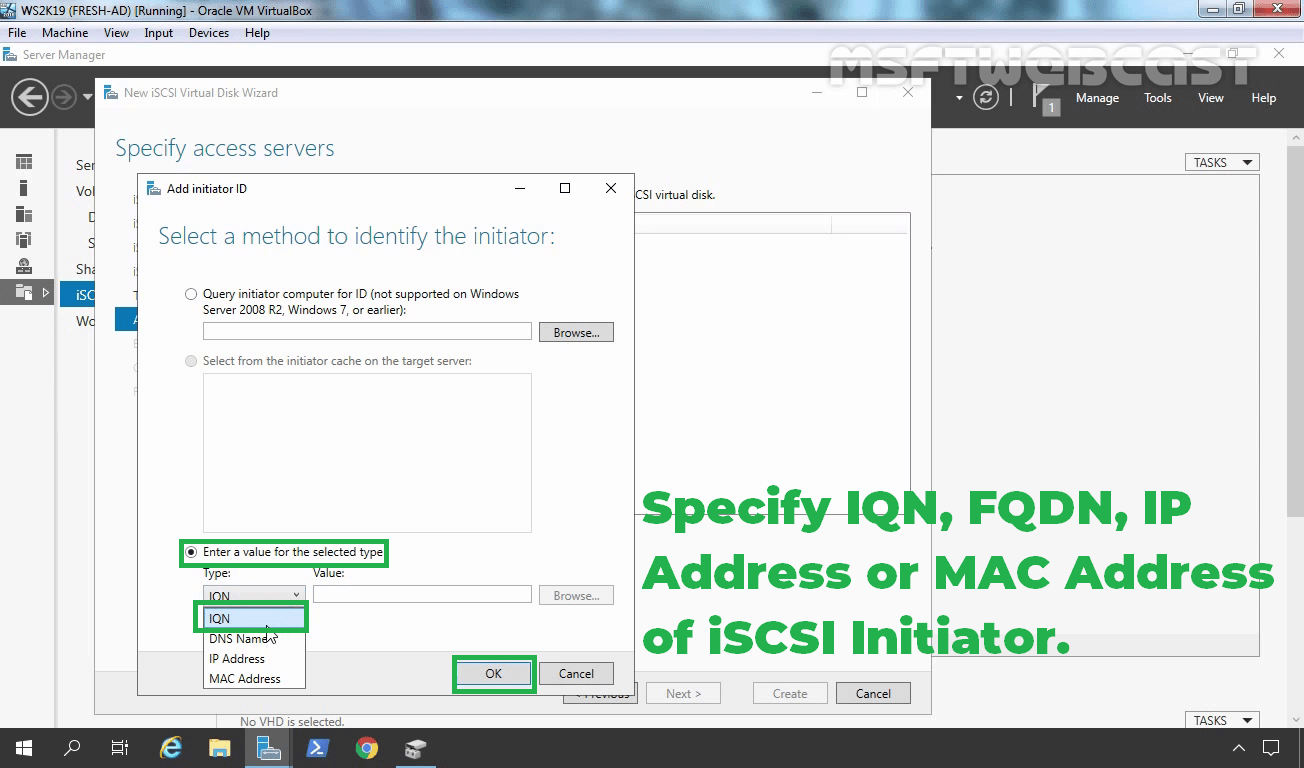
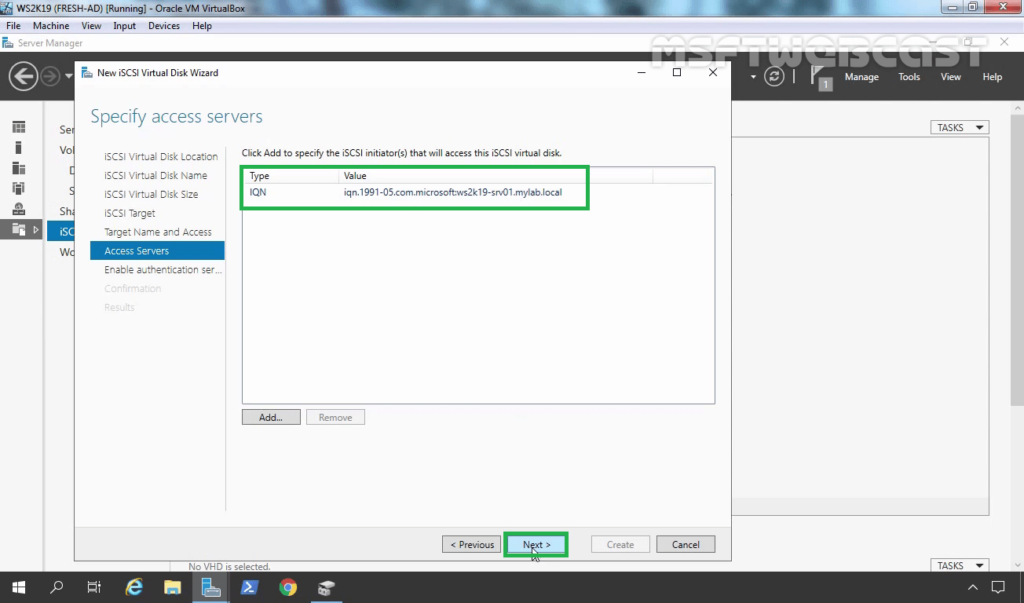
17. In the Select a method to identify the initiator dialog box, select Enter a value for the selected type radio button. From the type list, select IQN and type iSCSI qualified name (IQN) of iSCSI Initiator.

You can find the IQN in the iSCSI initiator properties window. You can also specify the IP address, FQDN or MAC Address of the iSCSI initiator.
18. On the Specify access server’s page, click Next.
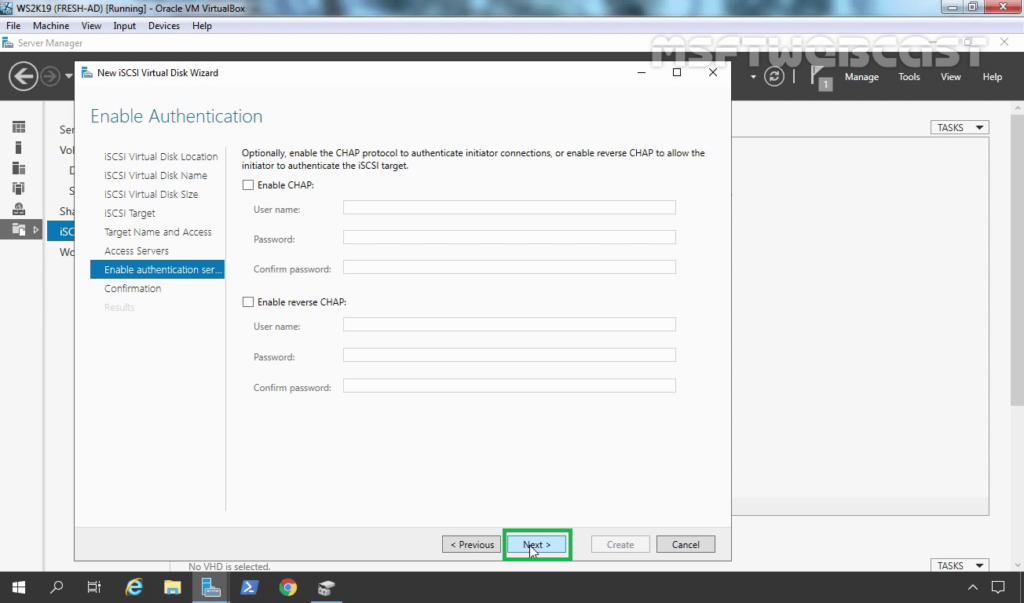
19. Click Next, as we don’t want to enable CHAP authentication for iSCSI Target.
20. Review the selection. Click create and wait for it to finish.
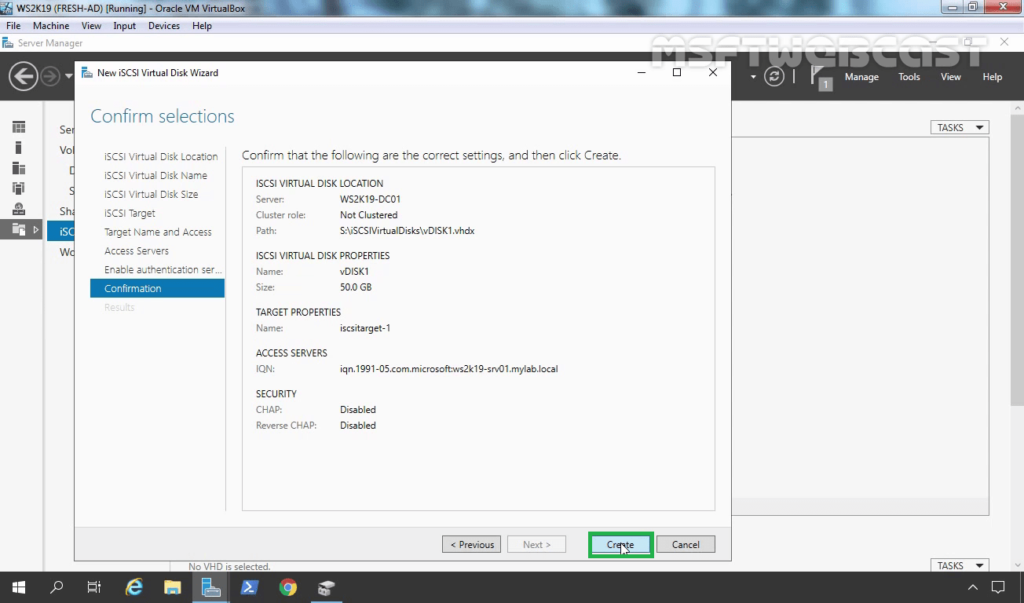
21. When all progress bars indicate completed, click Close to exit the wizard and complete the configuration.

22. We can see the iSCSI virtual disk created in the server manager.
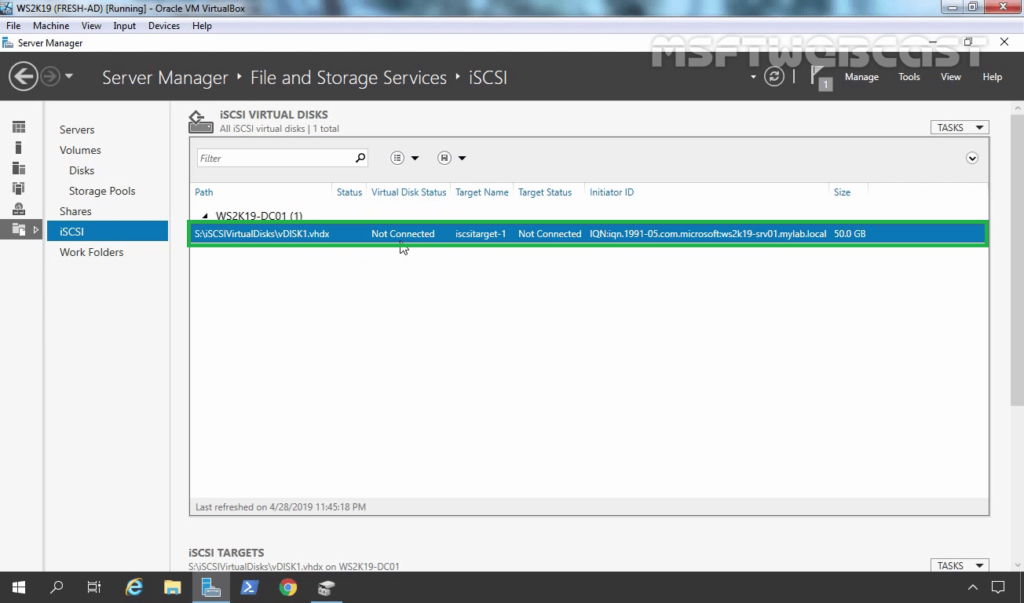
Now we have successfully installed and configured an iSCSI target Server role and created an iSCSI target virtual disk on Windows Server 2019.
In the next post, we will learn the steps to configure iSCSI initiator in Windows Server 2019 to connect iSCSI Target storage.
Thank you for reading.