
In this post, we will learn the steps to configure Message Delivery Restrictions for a Mailbox in Exchange 2019.
We can use the Exchange Admin Center (EAC) web interface or the Exchange Management Shell (EMS) to place restrictions on whether messages are delivered to individual recipients. Message delivery restrictions are useful to control who can send messages to users in your organization.
We can also configure message delivery restrictions for distribution groups and shared mailboxes using the same steps.
Configure Message Delivery Restrictions for a Mailbox:
On Exchange 2019 Mailbox Server.
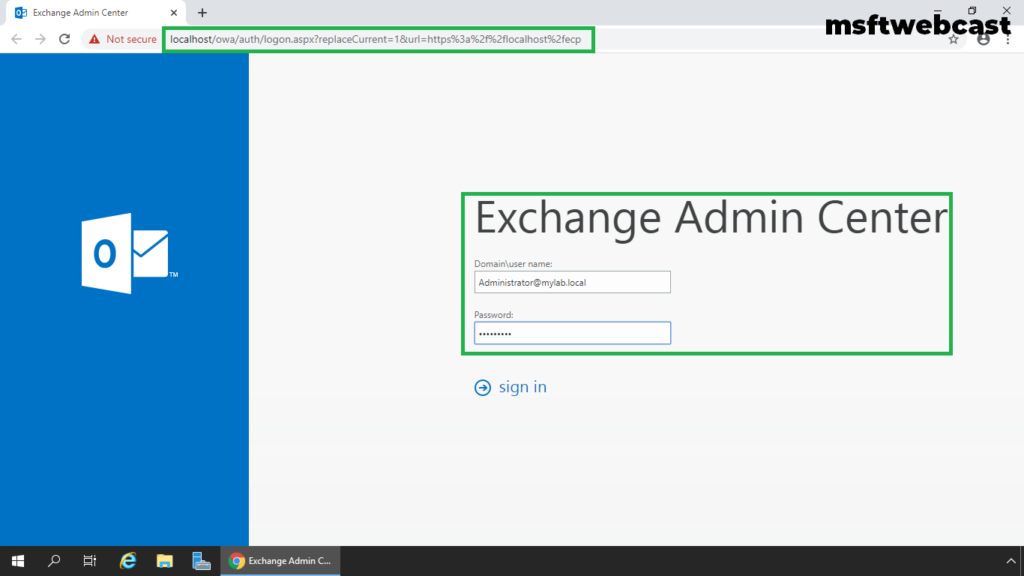
1. Open Internet Explorer and type https://localhost/ecp, and then press Enter. Sign in as an Administrator with the password.
2. In the Exchange Admin Center web interface, navigate to Recipients. Click on mailboxes tab.
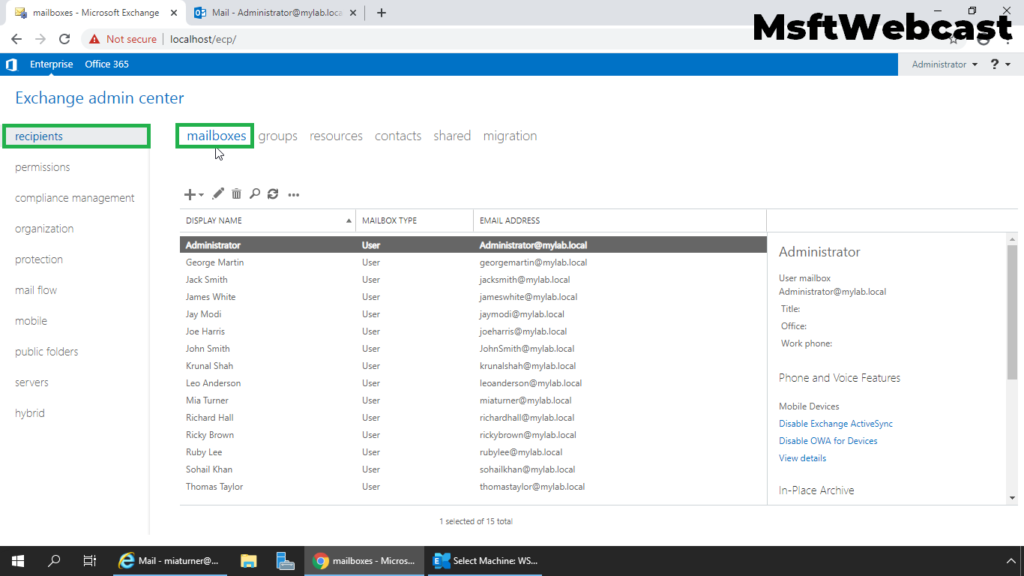
3. On the Mailbox tab, select the mailbox for which you want to configure message delivery restrictions and then click Edit.

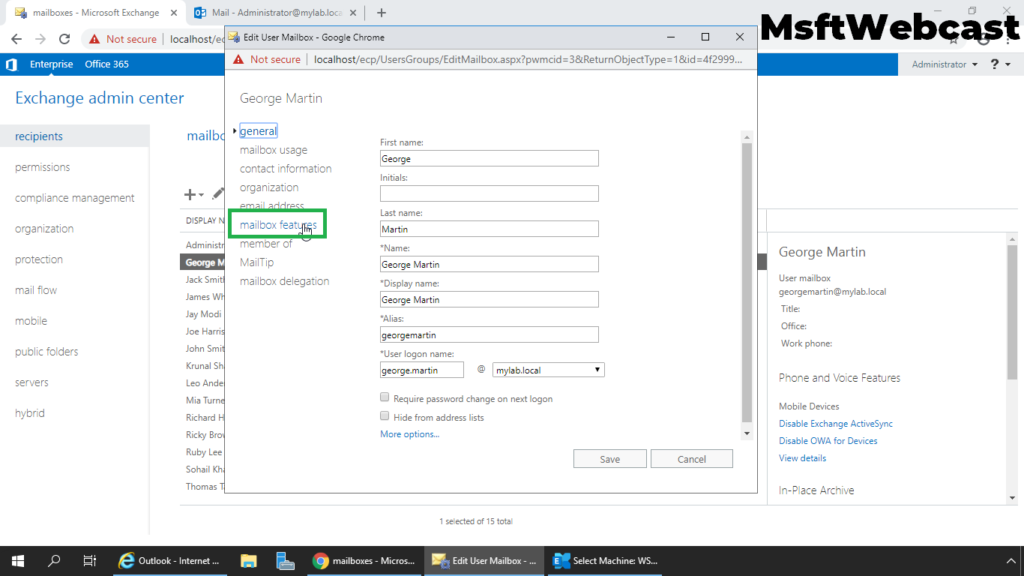
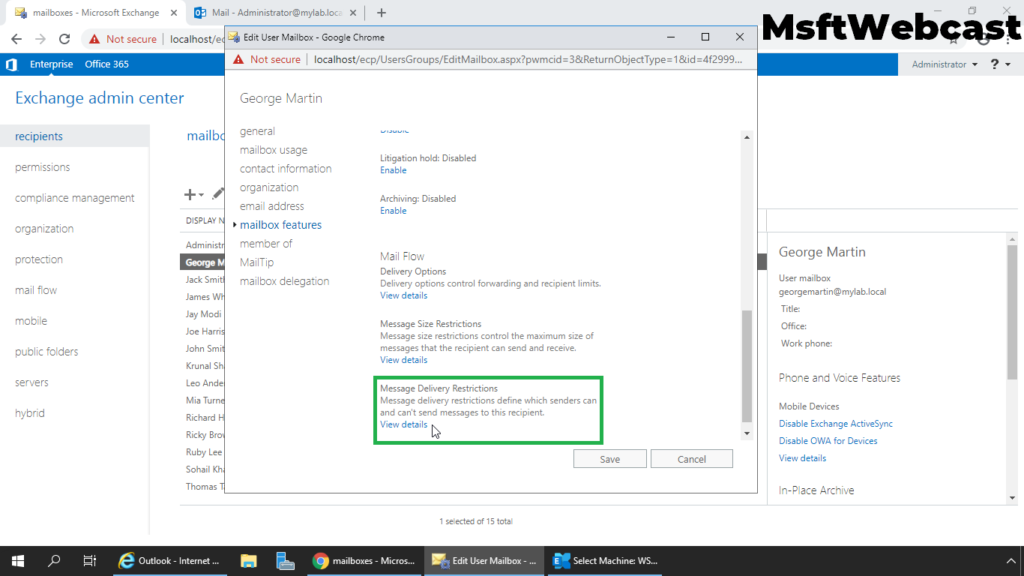
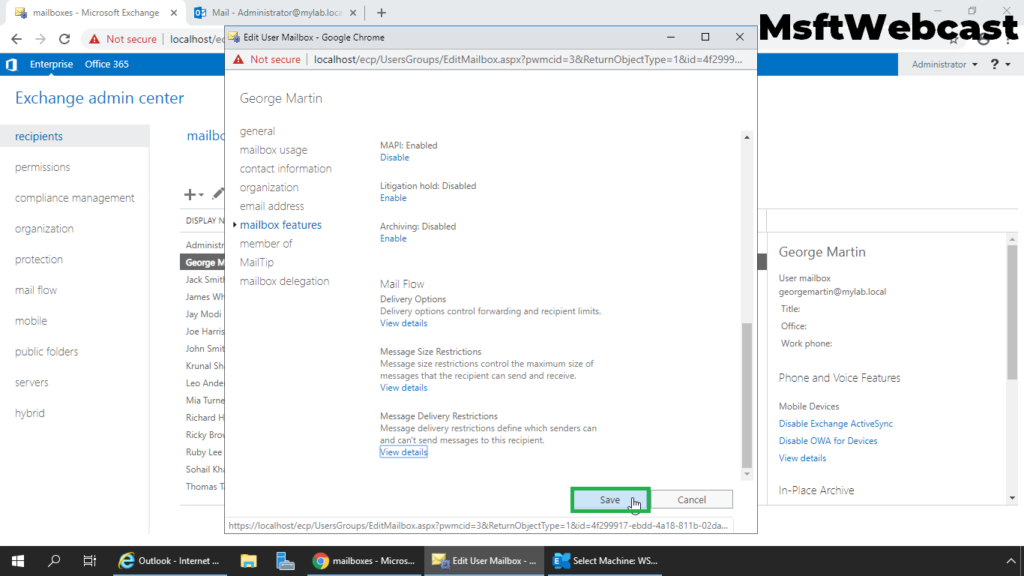
4. On the mailbox properties page, click Mailbox features.
5. Under Message Delivery Restrictions, select View details to view or change the setting for Message Delivery Restrictions.
6. We can configure a mailbox to accept or reject messages sent by specific users or to accept messages only from users in your Exchange organization.
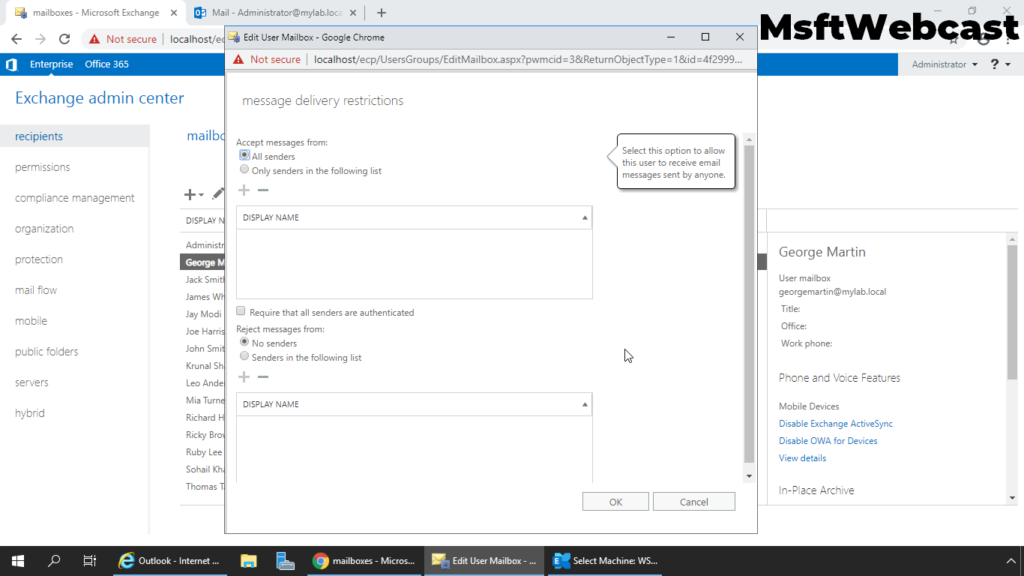
In this example, we will only configure reject messages from the setting.
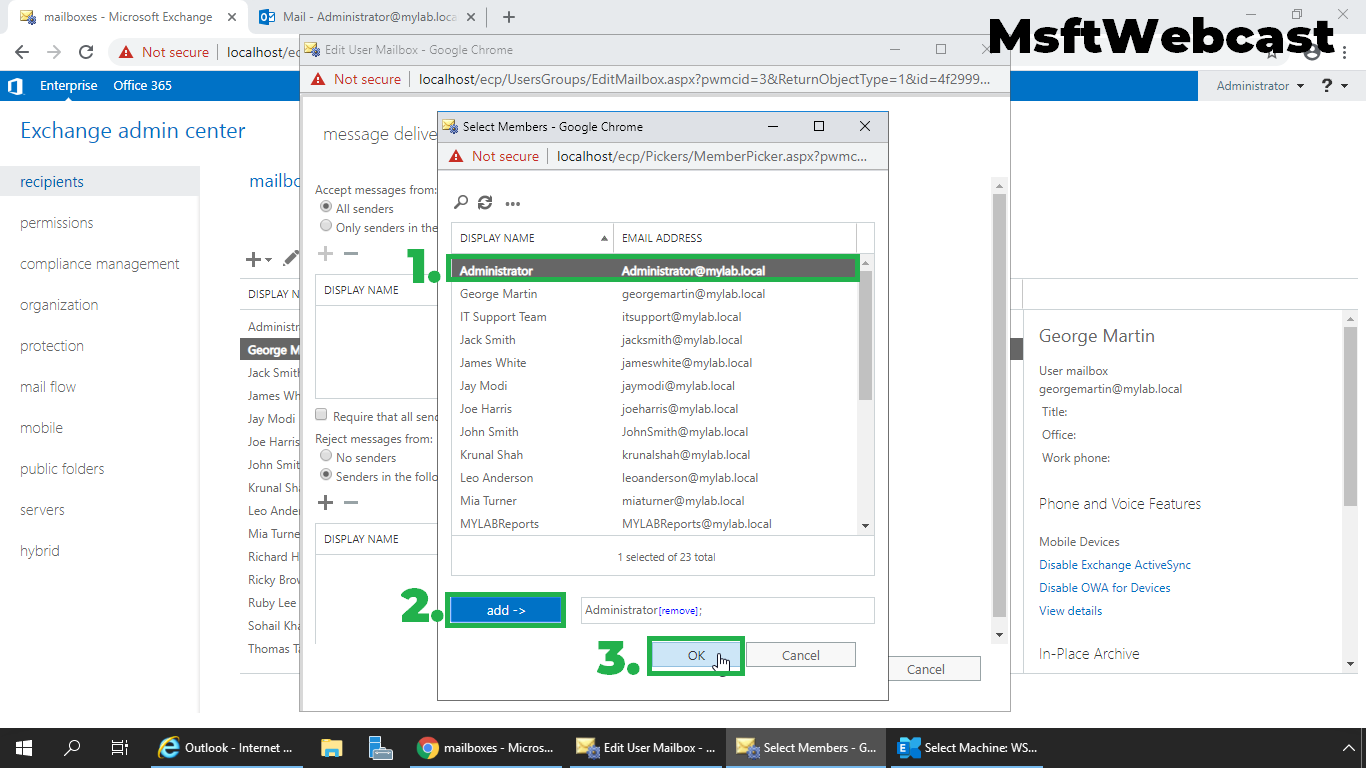
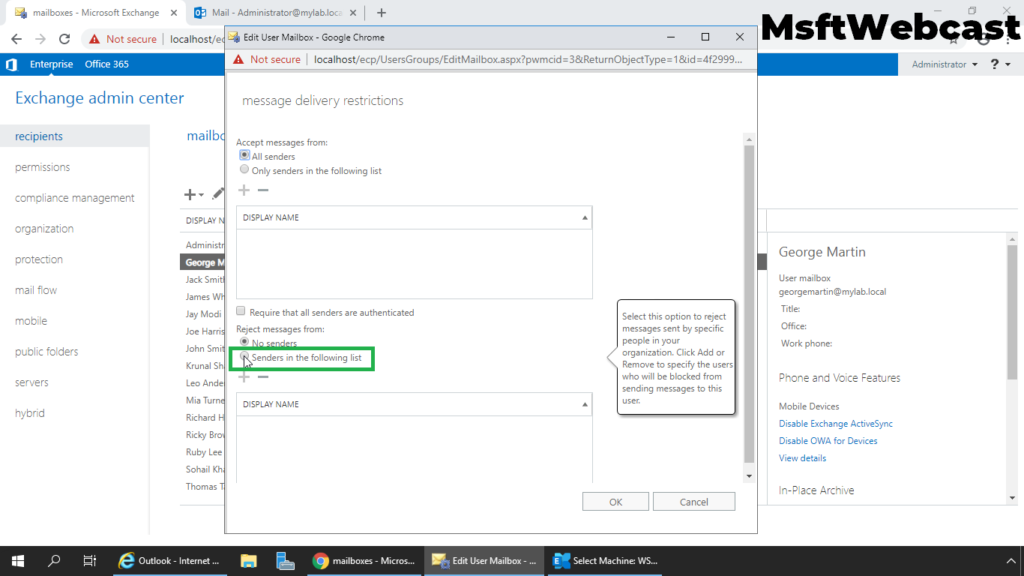
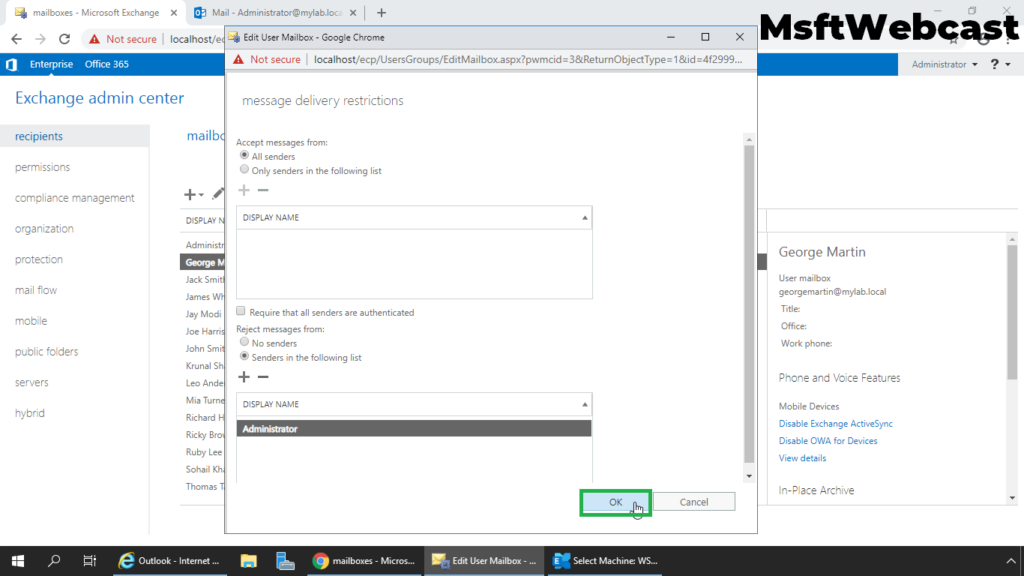
7. Under Rejects messages from, select Senders in the following list radio button.
8. Click on + (plus) sign to add the mailbox.
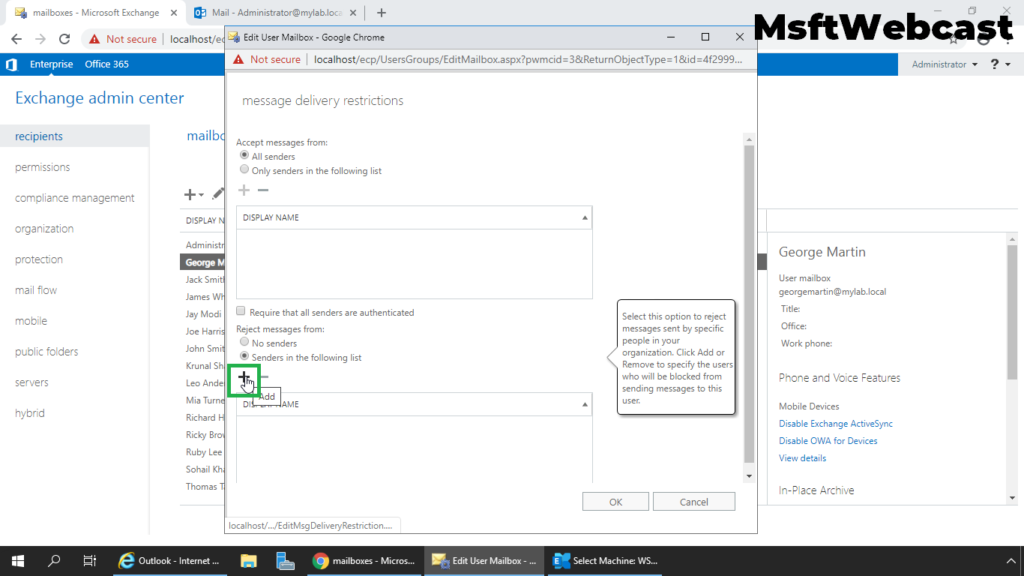
9. Select the Mailbox and click on the add button.

10. Click on OK to save the changes.
11. Click on Save to save the changes.
Verify Message Delivery Restrictions settings for Mailbox:
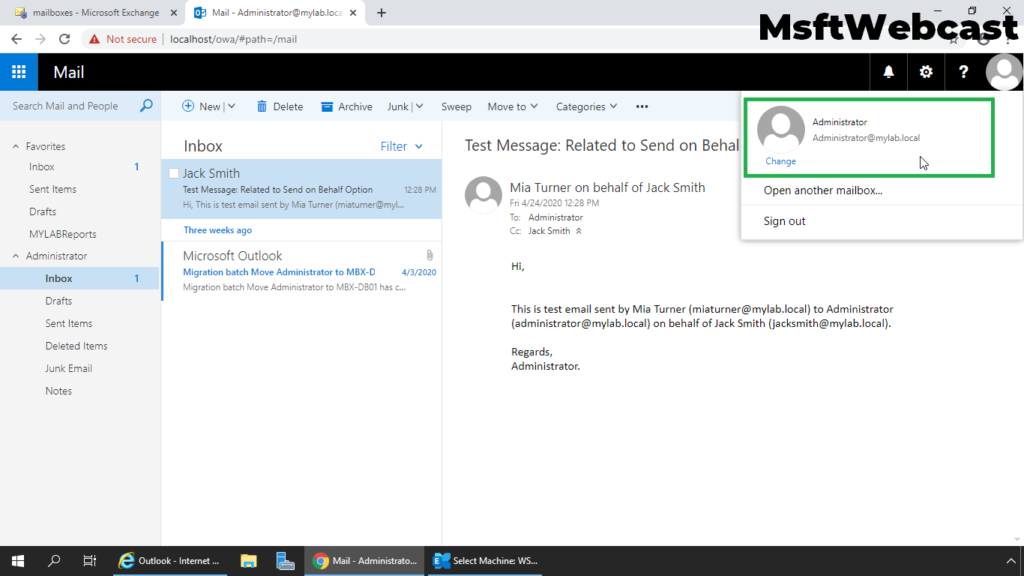
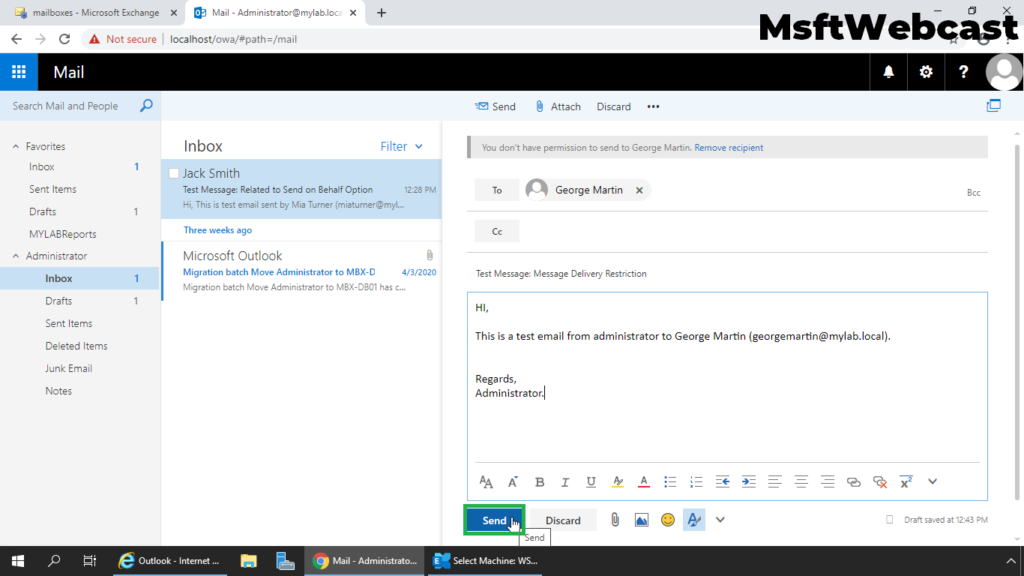
12. Login to outlook on the web using a user account.
13. Try to compose a new email to the email address for which we have configured message delivery restrictions.
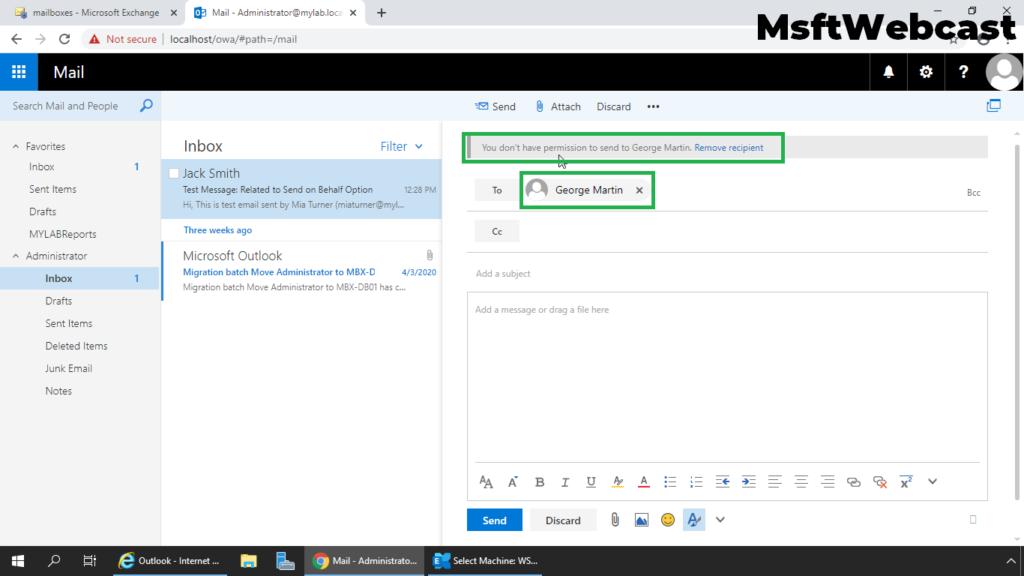
14. As we can see the MailTips warns us that the user does not have the permission to send a message to the mailbox.
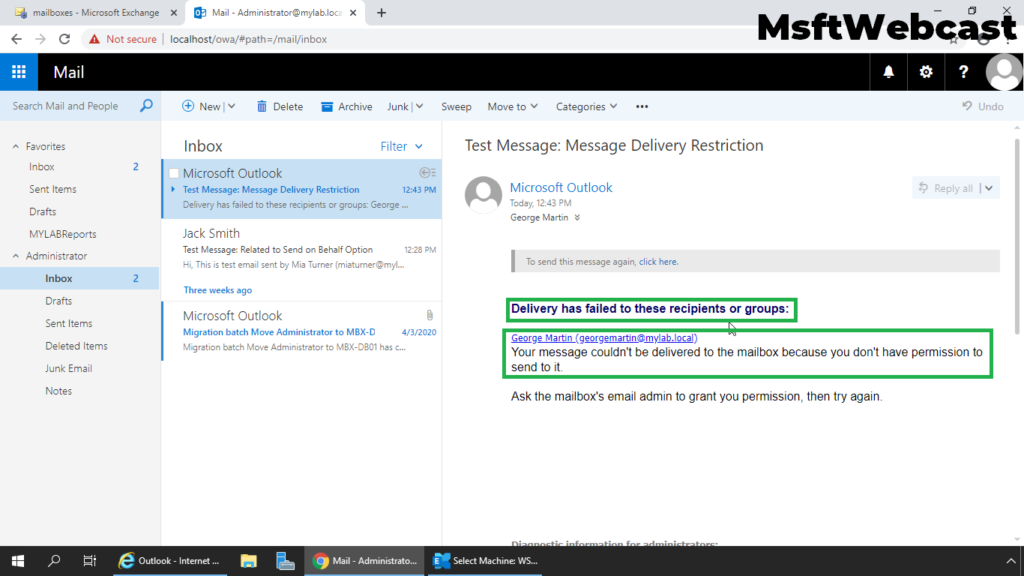
15. Even if we send a message to that mailbox, the user will receive the NDR (Non-Delivery Report).
That’s all. In this article, we have learned the steps to configure message delivery restrictions for a Mailbox in Exchange Server 2019.
Related Articles:
- Add Remove Alias Email Address for a Mailbox Exchange 2019
- How to Grant Full Permissions in Exchange 2019
- Configure Email Forwarding for a Mailbox Exchange 2019
- How to Grant Send on Behalf Permissions in Exchange 2019