In the previous article, we have learned the steps on how to install the Windows Deployment Services on Windows Server 2019. After installing the WDS server role, the next step is to configure it.

In this post, we will learn about how to configure the WDS server role in Windows Server 2019. But there are some prerequisites to fulfill.

Prerequisites to configure WDS Server:

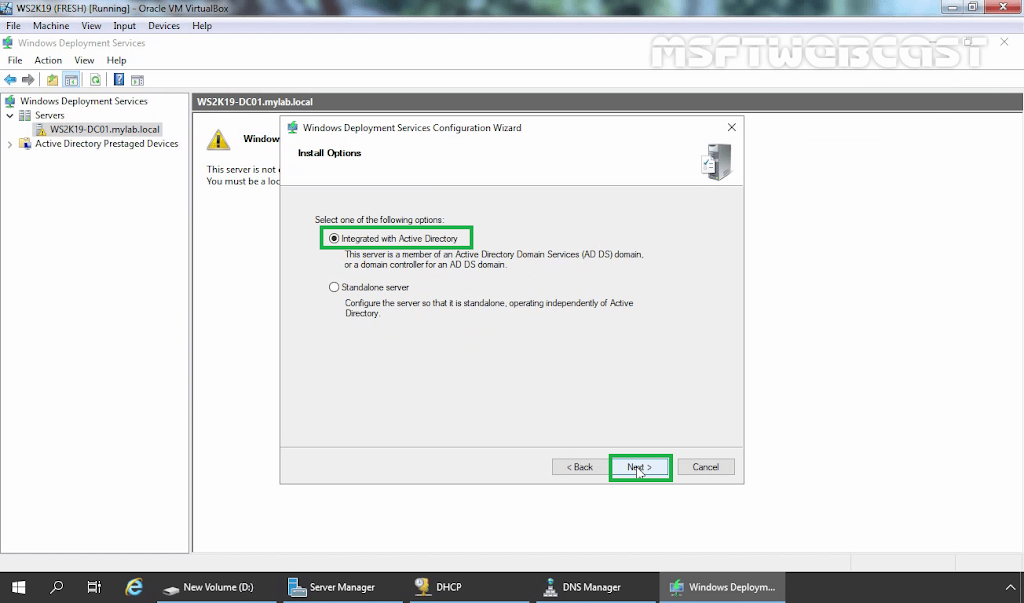
  • The server must be a member server of an active directory domain or a domain controller itself.
  • There must be an active DHCP server to provide IP addresses to PXE clients.
  • There must be an active DNS server for name resolution.
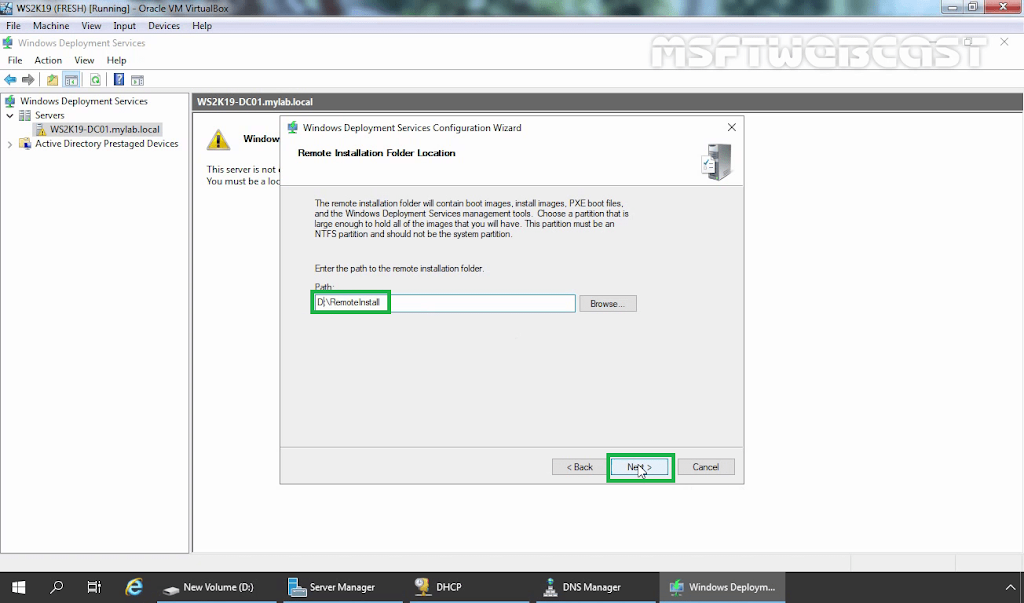
  • The server must have at least one NTFS partition to store WDS images and support files.

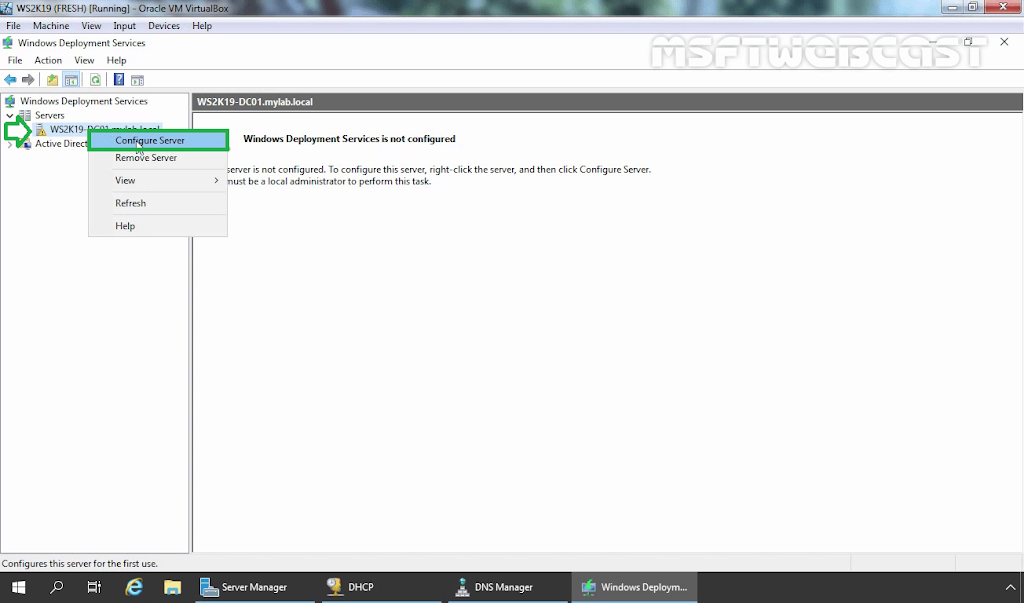
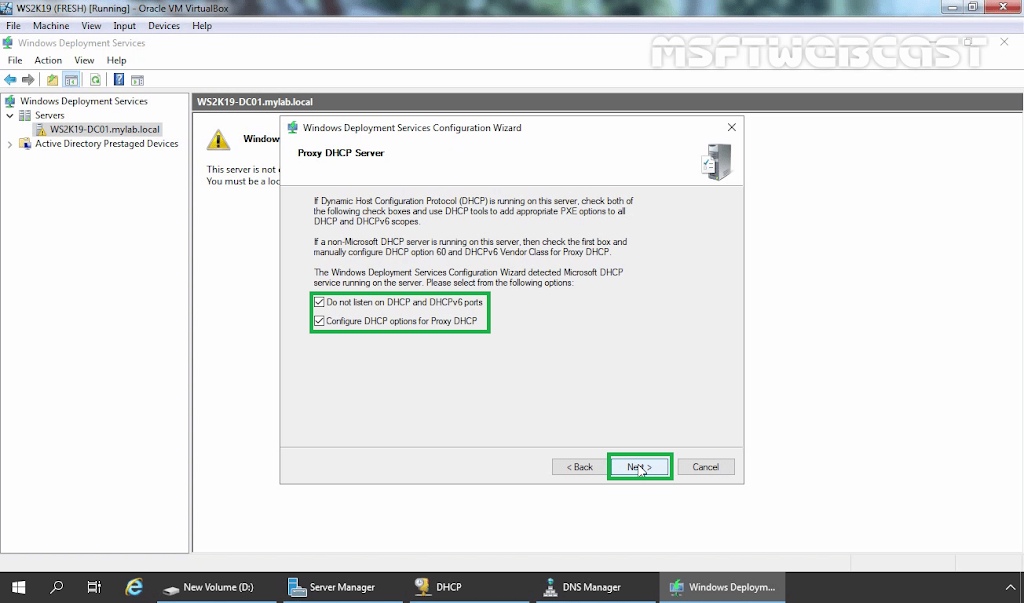
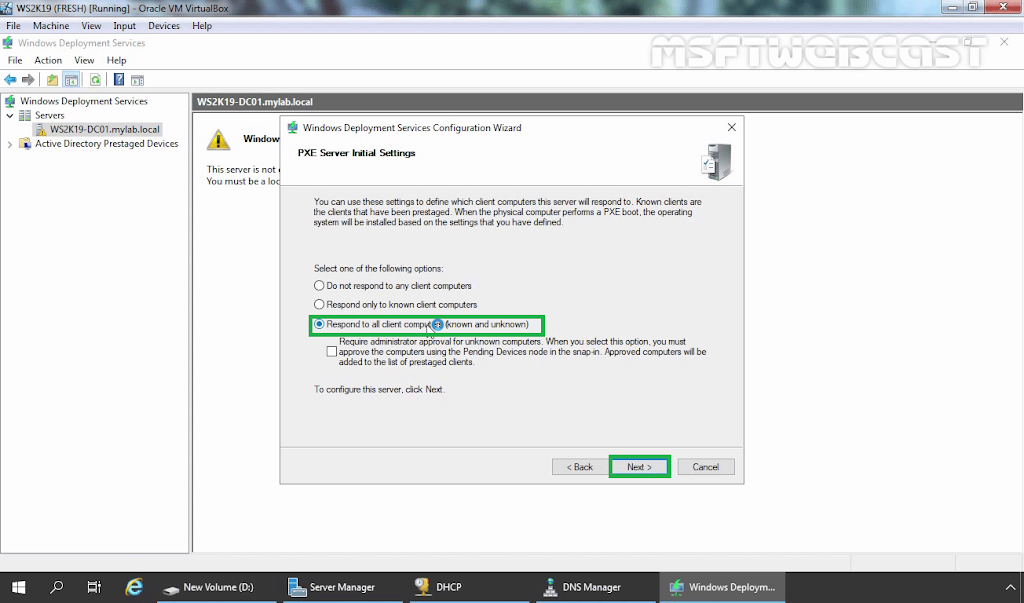
Configure Windows Deployment Services:

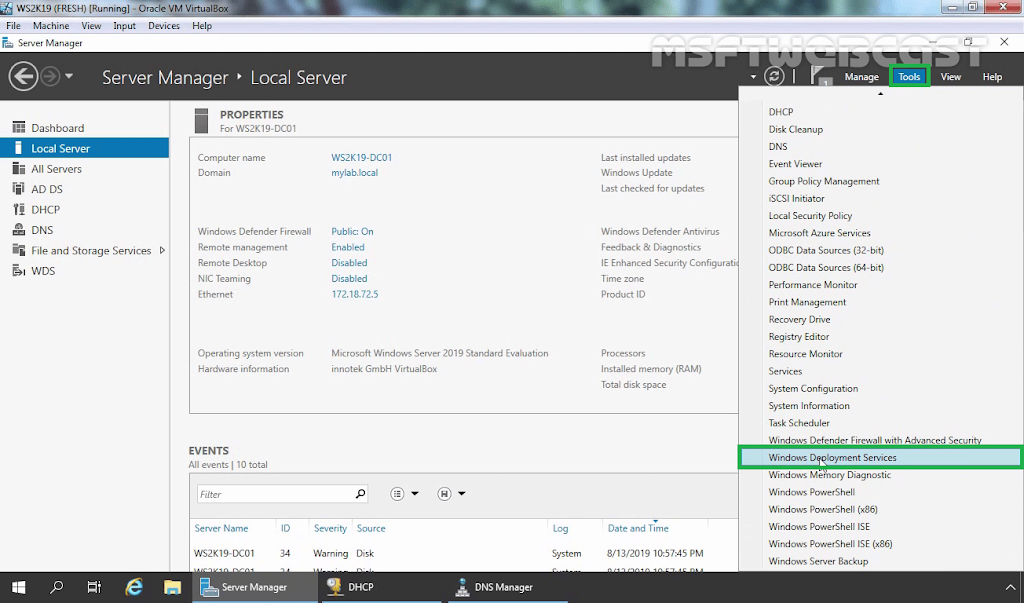
Open server manager dashboard. Click on Tools and select Windows Deployment Services.

Expand Servers. Then right-click the WDS server and select Configure Server.
On the Before you begin page, read the requirements once before you click Next.
Select the Integrate with Active Directory option.  You can also choose the standalone mode if you don’t have an active directory infrastructure. Click Next.
Provide the path on your NTFS drive where you would like to store WDS related files like boot images and install images. Click Next.
I have configured the DHCP server role on the same WDS server. So we need to check both boxes and click Next.
Next, on the PXE Server Initial Settings box, click Respond to all client computers (known and unknown), and then click Next, please wait for a few seconds for the process to complete.
Clear the Add images to the server now checkbox, and then click Finish.

Now, you have installed and configured WDS in Windows Server 2019.

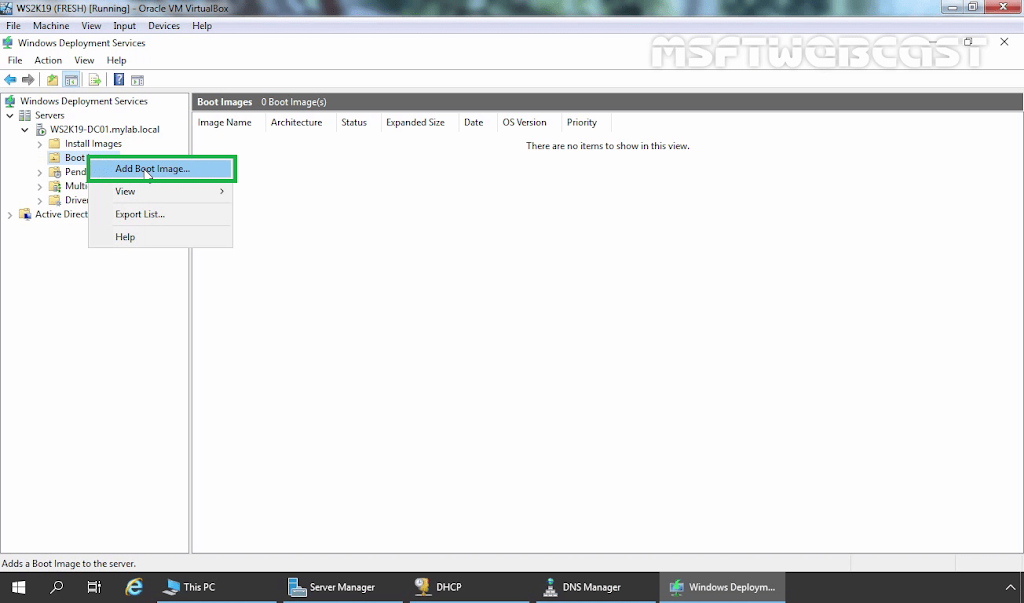
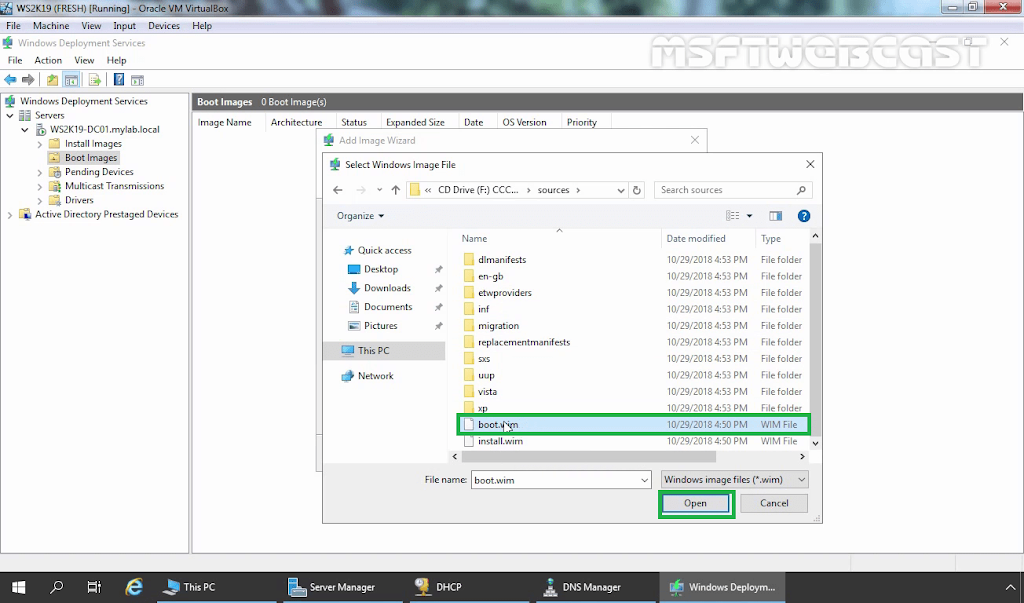
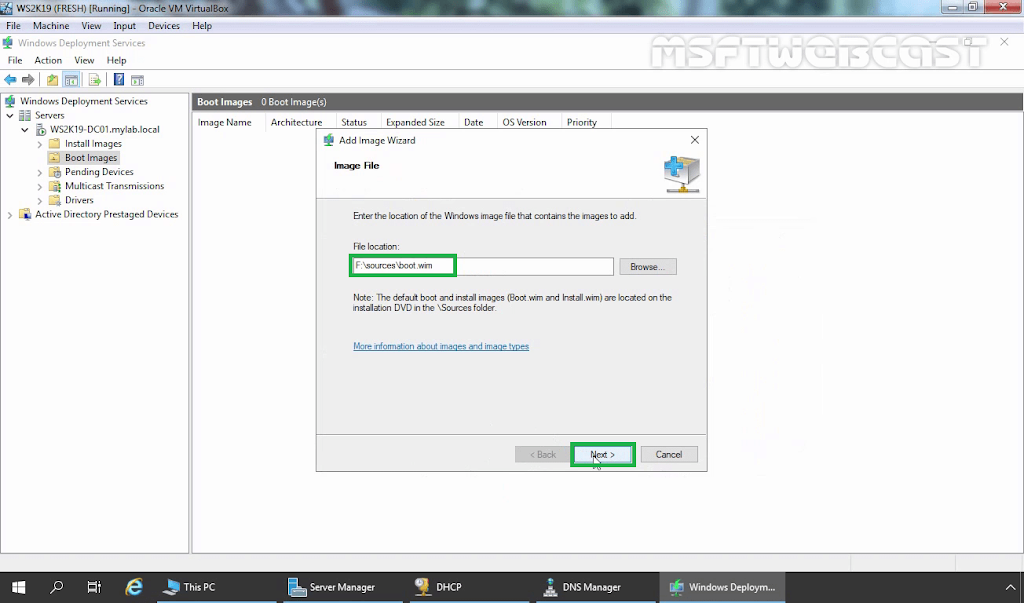
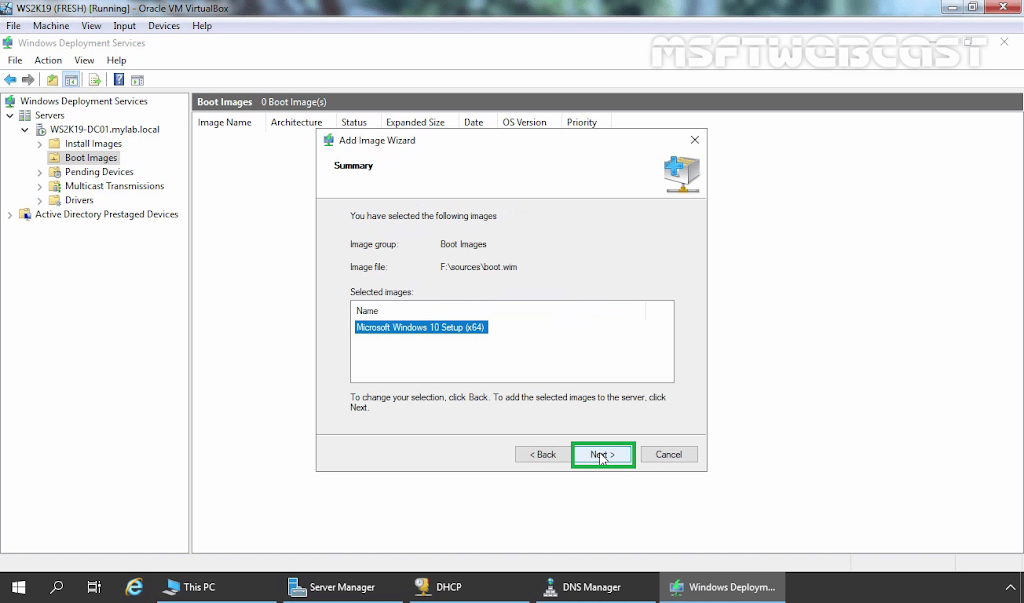
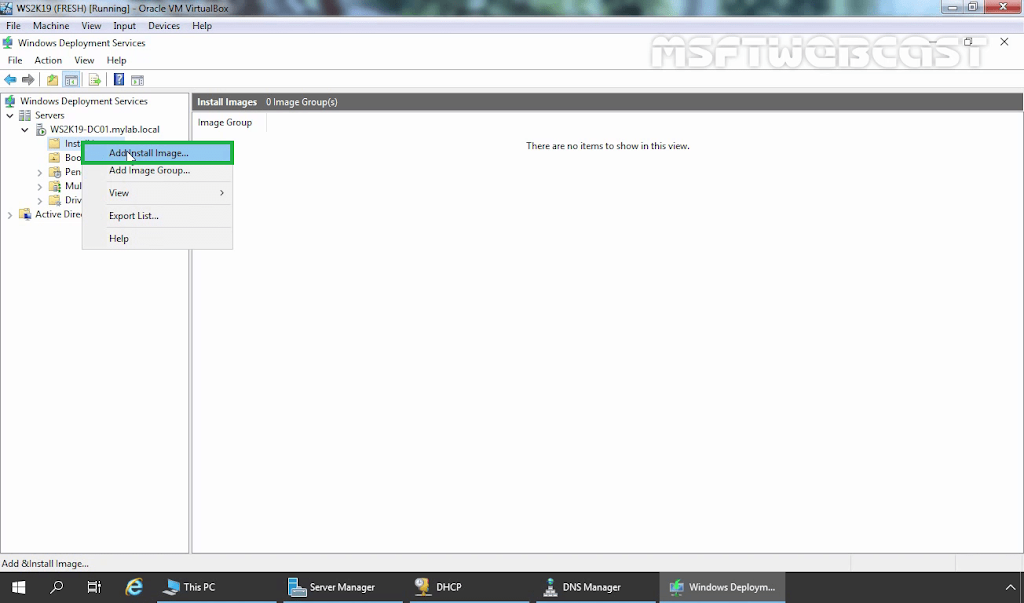
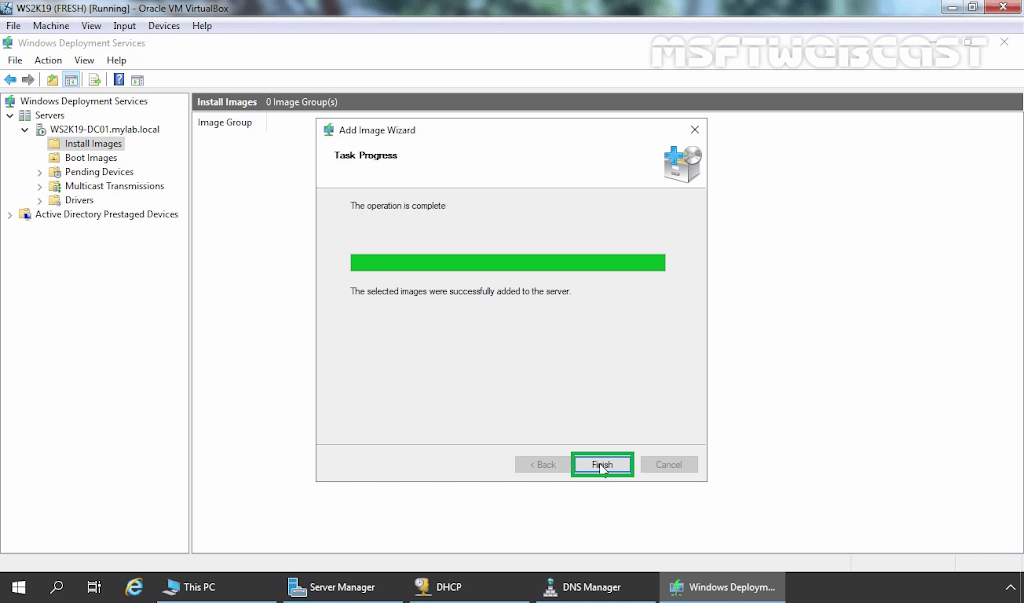
How to add Boot and Install Image:

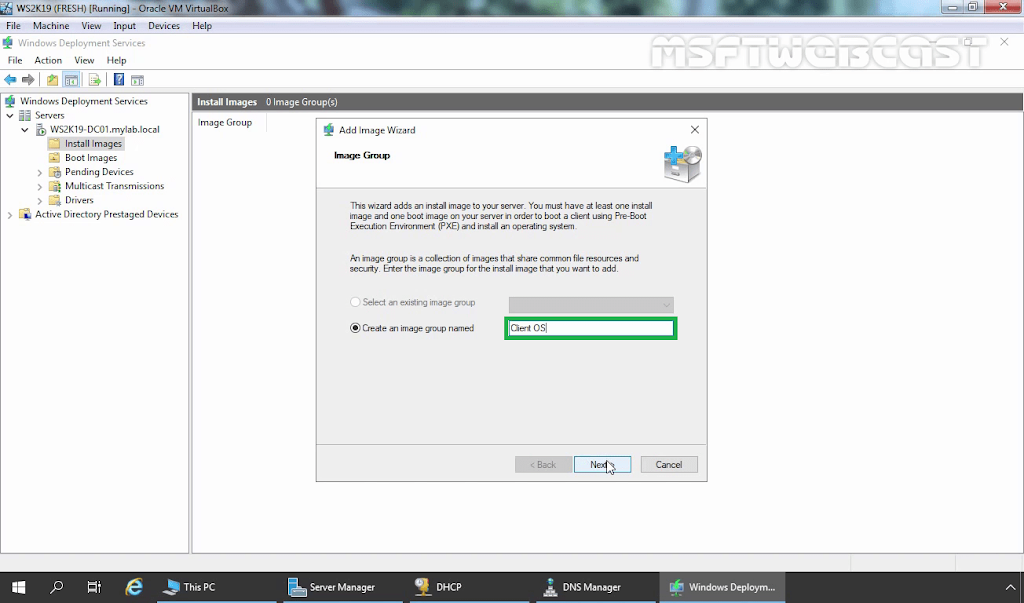
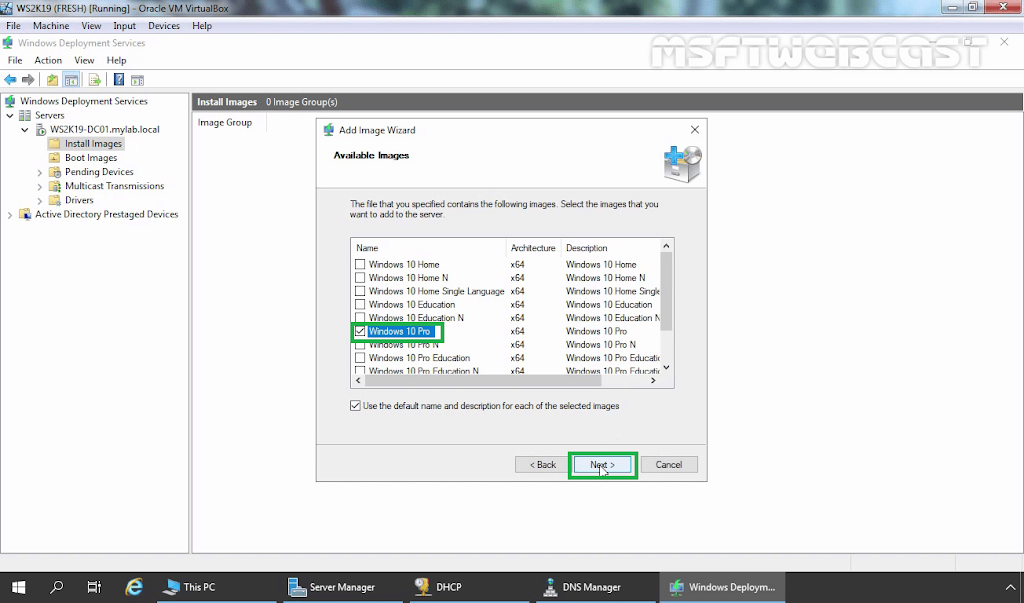
The next step is to add the WDS images that you want to deploy on your network. To add the WDS images, you need to add the Boot images and Install images files for the supported Windows operating systems.

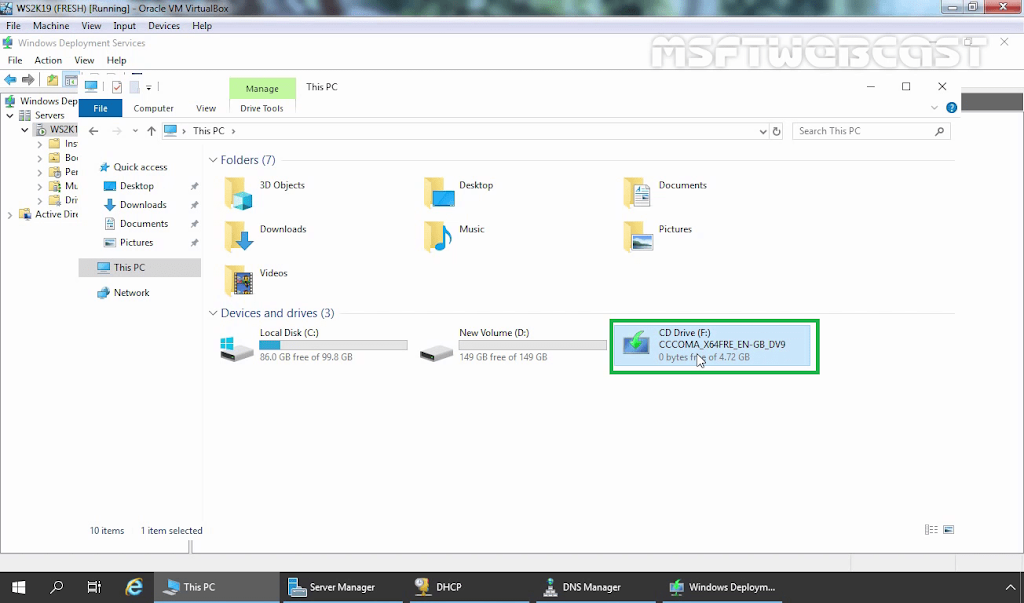
For this article, already we have mounted the ISO image of the Windows 10 operating system.

Select and right-click Boot Images and then click Add Boot Image.
On the Image File page, click Browse and navigate to the Sources directory of the installation media and select the Boot.wim file.
On the Image File box, verify the File Location then click Next.
On the Image Metadata box, specify Image name and Image description. Click Next.
On the Summary box, click Next.
Once the process complete, Click on Finish.
Verify that Windows 10 boot image is listed under the boot images
Next, you need to add an install image into WDS, so in the WDS console, right-click Install Images, and then click Add Install Image.
In the Add Image Group box, type Client OS, and then click Next.
On the Image File page, click Browse and navigate to the Sources directory of the installation media and select the Install.wim file.
On the available images page, select the editions that you intend to deploy for your network. Click Next.
On the Summary page, click Next and wait for few minutes for the process to be completed.
Once the process complete, Click on Finish.

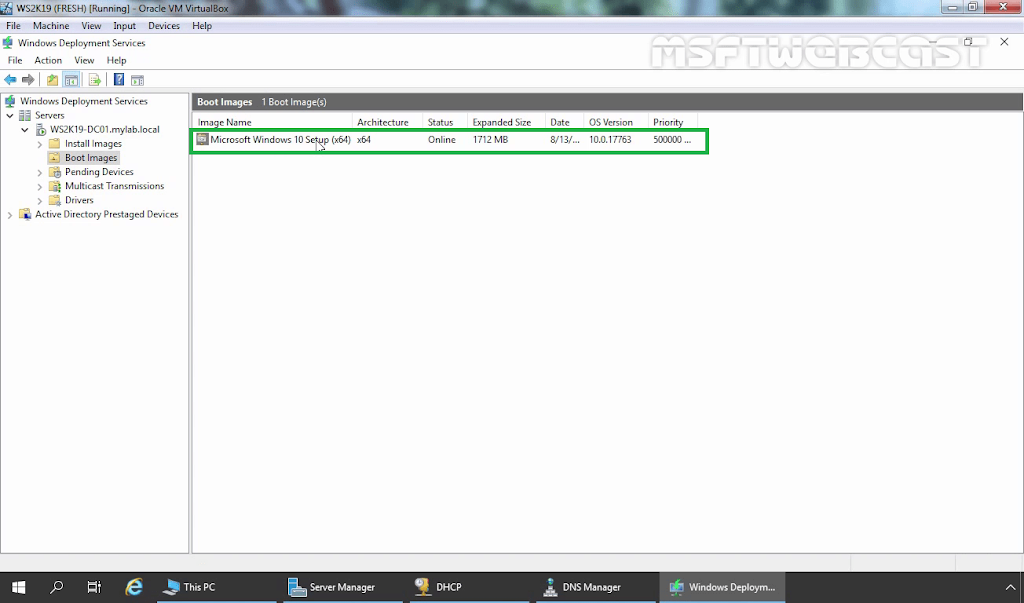
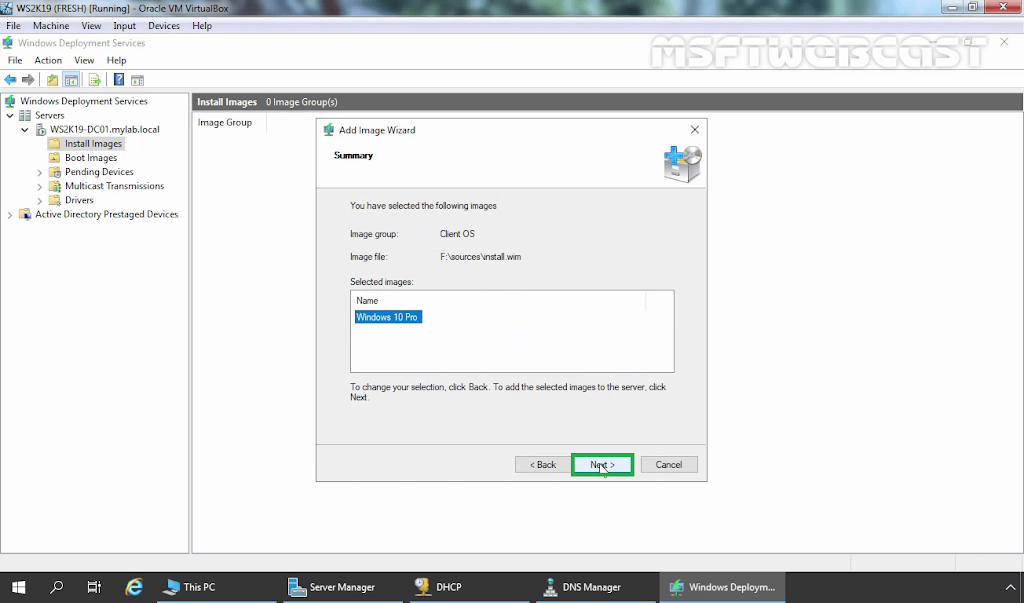
Now, your WDS server is ready to be used. At this point, we can deploy the Windows 10 operating system over the network using our WDS server.