This blog post is a step by step guide on how to install Routing and Remote Access Service on Windows Server 2019.
Overview:
The Remote Access server role provides three network access technologies in Windows Server 2019. These technologies are the role services of the Remote Access server role.
- DirectAccess
- Routing and Remote Access
- Web Application Proxy
By using RRAS, you can deploy DirectAccess and VPN connections to provide end-users with remote access to your organization’s network. You can also create a site-to-site VPN connection between two servers at different locations.
- PART-1 How to Install Remote Access Service on Windows Server 2019
- PART-2 How to Install and Configure VPN in Windows Server 2019
- PART-3 Configure Network Policy Server (NPS) for VPN in Windows Server 2019
- PART-4 Configure Port Forwarding and Test VPN Connection on Windows 10
Understanding Test Lab:
- WS2K19-DC01: Domain Controller and DNS server.
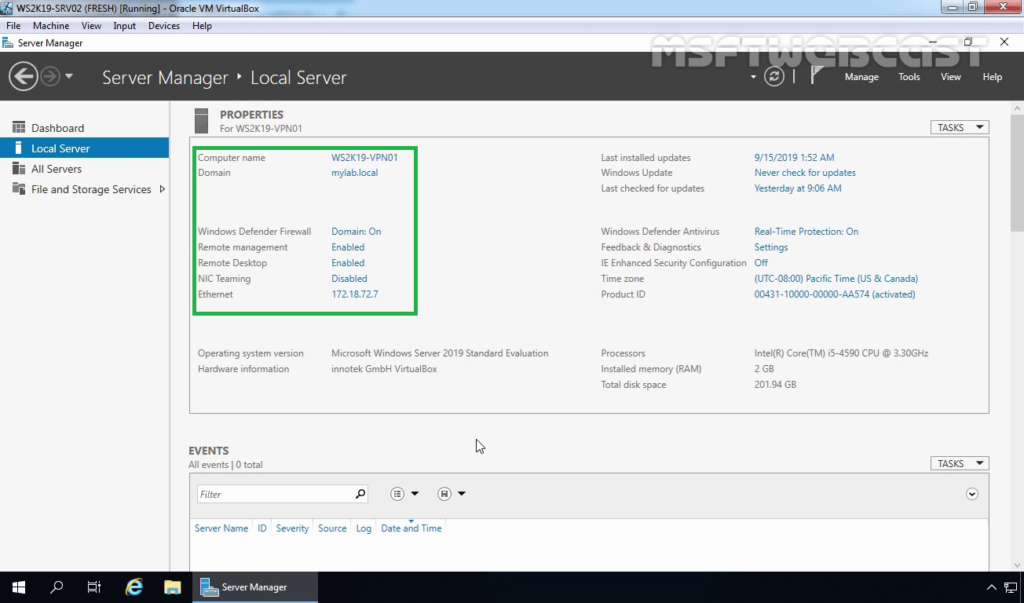
- WS2K19-VPN01: Member Server.
- WS10-CLI01: Windows 10 PC.
Install Remote Access service on Windows Server 2019:
1. Open Server Manager Console.
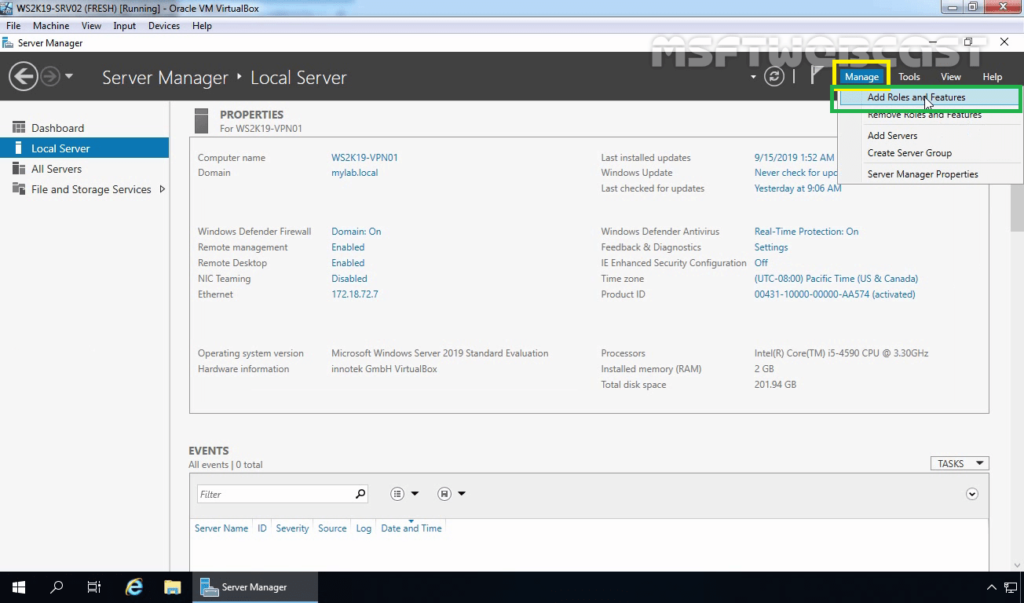
2. At the top of the Server Manager, click on Manage and select Add Roles and Features.
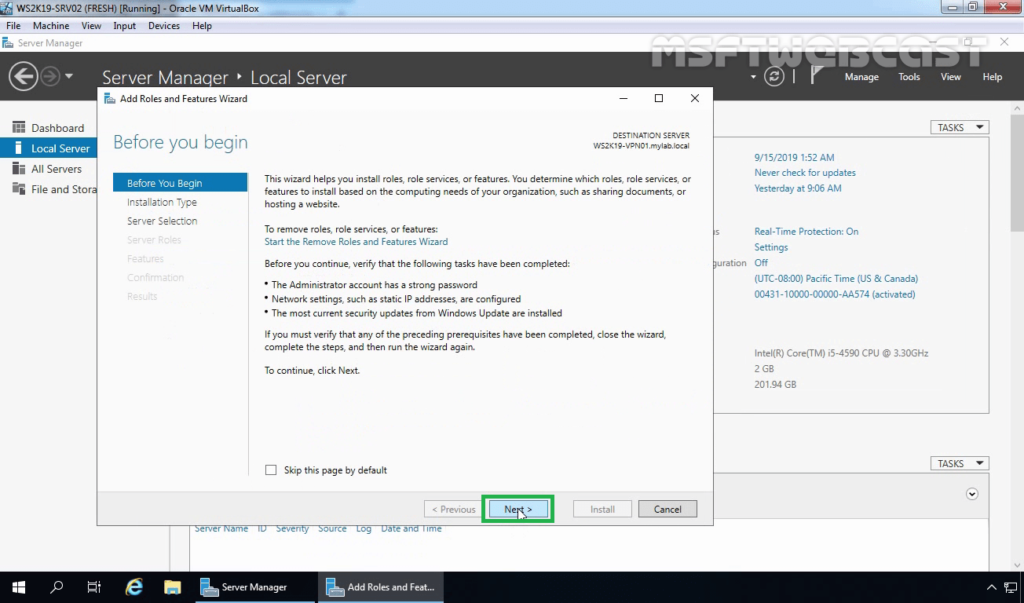
3. On the Before you begin page, click Next.
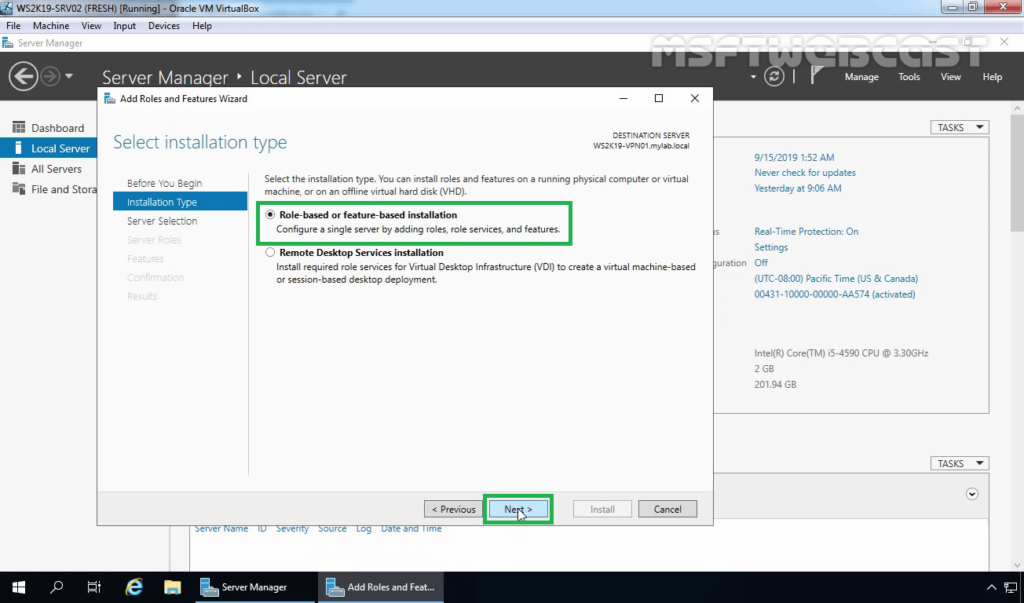
4. Select Role-based or feature-based installation and then click Next.
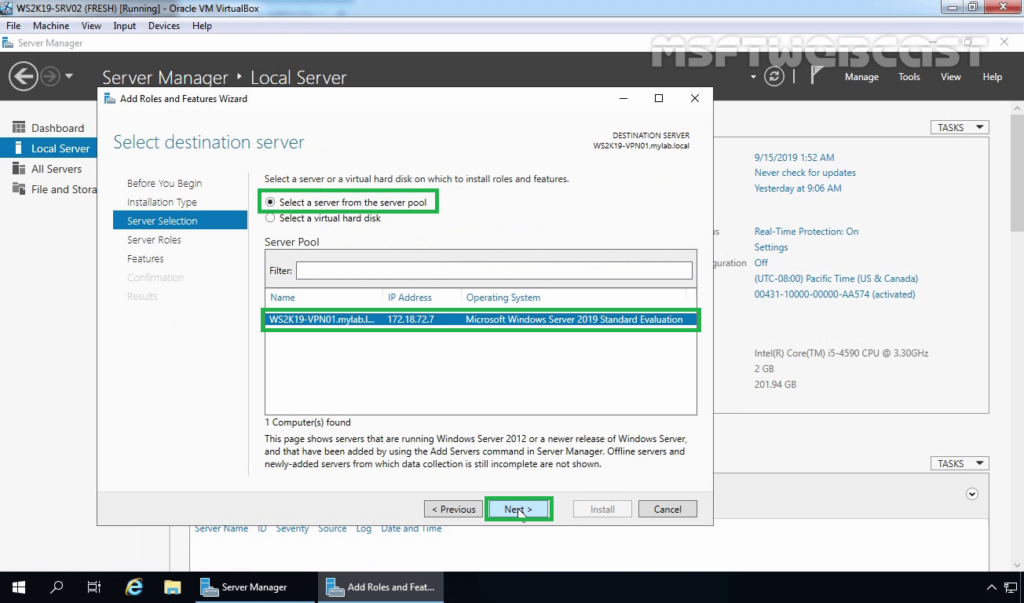
5. Select a server from the server pool on which you want to install the Remote Access Service, click Next.
6. On select server roles page, select Remote Access Service. Click Next.

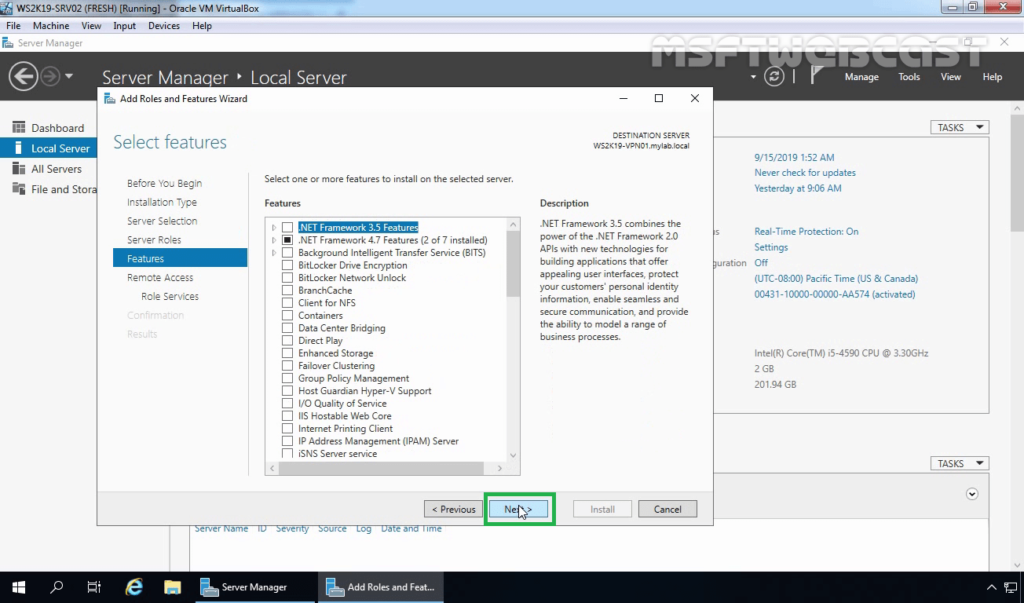
7. On select features page, click Next.
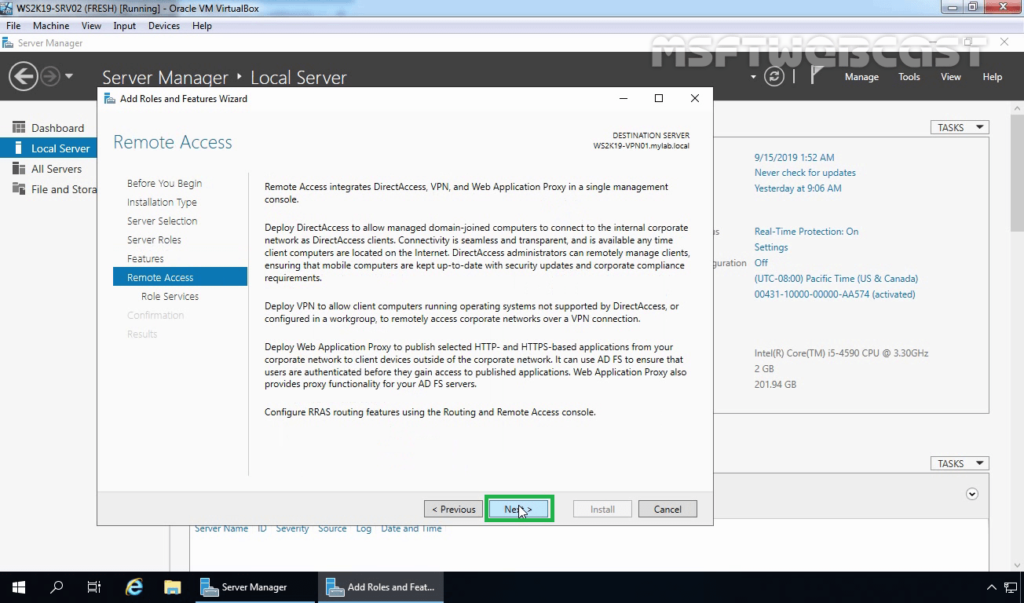
8. On the Remote Access page, read a brief overview of the Routing and Remote Access Service. Click Next.
9. On select role services page, select DirectAccess and VPN (RAS) service.
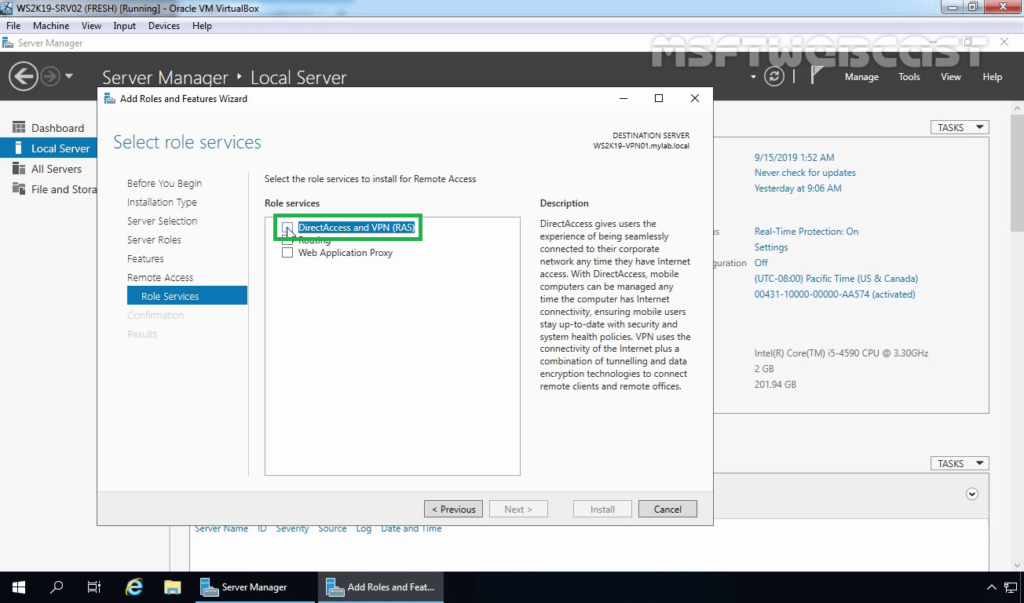
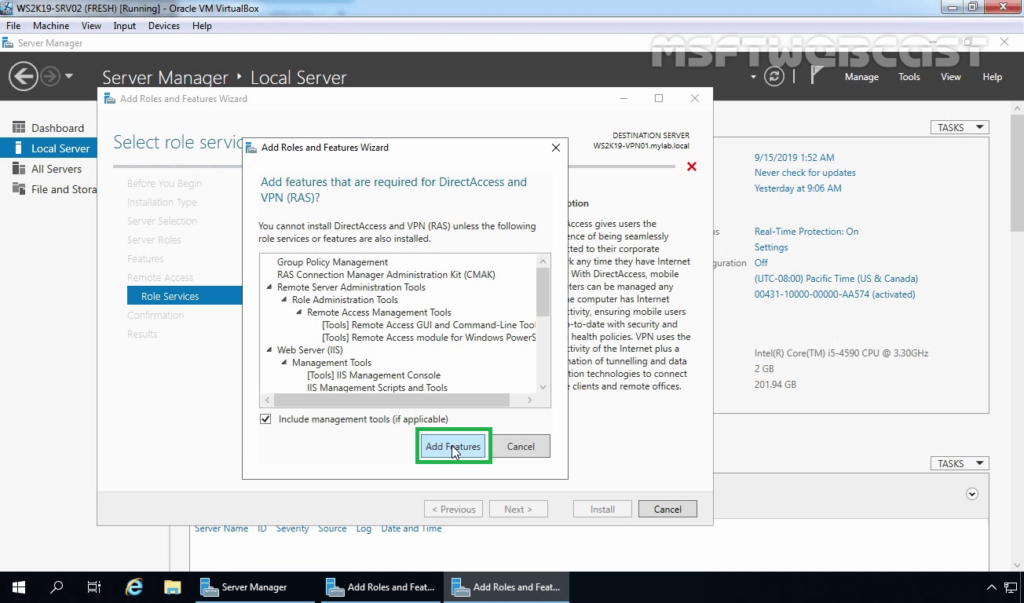
10. A new window will pop up, click on Add Features to include required features and management tools for DirectAccess and VPN.
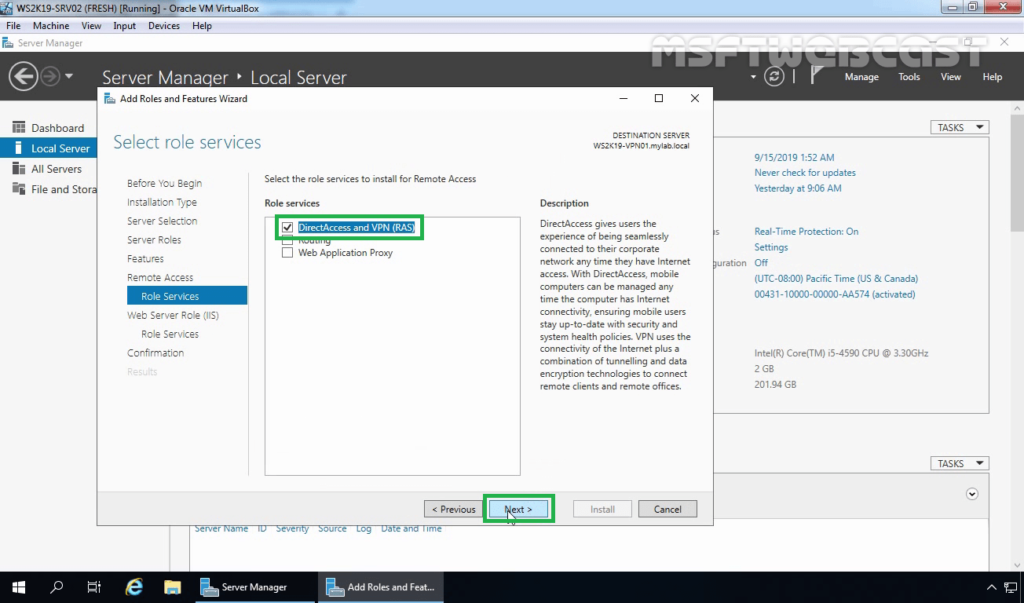
11. Make sure that DirectAccess and VPN role service is selected.
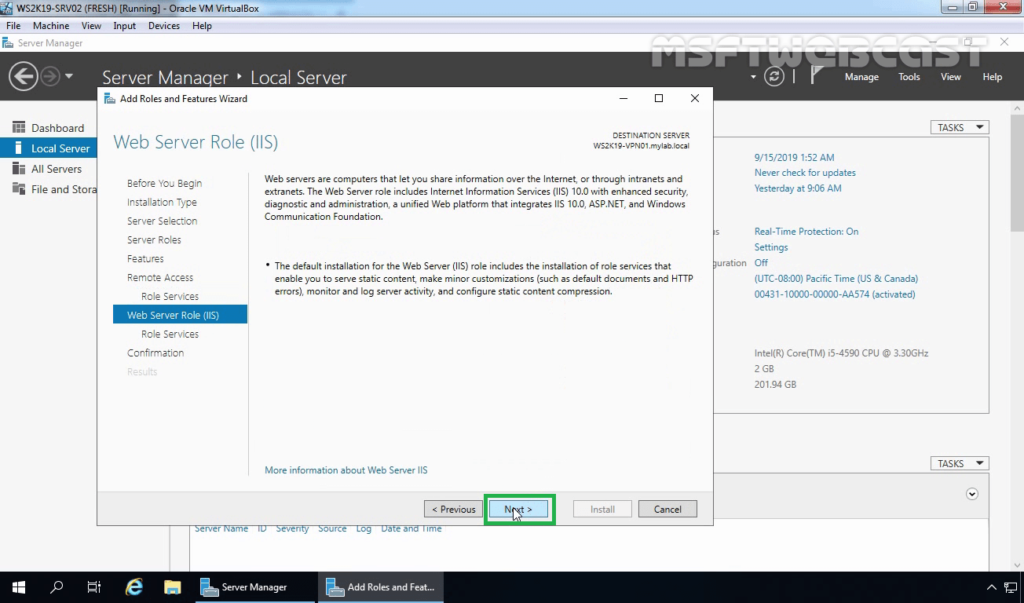
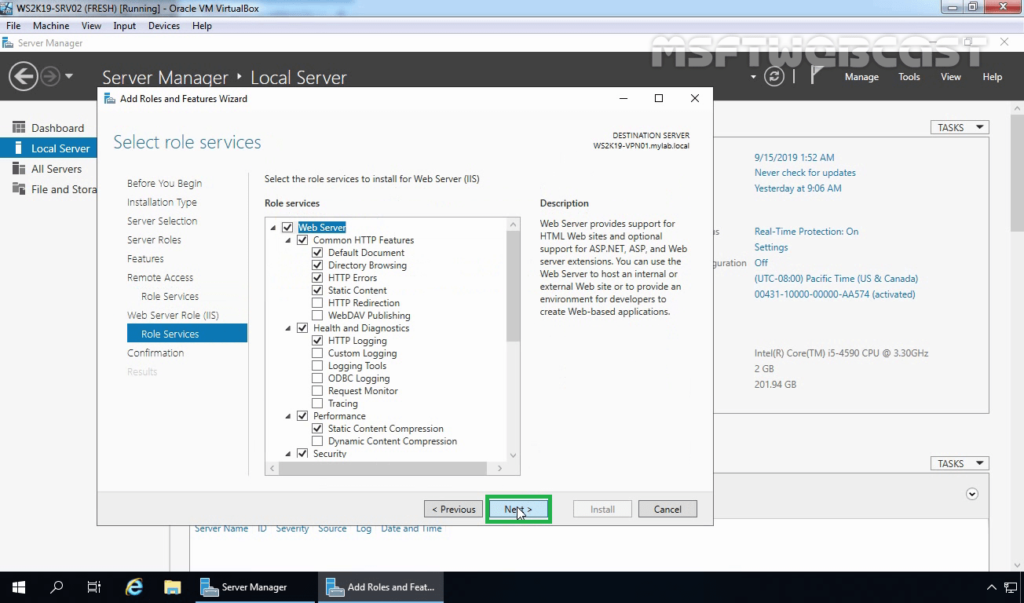
12. On the Web Server Role (IIS) page, read a brief overview of the IIS Service. Click Next.
13. All required IIS role services are already selected. Click Next to continue.
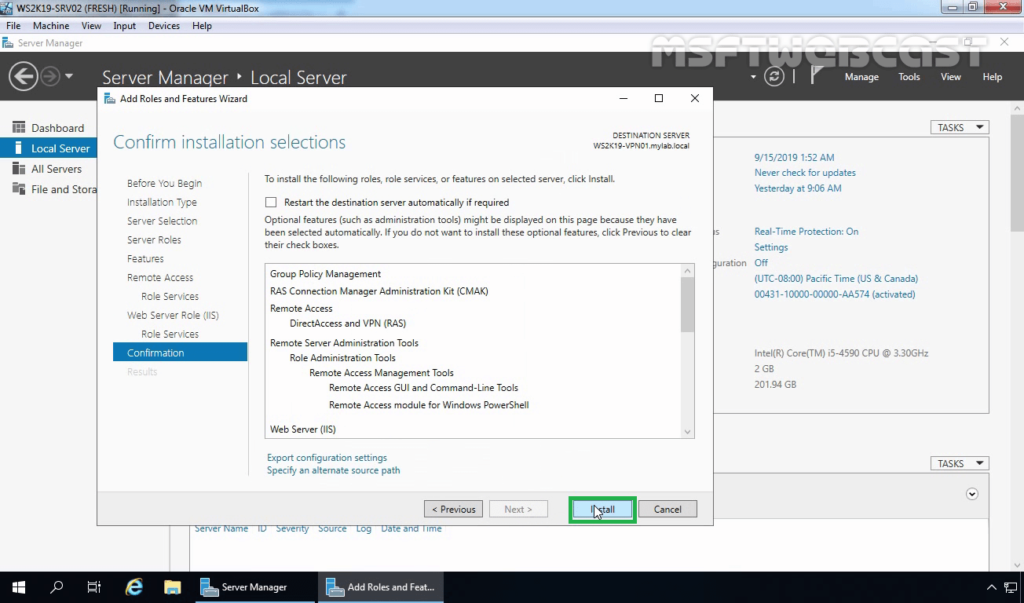
14. Click on the Install button to start the installation of Remote Access Service on Windows Server 2019.
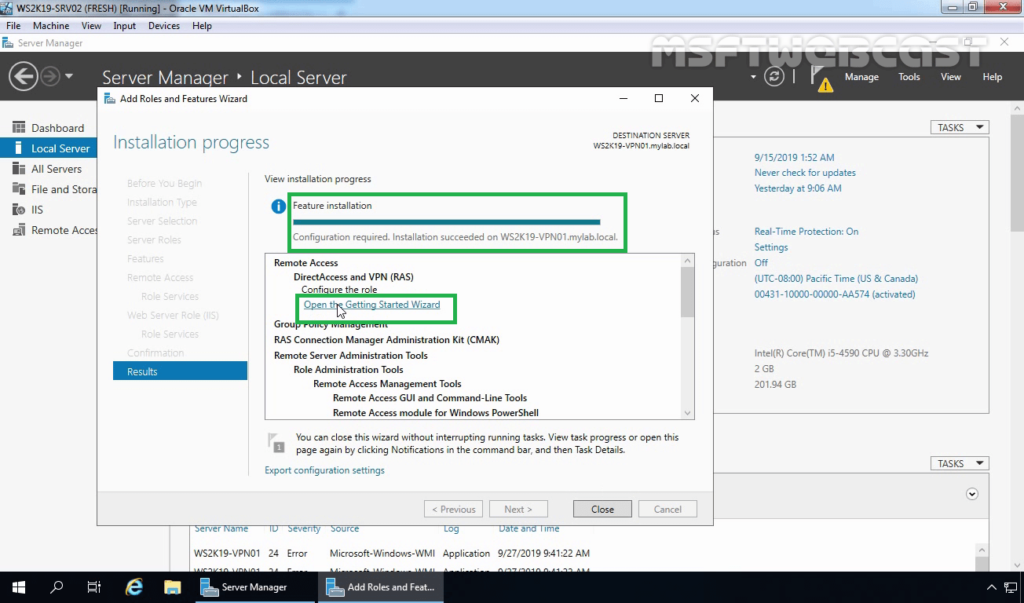
15. After installing the Remote Access service on windows server 2019, the next step is to configure the Remote Access server.
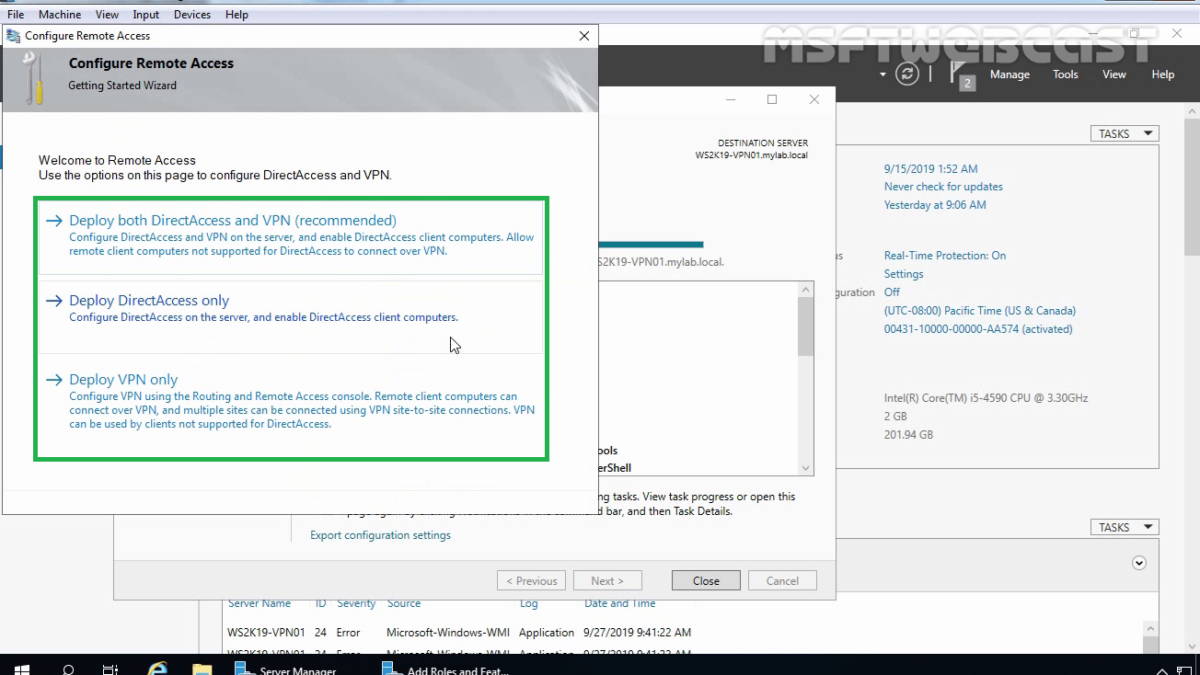
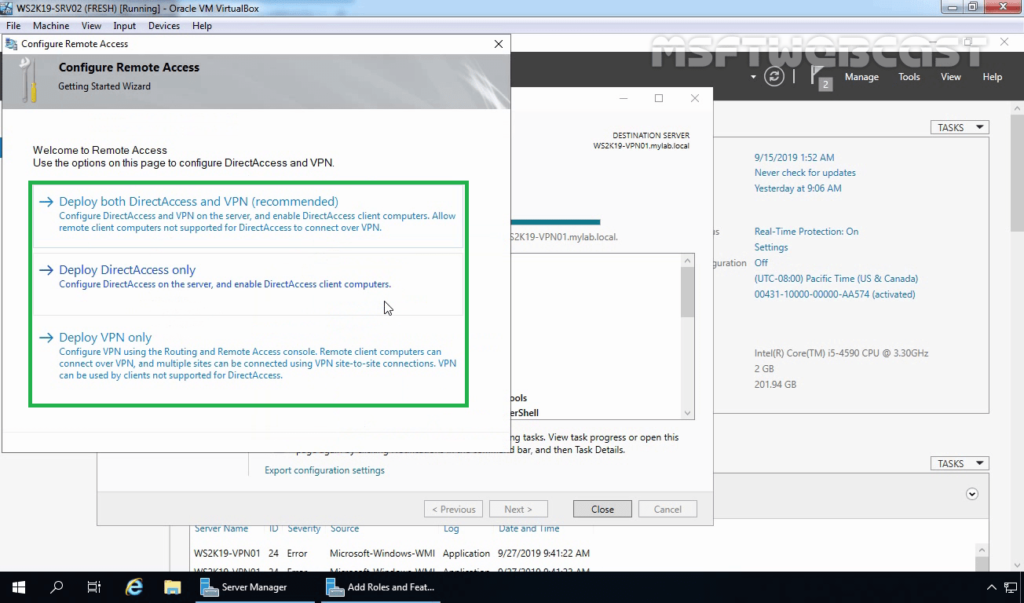
16. Click on the Open the Getting Started Wizard link to start the wizard to configure DirectAccess and VPN on Windows Server 2019 Remote Access Server.
17. From this console, we can configure VPN on Windows Server 2019. In the next post on How to Configure VPN using Remote Access Service on Windows Server 2019.
After installing the Remote Access Service, next steps will be configure it.
Thank you for reading.