In this post, we will learn how to setup active directory on windows server 2019.
The first step is to get windows server 2019 install on a server. It is very similar to server 2012 R2 / 2016 installation and in one of my previous posts I have describe how to do the windows server 2019 installation and IP configuration in details.
Test Lab Setup:
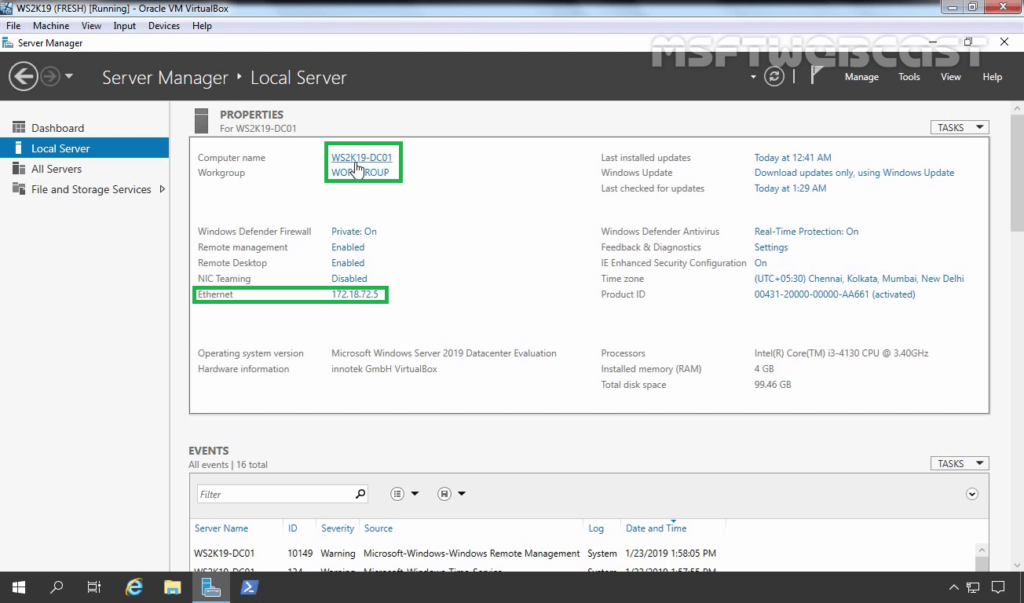
- Machine Name: WS2K19-DC01
- IP Address: 172.18.72.5/24
- DNS Server Address: 127.0.0.1
Note: Since the server will be act as DNS server, for DNS server field you can use local host address or 127.0.0.1
Active Directory setup process is divided into two major parts:
- Install Active directory Domain Service
- Promote server as Domain controller
Let’s walk through the methods of installing active directory on Windows Server 2019 and adding domain in new forest.
Step-1: Install Active Directory Domain Services (ADDS) Role
1. Login to your server using administrator user account.
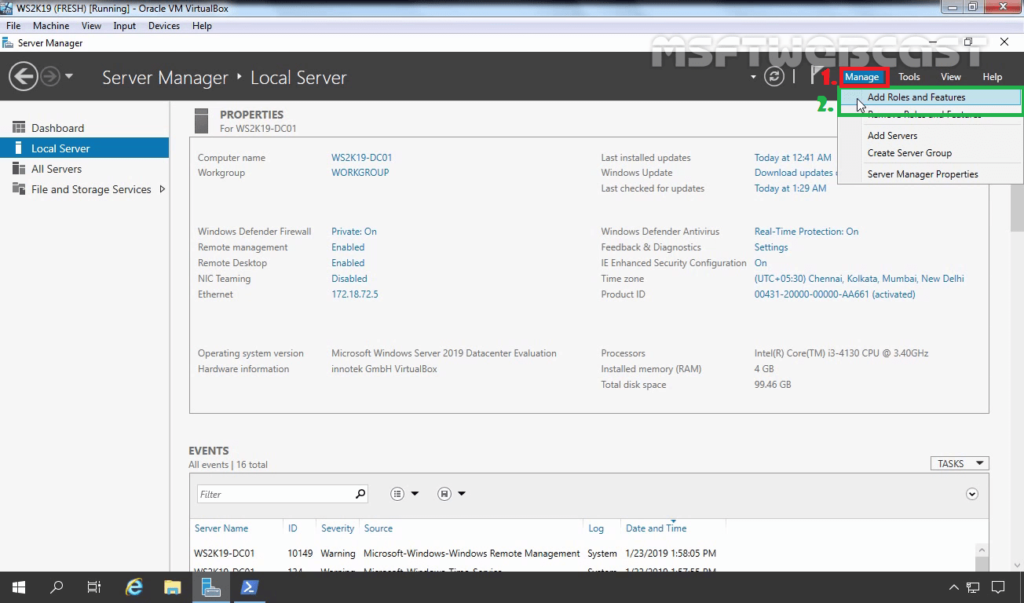
2. Open the Server Manager dashboard.
3. Click on Tools and Select Add roles and features.
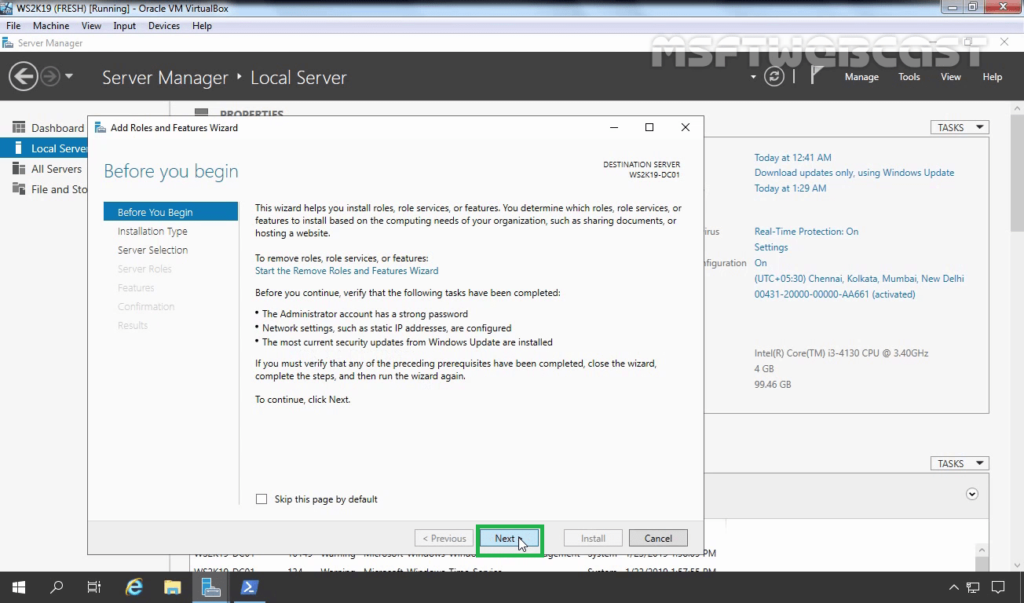
4. Click Next to proceed.
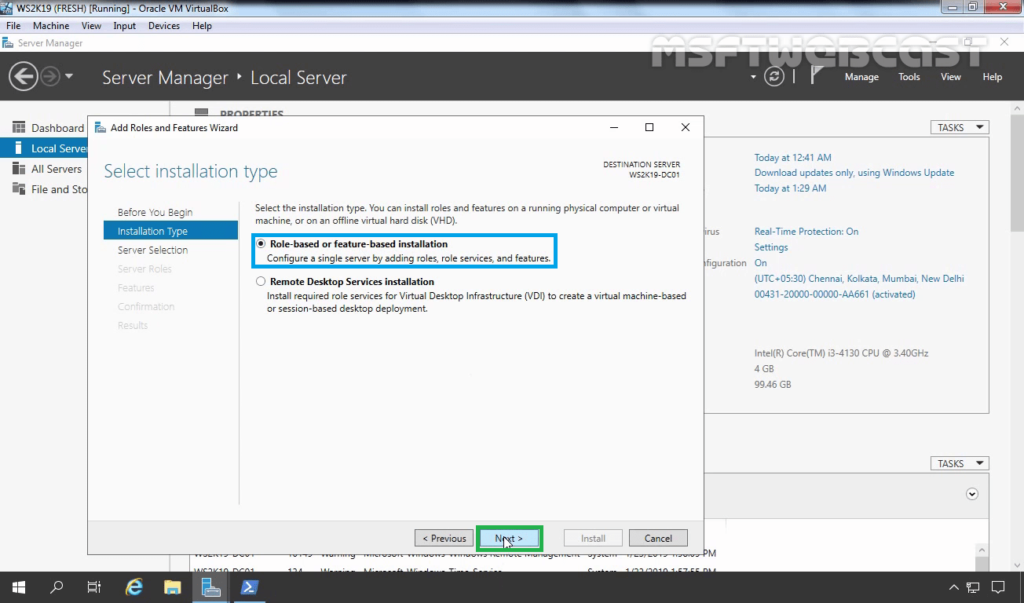
5. Select Role-based or feature-based installation option and click on Next.
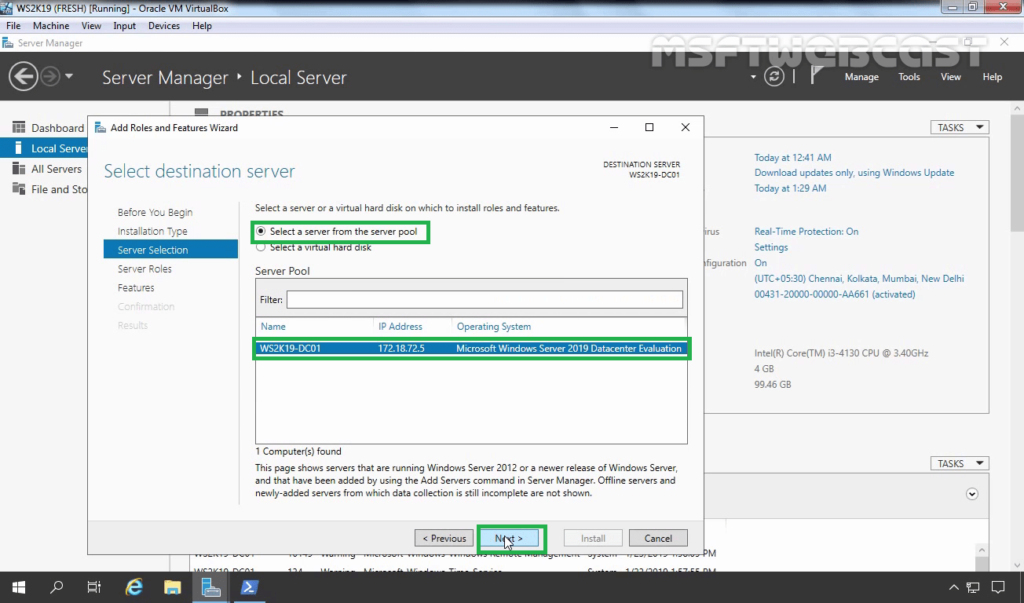
6. Since I am installing AD DS server role locally I will select “Select a server from the server pool”. Select the server on which you want to install AD DS server role , in my case its WS2019-DC01. Click on Next.
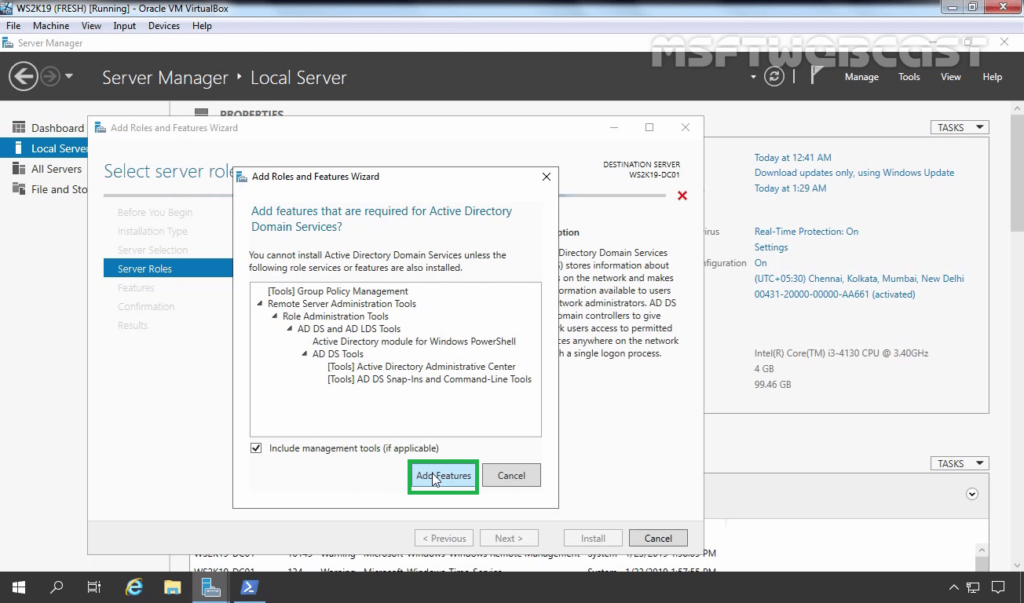
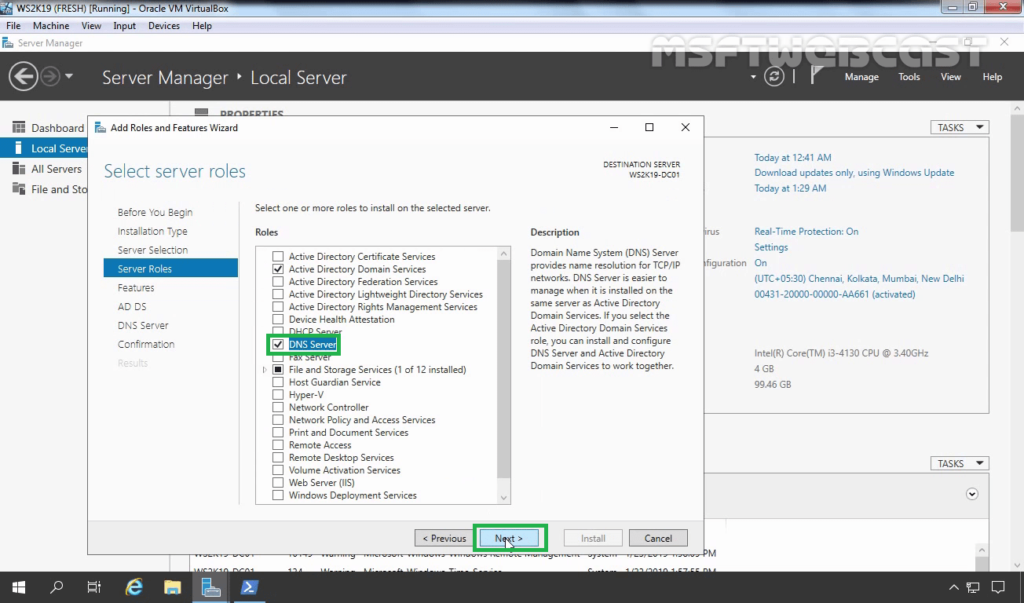
7. Now select Active Directory Domain Services role from the Server Roles page.

8. Once you click on AD DS, another window will popup explaining about additional feature that are required to install Active Directory Domain services. Click on Add Features.
9. Now select DNS server role and click on add features to add required additional features. Click on Next.
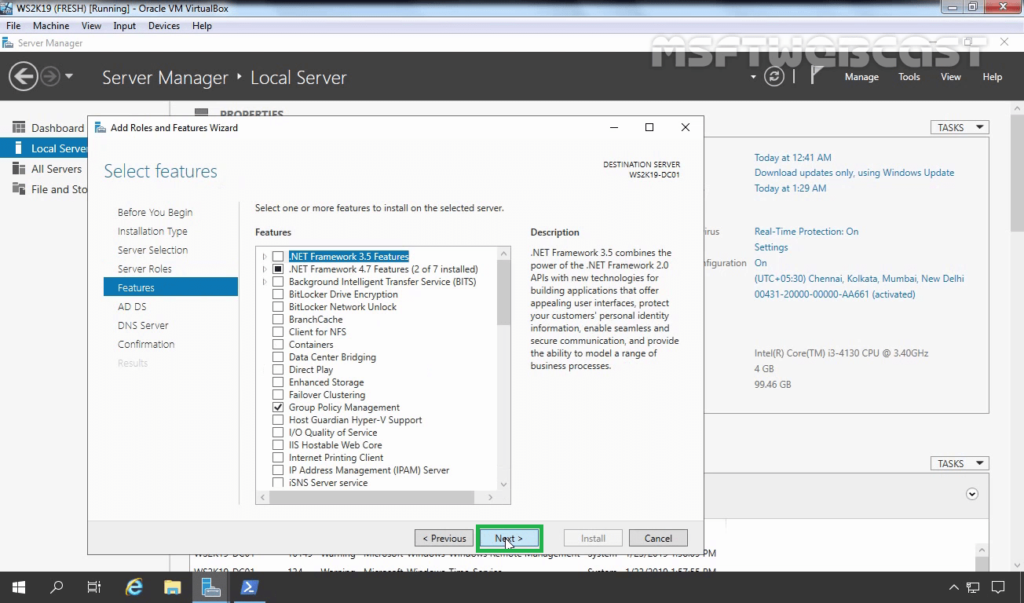
10. Review on features and select them. Once done click on Next.
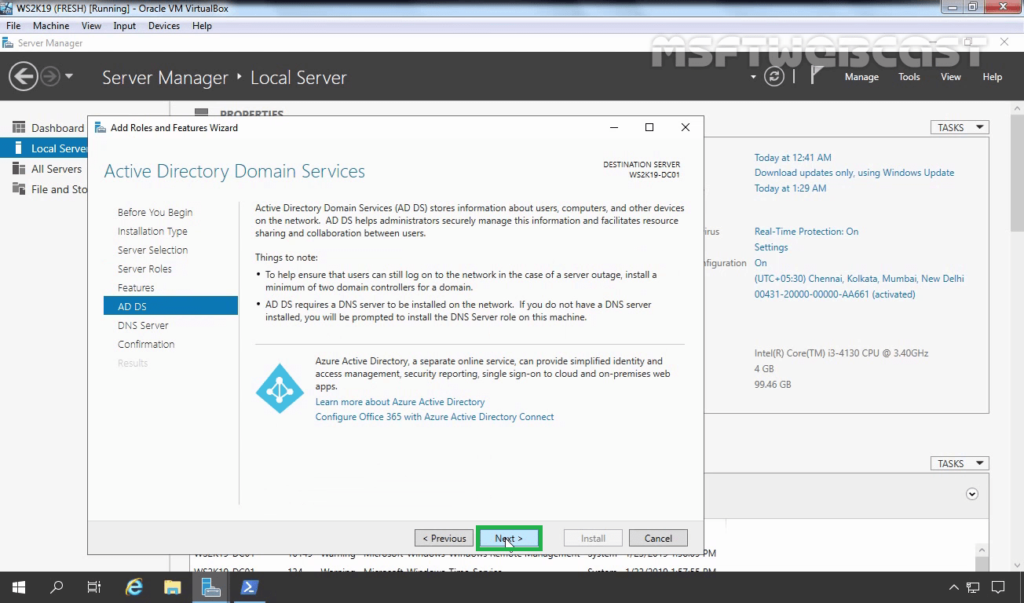
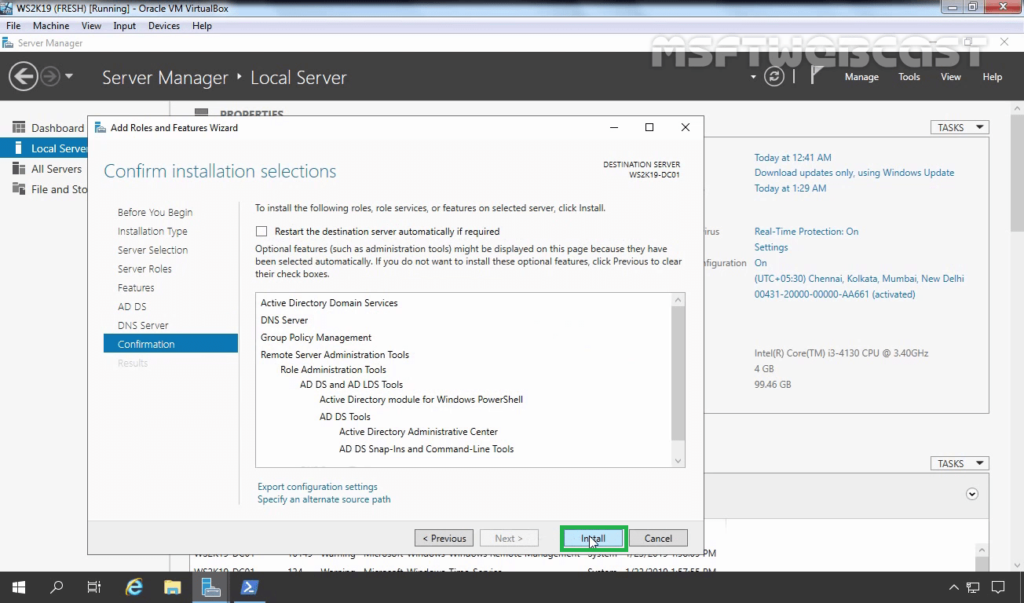
11. On Active Directory Domain Services page, review the information about AD DS. Click on Next.
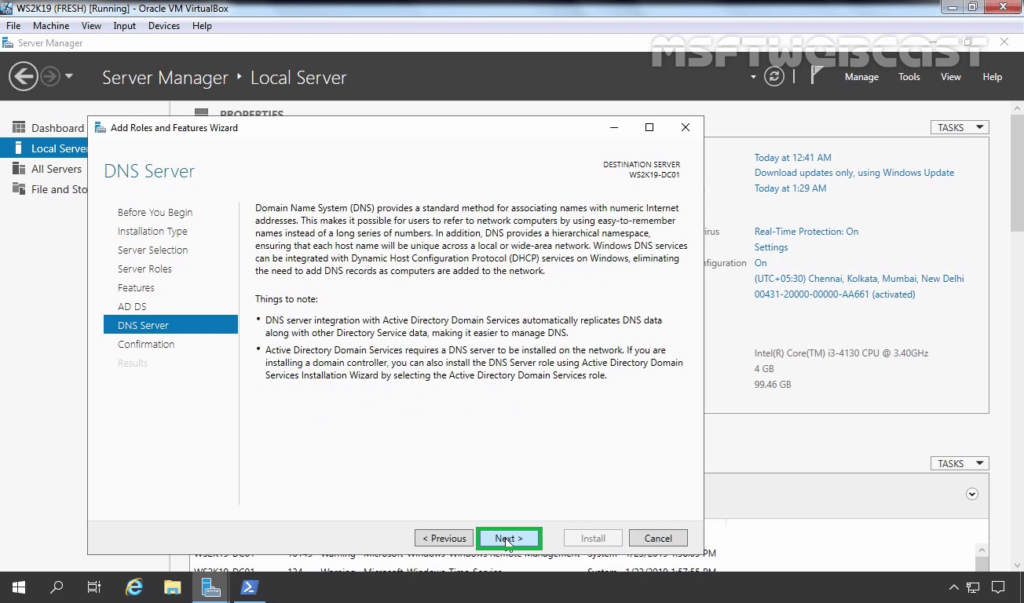
12. On DNS page, review the information about DNS server role. Click on Next.
13. Click on Install to start the installation process.
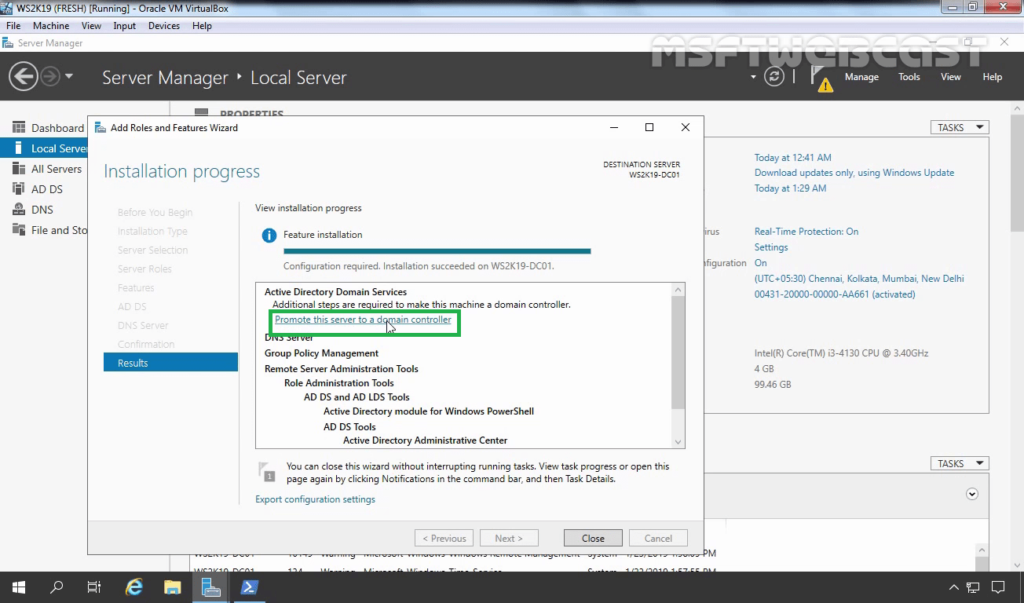
The installation process will take some time to complete.
Step-2: Promote Windows Server 2019 as Domain Controller:
14. After installing Active directory services, click on Promote server to a domain controller link.
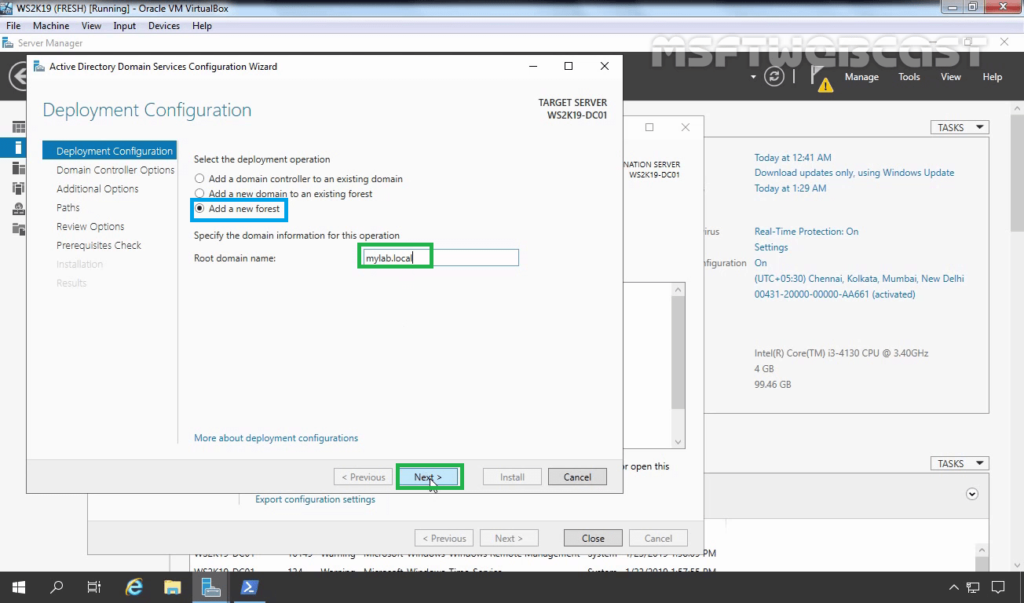
15. Select Deployment option as per your requirement. Here I am installing first Active directory in my network so I am selecting Add a New Forest. Now specify your root domain name into the Root domain name field. (Here I have used mylab.local).
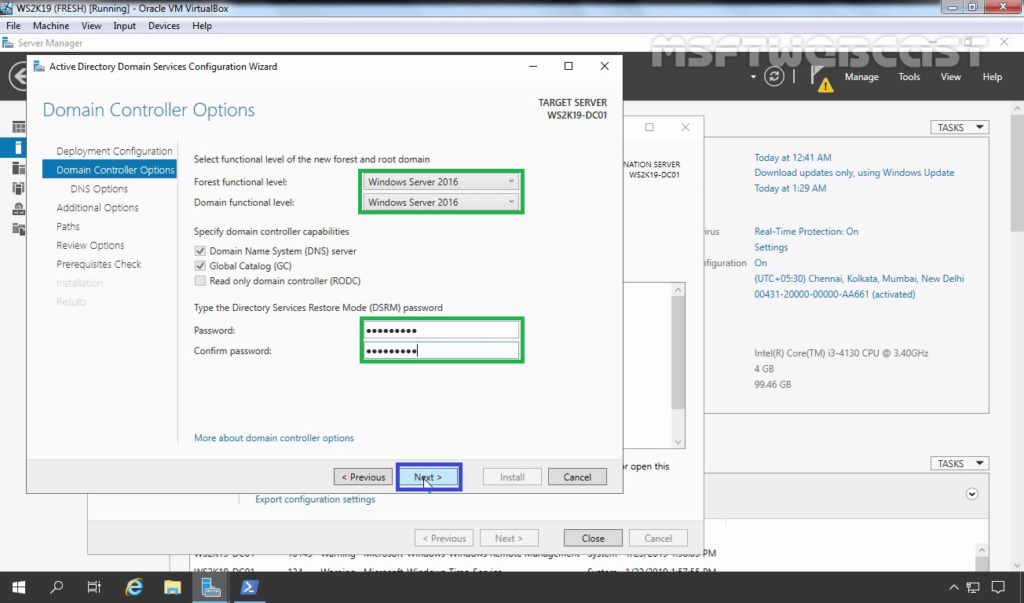
16. Select forest and domain functional level. I will be setting the functional level to highest level which is Windows Server 2016 at the time of writing this post. You’ll also need set up DSRM password here. Click on Next.
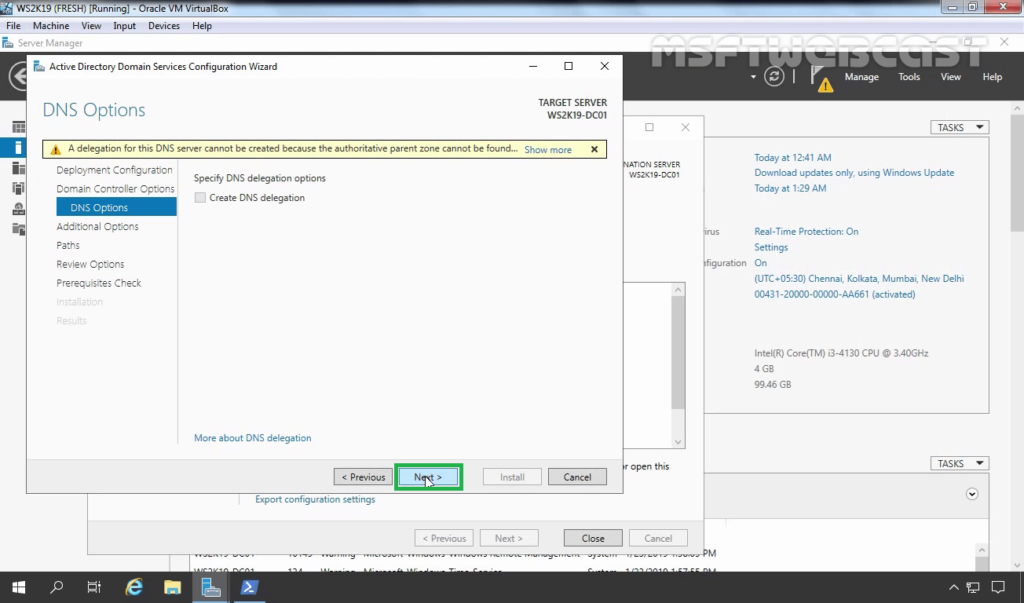
17. In next window it will give warning about DNS delegation but it can be ignore. Click on Next to continue.
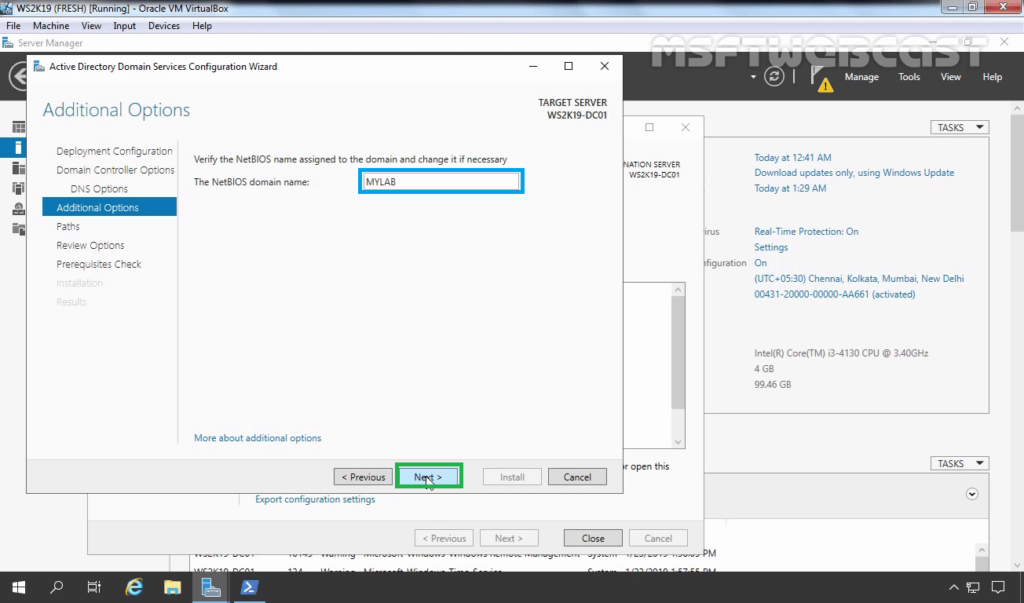
18. In next window it ask for the NetBIOS name for the Domain. We can keep it default and click on Next to continue.
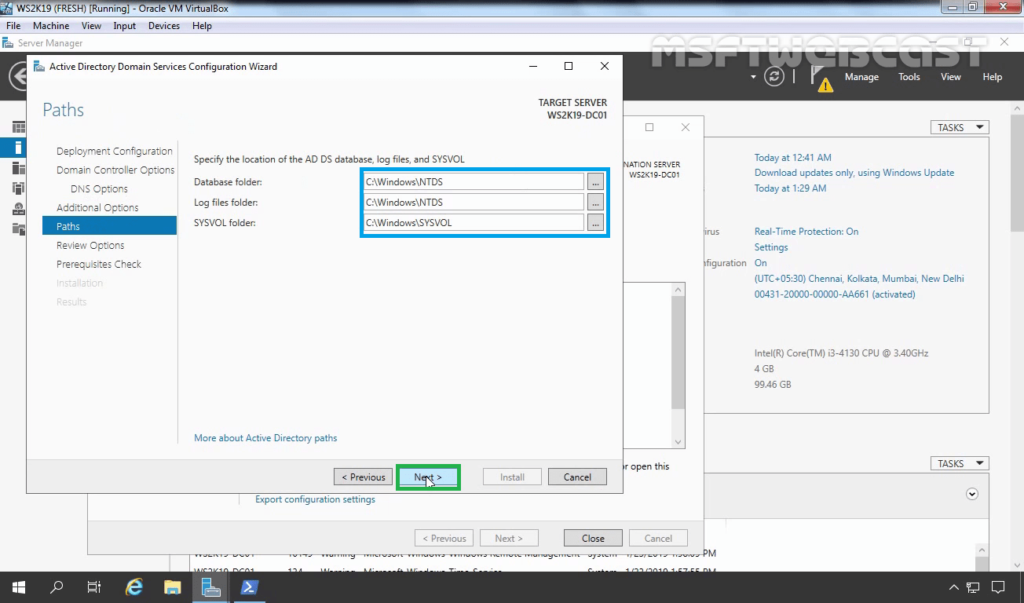
19. In next window it gives us option to change file paths for AD database, log files and SYSVOL files. We can change the paths or keep them defaults. Once changes are done click on Next to continue.
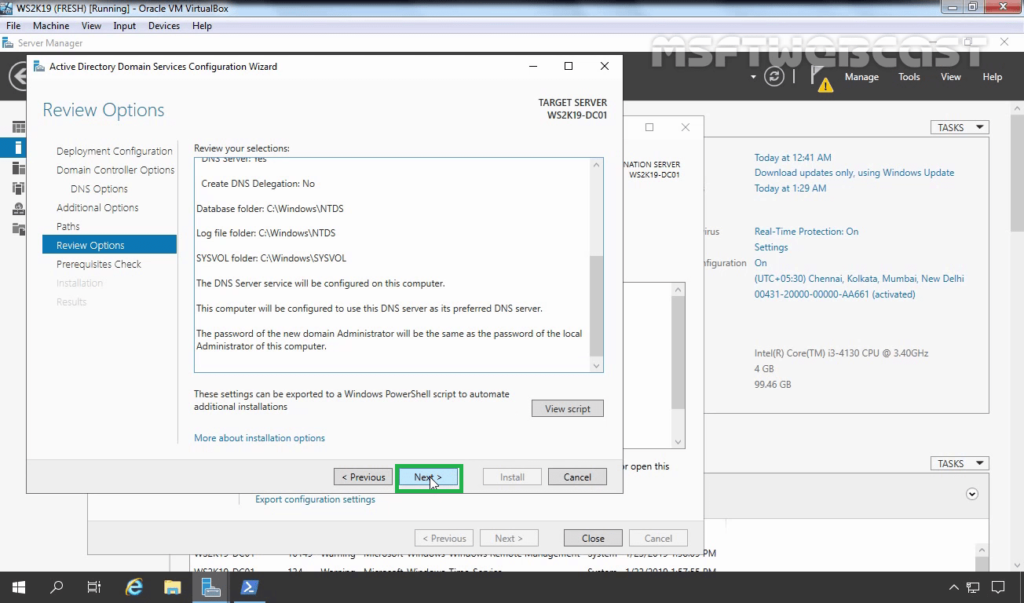
20. On Review Options page, review the options which you have selected. Once you are ready, Click on Next to continue.
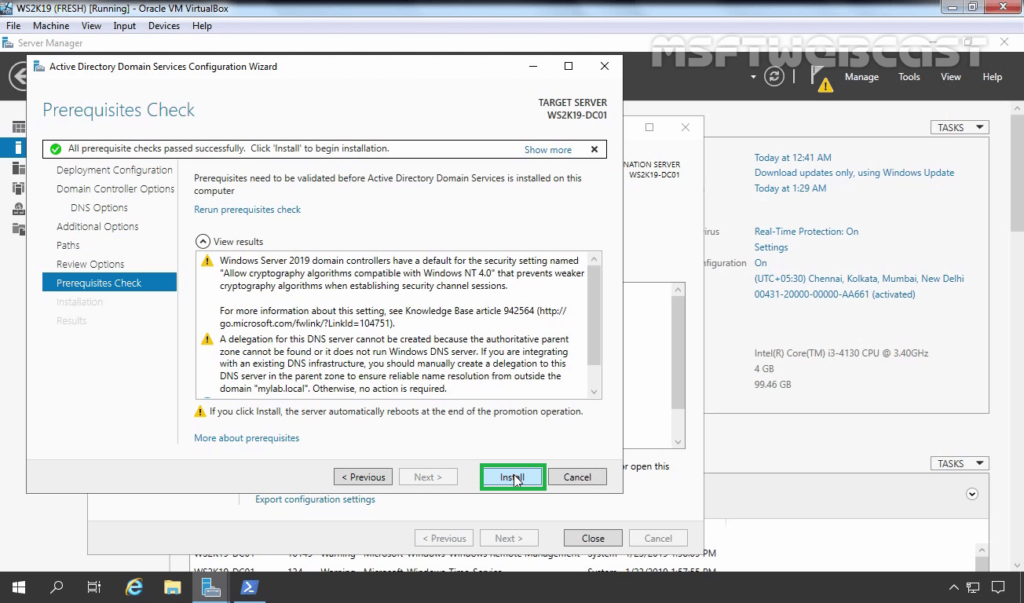
21. In the next window it will run system check and verify system is compatible with the selected installation. If it passes any critical errors those needs to be address before the installation begin. Once test completes successfully click on install button to begin the installation.
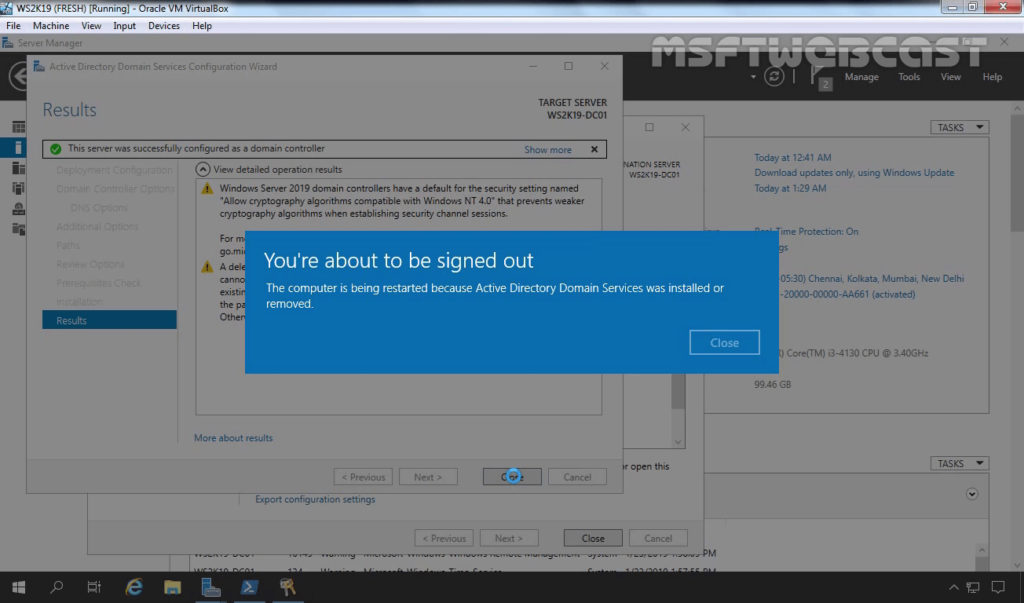
22. Then it will start the installation process and we need to wait till it finishes. Once it’s complete the install it will automatically reboot the server.
Verify New Active Directory Domain:
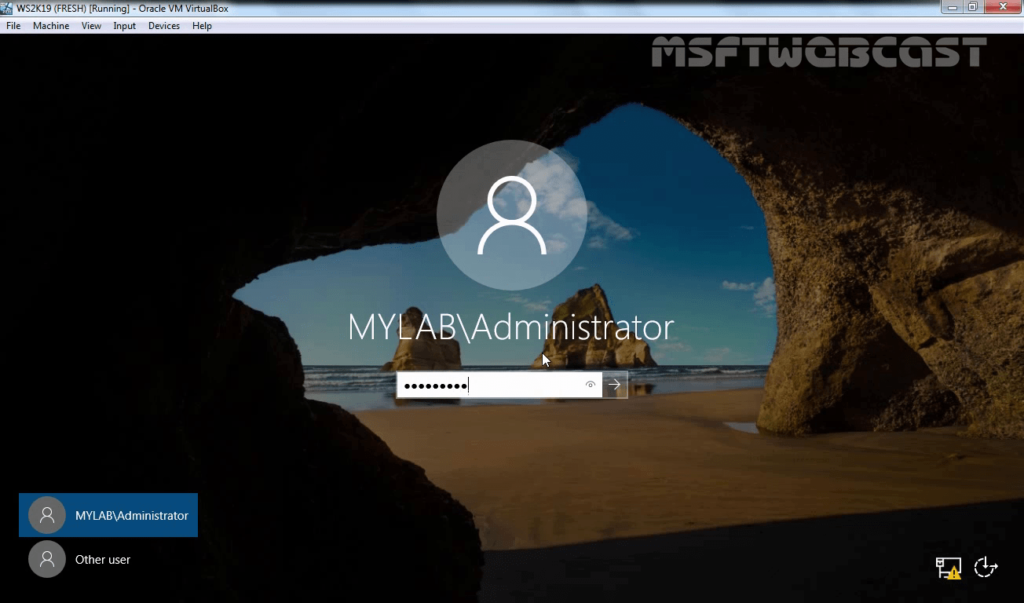
23. Once server is rebooted log in to server using domain admin credentials.
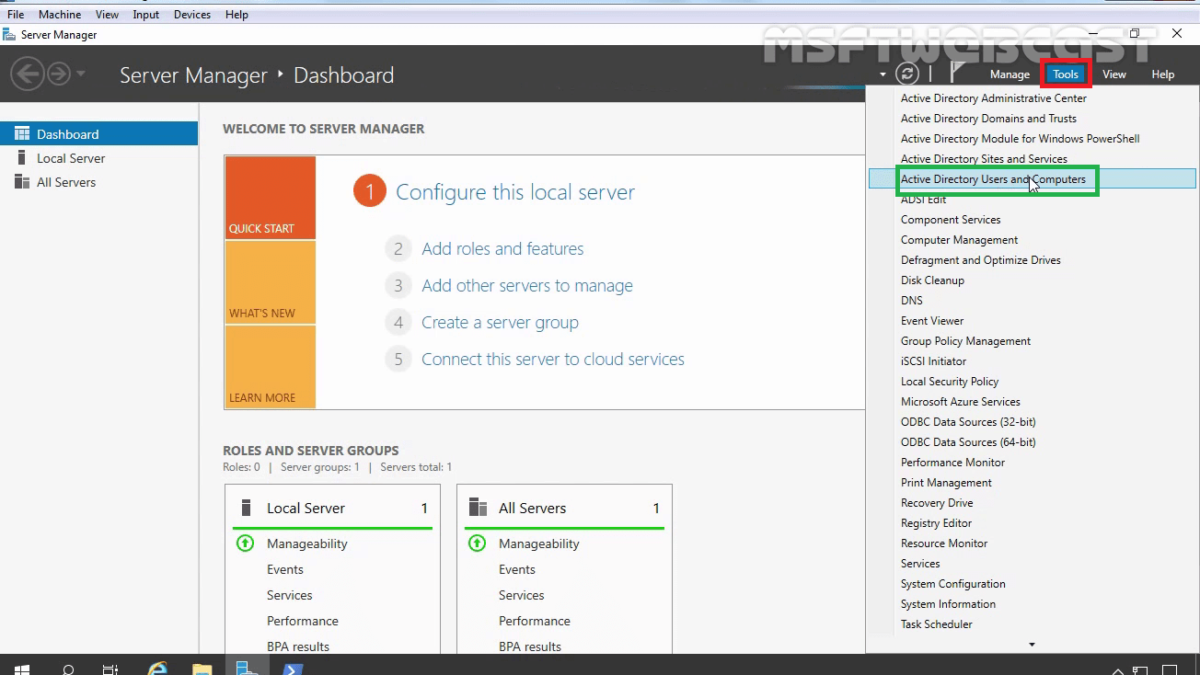
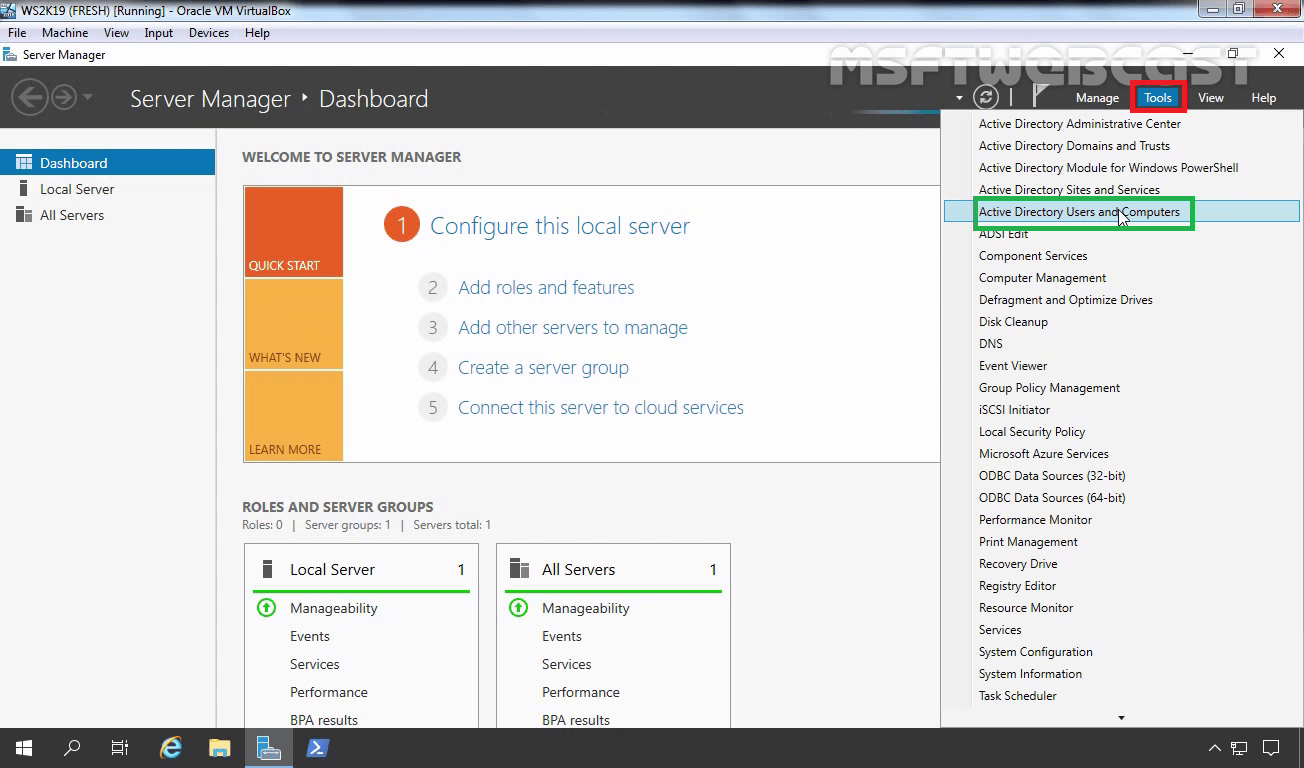
24. Open Active Directory Users and Computers by clicking on Tools.
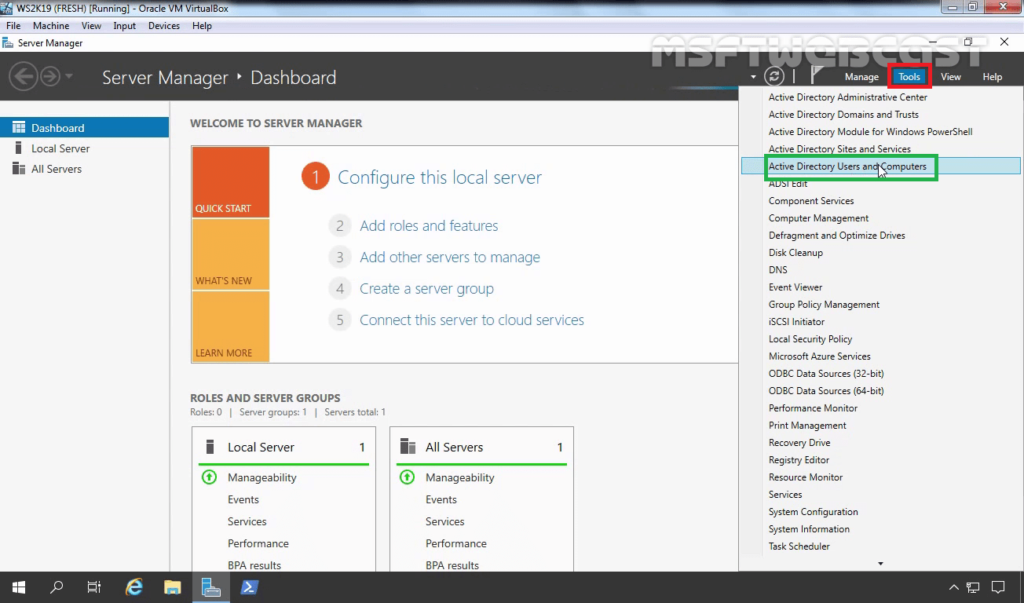
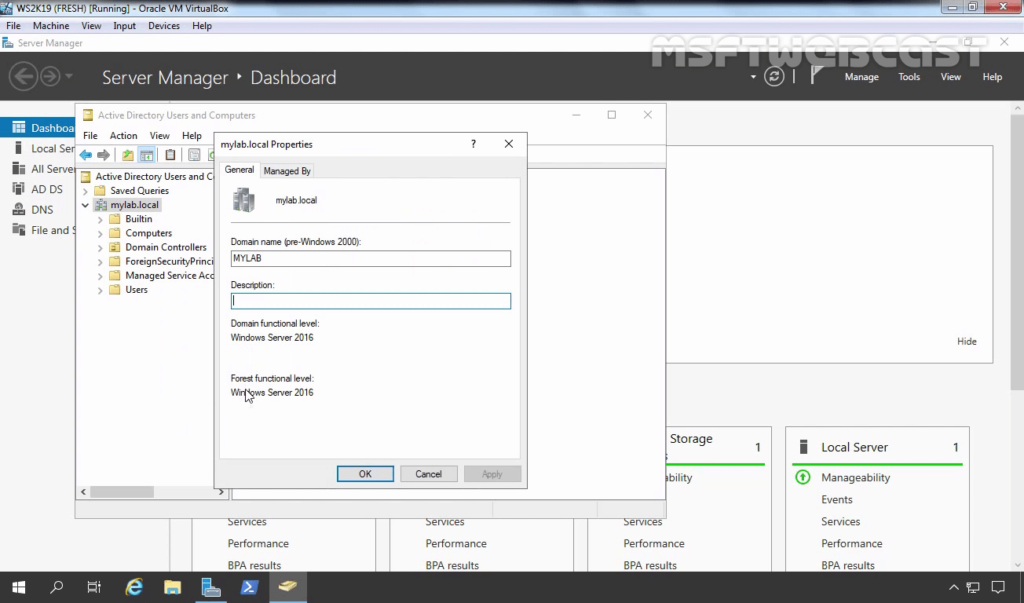
25. Verify WS2K19-DC01 server is now promoted as a domain controller for mylab.local domain from Active Directory Users and Computers snap-in.
Congratulations!! We have successfully setup Active Directory Domain Service on Windows Server 2019.