

Table of Contents
What is VirtualBox?
If you want to run virtual machines (VMs) on your Windows 11 system, Oracle VirtualBox is a free, open-source, and cross-platform virtualization solution. It enables users to run multiple virtual machines on a single host operating system efficiently. VirtualBox is compatible with a wide range of platforms, including Windows, Linux, and macOS. It’s primarily designed for developers and IT professionals who need flexible and powerful virtualization tools.
Whether you’re experimenting with new operating systems, running older applications, or isolating development environments, VirtualBox makes it easy. It allows you to develop, test, showcase, and deploy solutions across multiple platforms—all from one machine.
In this guide, we’ll walk you through the complete process of downloading and installing Oracle VirtualBox on Windows 11. We’ll also walk through how to install the Oracle VM VirtualBox Extension Pack to enhance its functionality.
Prerequisites:
- A windows 11 PC
- Administrator access
- A stable internet connection
Step 1: Download Oracle VirtualBox
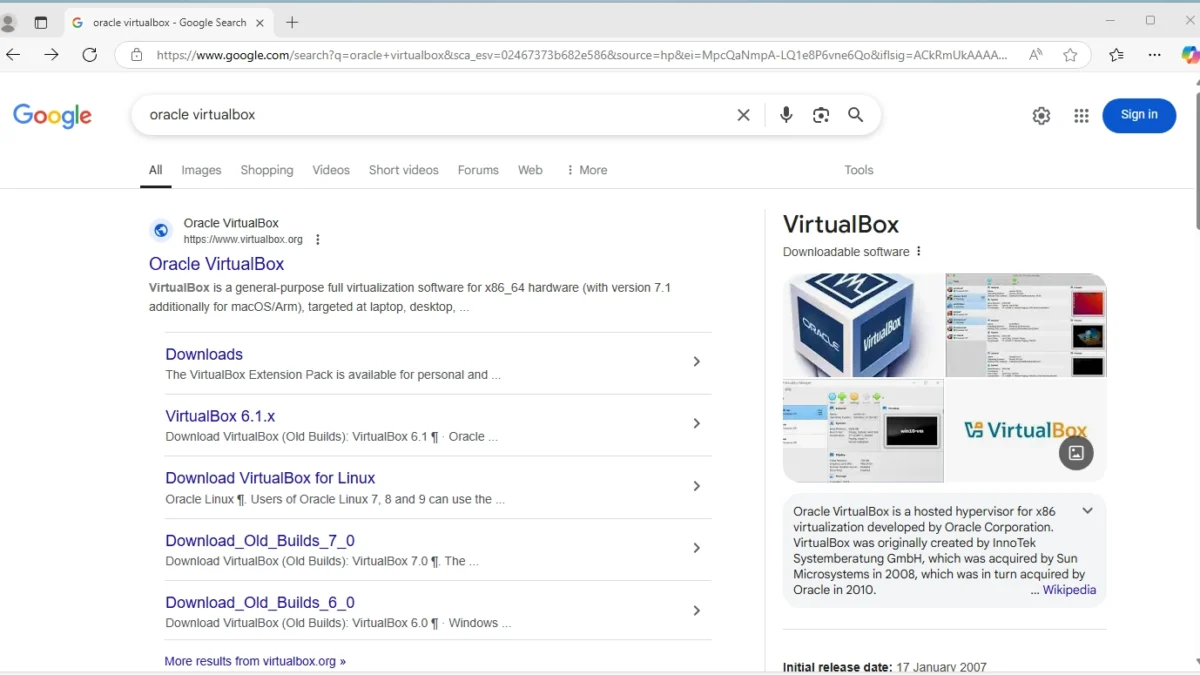
Open your browser and navigate to the official VirtualBox download page.

.
Under “VirtualBox platform packages”, click on Windows hosts to download the installer.

.
Save the .exe file to a known location (e.g., your Downloads folder). The Windows installer for Oracle VM VirtualBox 7.1.8 will begin downloading and should complete within a few minutes.

.
Step 2: Run the VirtualBox Installer
After the VirtualBox setup file has finished downloading, launch it to begin the installation process. Right-click the installer and select ‘Run as administrator’ to proceed.

.
Click Next to start the installation process.

.
Accept the license Terms and click Next.

.
In the next setup window, choose to install all available features. These include VirtualBox Networking (Bridged Networking), USB Support, Host-Only Networking, and Python Support. Installing the full package requires approximately 227MB of disk space. Keep in mind that each guest operating system you create will require additional storage based on its individual disk usage.
By default, VirtualBox will be installed in the C:\Program Files\Oracle\VirtualBox directory. If you’re low on space in your C: drive, you can choose a different installation path. In this guide, we’ll continue with the default location. Click ‘Next’ to proceed.
In the following setup window, all options are enabled by default. Simply click ‘Next’ to continue with the installation.

.
At this stage, a warning will appear notifying you that VirtualBox’s network features may temporarily disrupt your internet connection. Click ‘Yes’ to proceed with the installation.

.
Click Yes to add missing dependencies and proceed with Installation.

.
Click Next to continue.

.
At this point, the setup wizard is ready to begin the custom installation of VirtualBox. If you wish to review any changes, you can go back; otherwise, click ‘Install’ to start the installation.

.
The setup wizard will install all required files in your default installation directory. During the process, you’ll be prompted to install USB device drivers. Click ‘Install’ to proceed.
Next, it will update the system registry values and finalize the installation process.
Step 3: Launch VirtualBox Manager
Once the installation is complete, a dialog will appear on your screen. Check the box labeled ‘Start Oracle VM VirtualBox 7.1.8 after installation’ to launch VirtualBox immediately after the setup finishes. Then, click ‘Finish’ to exit the setup wizard.

.
The Oracle VirtualBox Manager will now open on your Windows 11 system.
Step 4: Install the Extension Pack
To add extra features like USB 2.0/3.0 support, RDP, disk encryption, etc.:
Return to the VirtualBox Downloads page.
Under “VirtualBox Extension Pack”, click Accept and download to download the VirtualBox Extension Pack file.

.
Go back to the Oracle VirtualBox Manager console. Navigate into the ‘Extensions’ tab.

.
Click on Install (+) symbol.

.
Locate the downloaded extension pack file ‘Oracle_VM_VirtualBox_Extension_Pack-7.1.8.vbox-extpack’ and click ‘Open’.

.
A dialog will appear in the VirtualBox Manager. Click ‘Install’ to add the Oracle VM VirtualBox Extension Pack.

.
Accept the license Terms and click I Agree.

.
A confirmation message will appear on the screen indicating a successful installation. Click ‘OK’ to proceed.
The installed extension packs will appear in the ‘Extensions’ tab of VirtualBox.

.
At last, Oracle VirtualBox is ready to use. You can now create a new virtual machine by selecting the ‘New’ option.

.
Conclusion
In this guide, we showed how to install Oracle VM VirtualBox along with the matching version of the Extension Pack on Windows 11. With everything set up, you can now create virtual machines and install various guest operating systems using customized network configurations. Thank you!
