Overview:
Remote Authentication Dial-In User Service (RADIUS) is a client/server networking protocol that provides centralized authentication, authorization, and accounting (AAA) management for computers that connect and use a network service.
In Windows Server 2019, Network Policy Server is the Microsoft implementation of the RADIUS standard specified by the Internet Engineering Task Force (IETF).
NPS role will install automatically with the installation of Remote Access Service as a prerequisite on Windows Server 2019.
Network Policy Server (NPS) allows you to create and enforce organization-wide network access policies for connection request authentication and authorization.
NPS allows you to centrally configure and manage network access authentication, authorization, and accounting with these three following features:
- RADIUS Server: NPS performs centralized authentication, authorization, and accounting for wireless, remote access dial-up and virtual private network (VPN) connections.
- RADIUS-Proxy: NPS acts as a RADIUS proxy to forward connection requests to a remote NPS or other RADIUS servers for load balancing.
- RADIUS accounting: You can configure NPS to log events to a local log file or to a local or remote instance of Microsoft SQL Server.
In this guide, we will learn the steps to configure the Radius Server on Windows Server 2019. We will configure one NPS as a RADIUS server for VPN connection authentication and authorization.
Test Lab Setup:
Note: For this guide, we will use the virtual test lab created in VirtualBox.
- WS2K19-DC01: Domain Controller and DNS Server.
- WS2K19-RADIUS01: Member Server acts as a RADIUS Server.
- WS2K19-SRV02: Standalone Server acts as a VPN Server.
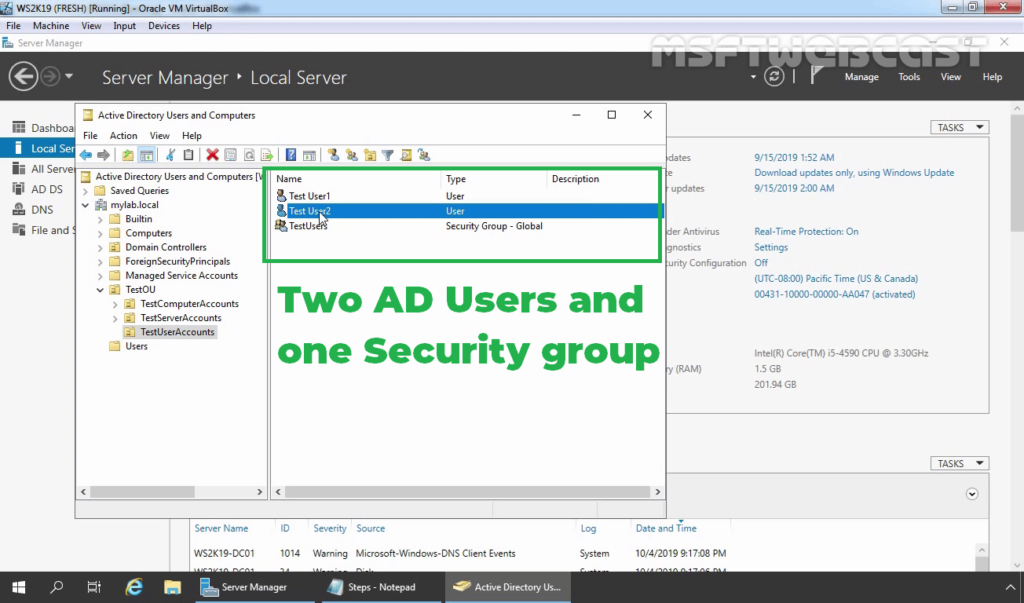
1. At first, we need to create a new security group in the Active Directory domain (for example, TestUsers) in which we will need to add all users that will be allowed to authenticate on VPN Server.

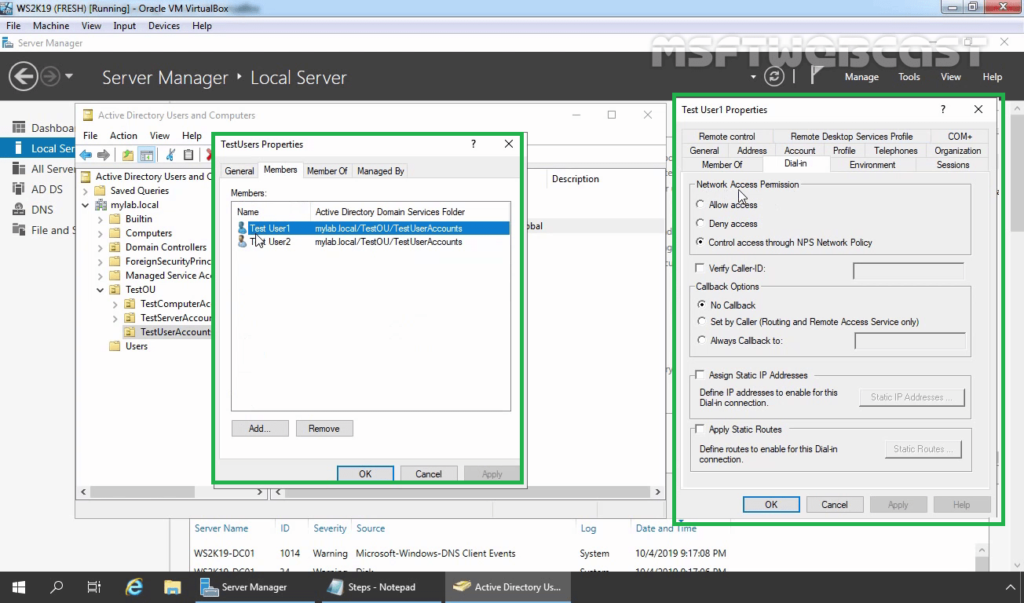
2. Check the users dial-in properties settings.
Install NPS server role on Windows Server 2019:
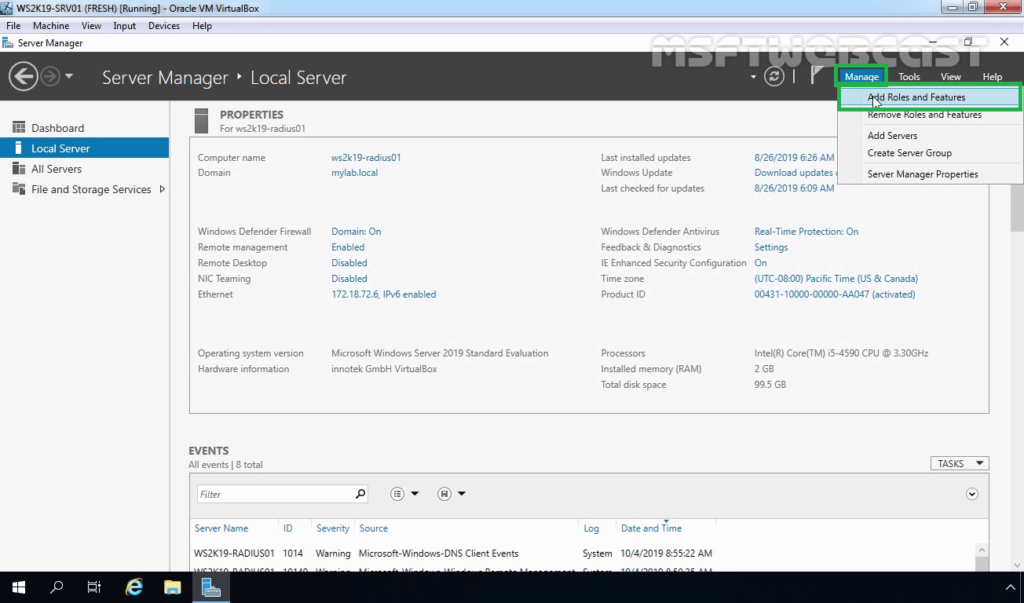
3. Logon to WS2K19-RADIUS01 server with a domain administrator account. Open Server Manager Console.
4. Click on Manage and select Add Role and Features.
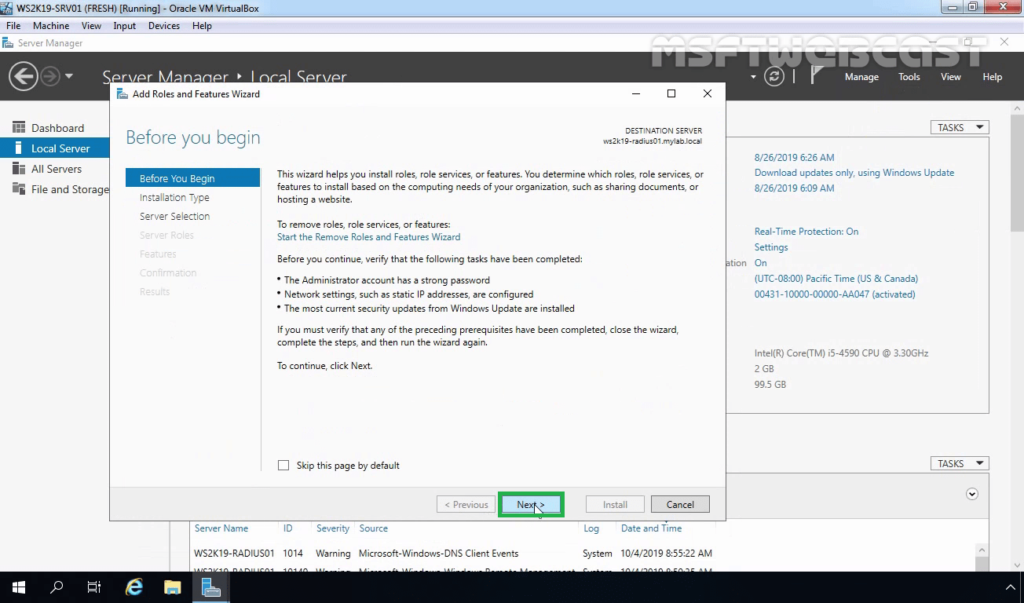
5. On the Before you begin page, click Next.
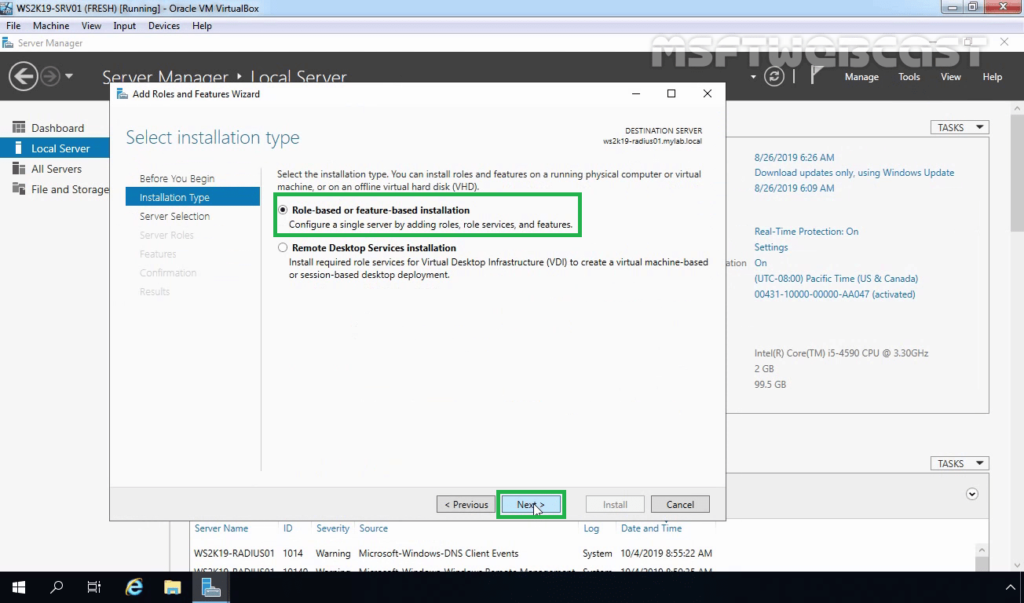
6. Select Role-based or feature-based installation and click Next.
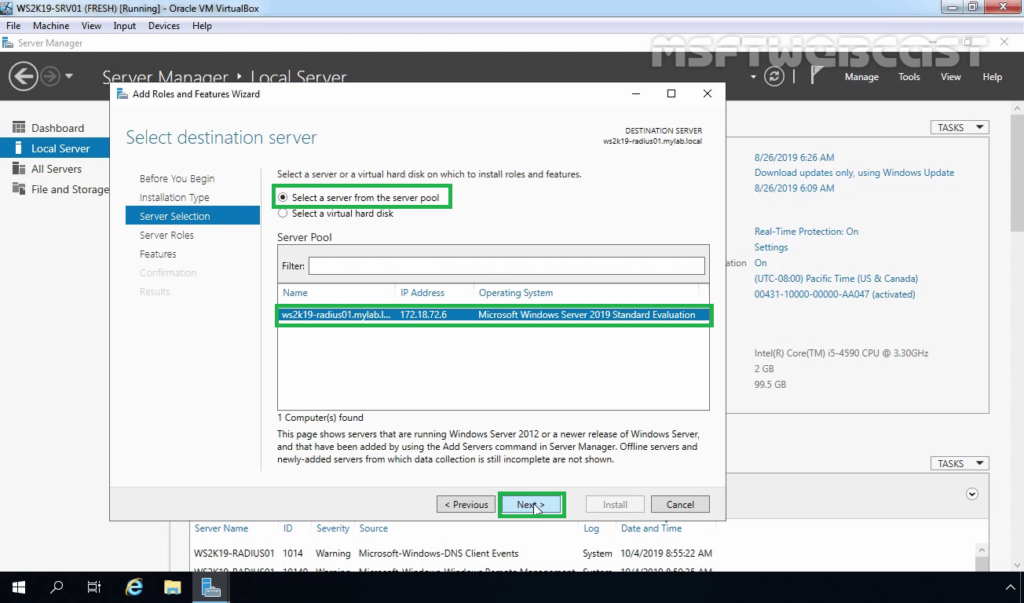
7. Select a server from the server pool on which you want to install the Network Policy and Access Service role, click Next.
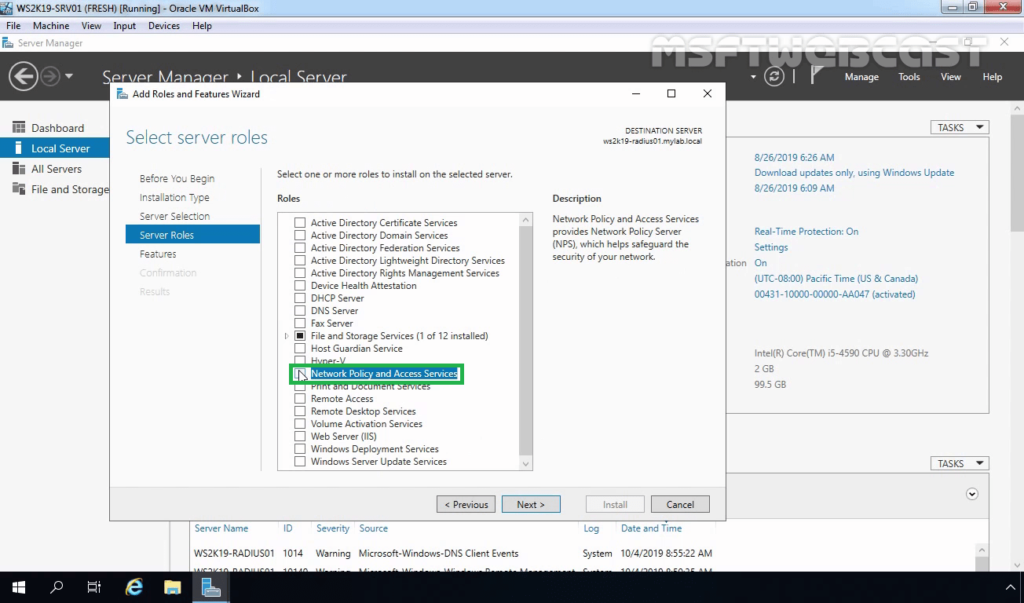
8. On select server roles page, select the Network Policy and Access Services checkbox. Click Next.
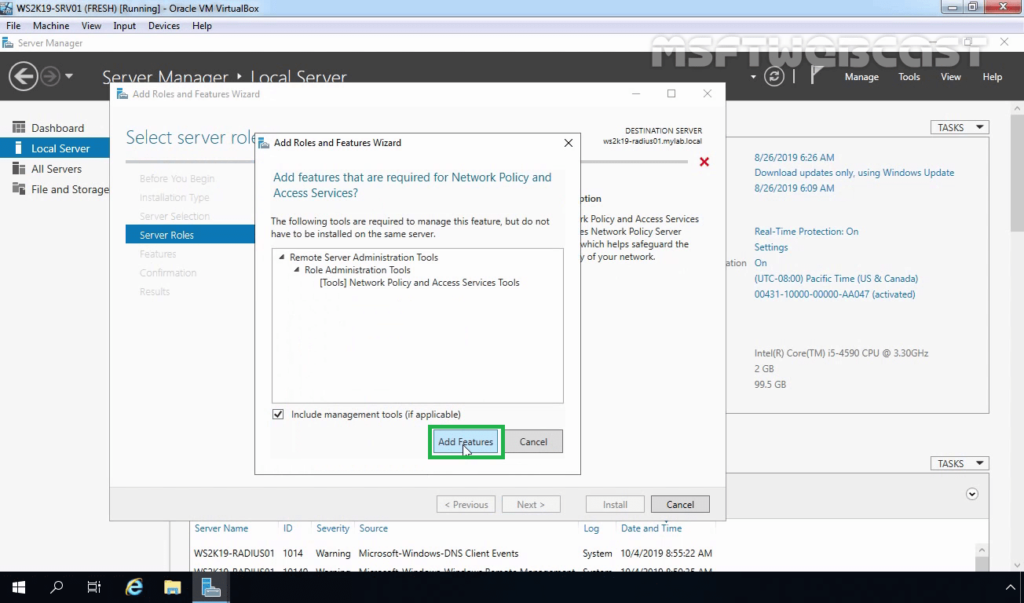
9. Click the Add Features button to add the required feature for NPS. Click Next to continue.
10. On select features, click Next.
11. Read overview information about Network Policy and Access Services and click Next.
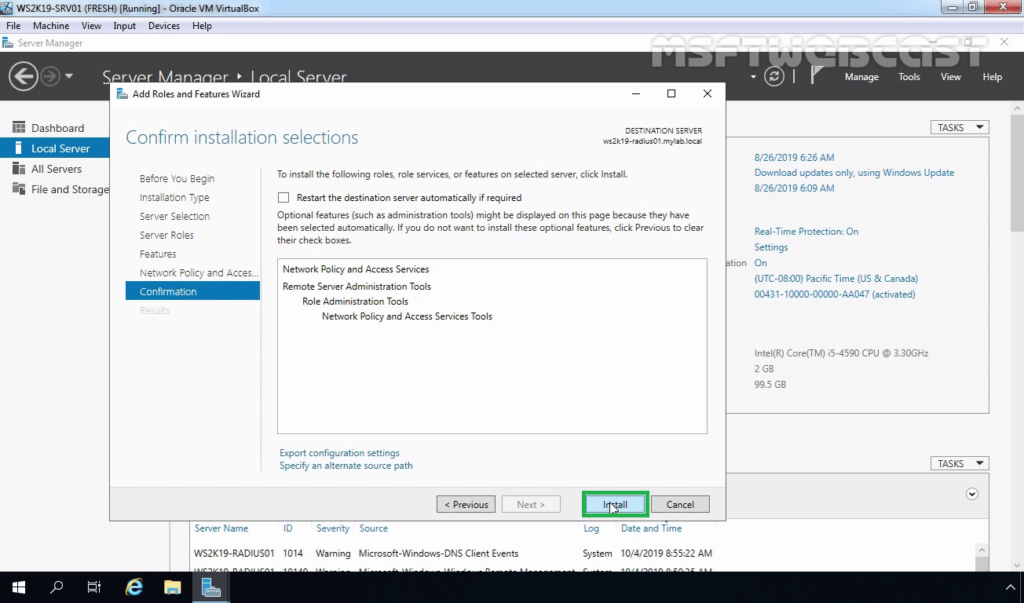
12. Click Install and complete the installation process.
Configure RADIUS Server on Server 2019:
Step:1 Register NPS Server in Active Directory:
13. Click Close to finish the installation.
14. After the Network Policy and Access Services role installation is complete, open the Network Policy Server in the Tools menu.
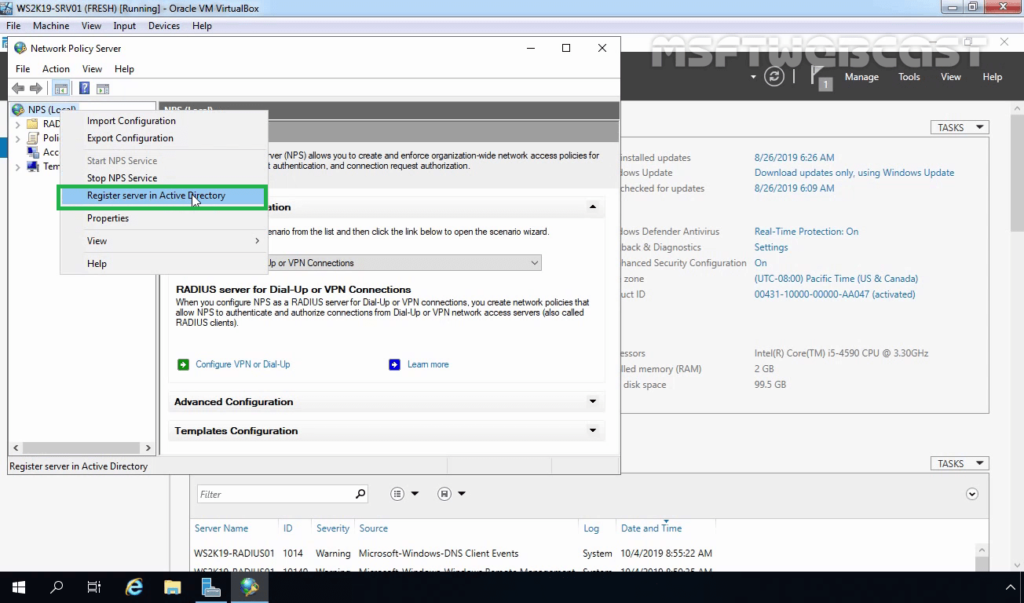
To use the RADIUS server in the Active Directory Domain, we must register it first in the Active Directory.
15. In the NPS management console, right-click on NPS and select Register server in Active Directory.
16. Click OK to confirm the successful registration of the RADIUS server in Active Directory.
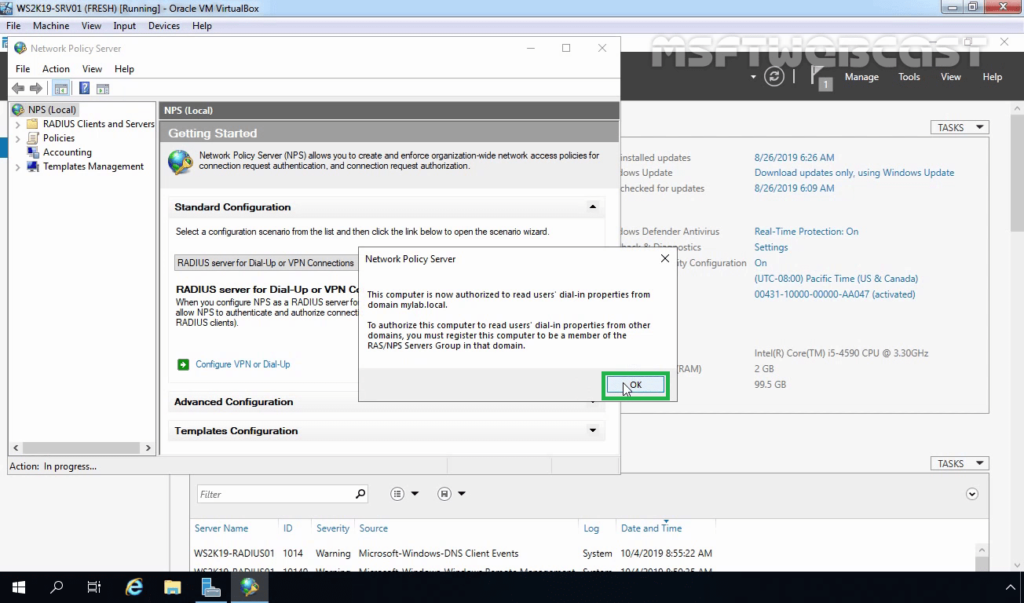
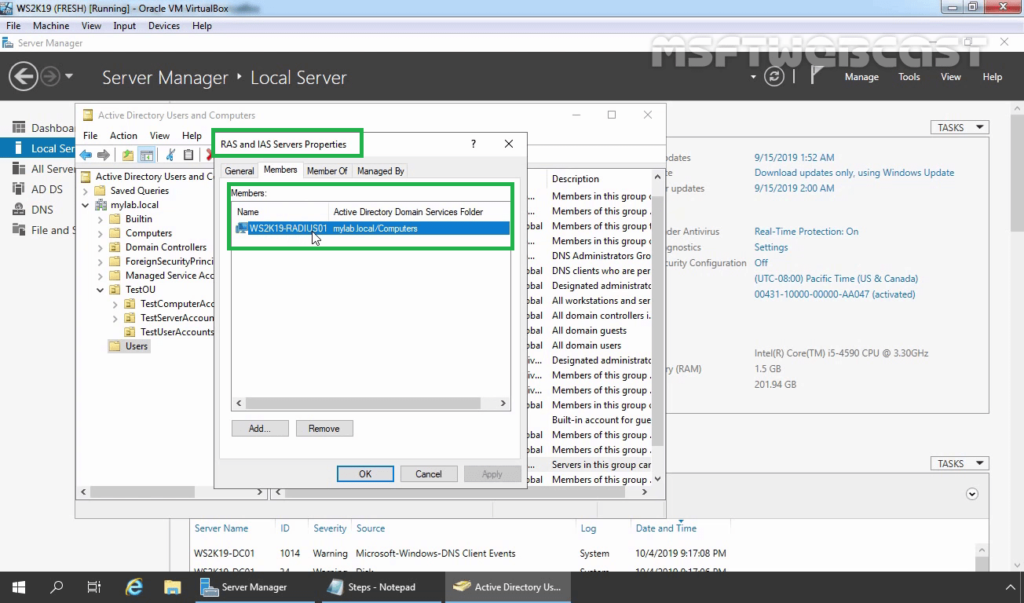
17. Now the RADIUS server has the authority to read the properties of user accounts related to the remote access. The RADIUS server will be added to the built-in domain group RAS and IAS Servers.
Step:2 Add RADIUS Client (VPN) Entry and Create NPS Policies for RADIUS Server:
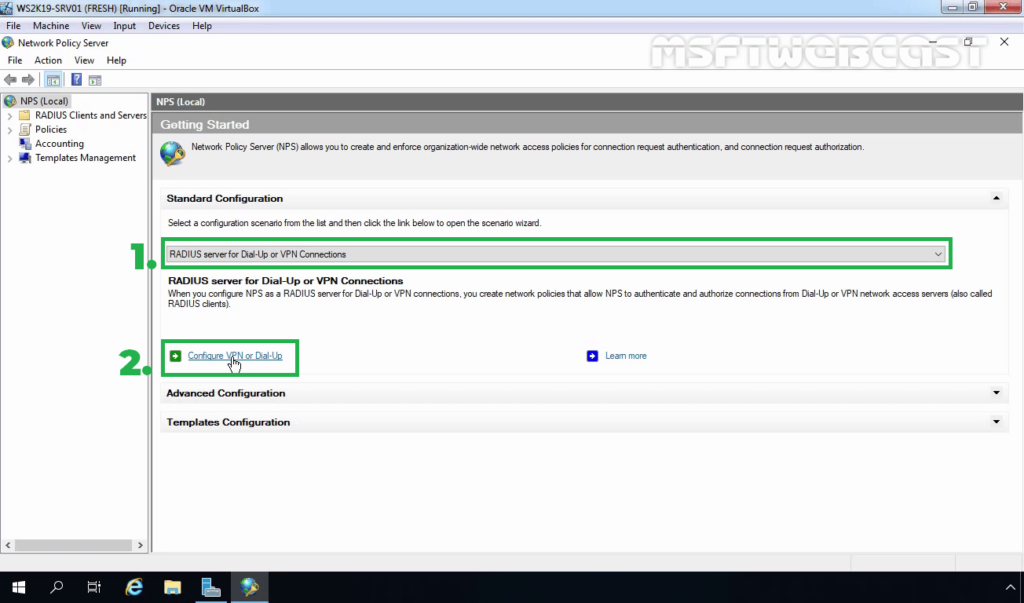
18. Under Getting Started, select RADIUS Server for Dial-Up or VPN Connection from the drop-down menu. Click on Configure VPN or Dial-Up link to add a new RADIUS client.
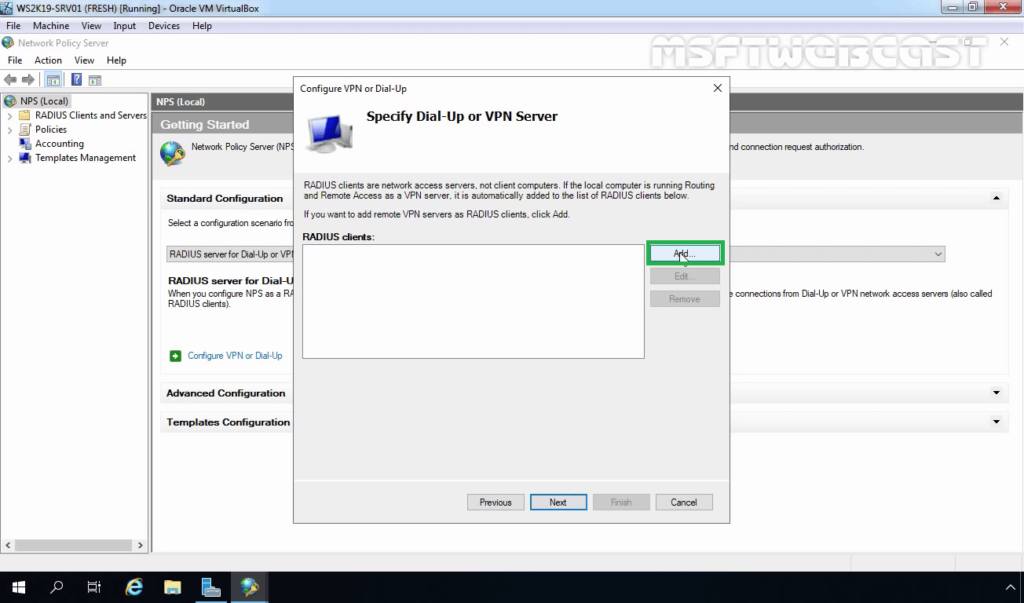
19. Select VPN Connections and specify a meaningful name. Click Next.

20. Click on the Add button to add remote VPN servers as RADIUS clients.
21. On New Radius Client console, specify the details as mentioned below:
- Friendly Name: To identify the RADIUS client.
- Address: IP Address or FQDN of VPN Server.
- Manual Shared Secret: Type the shared secret password and re-enter to confirm the password.
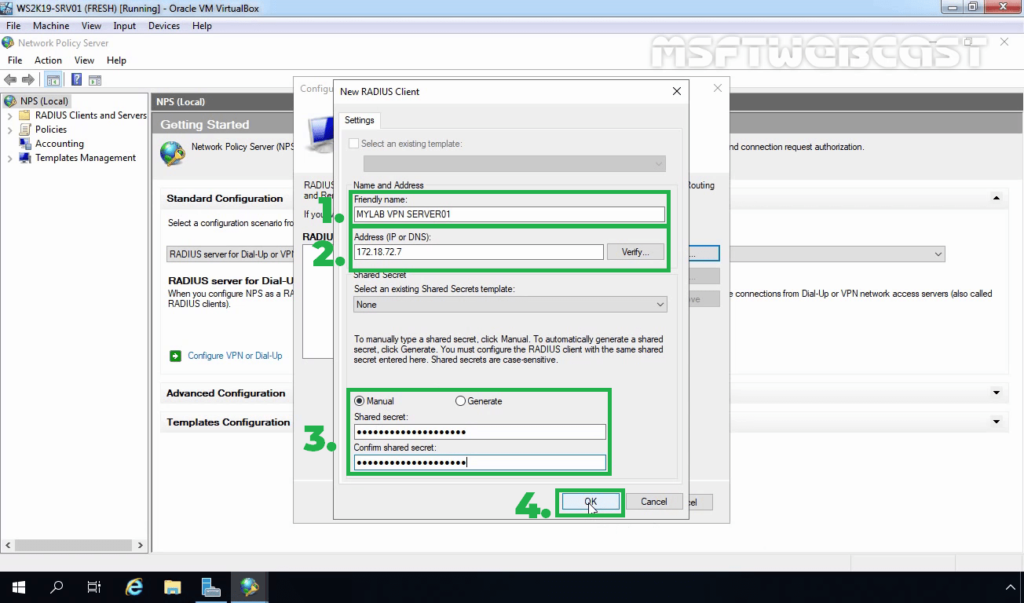
22. Click OK to save the changes.
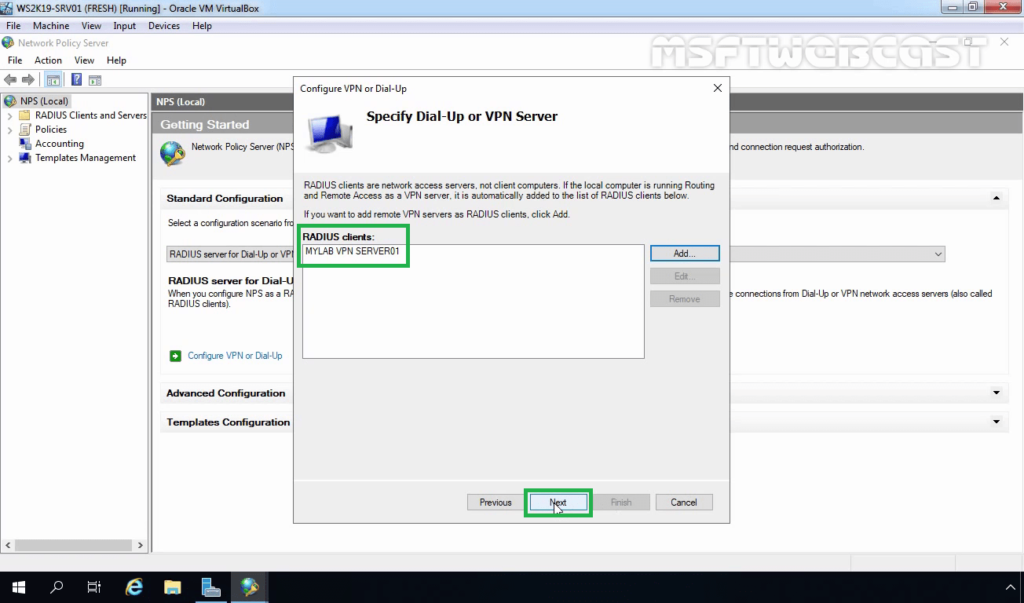
23. Verify Radius client entry and click Next.
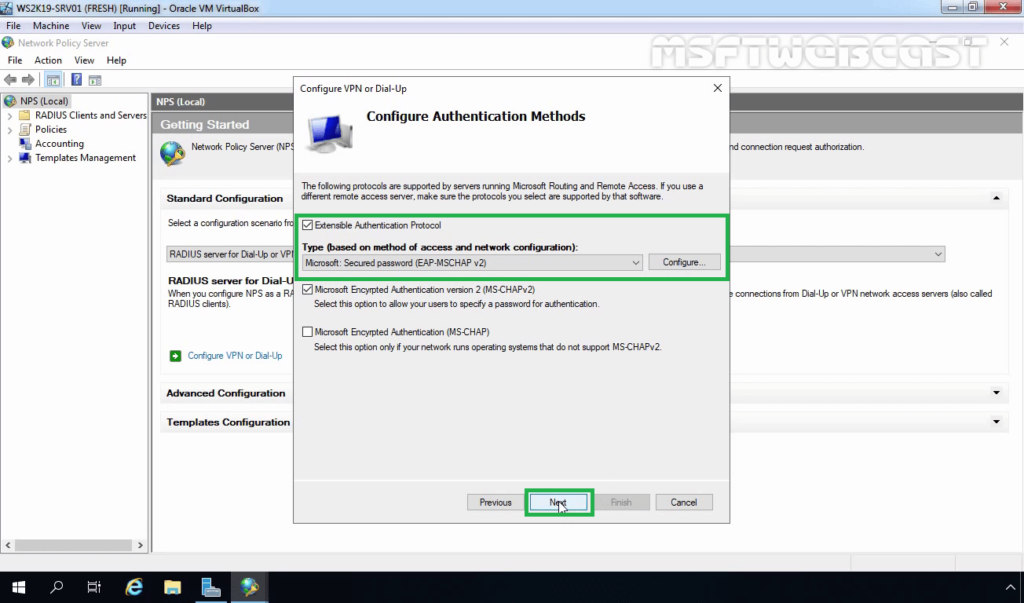
24. Select Extensible Authentication Protocol checkbox and from the drop-down menu select Microsoft: Secured password (EAP-MSCHAP v2). Click Next.
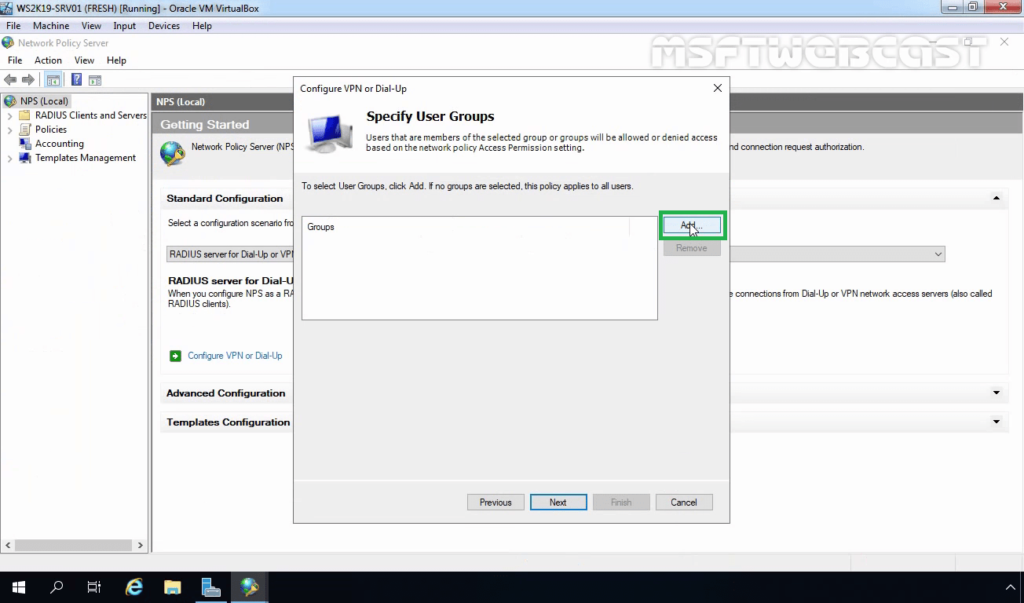
25. Click on Add to specify User Groups as a condition to apply this policy.
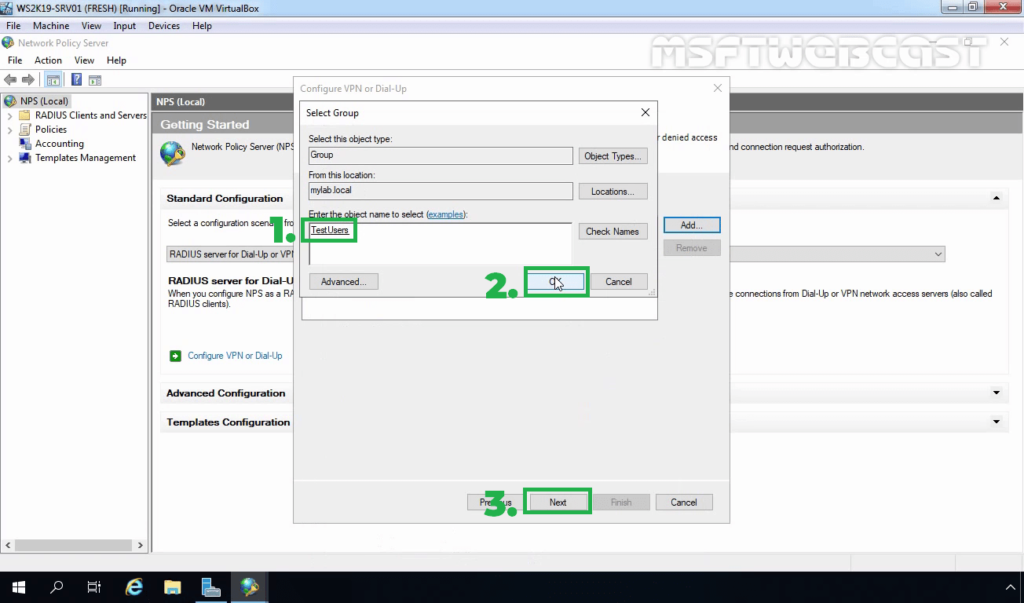
26. Add the security group TestUsers. Click on Next.
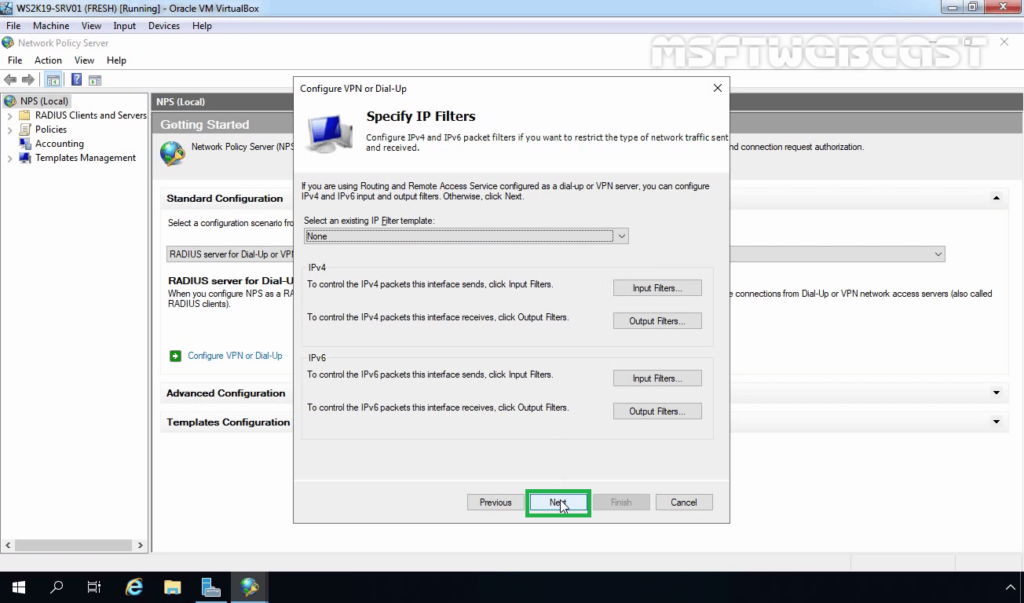
27. On Specify IP Filters console, click Next.
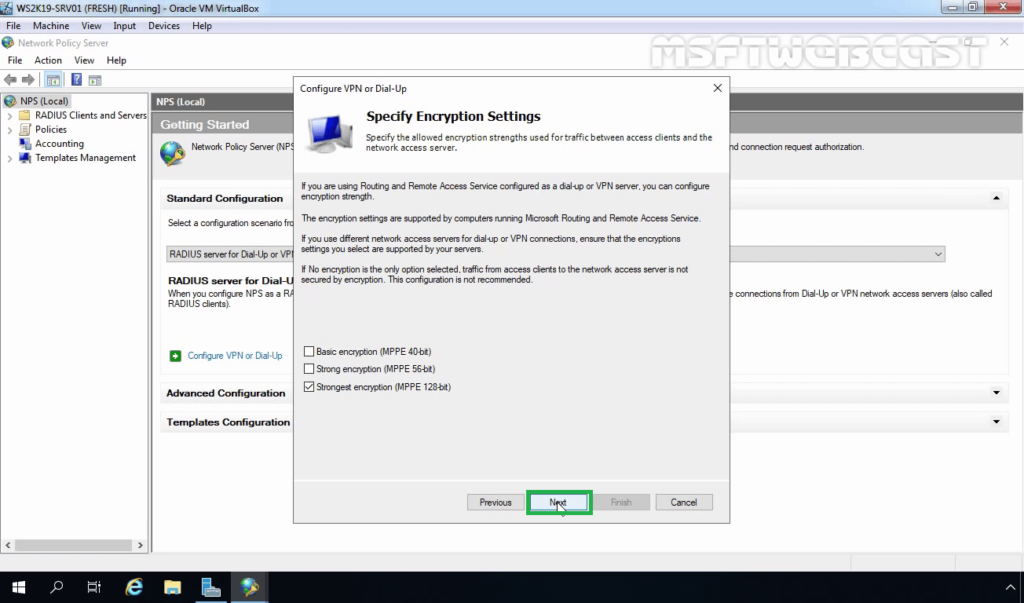
28. Choose the Strongest encryption (128 bit) and click Next.
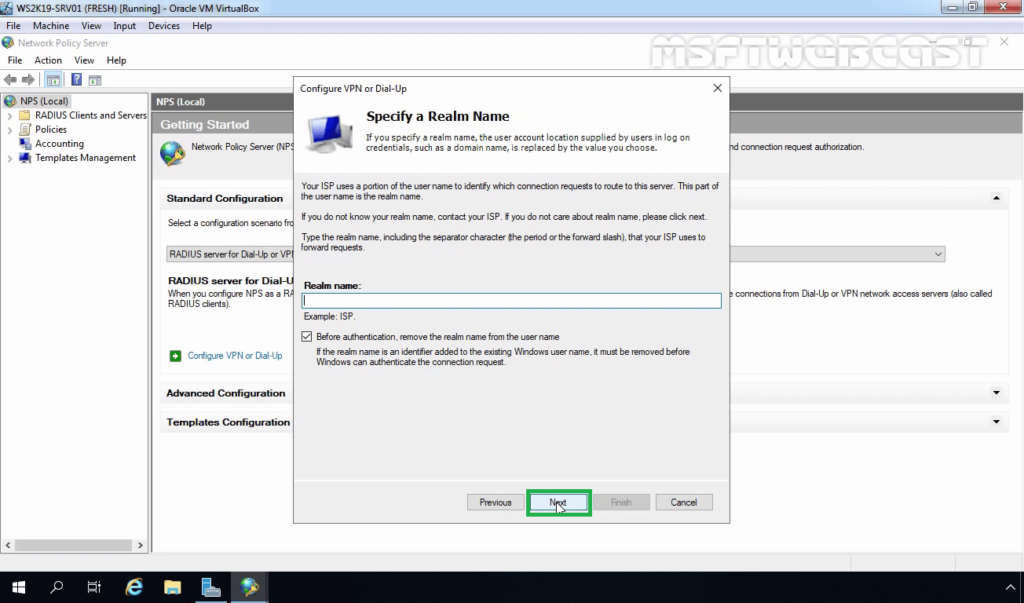
29. Click Next.
30. Click Finish to add create NPS Policies on the RADIUS Server.
Step:3 Configure RADIUS Server Settings on VPN Server:
After creating the NPS policy, we can proceed to configure our VPN server for authentication on the newly installed RADIUS NPS server.
Already we have configured the VPN server role on Windows Server 2019. You can follow this post for How to Install and Configure the VPN server role on Windows Server 2019.
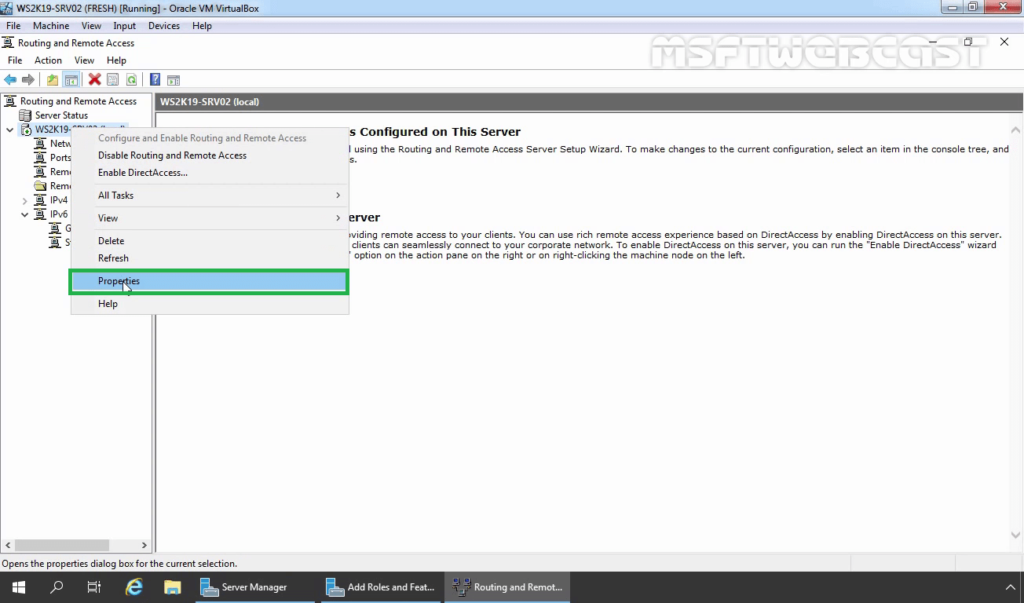
31. On VPN Server, open Server Manager Console. Click on Tools and select Routing and Remote Access.
32. Right-click on the server name and select Properties.
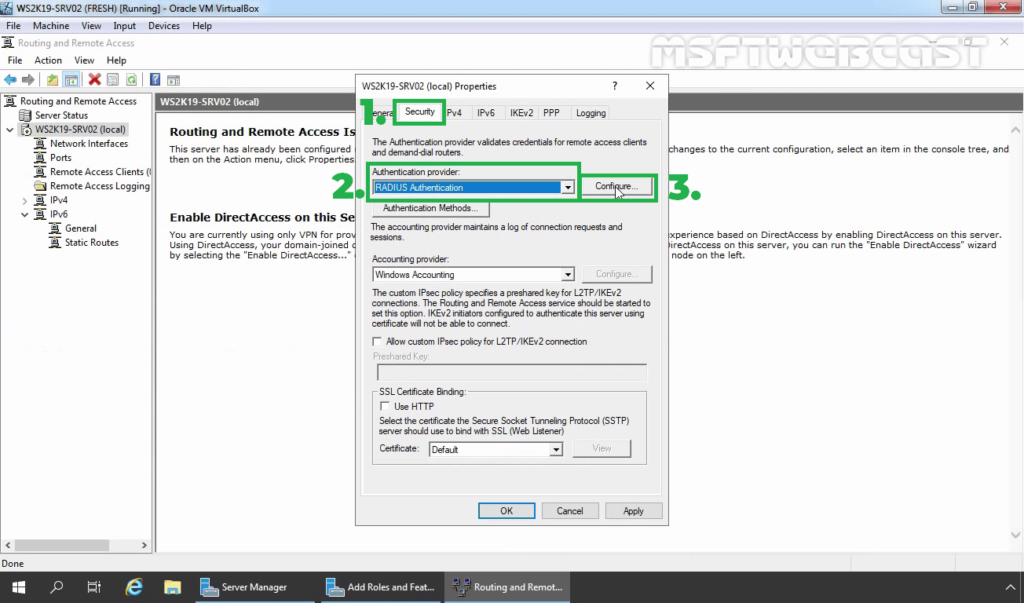
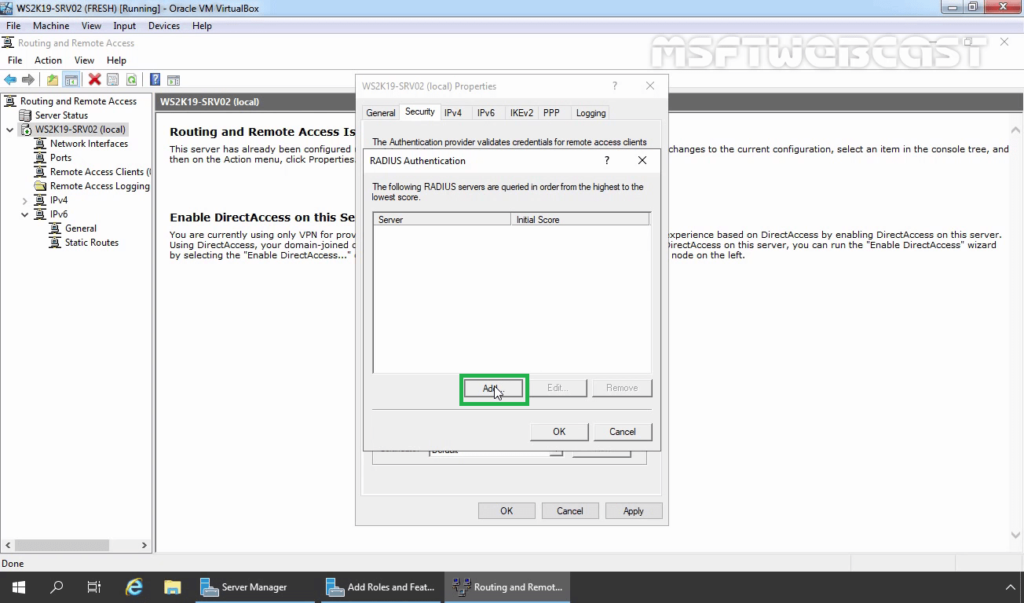
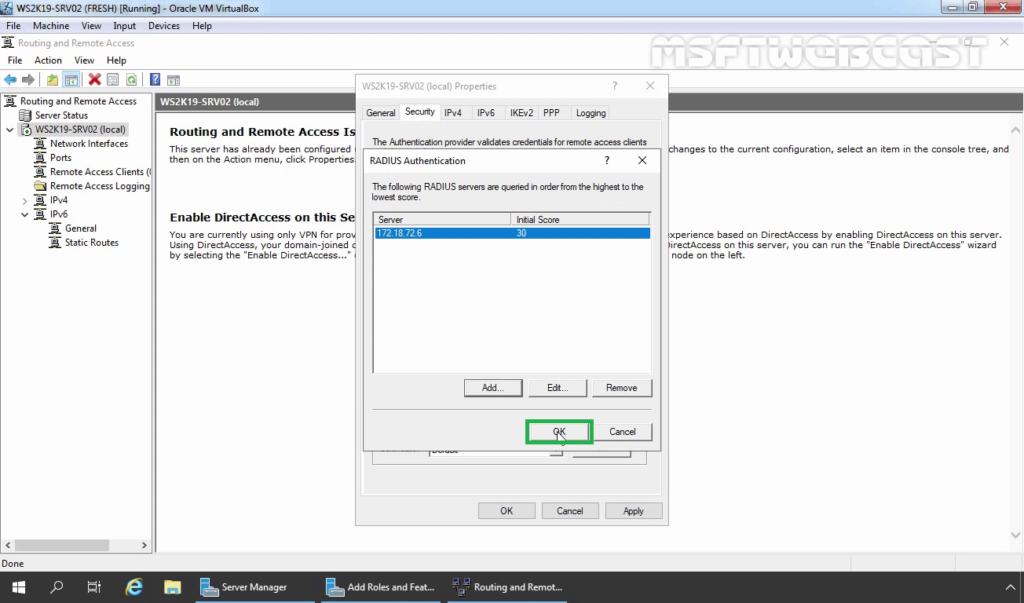
33. Click on Security Tab. Under the Authentication provider, select RADIUS authentication and then click on Configure.
34. Click Add.
35. Specify RADIUS Server IP Address. Click on Change
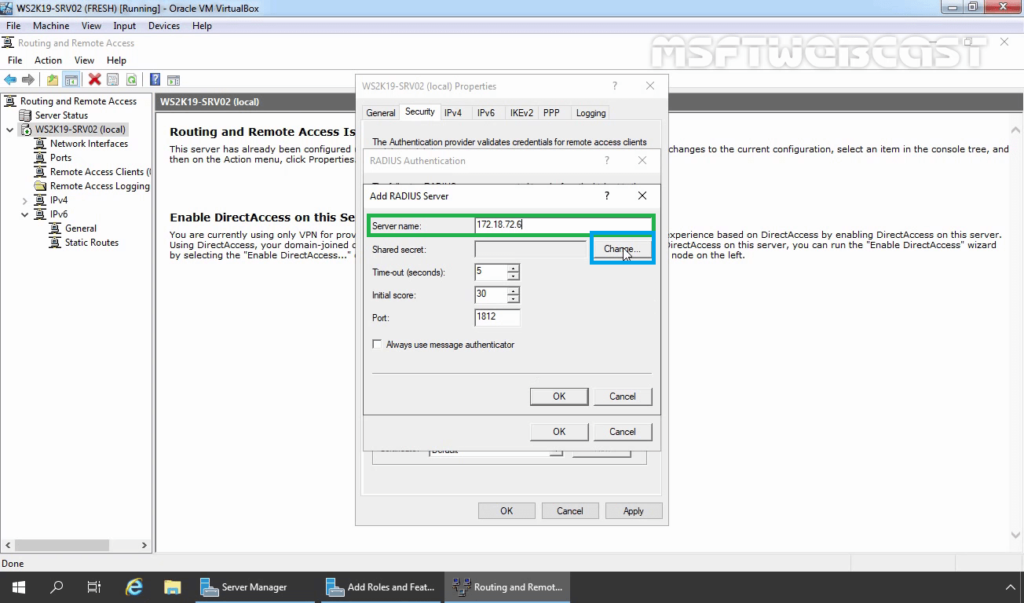
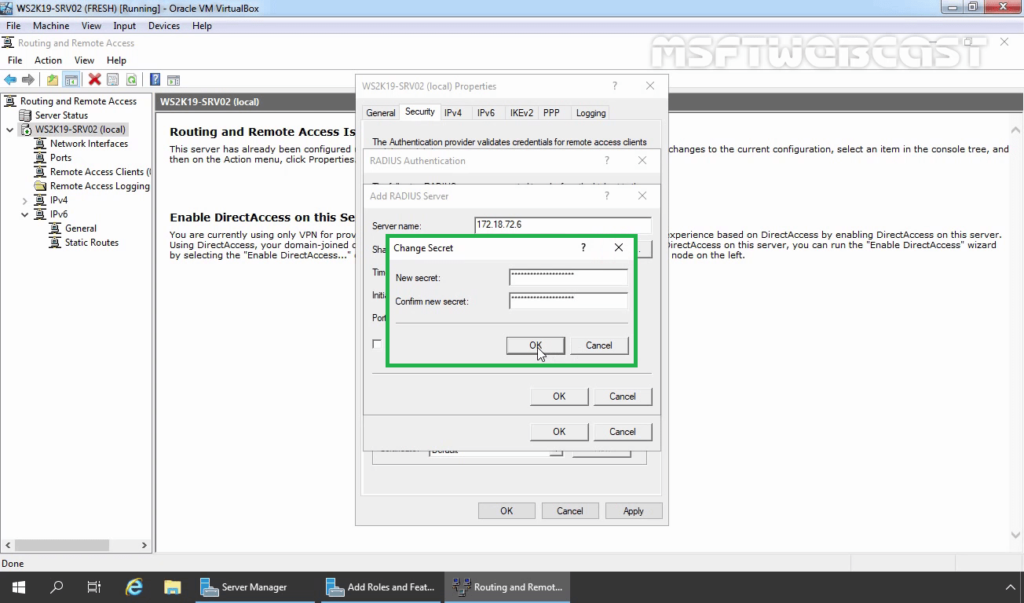
36. Specify Shared Secret password (which we have specified during adding radius client). Click OK.
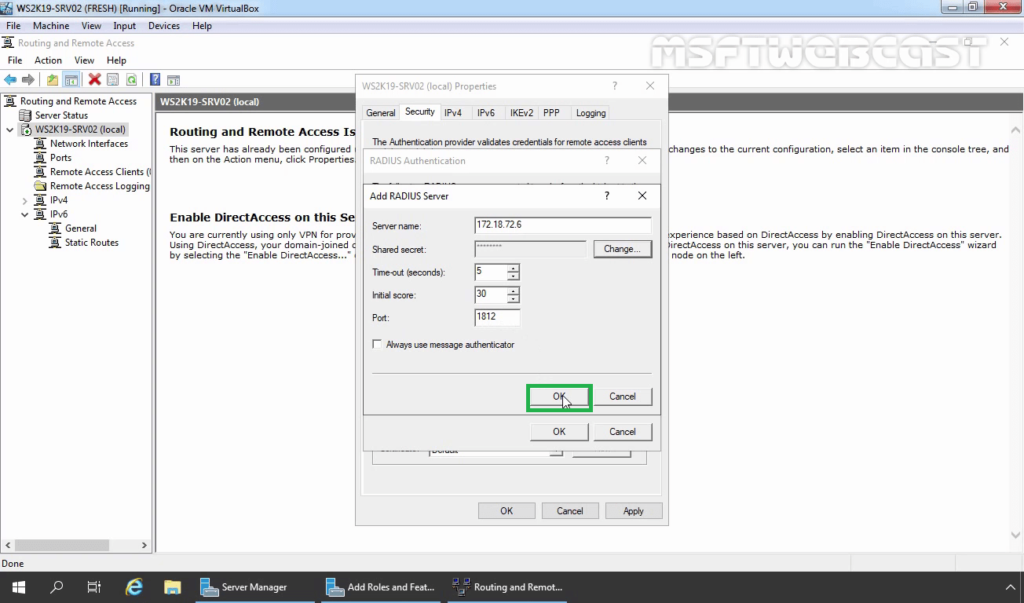
37. Click OK.
38. Click OK.
39. Under the Accounting provider, select RADIUS Accounting and then click on Configure.
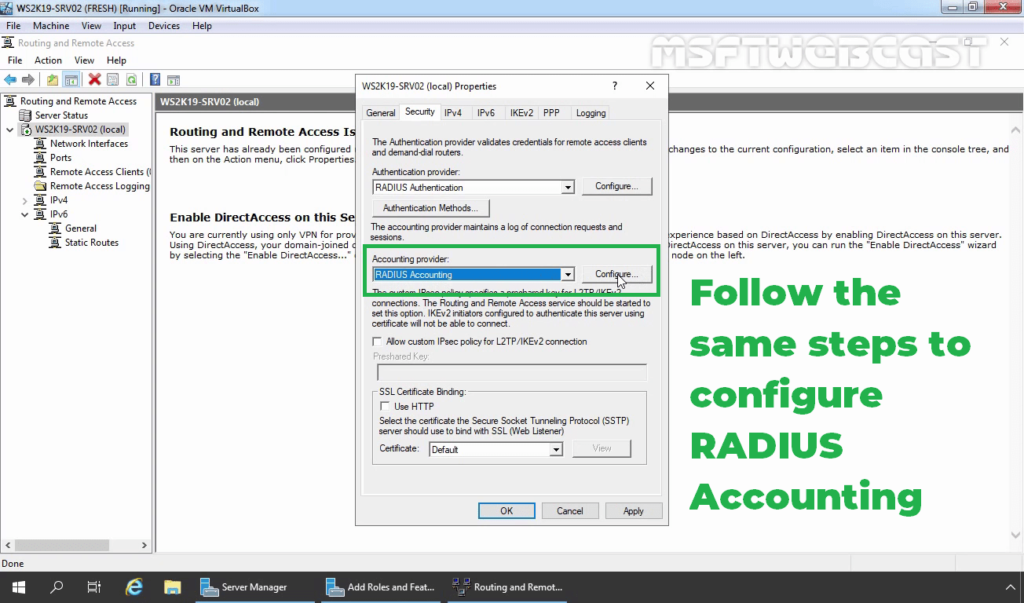
40. Follow the same steps again to specify the RADIUS Server IP Address and Shared Secret password.
41. Click on Apply and OK to save the changes.
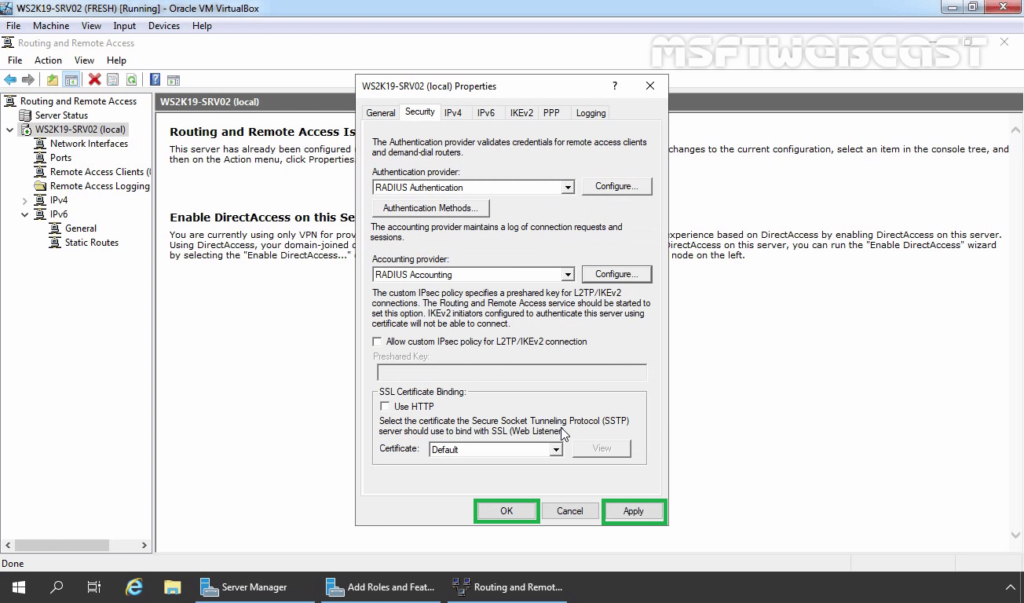
Now our VPN server can use Windows Server 2019 NPS RADIUS server for authentication and accounting without any issue.
That completes the steps on how to configure NPS RADIUS Server for VPN Authentication on Windows Server 2019.