In this post, we will cover the steps on how to install and configure VPN using Remote Access Service in Windows Server 2019.
This is the second part of a four-part blog series on “How to Install and Configure VPN using Remote Access Service in the Windows Server 2019”.
- PART-1 How to Install Remote Access Service on Windows Server 2019
- PART-2 How to Install and Configure VPN in Windows Server 2019
- PART-3 Configure Network Policy Server (NPS) for VPN in Windows Server 2019
- PART-4 Configure Port Forwarding and Test VPN Connection on Windows 10
Understanding VPN Test Lab:
- WS2K19-DC01: Domain Controller and DNS for mylab.local domain.
- WS2K19-VPN01: Member Server
- WS10-CLI01: Windows 10 Client.
Install Remote Access Service on Windows Server 2019:
First of all, install the Remote Access Role on your windows server 2019 using the Add Roles and Features Wizard. Check out the first part for the installation of Remote Access service on Windows Server 2019.
Configure VPN using Remote Access in Windows Server 2019:
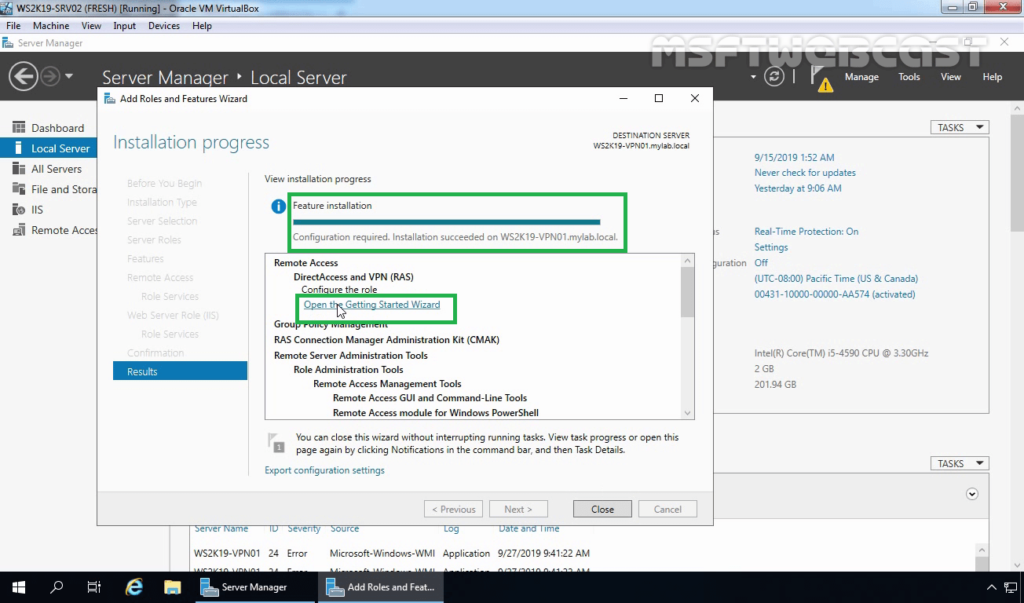
1. When the installation completes, click on Open the Getting Started Wizard link.

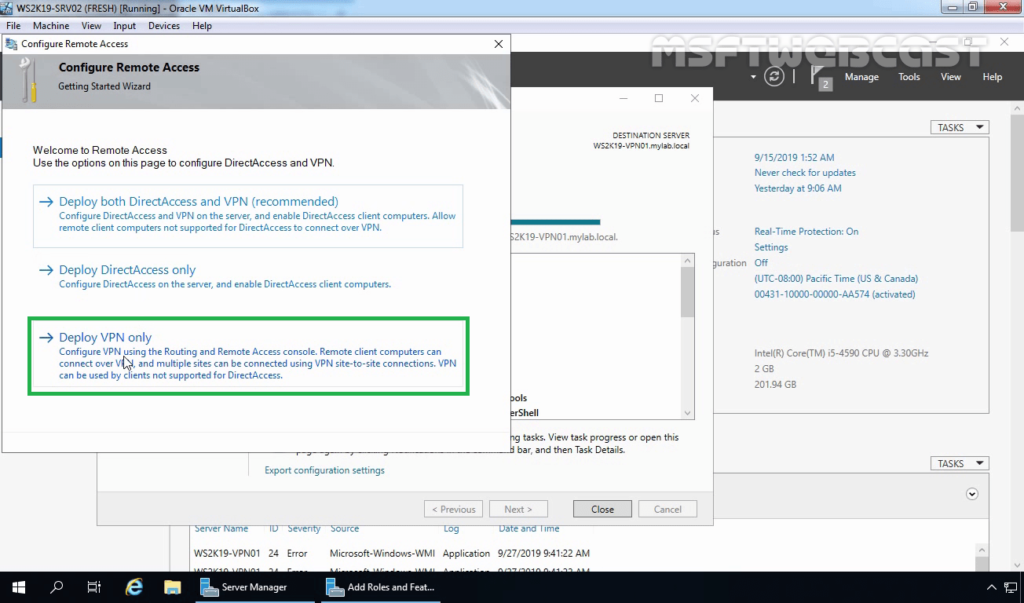
2. After that, a new window will open. On configure Remote Access page, click on Deploy VPN only.
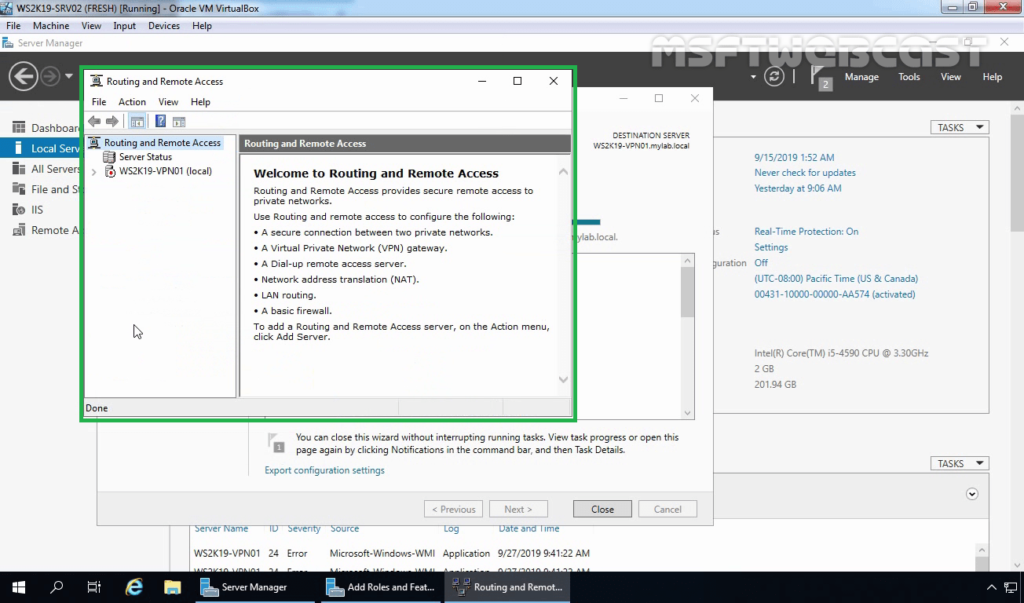
3. That will open the Routing and Remote Access Management Console. You can also open the management console from the Tools menu.
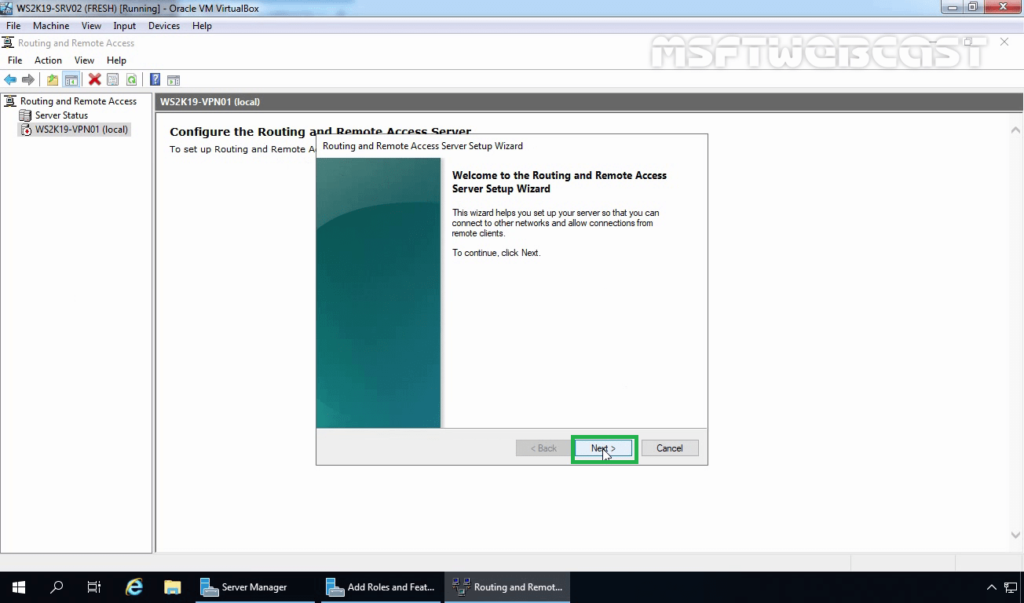
4. To configure VPN, right-click on the Server name and select Configure and Enable Routing and Remote Access.

5. On Welcome screen, click Next.
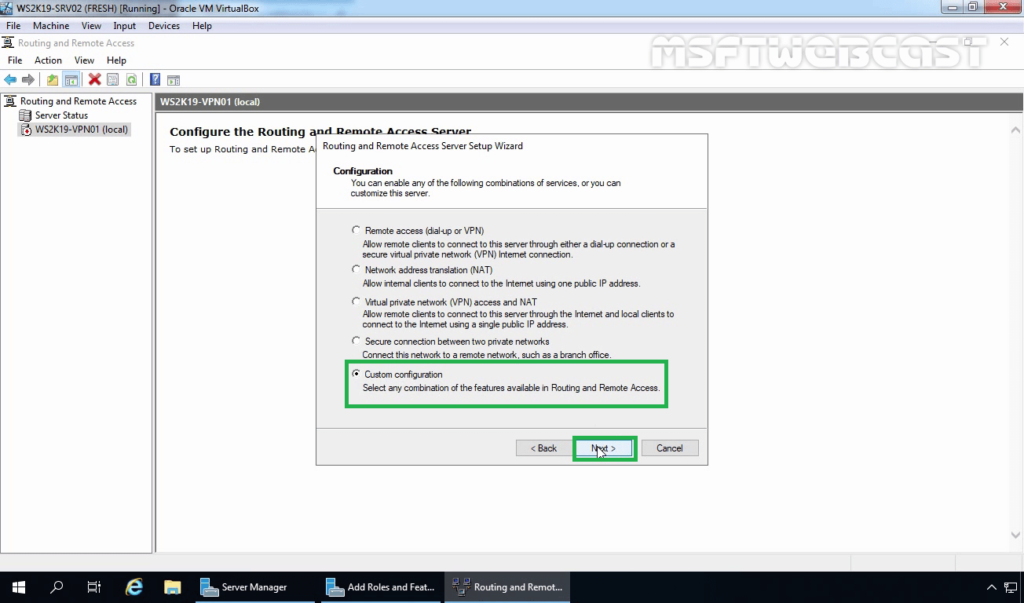
6. On the Configuration page, select the Custom configuration radio button. Click Next.
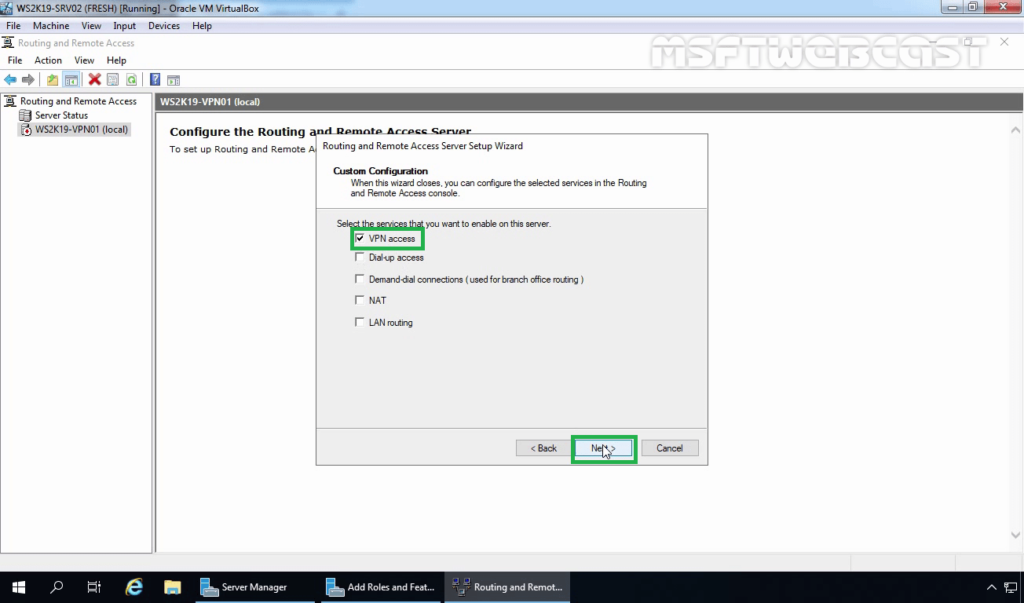
7. On select the service page, select VPN Access. Click Next.
8. After clicking on the Finish, it will ask you to start the service. Click on Start service.
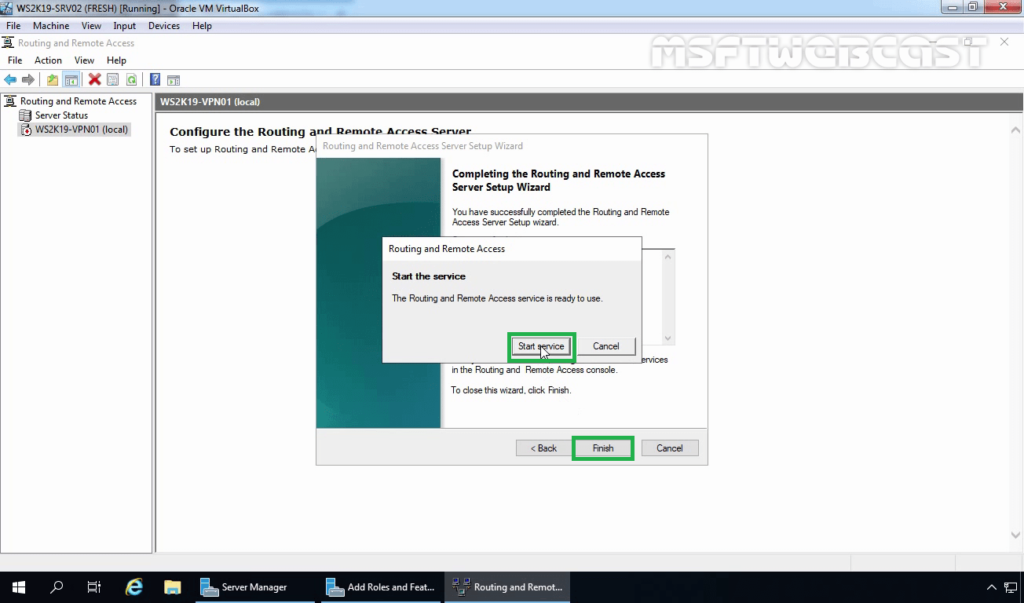
9. Now you will see a green up arrow beside your server name.
Configure VPN server properties to specify the IP Address range:
As we have selected custom configuration, we need to modify some VPN related settings on the VPN server.
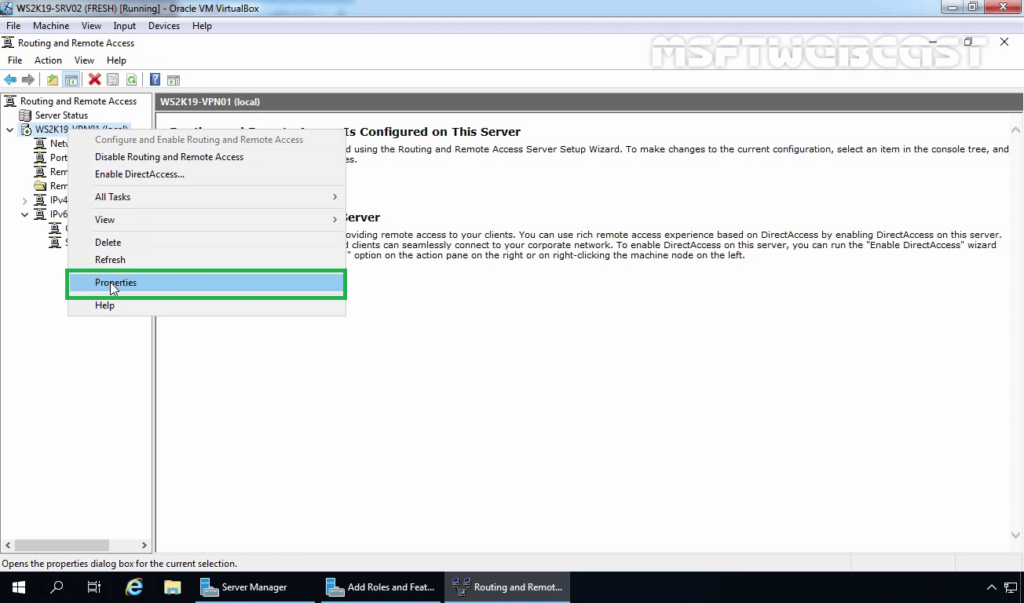
10. Right-click on the server name and click on Properties.
Note: If you don’t have a DHCP Server in your environment, then you have to add a static IP address pool. (You can skip this step, if DHCP is present in your network)
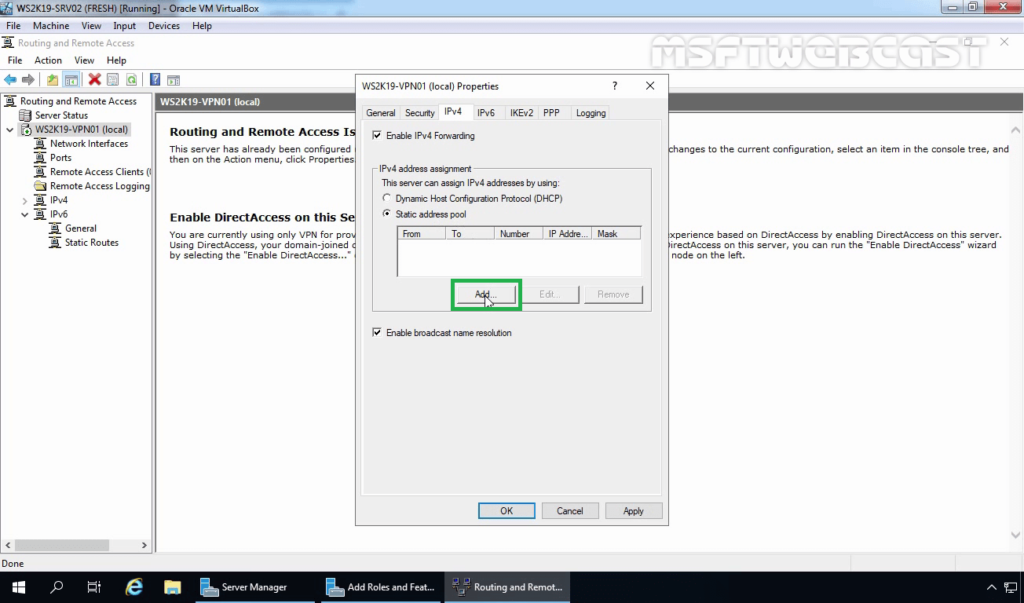
11. Click on IPv4 Tab. Select the Static Address Pool radio button.

12. Click on Add.
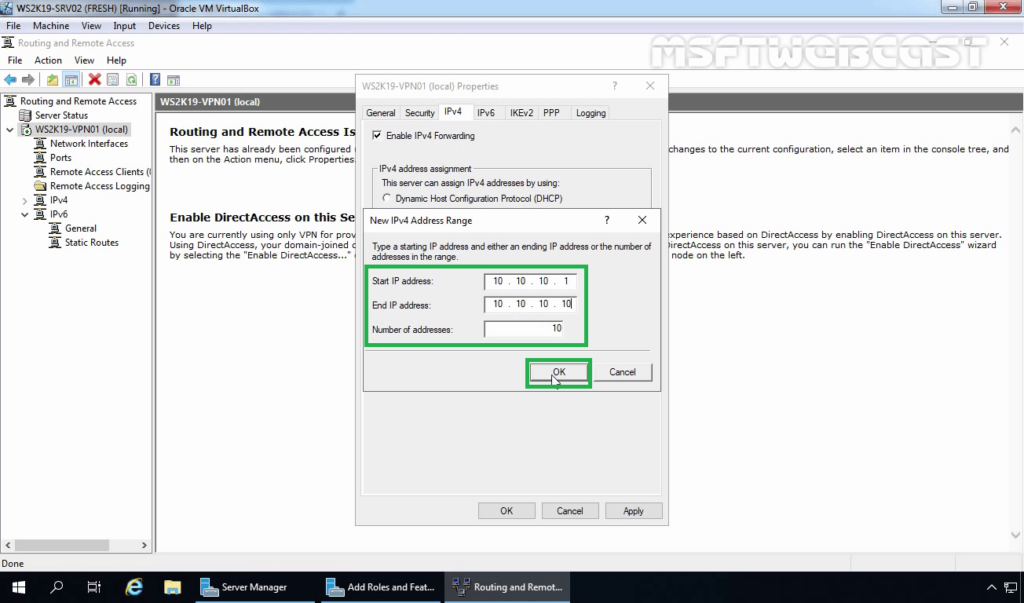
13. Specify the IP address range. Click on OK.
14. Click on Apply and OK to save the changes to the VPN server.
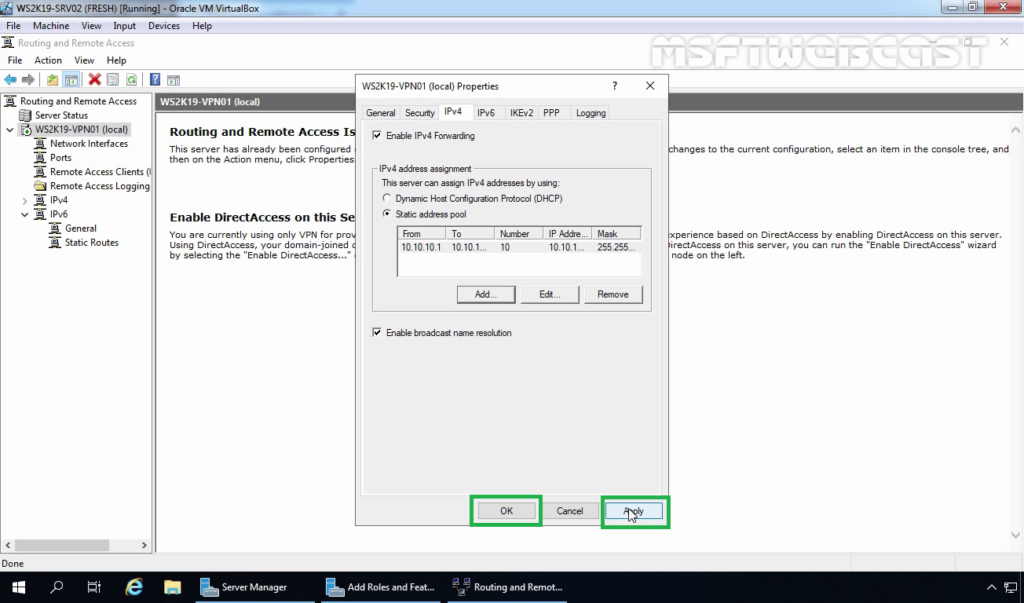
We have successfully configure VPN using Remote Access Service on Windows Server 2019. But our VPN server is not fully ready yet.
In the next part of this article series, we will create Network Policy on Network Policy Server to allow VPN users to connect to our VPN server running on Windows Server 2019.
I hope now you have a basic idea of how to set up a VPN server in a test environment or at Home. Thank You for reading.