In this article, we’ll learn the steps to install Windows Deployment Services on Windows Server 2019.
What is Windows Deployment Services?
WDS (Windows Deployment Services) is a server role that allows you to deploy an operating system to other computers over a network using PXE boot. You can install a Windows operating system on a PXE-capable client without the need for physical media such as CD/DVD.
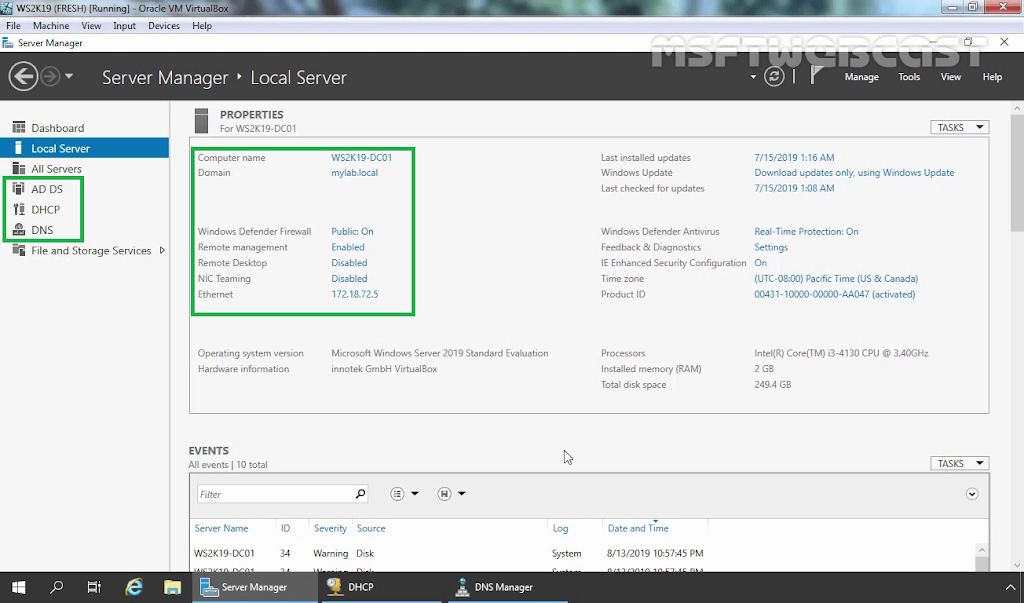
We want to install the WDS server role on our domain controller name ws2k19-dc01.mylab.local. We have already installed and configured DHCP and DNS server role on the domain controller as well.
Second part of this article: How to Configure WDS server role on Windows Server 2019
1. Open Server Manager Console.
2. In the Server Manager console, click on manage and select Add roles and features.
Verify the WDS installation:
Open the WDS management console to verify if Windows Deployment Services was installed or not.
14. In the Server Manager console, click on tools and select Windows Deployment Services.
15. Expand servers and click on server name. Here you will find yellow exclamation mark on server name that represent that we need to configure this server before we can use WDS service.
That confirms we have successfully installed Windows Deployment Services on Windows Server 2019. Make sure to check the next part in which we will cover the steps on how to configure a WDS server.
