
In this post, we will cover the steps on how to install and configure Windows Server Update Services (WSUS) in Windows Server 2019.
Introduction:
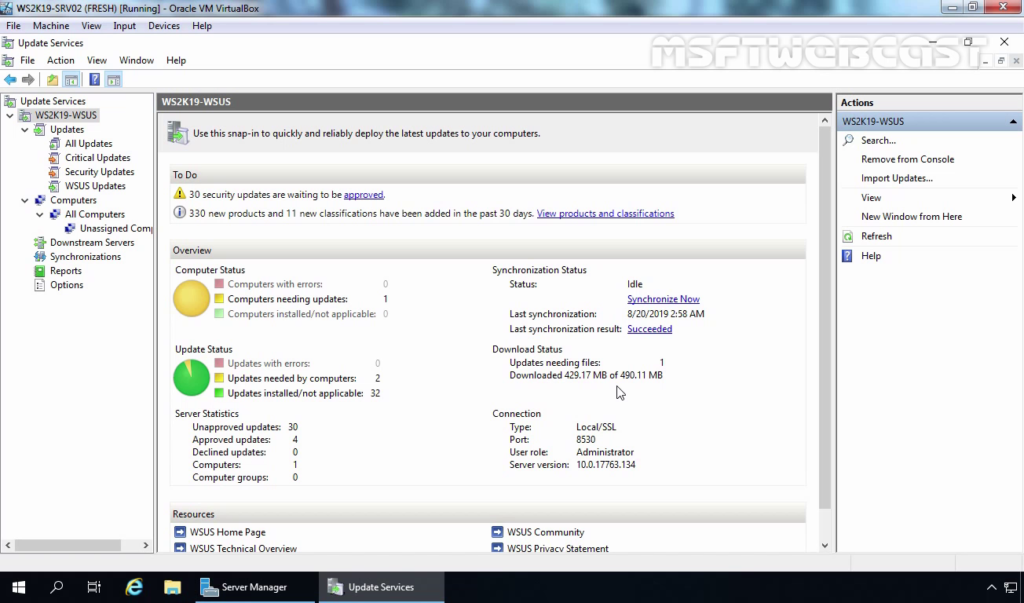
Windows Server Update Services (WSUS) enables information technology administrators to deploy the latest Microsoft product updates. You can use WSUS to fully manage the distribution of updates that are released through Microsoft Update to computers on your network.
In a WSUS implementation, at least one WSUS server on your network must be able to connect to Microsoft Update to get available update information.
WSUS test lab setup
I have created three virtual machines in my test lab.
- WS2K19-DC01: Active Directory Domain Controller and DNS server
- WS2K19-WSUS: Member Server (Going to be WSUS server)
- WS2K19-SRV01: Member Server (To test WSUS deployment)
Install WSUS server role on Server 2019:
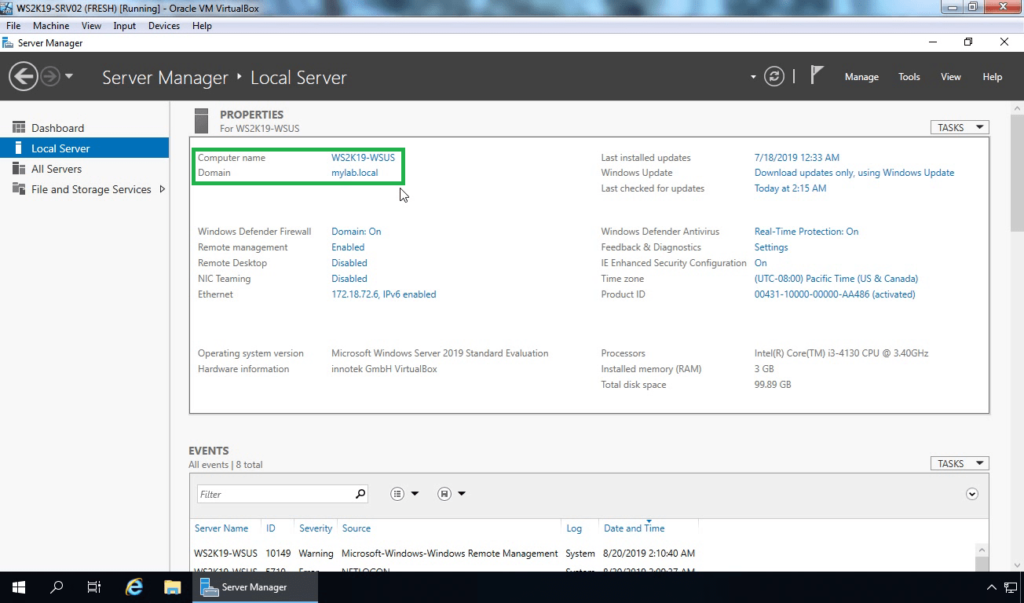
Log on to server 2019, with the credential of the domain administrator.
Open Server Manager Console.
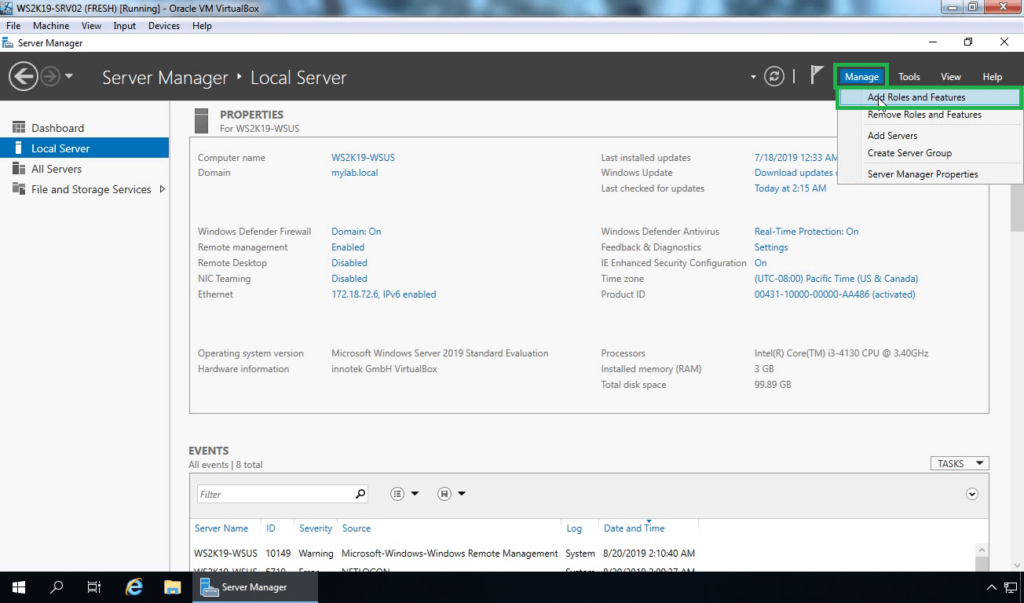
On Server Manager, click Manage and click on Add Roles and Features.
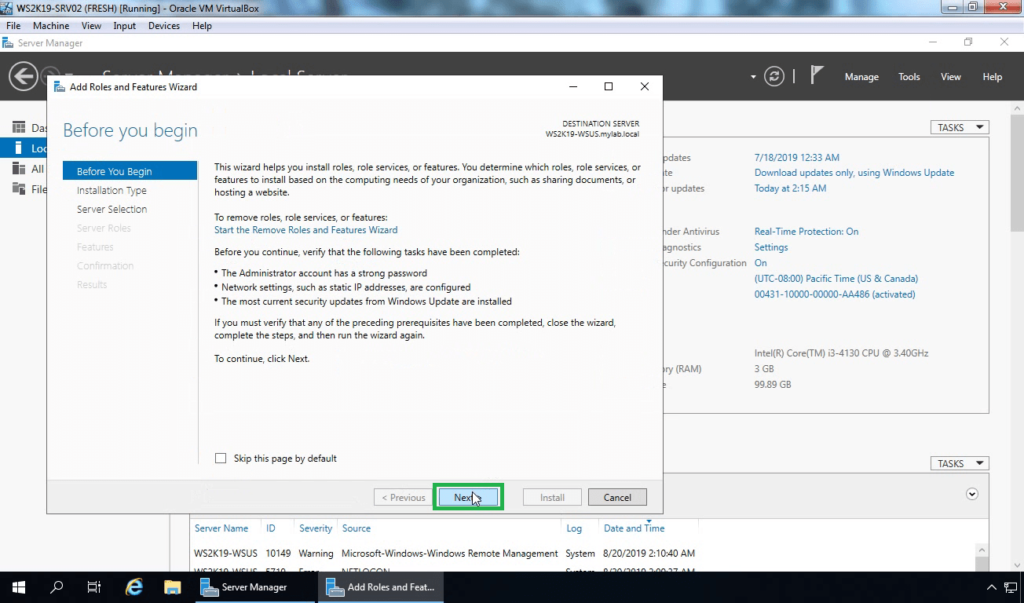
On the Before you begin page, click Next.
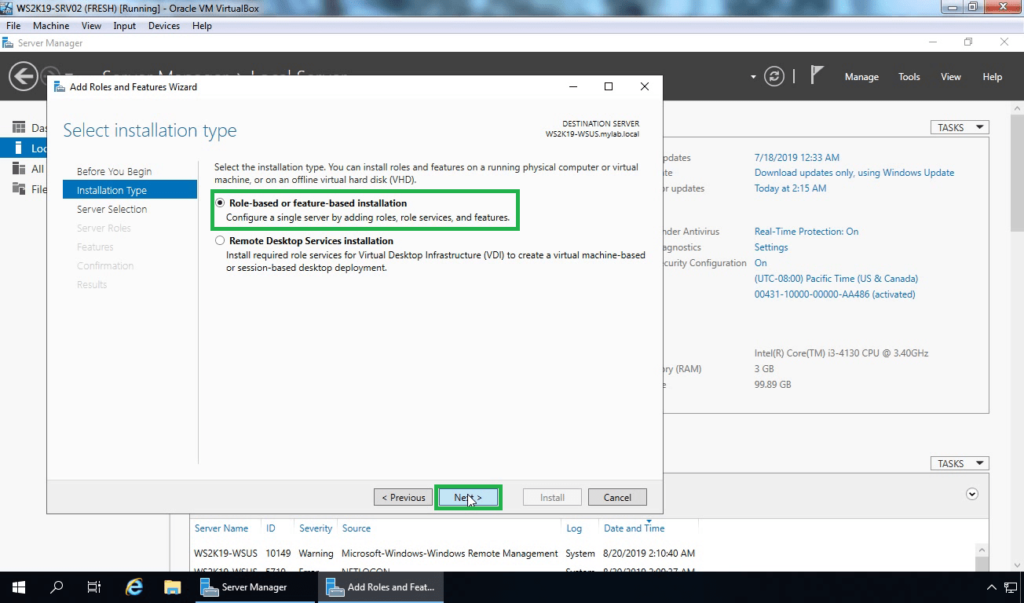
In the Select installation type page, select Role-based or feature-based installation option. Click Next.
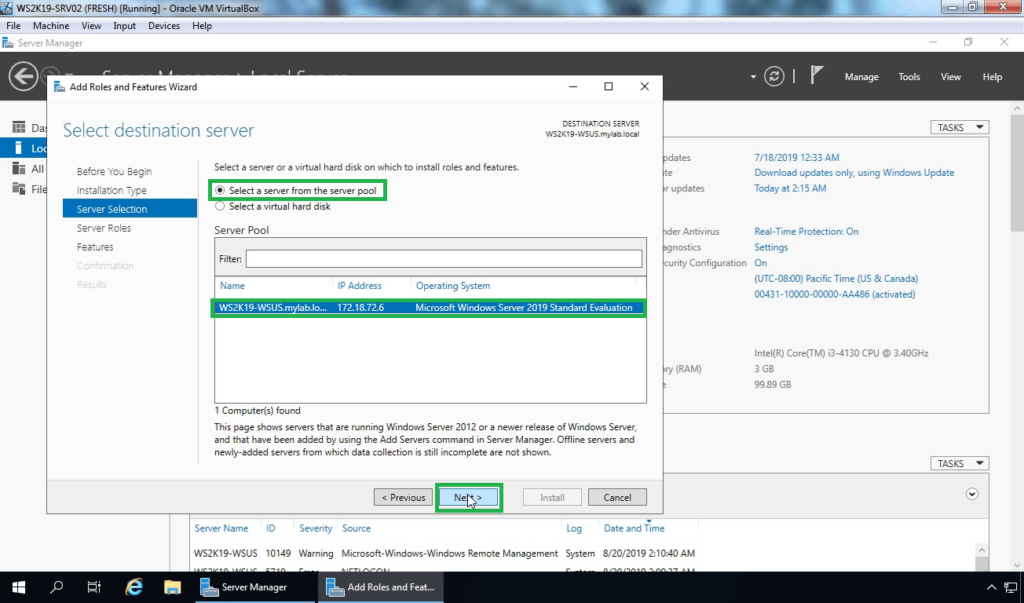
On the Server Selection page, verify the local server name (WS2K19-WSUS) is selected and click Next.
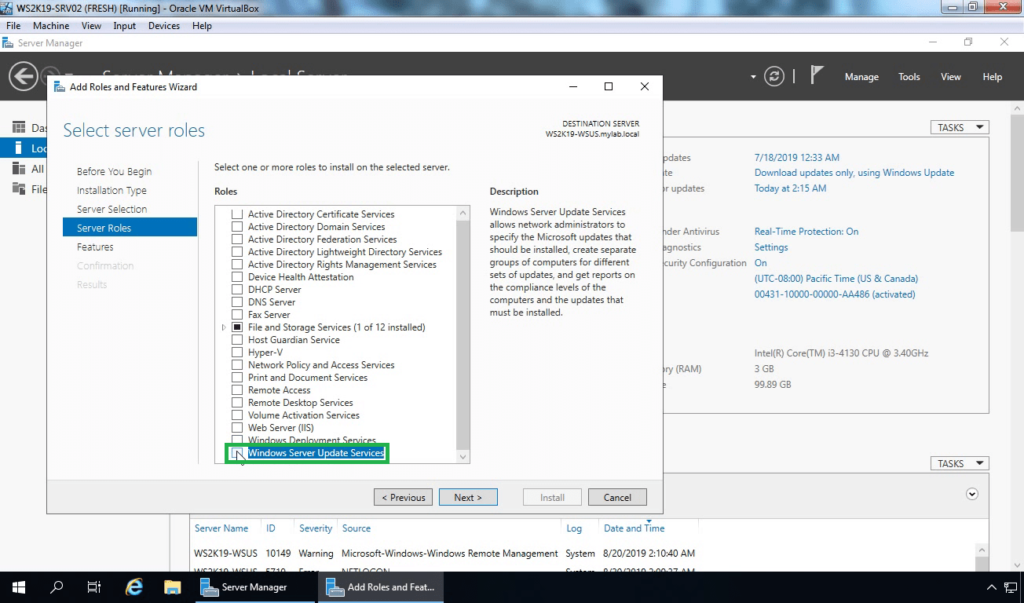
On the Server roles page, scroll down and select the role “Windows Server Update Services”.
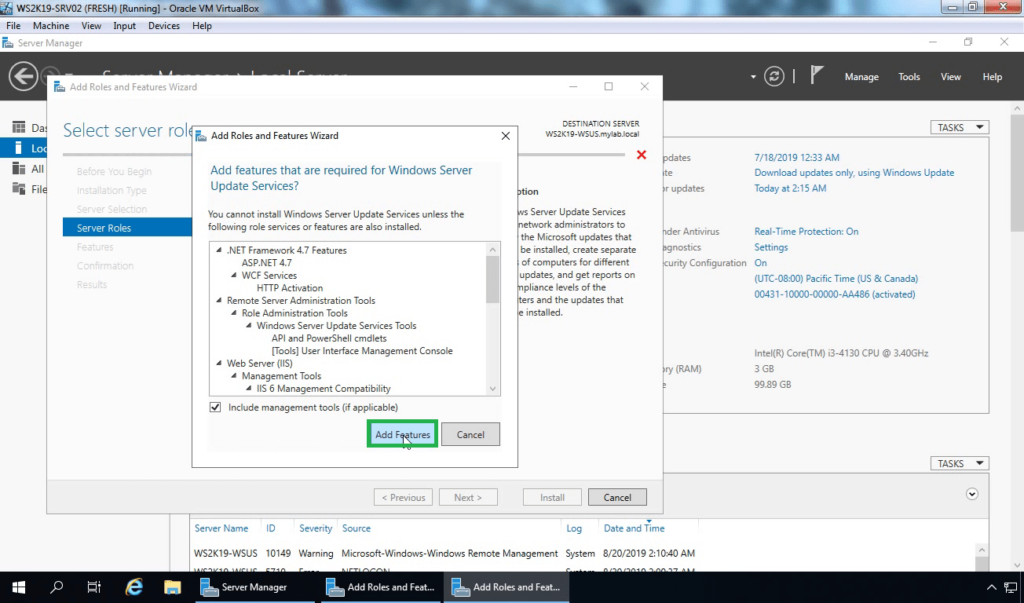
In the window that appears, click the Add Features button while you have ticked Include management tools, and then click Next to continue.
On the Select features page, leave the options to default and click Next.
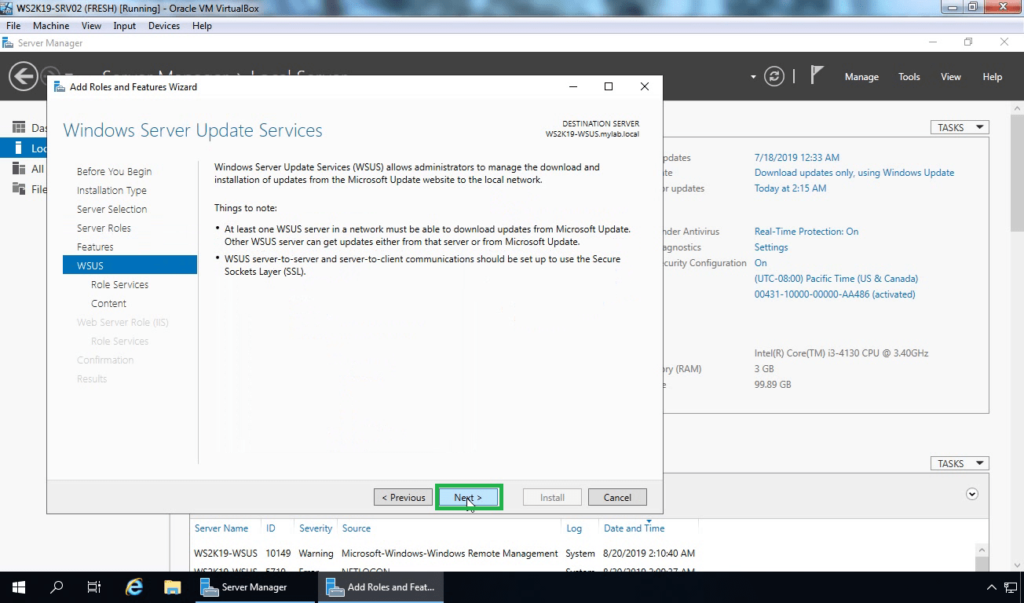
On the Windows Server Update Services window, click Next.
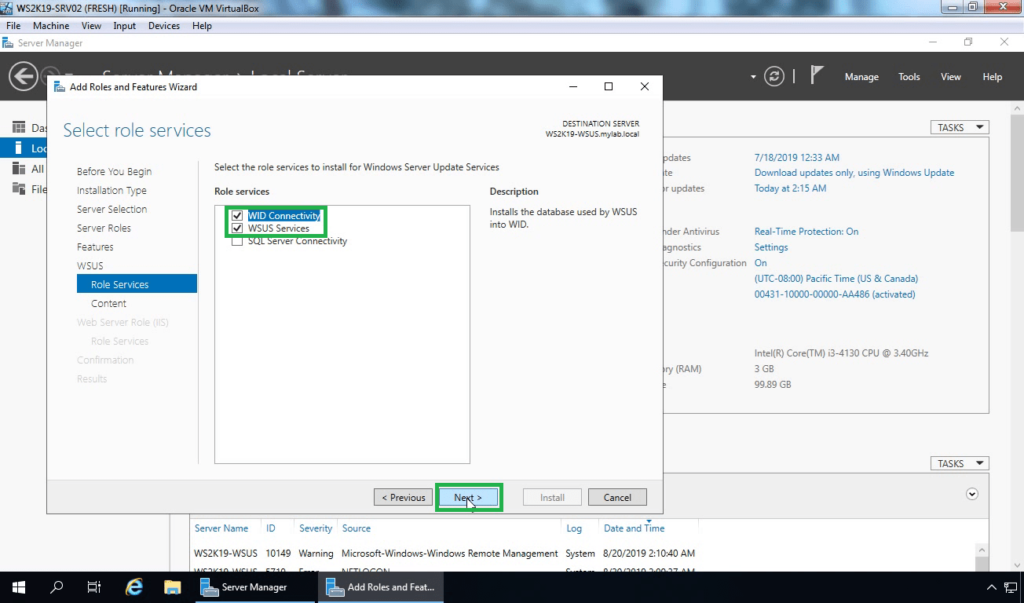
You must select role services / Database type to install for Windows Server Update Services. We will use the Windows Internal Database (WID). For large deployments using SQL Server, we can choose the SQL Server Connectivity option. Click on Next.
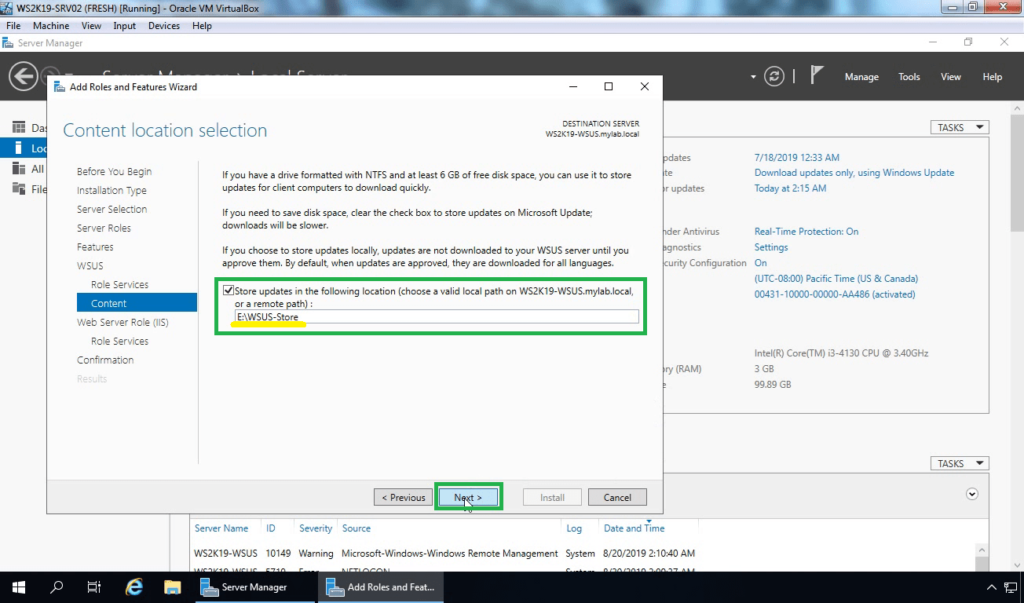
On the Content location selection, we have the option of selecting where the WSUS updates will be stored. It highly recommended storing the updates on another drive or separate disk if you can.
In this example, we will store updates on E: drive under folder name WSUS-Store. Specify the location and click on Next.
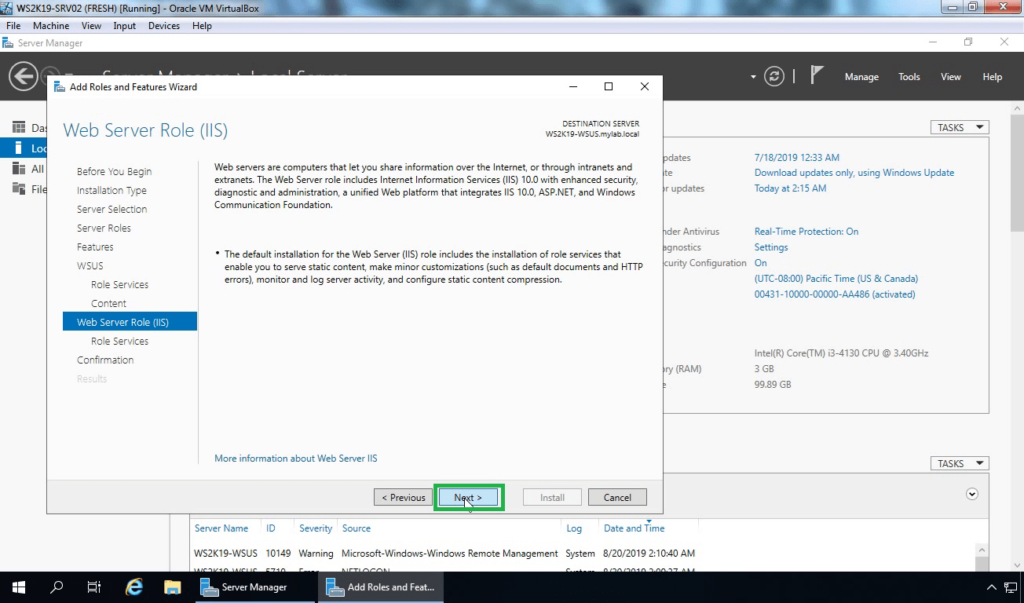
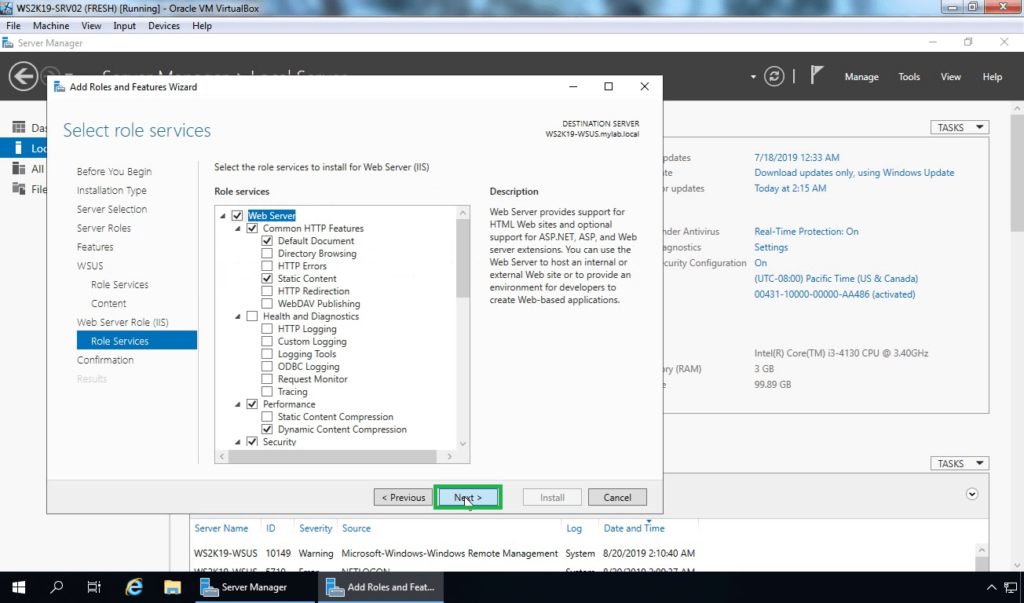
On the Web Server Role (IIS) page, click Next.
In the Role Services subsection, all necessary services are already selected. Click Next to continue.
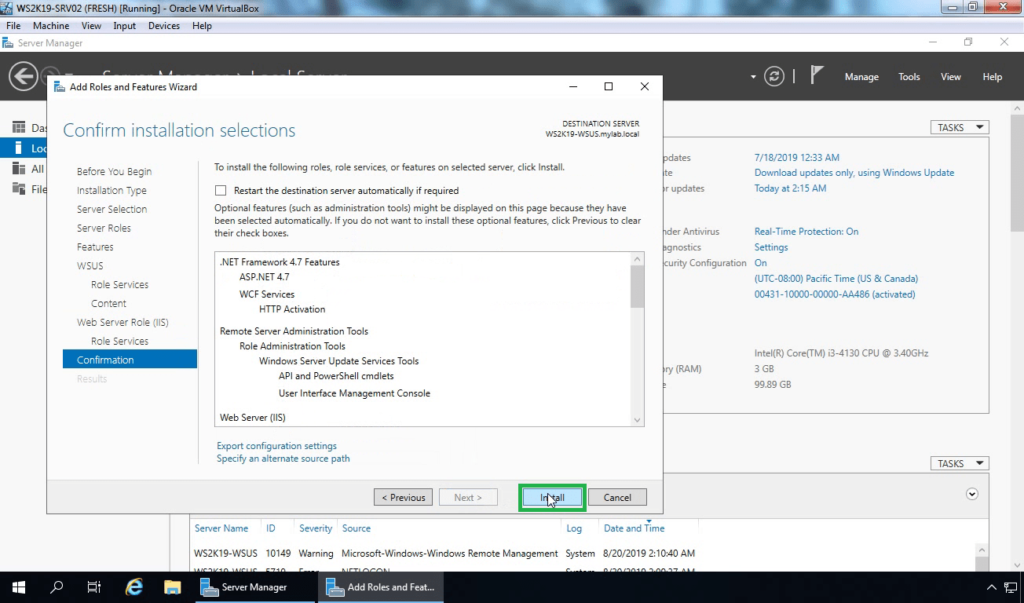
Review the settings and click Install. The installation will take a few minutes to complete.
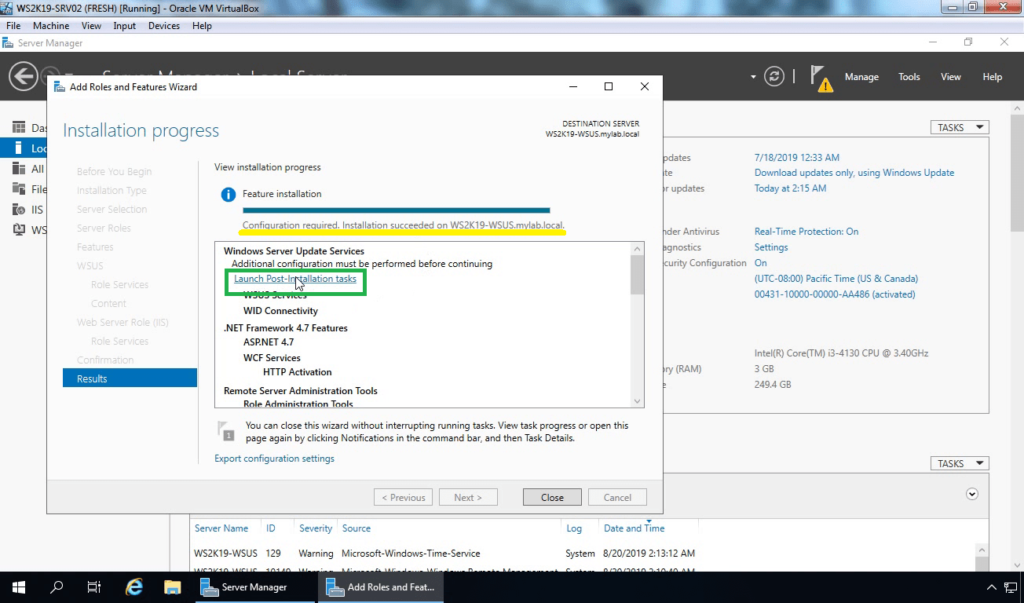
Once WSUS installation is complete, click on Launch Post-Installation tasks link.
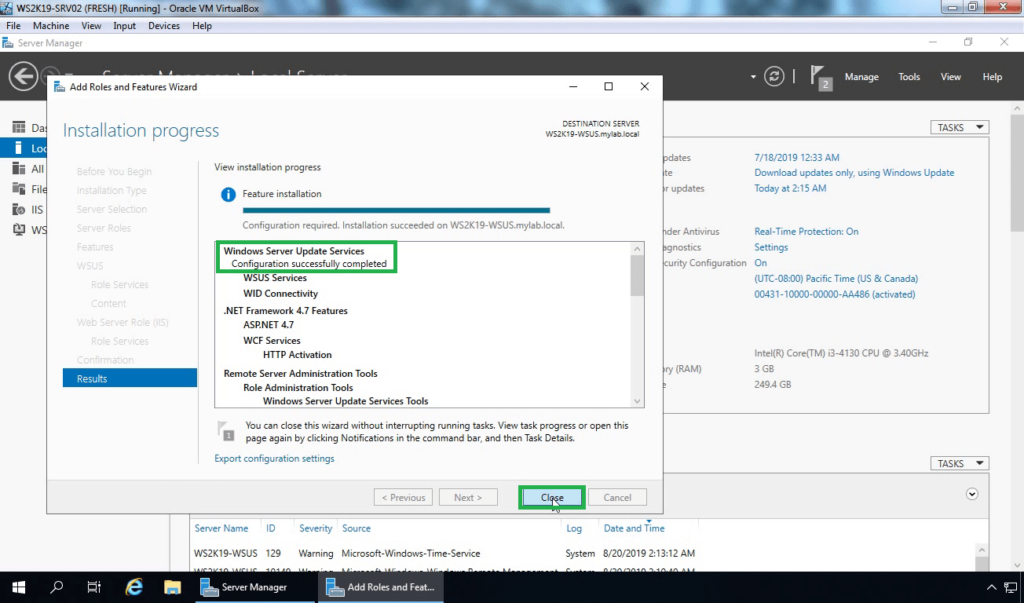
Wait for the message “Configuration successfully completed”. Click on Close.
Once you have installed WSUS server, the next steps is to configure it. In the next article, we will configure the WSUS server role in Windows Server 2019.