In this post, we will see the process to install windows server 2019 in Virtual Box. But before we start installation let’s check minimum system requirement to install windows server 2019.
Minimum system requirement to install windows server 2019.
- Processor: At least 1.4 GHz or faster 64-bit supported processor
- RAM: 512 MB
- Free Space: 32 GB of available free disk space.
How to install Windows Server 2019
First download Windows server 2019 Evaluation edition ISO image from Microsoft TechNet Evaluation Center. https://www.microsoft.com/en-US/evalcenter/evaluate-windows-server-2019
Link to download Oracle VirtualBox: Click Here
Start your VirtualBox and create one VM with below configuration.
- Name: As you wish
- Type:- Microsoft Windows
- Version:- Windows 2016 (64-bit)
- RAM:- 2048 MB
- Create Dynamically Expanding VDI with size 100 GB
After creating VM click on start.
Mount the ISO image which we have downloaded earlier.
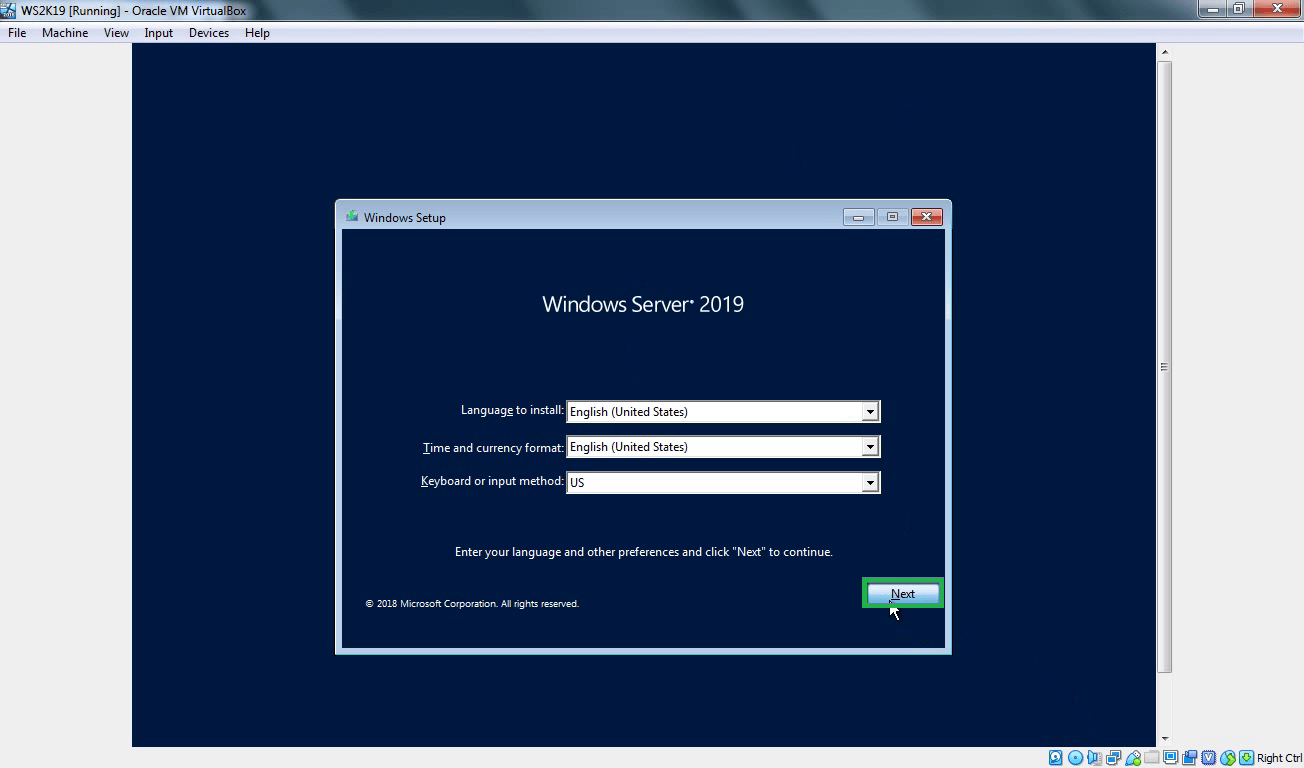
Step:1 On Windows Setup console select the installation language, time and currency format and keyboard layout. You can simply use default settings which will be OK.

Step:2 Click on Install now to start the installation process.

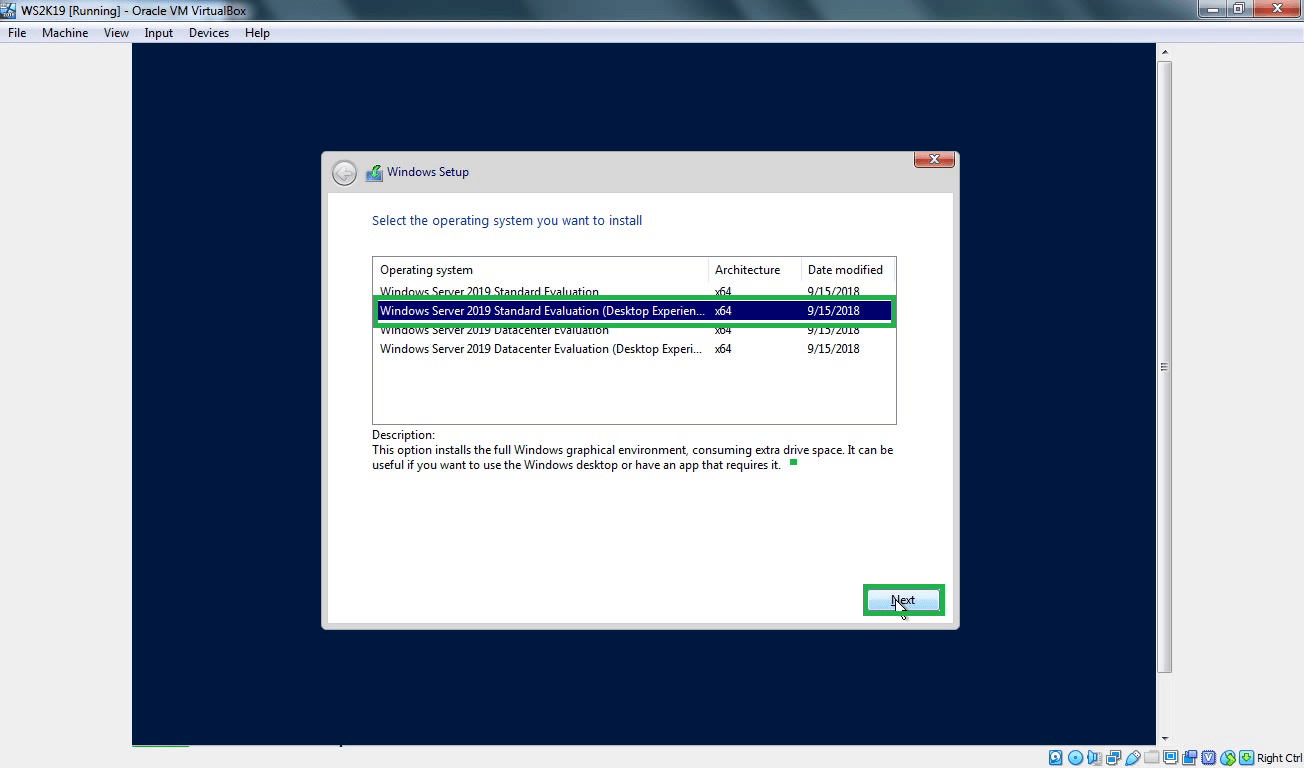
Step:3 Select the operating system which you want to install. (First option will install windows server without a graphical user interface.)
If you want GUI to manage server select second option i.e. Windows Server 2019 Standard Evaluation (Desktop Experience).
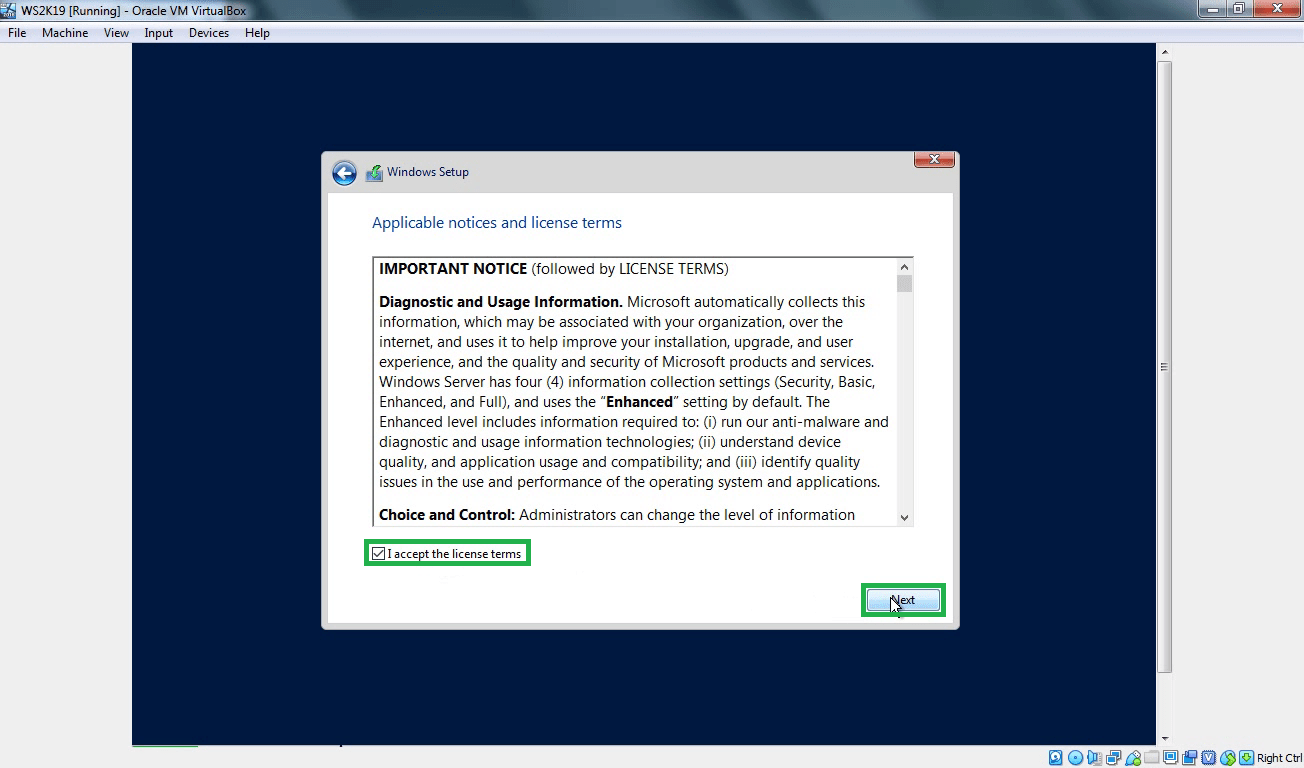
Step:4 Select Accept the license terms and click on next.
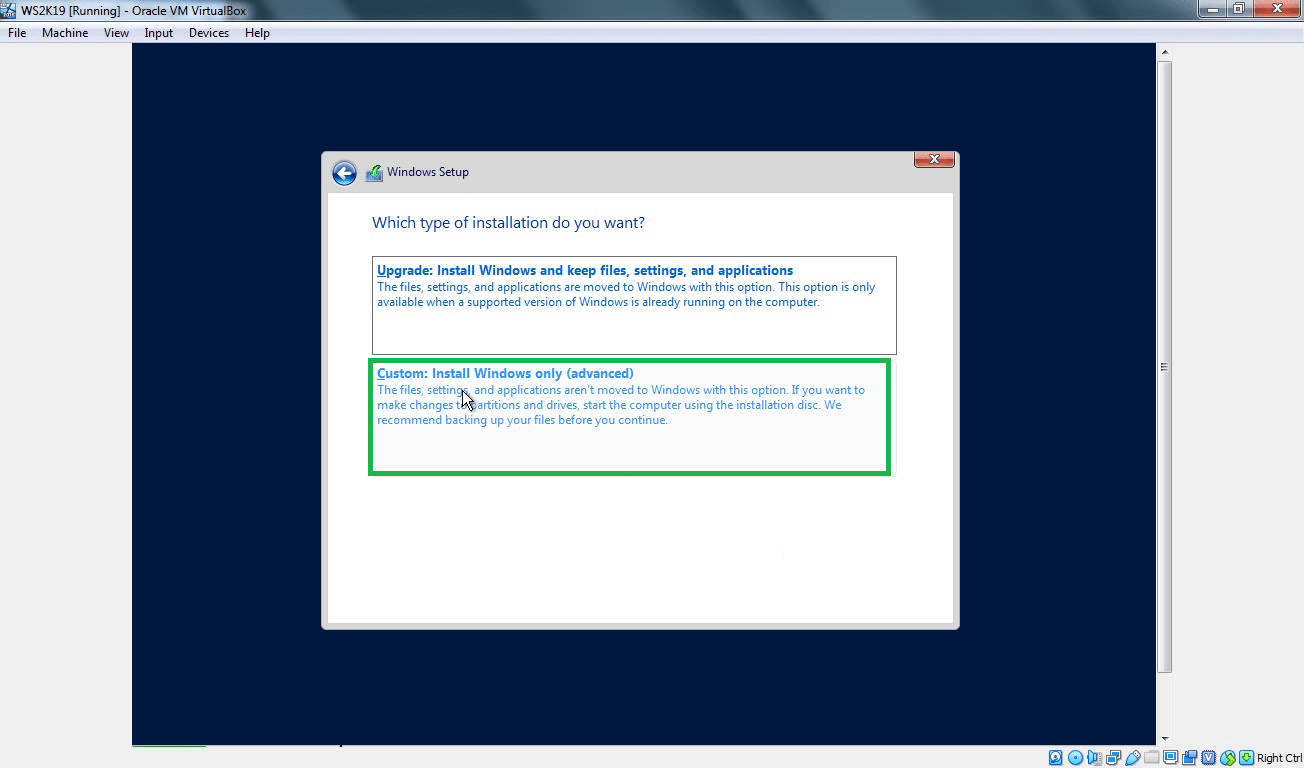
Step:5 For a fresh installation of server 2019 we need to select the second option, Custom: Install Windows Only and then click on next.
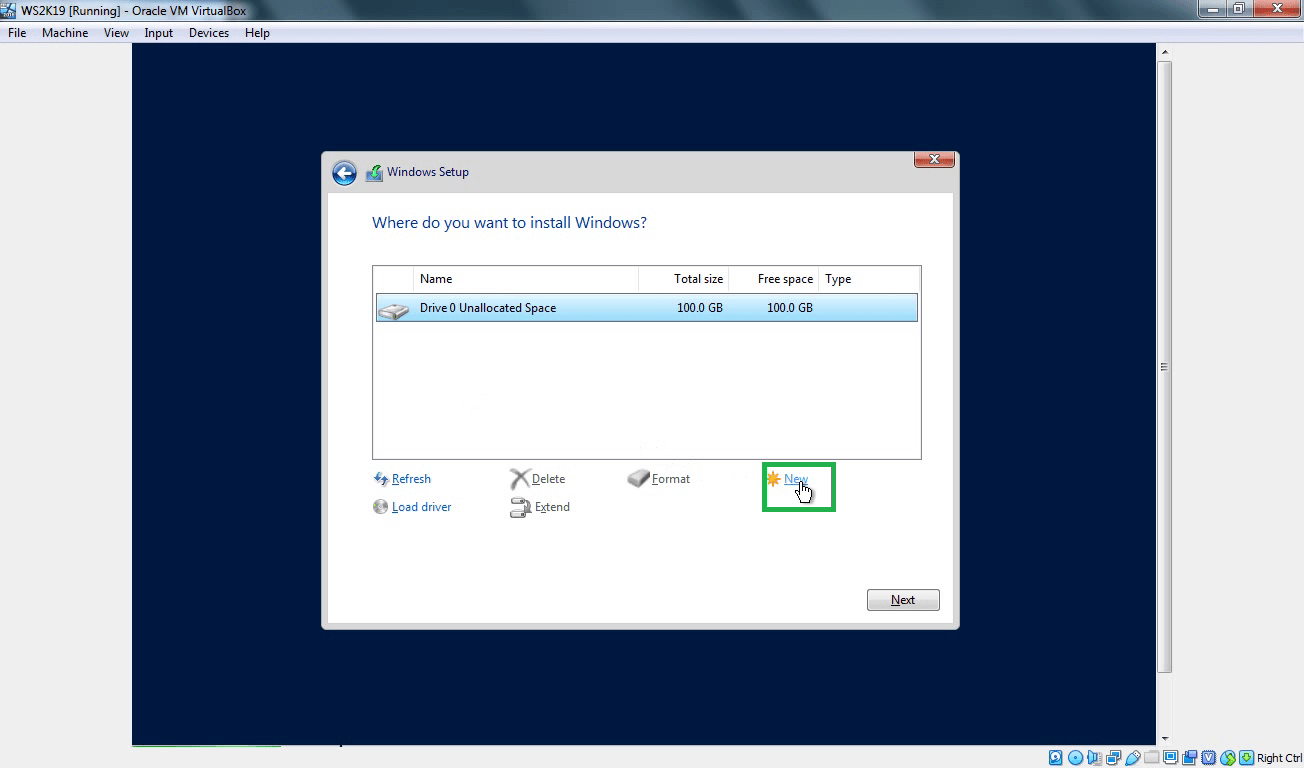
Step:6 Select your virtual hard disk and click on New to create a new partition to install server 2019.
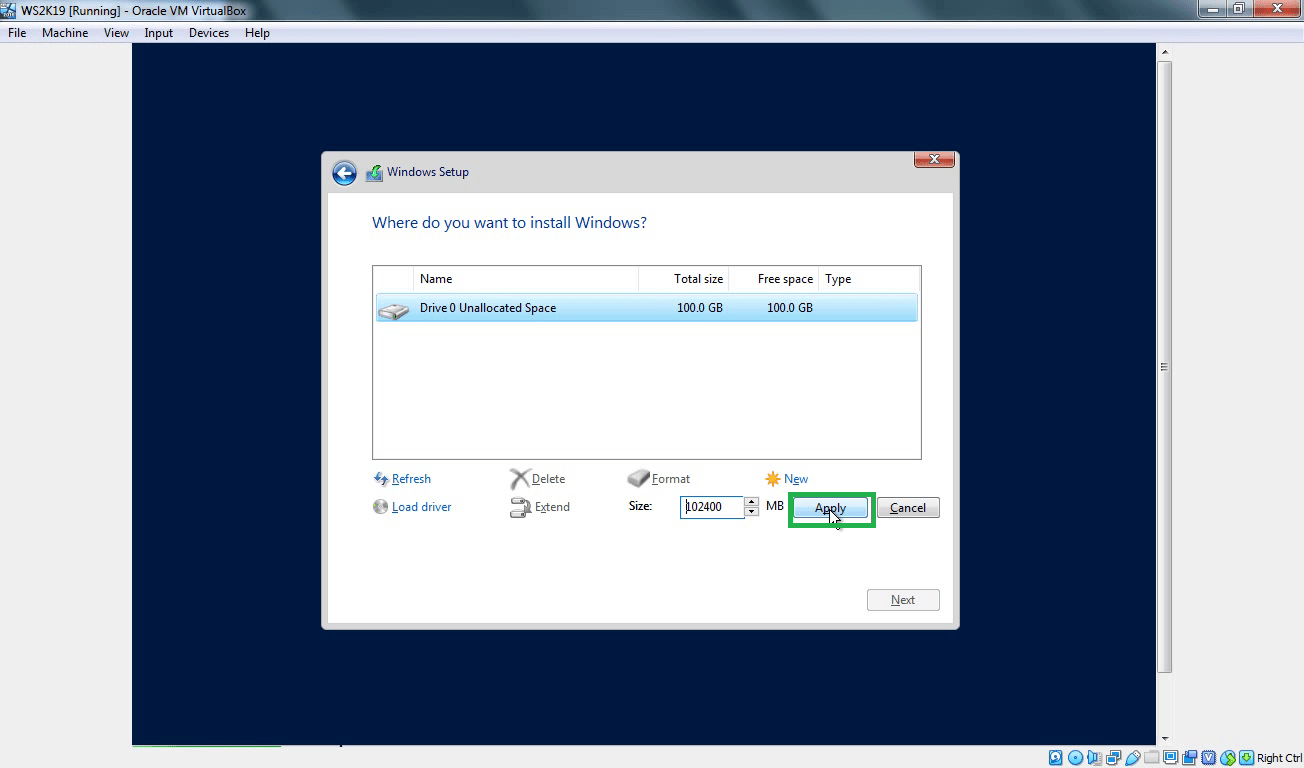
Step:7 For this demo, I am creating only one partition of 100 GB in size.
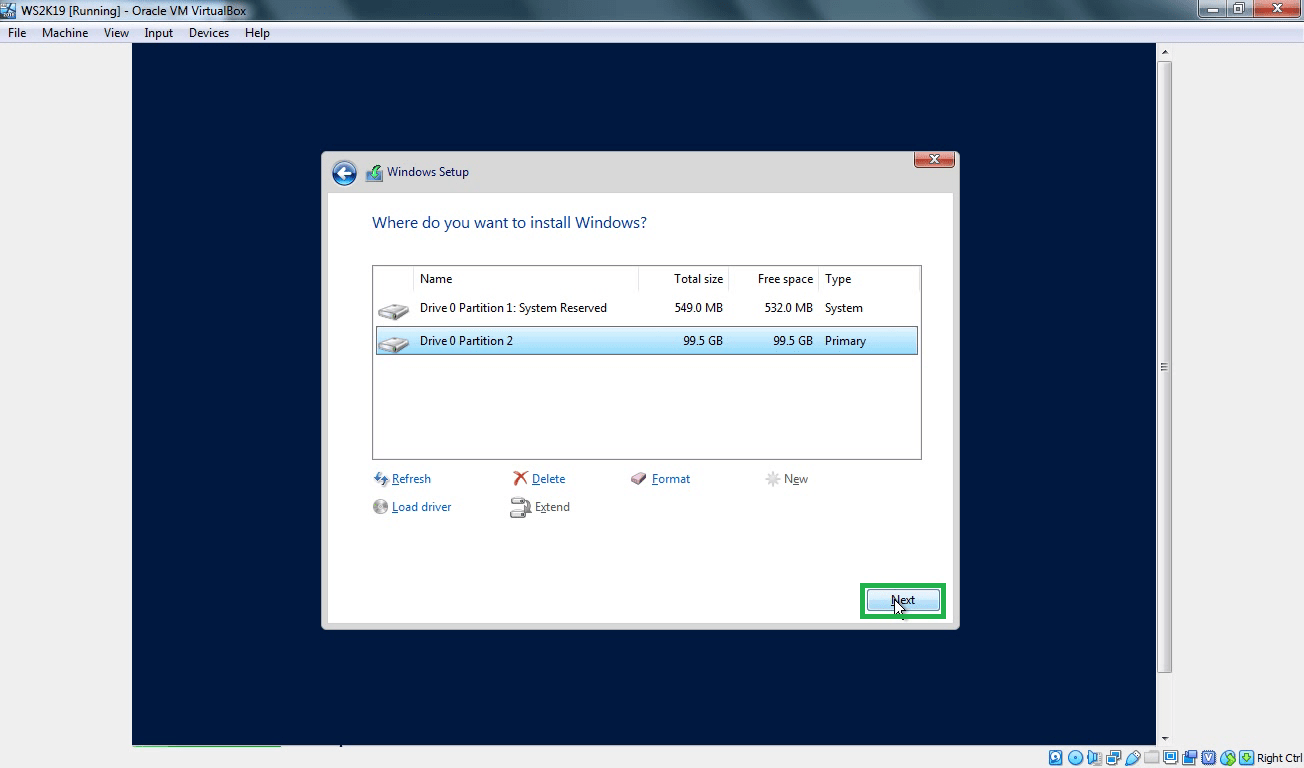
Step:8 After creating a partition, Click on Next to continue.
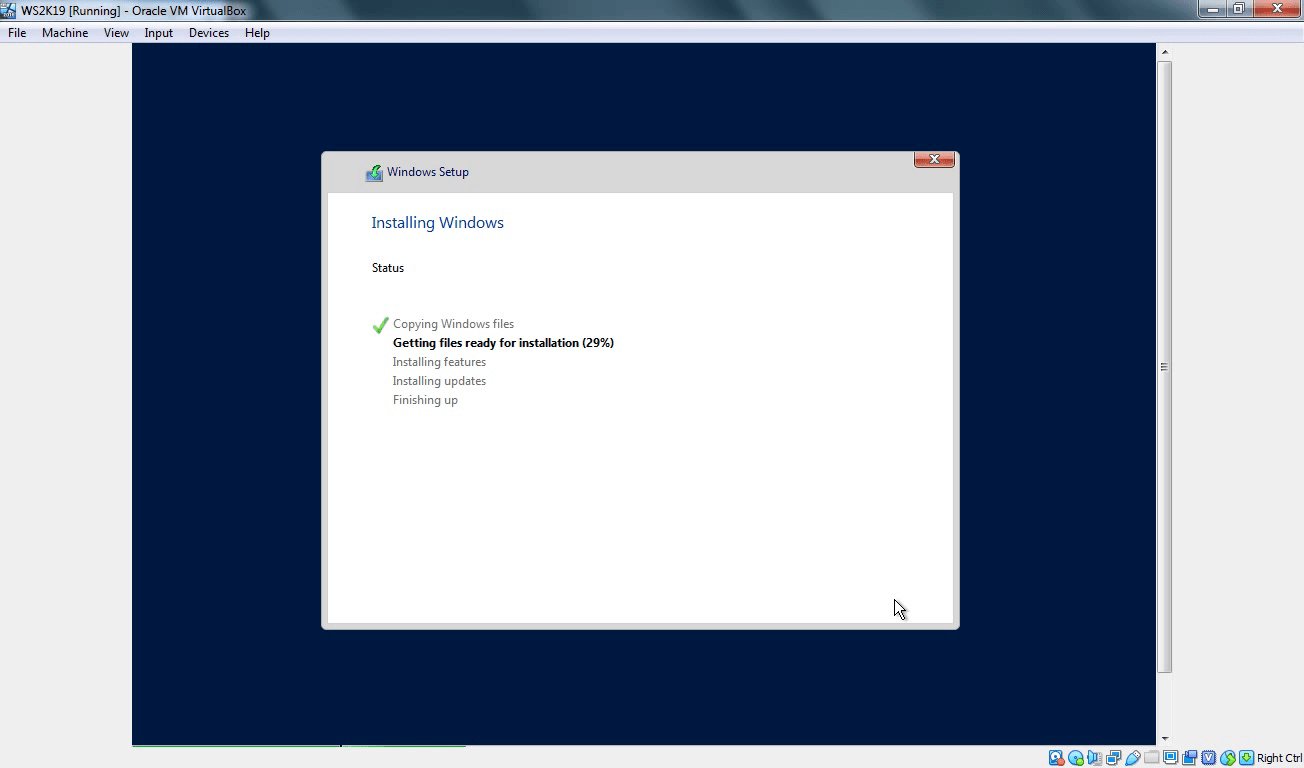
The installation process will take some time to complete the process. Once installation completes server will restart automatically.
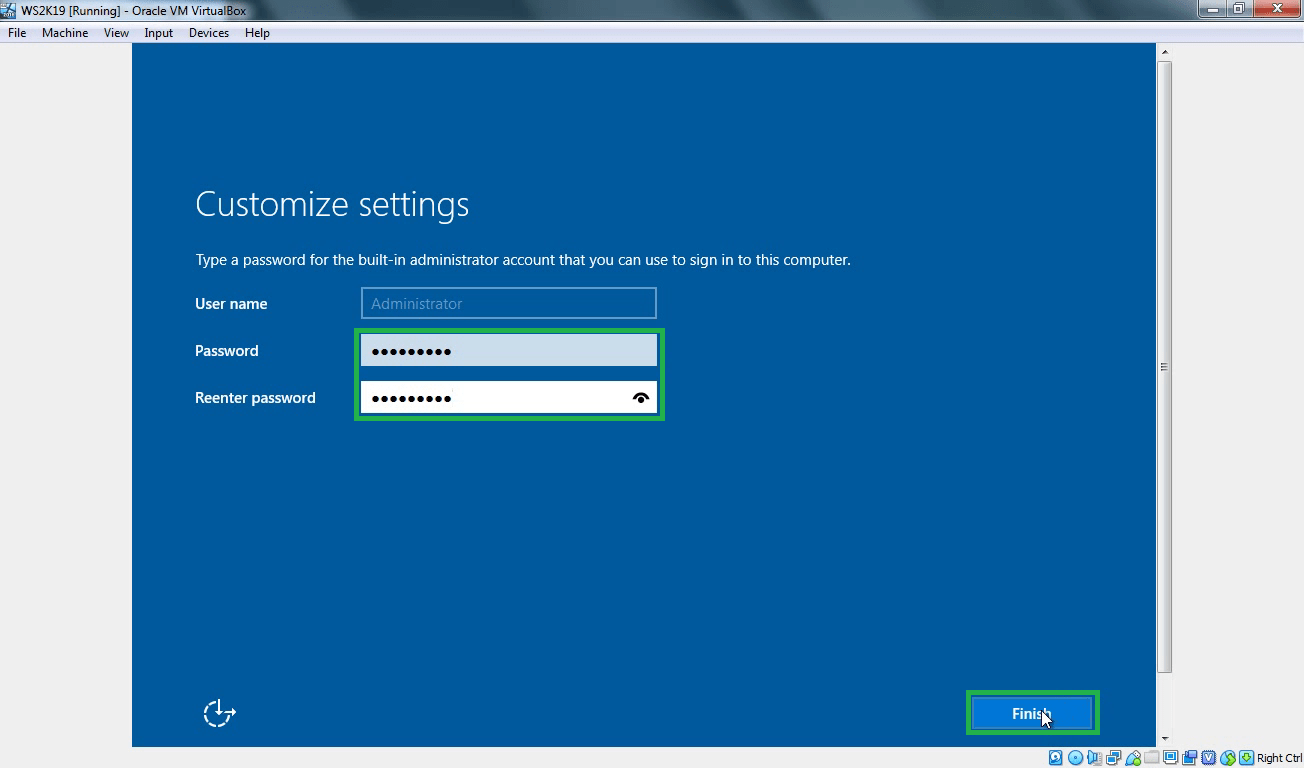
At next boot, you will see below screen asking to set Administrator account password for windows server 2019.
Step:9 Specify the password of your choice to protect Administrator account of Windows Server 2019.
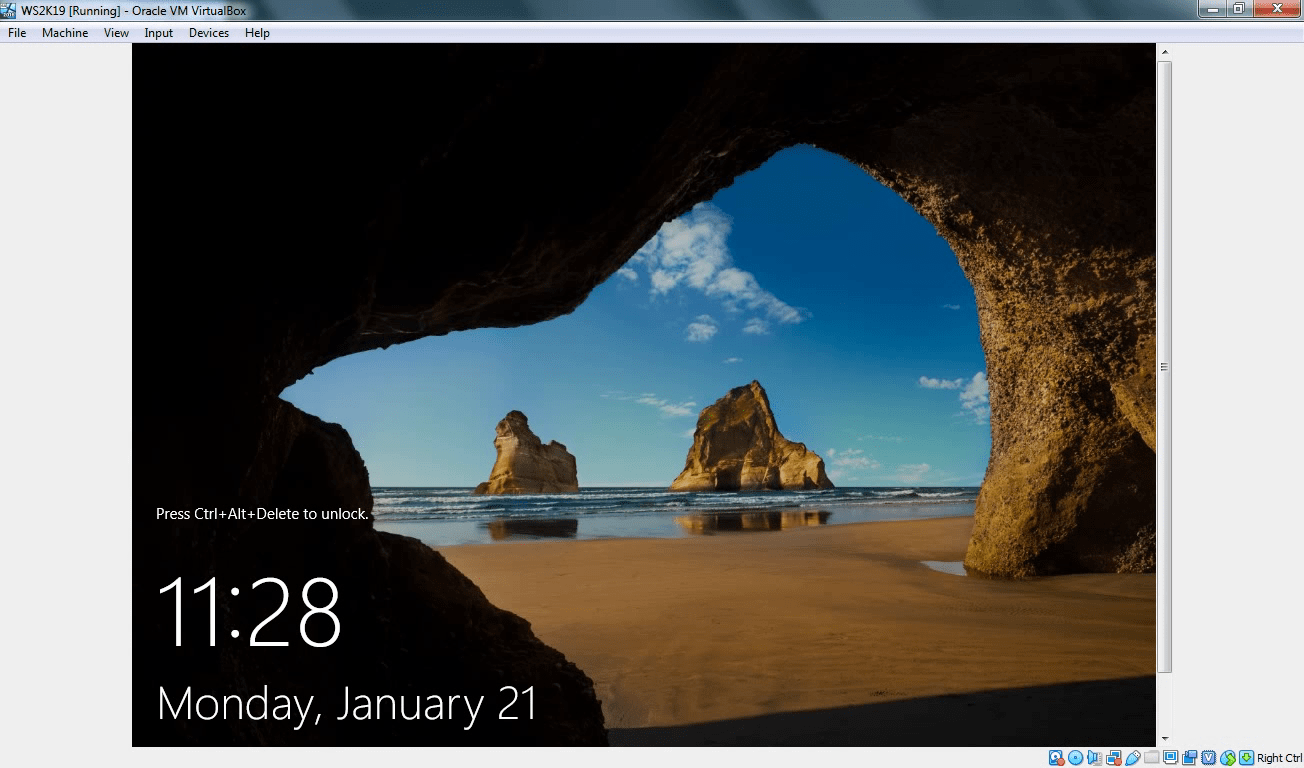
Congratulations! Now you are ready to log in first time on your newly installed Windows Server 2019.
Now press CTRL + ALT + Delete key combination.
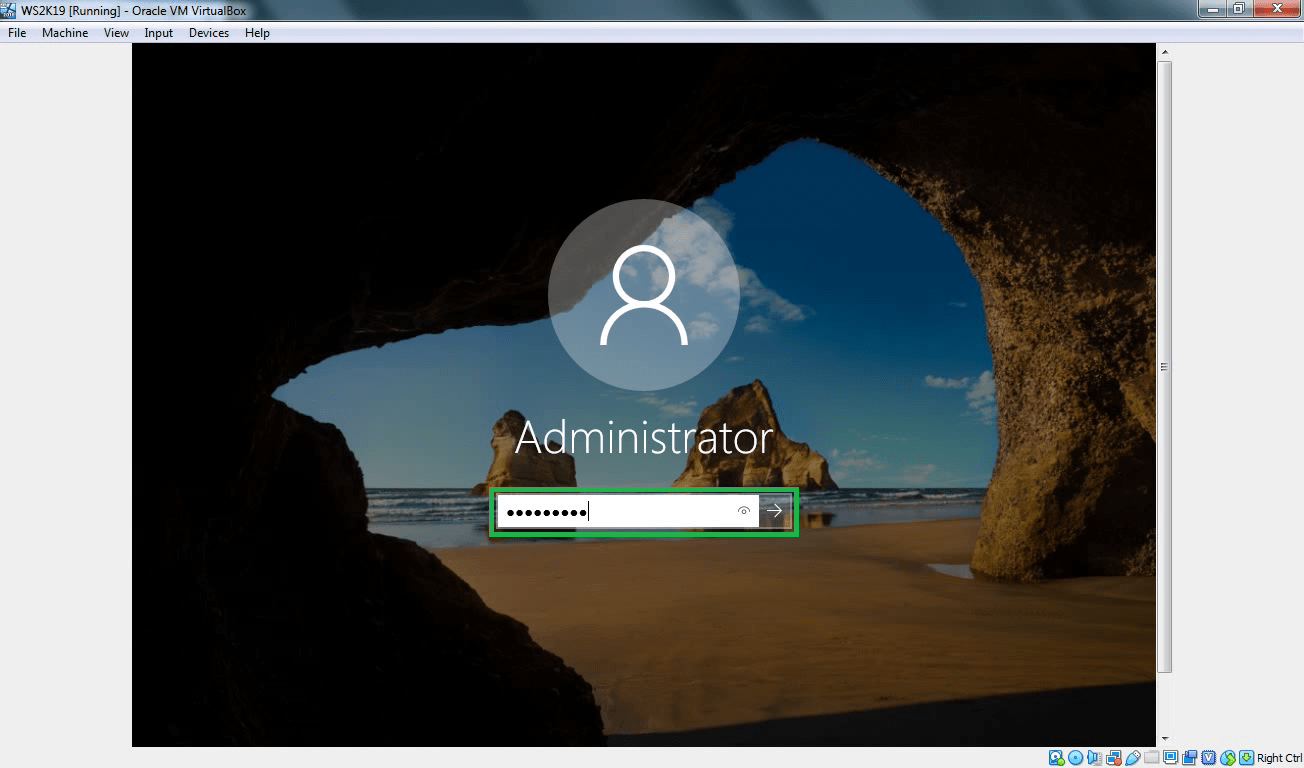
Specify the administrator account password and hit the enter key to login to Windows Server 2019.
Here we go.
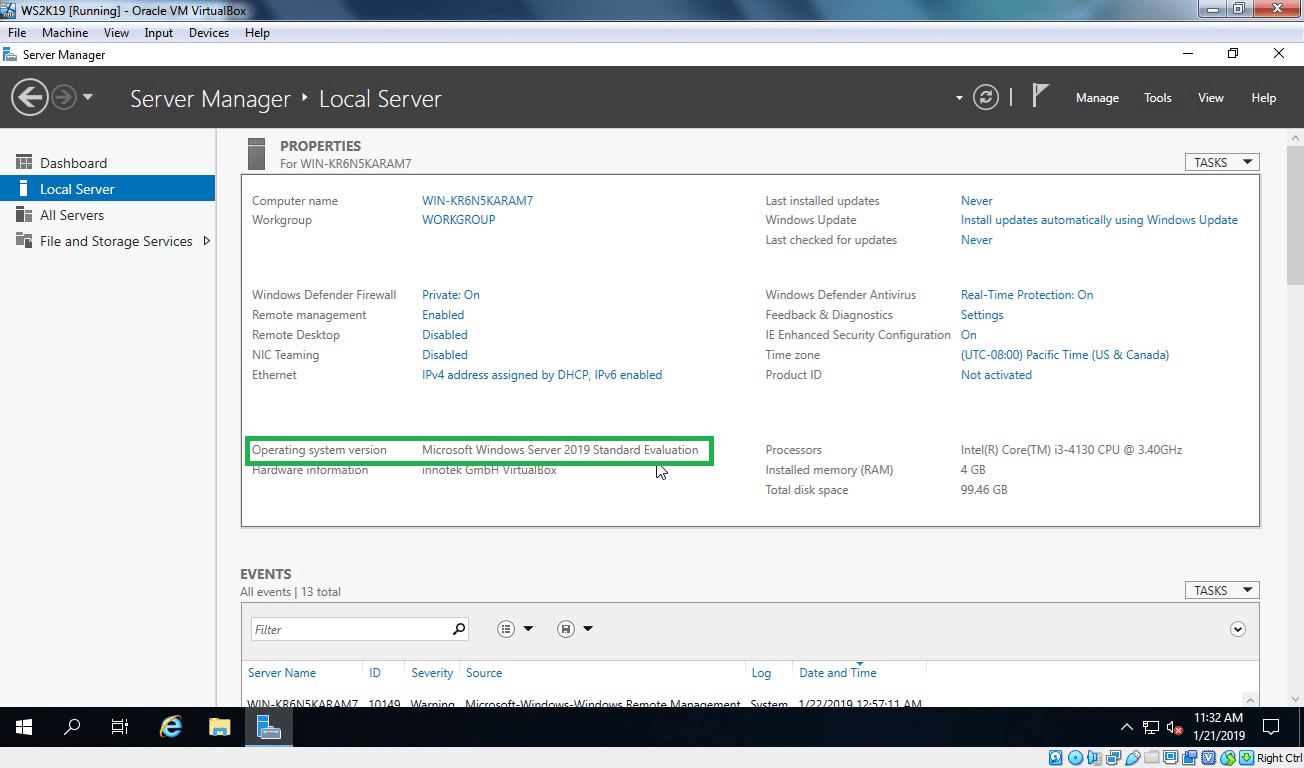
We have successfully installed Windows Server 2019 in Oracle Virtualbox.