In this blog post, we are going to look at the steps to install Windows Admin Center into Windows Server 2019 Virtual Machine. For this guide I have two Windows Server 2019 Virtual Machine up and running in Oracle VM VirtualBox.
VM: 1
WS2K19-DC01.mylab.local
172.18.72.5
Active Directory Domain Controller with DNS for mylab.local domain.
VM: 2
WS2K19-SRV01.mylab.local
172.18.72.11
Member server for mylab.local domain.
(Note: On both Windows Server 2019 virtual machine I have logged on as a Domain Administrator.)
You can also check out my video on How to install Windows Admin Center on Windows Server 2019 on YouTube.

Windows Admin Center is a locally deployed, browser-based app for managing servers, clusters, hyper-converged infrastructure, and Windows 10 PCs and it’s free.
System Requirements:
Windows Admin Center can be Install on Windows 10 or Windows Server 2016 or newer version of windows server. Installation of Windows Management Framework 5.1 is required on those servers. There are no other dependencies.
You can manage below server with Windows Admin Center:
- Windows Server 2008 R2 (Some features only)
- Windows Server 2012 and 2012 R2
- Windows Server 2016
- Windows Server 2019
- Windows 10
Open any web browser of your choice and search for Windows Admin Center.

Click on Windows Admin Center result.
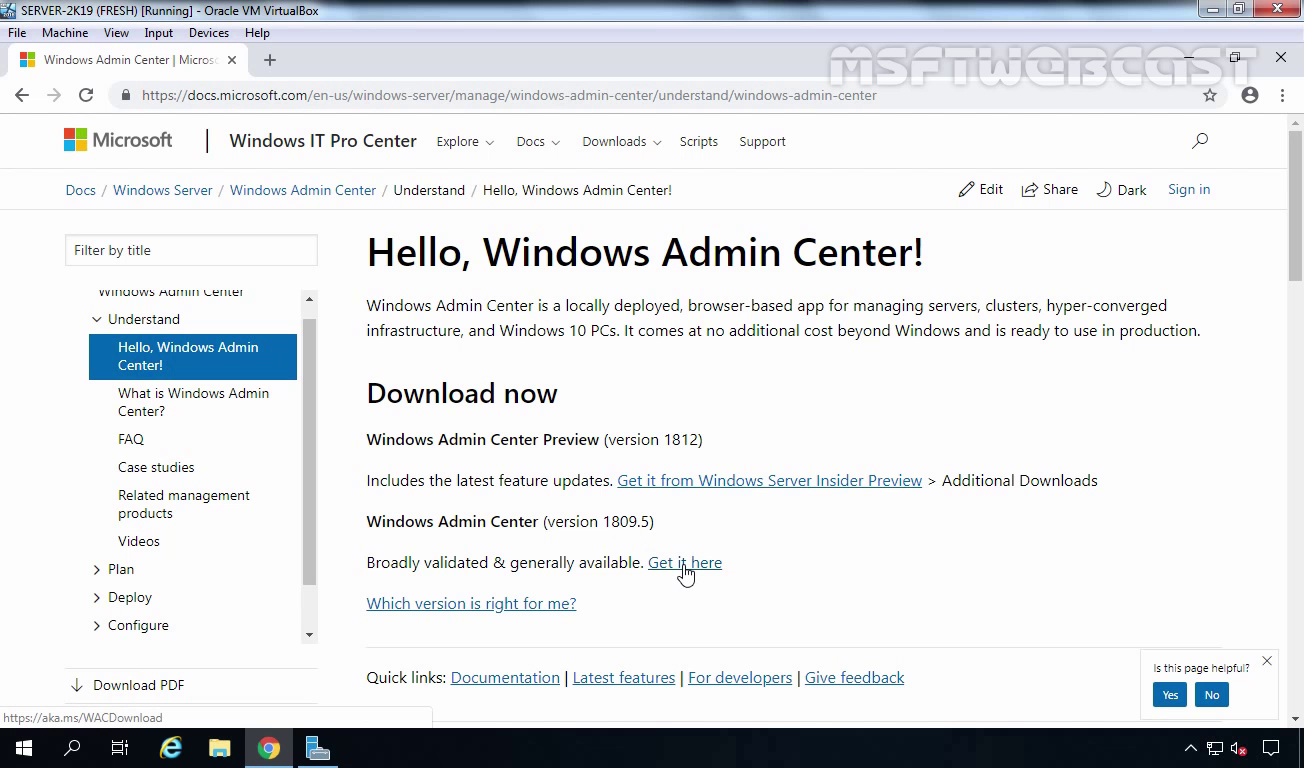
Official link to download latest version of Windows Admin Center (Version 1904):
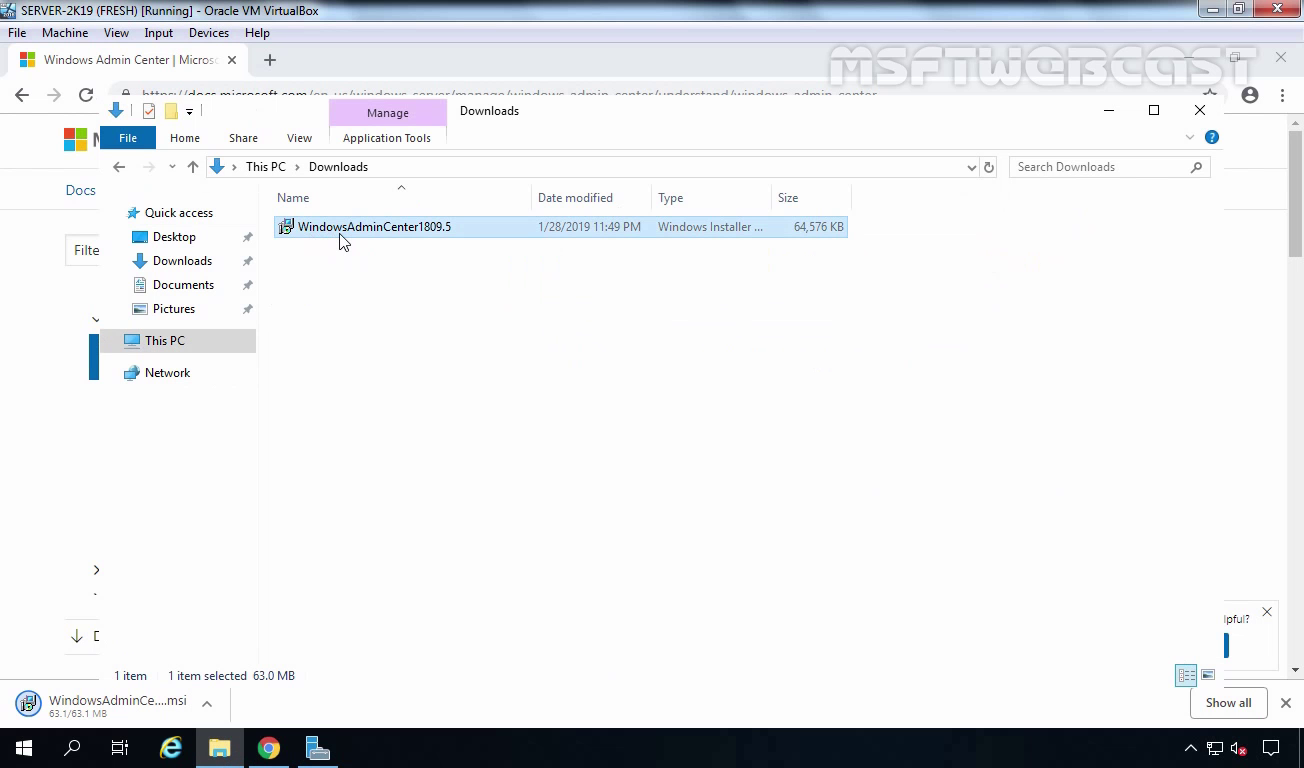
After downloading, start the installation by clicking on the MSI setup package.
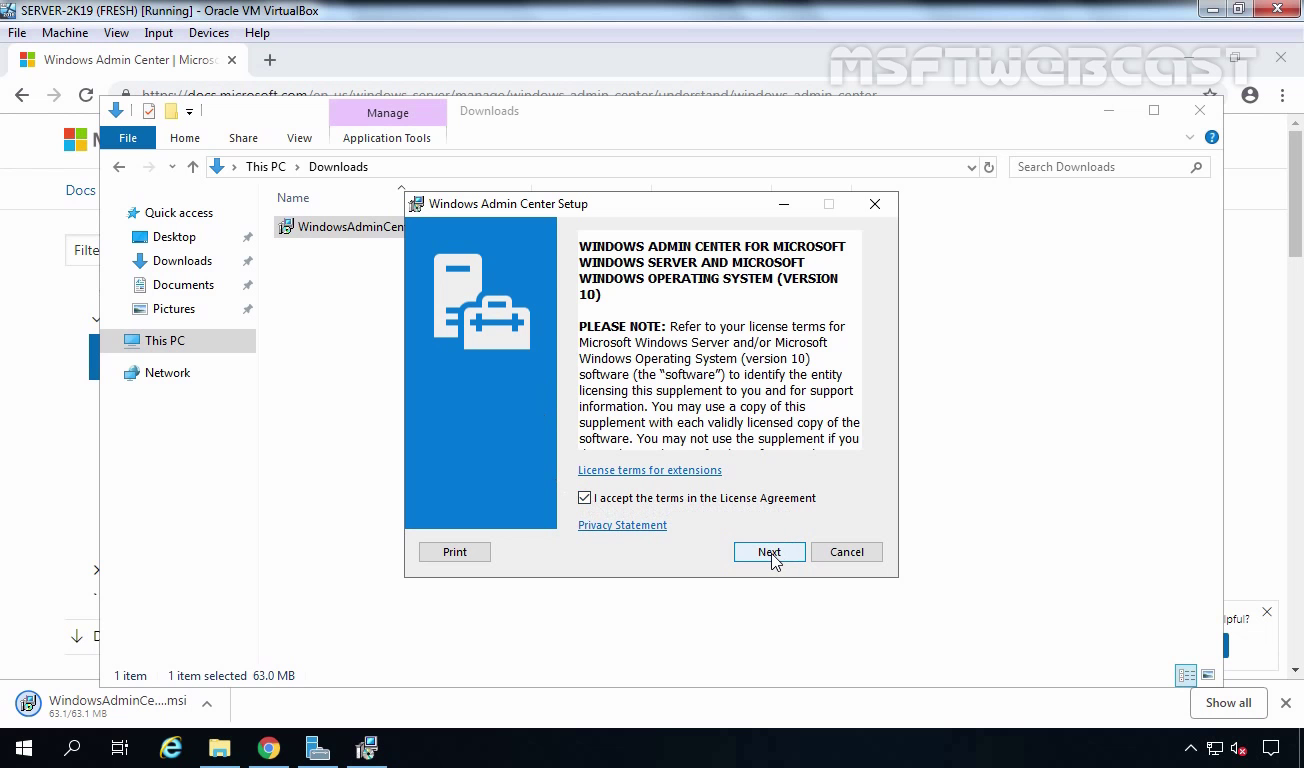
On the Windows Admin Center Setup Welcome page, accept the License Agreement and click next.
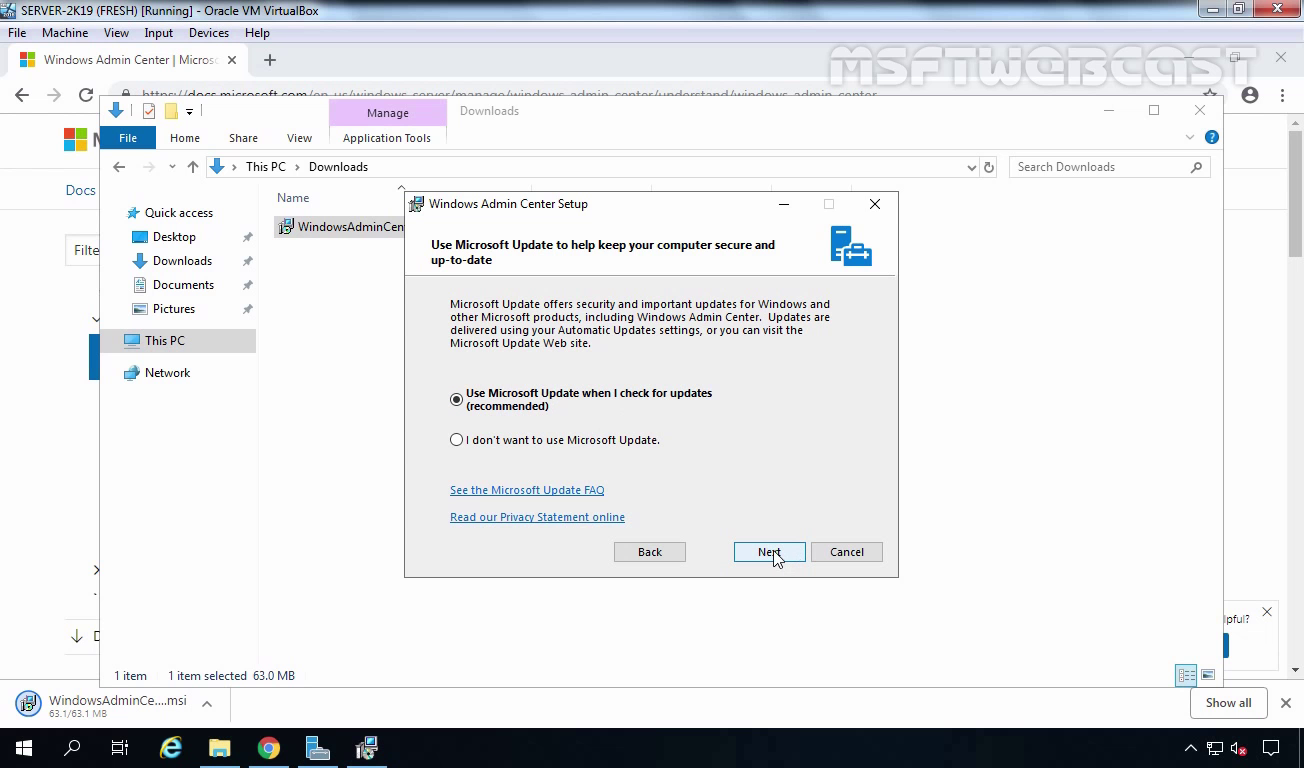
On the Use Microsoft Update to help keep your computer secure and up-to-date select use Microsoft Update when I check for updates (recommended) and click Next.
Click on Next.

Select Allow Windows Admin Center to modify this machines trusted hosts settings and click Next.

Select the port of your choice (Here we are going with default port 443) and also select Generate a self-signed SSL certificate. Click on Install button to start installation process.

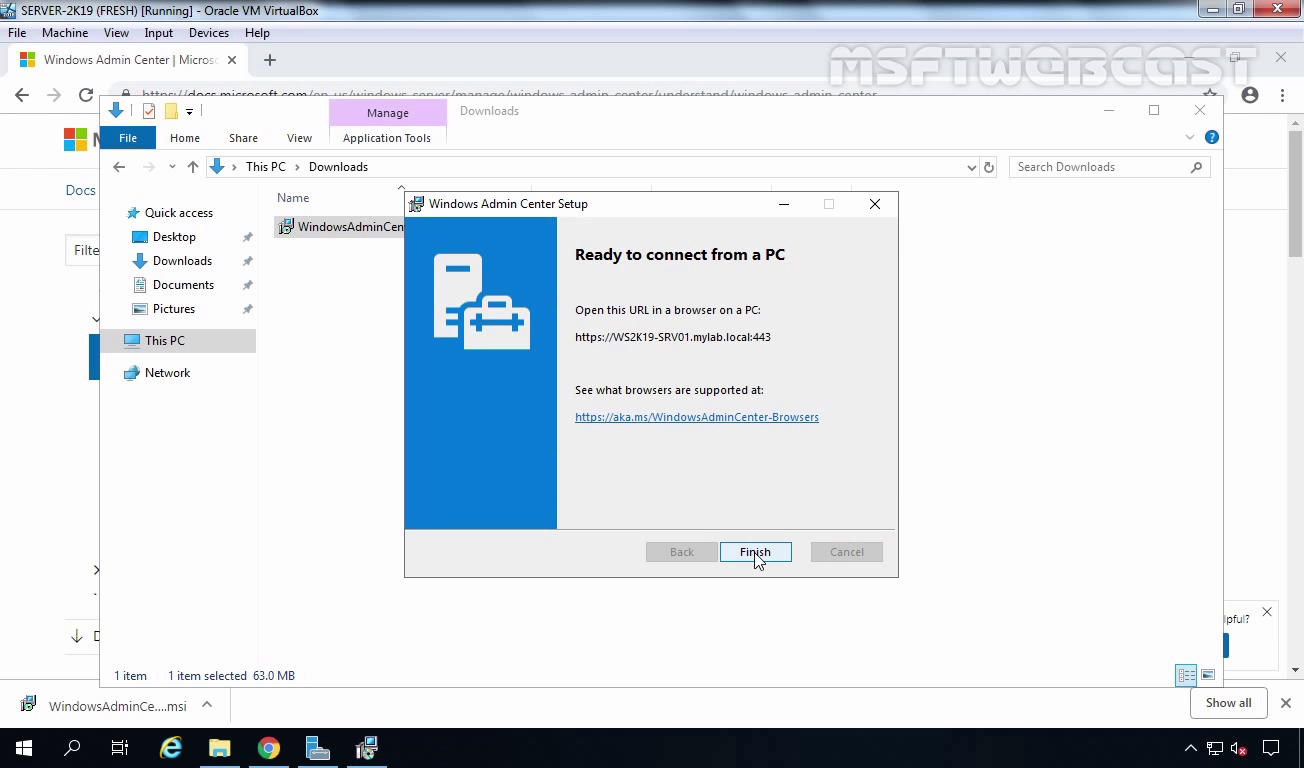
Wait for the installation process to complete.

Once completed, Click on Finish button to close the wizard.
It’s weird but you have to use google Chrome to launch Windows Admin Center. Even Microsoft Edge is not supported.

Here you can see our member server is already added to the dashboard. But we also want to add our Domain Controller to this dashboard as well.
Click on plus sign to add new connection.
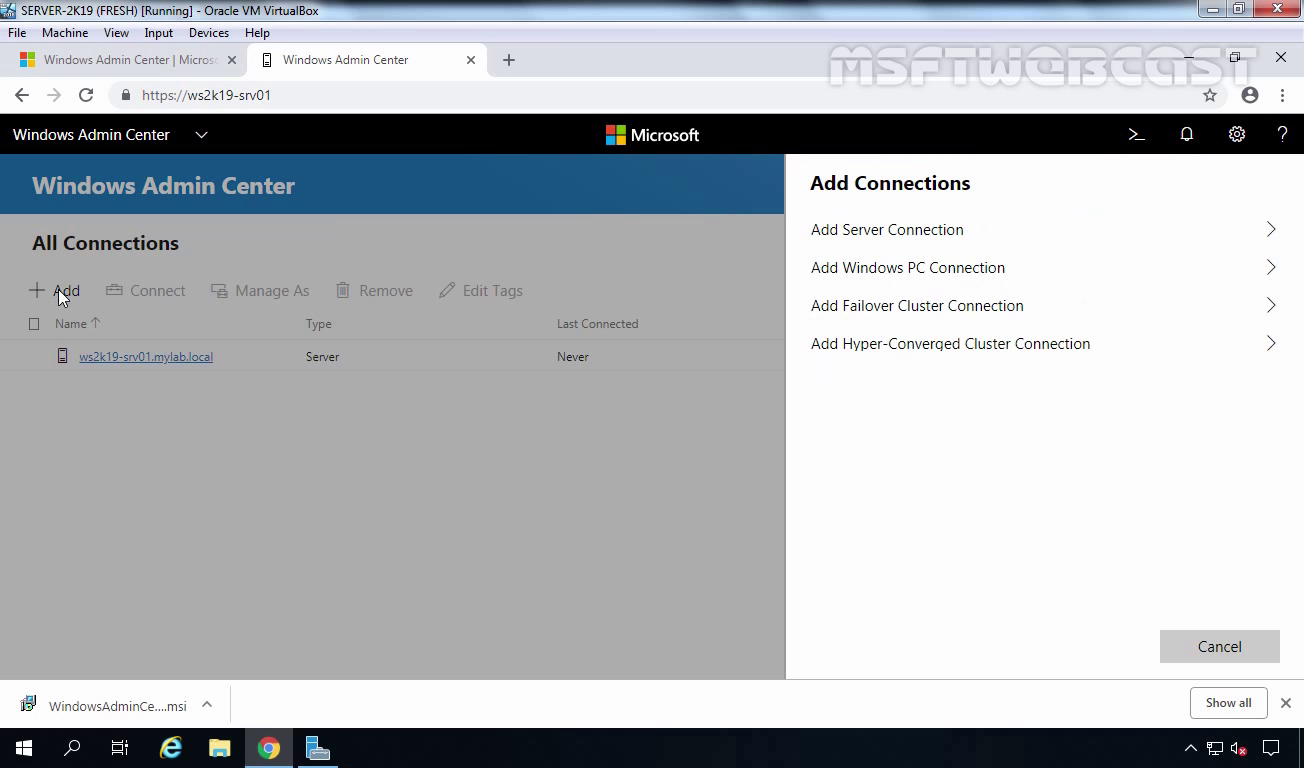
Click on Add server connection.
Specify the FQDN of your server and click on Submit button.

Now click on the server name which you want to manage using Windows Admin Center.

Click on overview tab to get overview information about your server.

For this demo I am going to create one folder on our DC using “files” option on Windows Admin Center.

You can also take remote desktop from Windows Admin Center to manage your server using Remote Desktop Protocol.

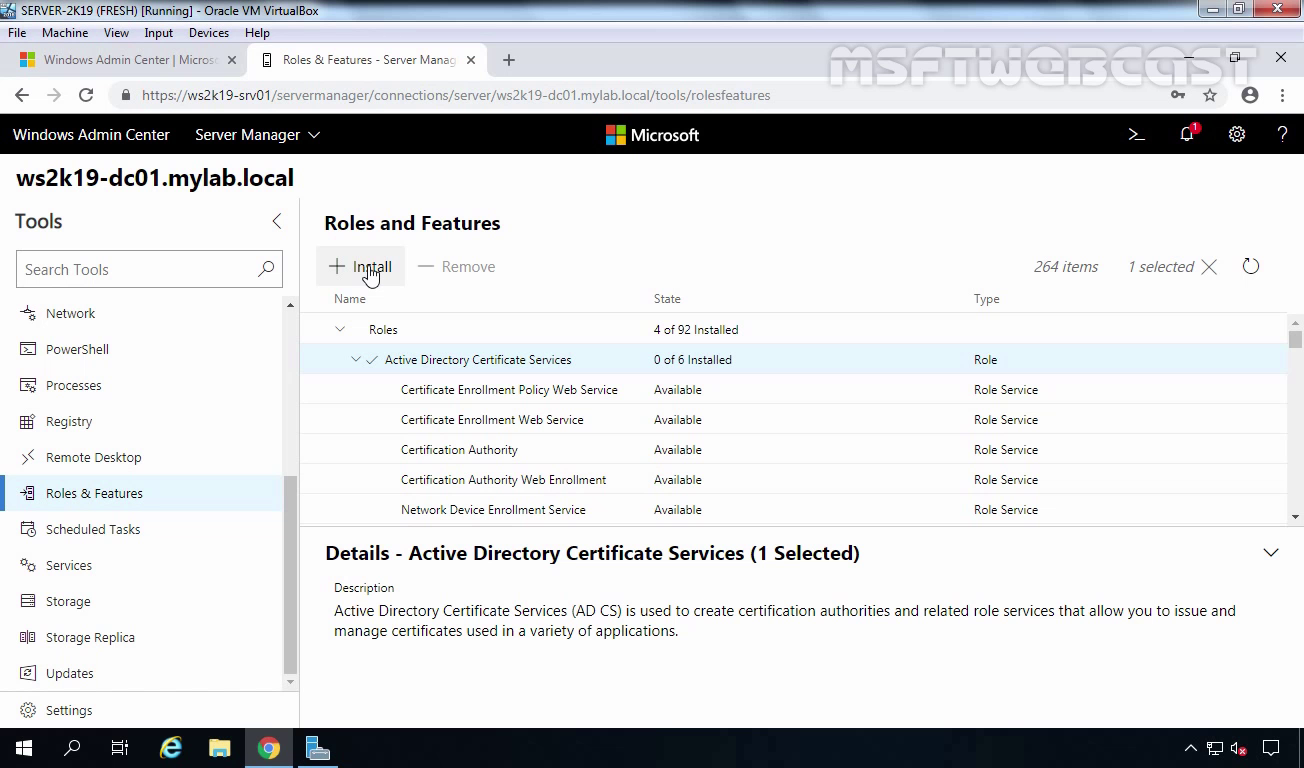
You can also add or remove server roles or features using Windows Admin Center just like you are using server manager dashboard.
For more information about Windows Admin Center:
I hope you like this post. If you have any suggestion and comments, feel free to post in comment section.
Thanks.