In this post, we will learn the steps to on How to Grant Full Permissions for the User Mailbox in Exchange 2019.
Why Full Access Permission on Mailbox:
In Exchange 2019, we can assign full permission for a mailbox to another user.
Full permission allows the delegate to open the mailbox, and view, add and remove the contents of the mailbox. But it doesn’t allow the delegate to send messages from the mailbox.
Grant Full Permission for a Mailbox:
On Exchange 2019 Mailbox Server.
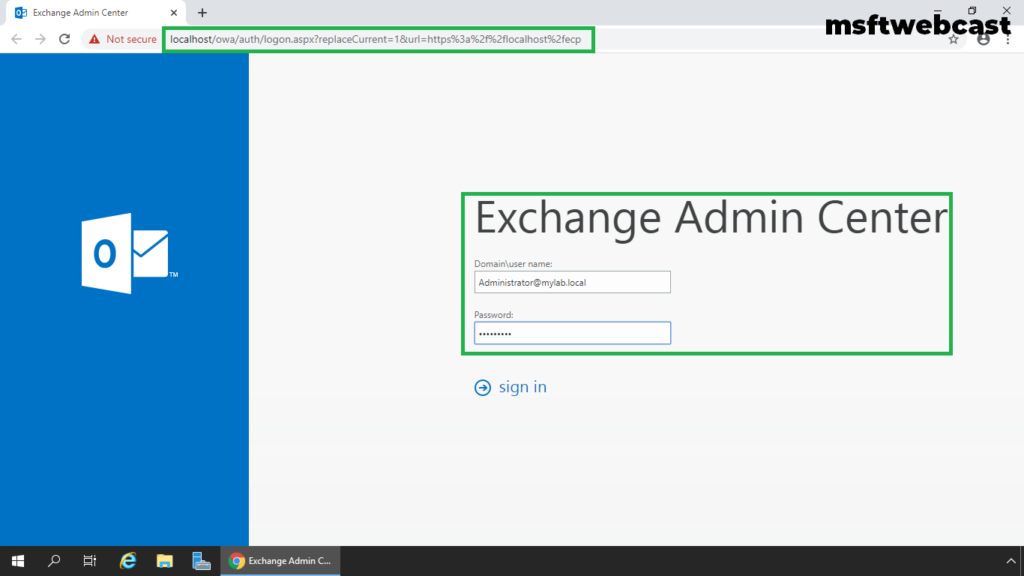
1. Open Internet Explorer and type https://localhost/ecp, and then press Enter. Sign in as an Administrator with the password.

2. In the Exchange Admin Center web interface, navigate to Recipients.
3. On the Mailbox tab, select the mailbox for which you want to grant full permission to other users and then click Edit.
4. On the mailbox properties page, click the Mailbox delegation.
5. Under the Full Access section, click on the + (plus) sign.
6. Select the User and click on Add. Click OK.
7. Verify that the user name appears under the Full Access permission list. Click on Save to save the changes.
Verify Full access permission for a Mailbox:
8. Login to outlook on the web using a user account who has Full permission.
9. Click on open another mailbox.
10. Type the Email Address and click on search discovery.
11. Click on Open to open other users mailbox for which we have configured full access permission.
10. We can verify the user can read the emails.
11. Let’s try to send the email. Click on New mail + (plus) sign to compose a new email. (Obviously it will fail).
12. Verify the Non-Delivery Report (error) for the sent mail as the user dont have the permission to send mails but can read the mails.
That’s all. In this article, we have learned the steps to configure the email message size limit for a Mailbox in Exchange Server 2019.