In this blog post, you will see the steps on how to create a User Mailbox in Exchange Online and Assign a Microsoft 365 license.
You have to use the Microsoft 365 admin center or Exchange Online PowerShell to create an Exchange Online user mailbox. You can’t create new user mailboxes using the new Exchange admin center (EAC). However, after Exchange Online mailboxes are created, you can manage them using the new EAC.
You can use the Microsoft 365 admin center to create a new user account. When you assign the user account a license for Exchange Online, a mailbox is automatically created for the user.
Steps to create a User Mailbox in Exchange Online and Assign a license.
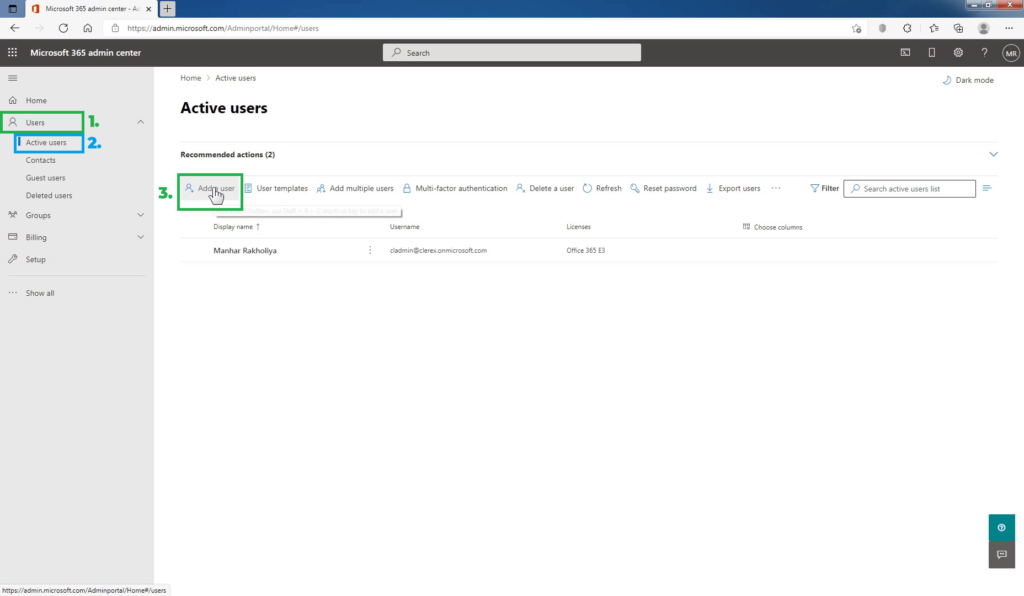
Go to the Microsoft 365 admin center at https://admin.microsoft.com.
In Microsoft 365 admin center, go to Users > Active users, and select Add a user.

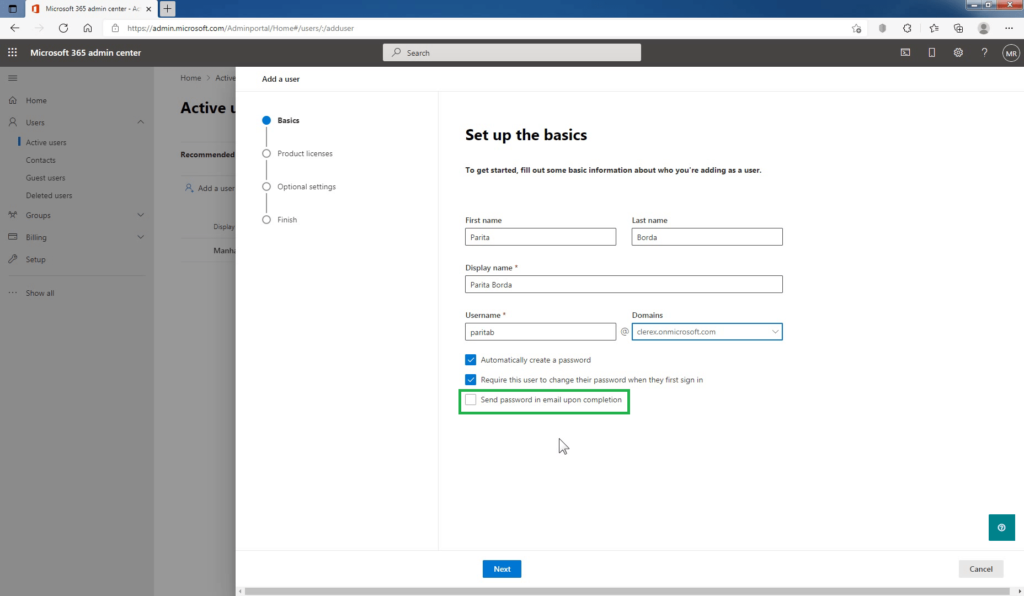
In the Set up the basics pane, fill in the basic user information like Name, Domain, and password settings.
- Name: Fill in the first and last name, display name, and username.
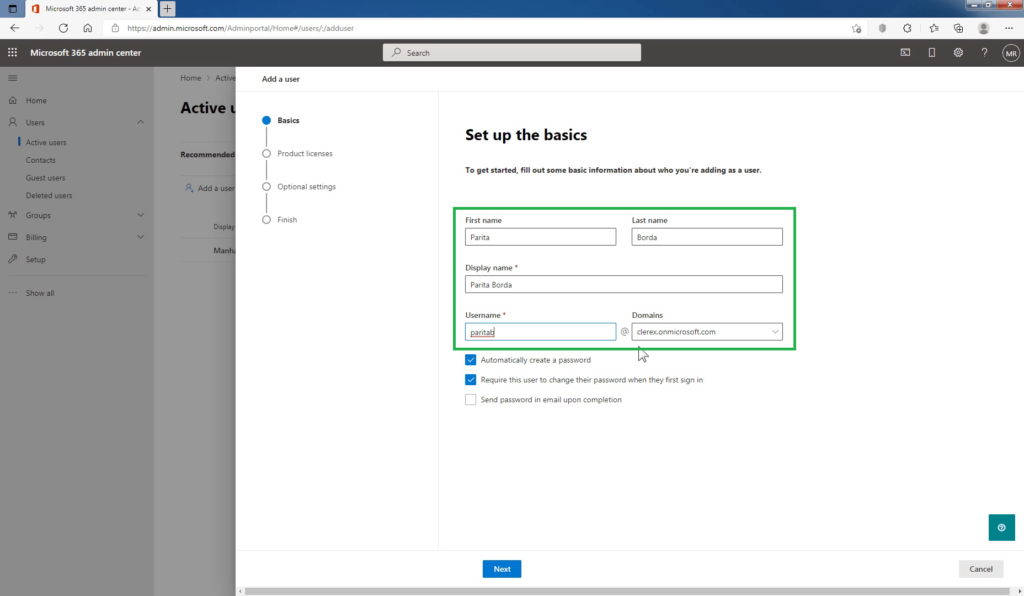
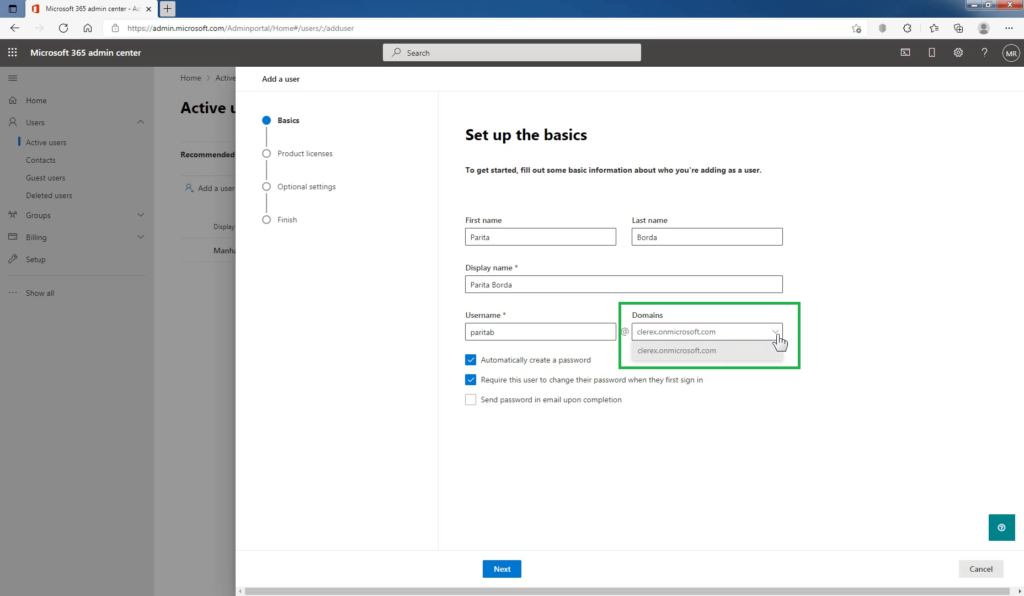
- Domain: Choose the domain for the user’s account. If you have added custom domain name to Microsoft 365 then use drop-down to select your custom domain name.
- Password settings: Choose to use the auto generated password or to create your own strong password for the user.

The user must change their password after 90 days. Or you can choose to Require this user to change their password when they first sign in.
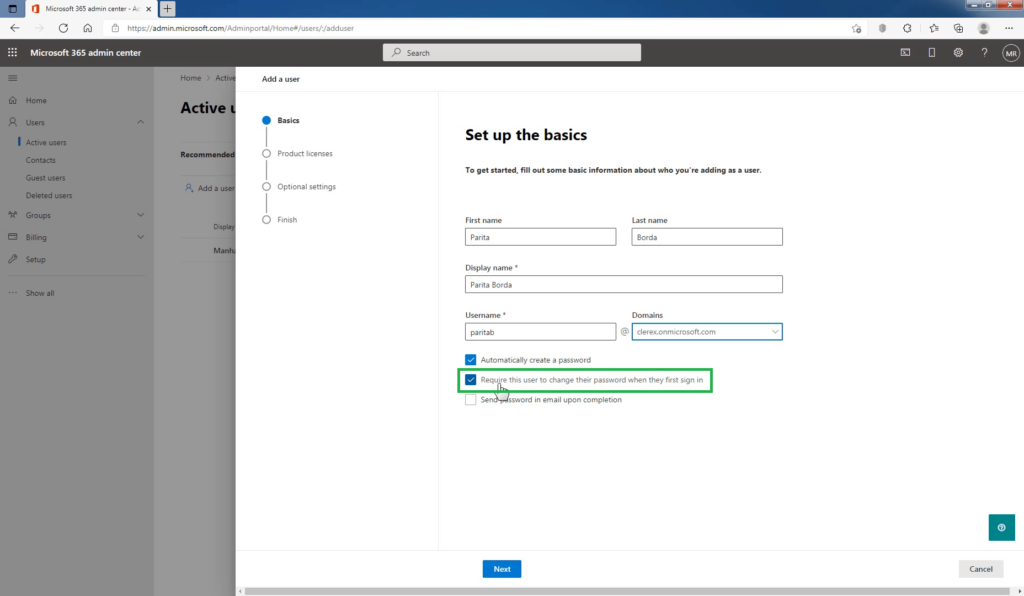
Choose whether you want to send the password in an email when the user is added.
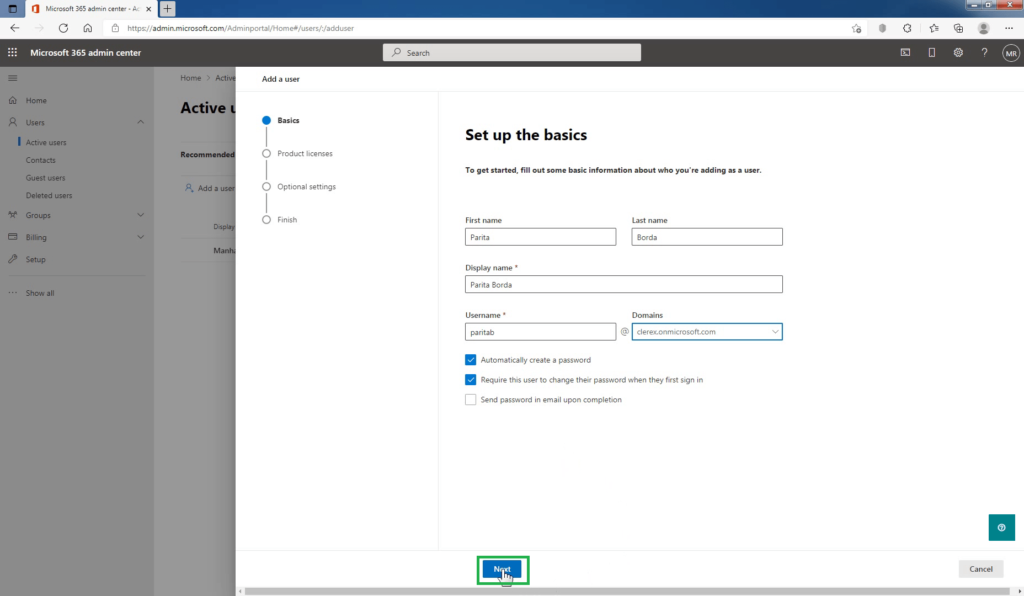
After entering user account details and configuring the password-related settings as per requirement, click on Next.
In the Assign product licenses pane, select the location. If location is not specified for the user account, you won’t be able to assign the license to the user.
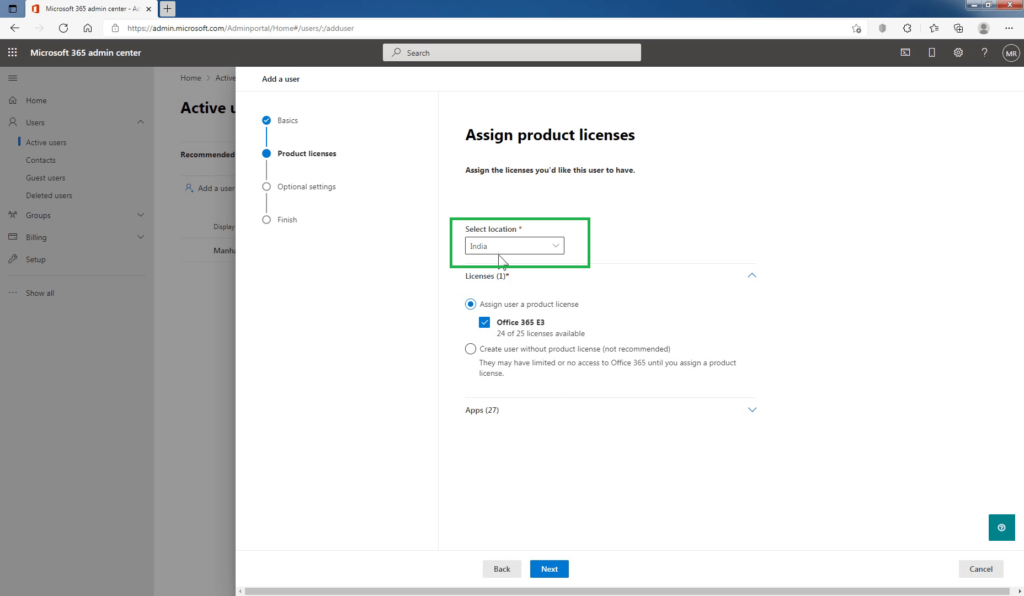
Assign the appropriate license for the user. If you don’t have any licenses available, you can still add a user and buy additional licenses.
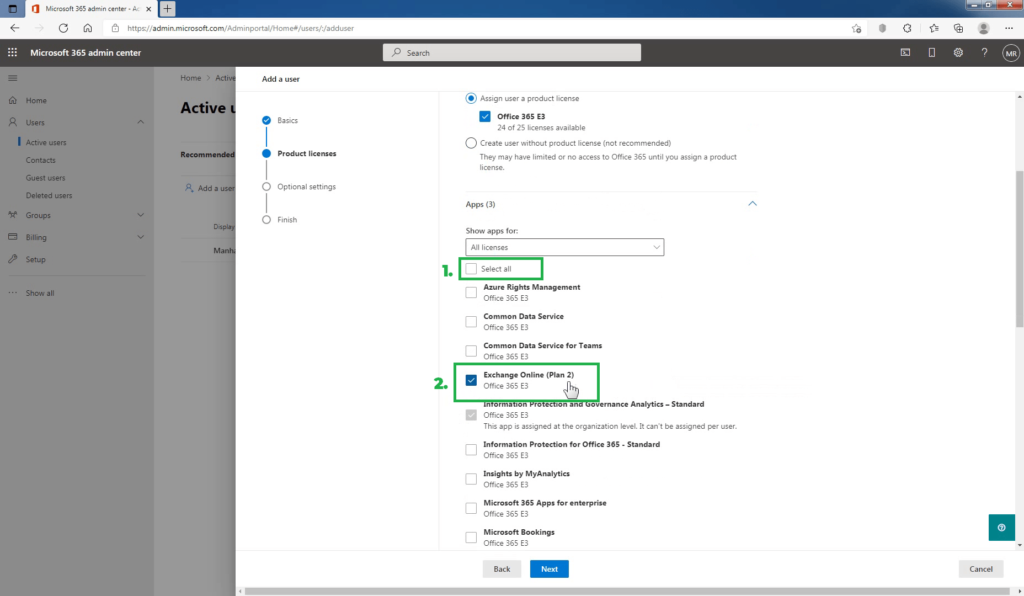
Expand Apps and select or deselect apps to limit the apps the user has a license for.
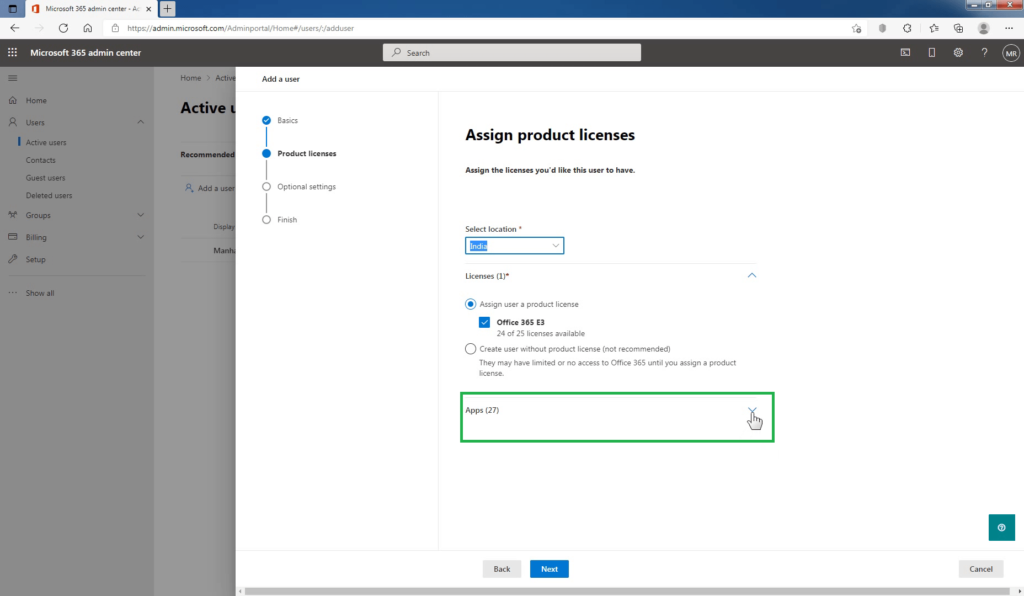
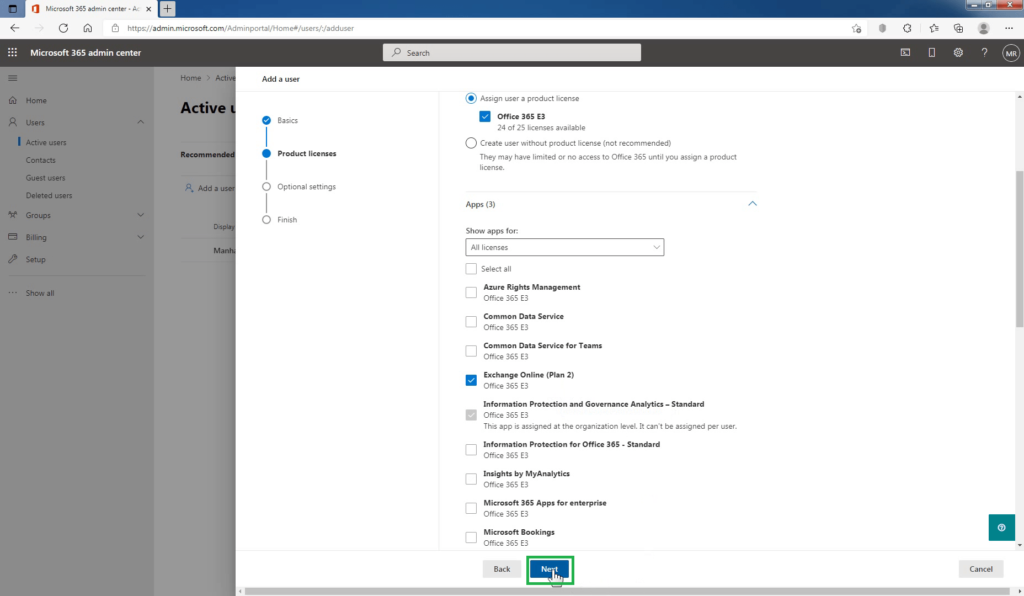
For example, if you just want to assign Exchange Online (Plan 2) license to the user, unchecked the Select all checkbox and just select the checkbox in front of Exchange Online (Plan 2).
Select Next.
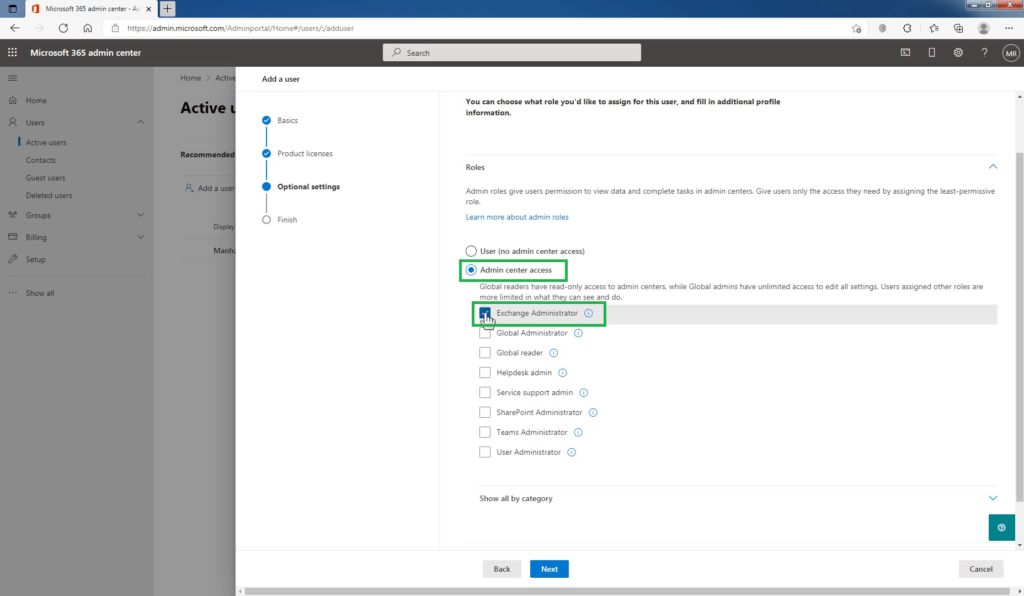
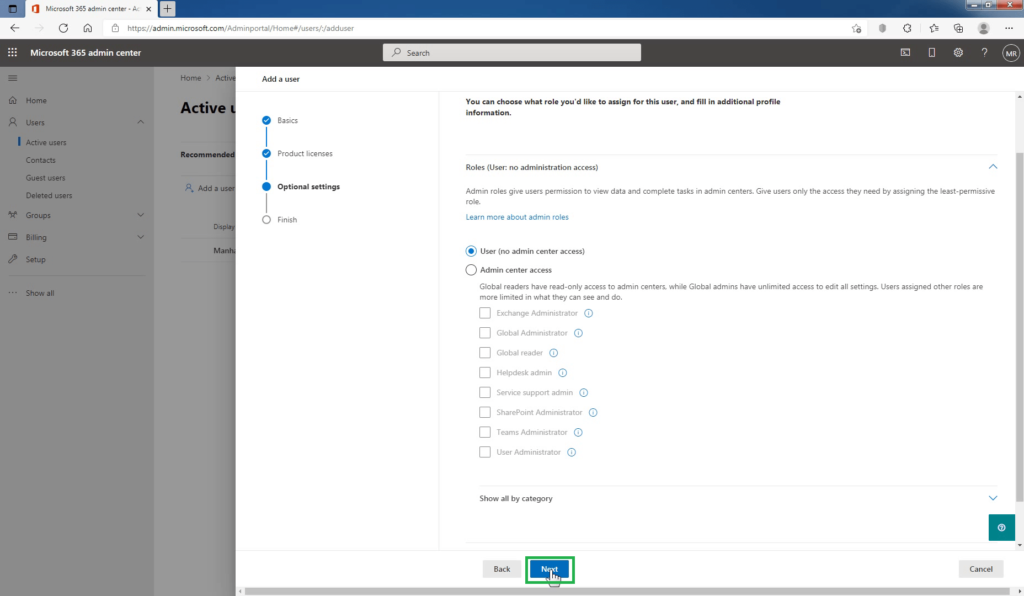
In the Optional settings pane, expand Roles to assign any role to this user. Expand Profile info to add additional information about the user.

For example, assign an Exchange Administrator role to make this user an Exchange Online admin.
Click on Next.
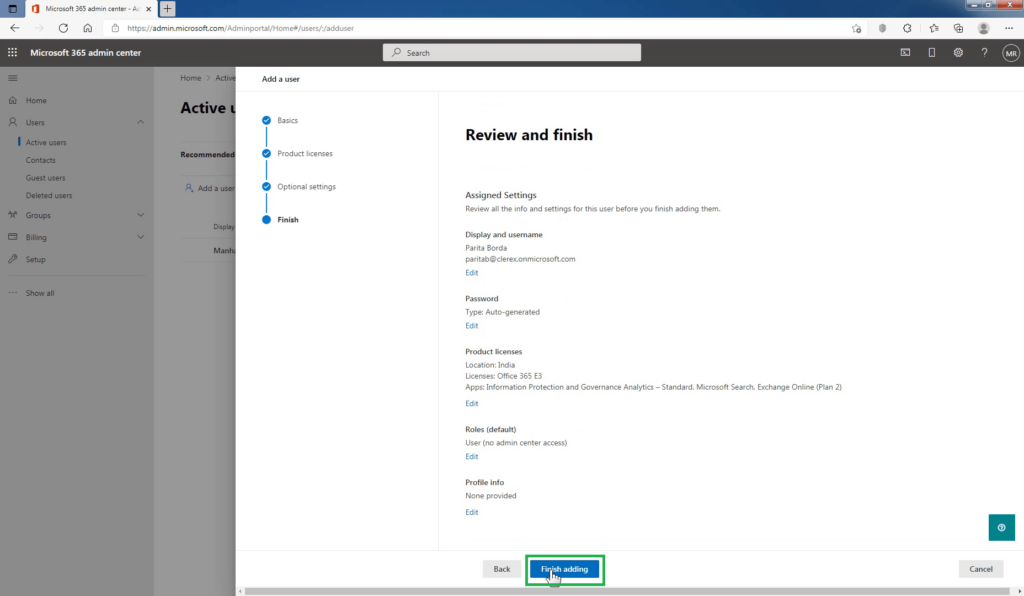
Review your new user’s settings, make any changes you like, then select Finish adding.
You can see the quick summary of details of the user we just created. Microsoft 365 also automatically generates and assigns a password to the new user we have selected. Make a note of the Username and Password displayed in the window.
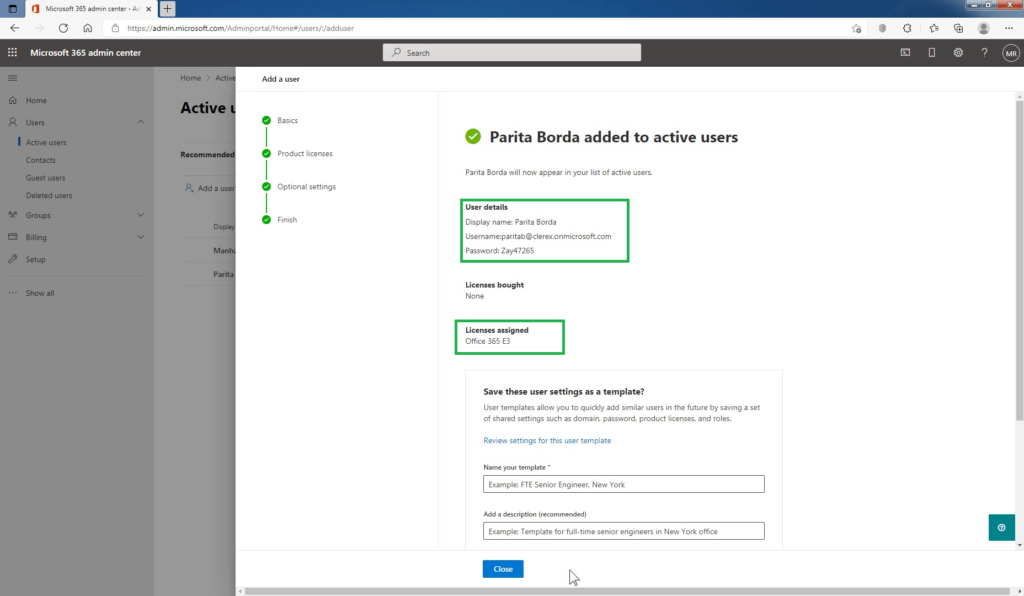
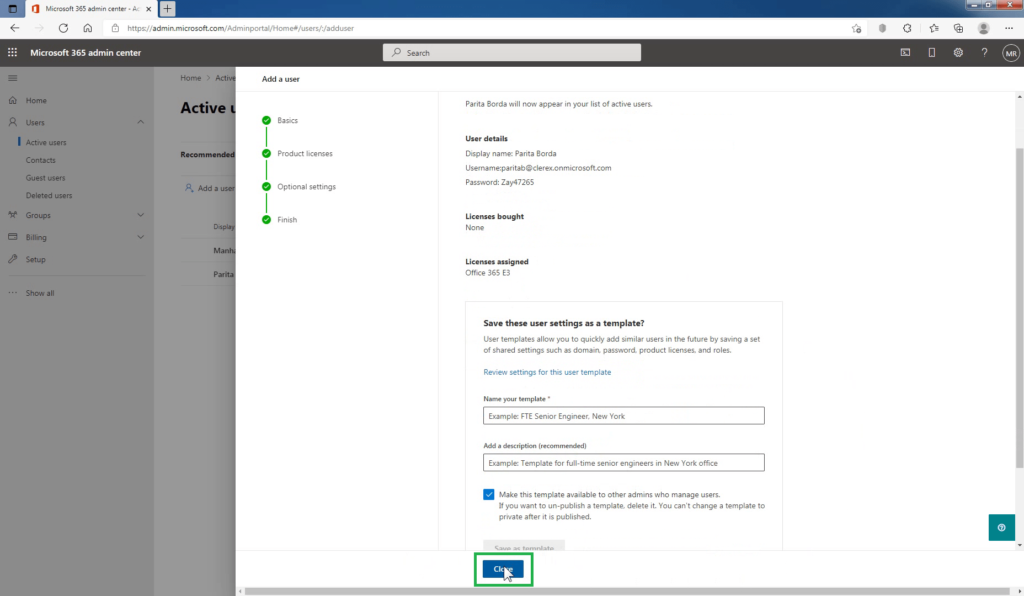
Click on Close.
On the Active users page, we can see the newly created user.
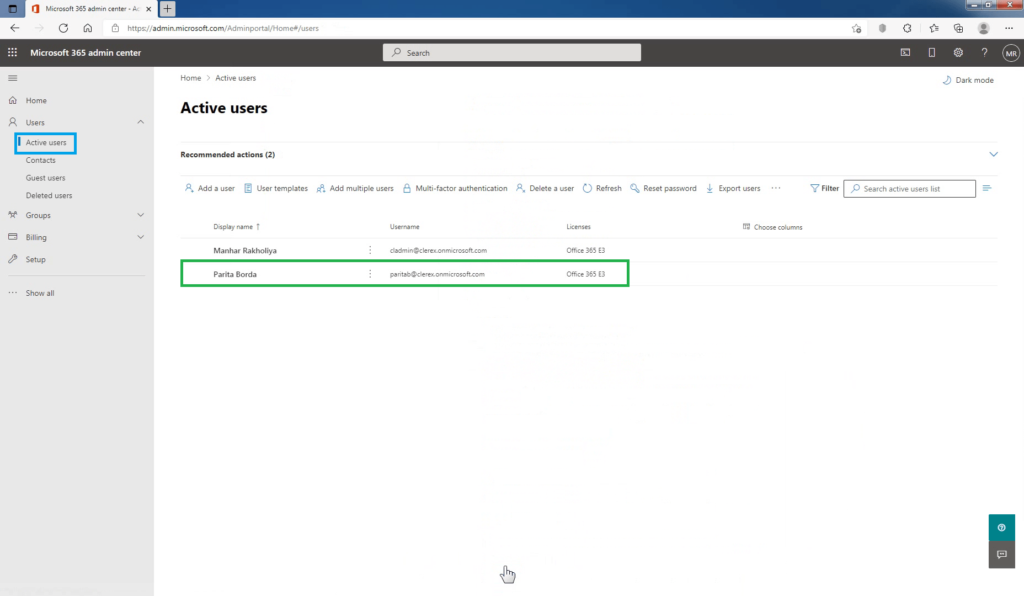
So we have successfully created the user mailbox in exchange online.
Conclusion
When the user first time accesses his/her account, the user is forced to change his or her password at first logon as we have selected to change password at the next login option.
Now newly created user mailboxes can send and receive emails successfully.
In this blog post, you have learned how to create Exchange Online User Mailbox and Assign a License to the user.
Video tutorial on how to create a User Mailbox in Exchange Online and Assign a license.
