In the last article, we have learned the step to create a public folder mailbox and public folder under the public folder hierarchy.
What is Mail-enabled Public Folder?
A mail-enable public folder allows users to post to the public folder by sending an email message to it. When a public folder is mail-enabled additional settings become available for the public folder in the Exchange admin center (EAC), such as email addresses and mail quotas.
In this post, we will learn the steps on how to create a Mail-enabled Public Folder in Exchange 2019.
We can create a mail-enabled public folder using the Exchange Admin Center web interface or Exchange Management Shell (EMS).
Create a Mail-enabled Public Folder in Exchange 2019:
In this guide, we will use the Exchange Admin Center to create and set up the mail-enabled public folder.
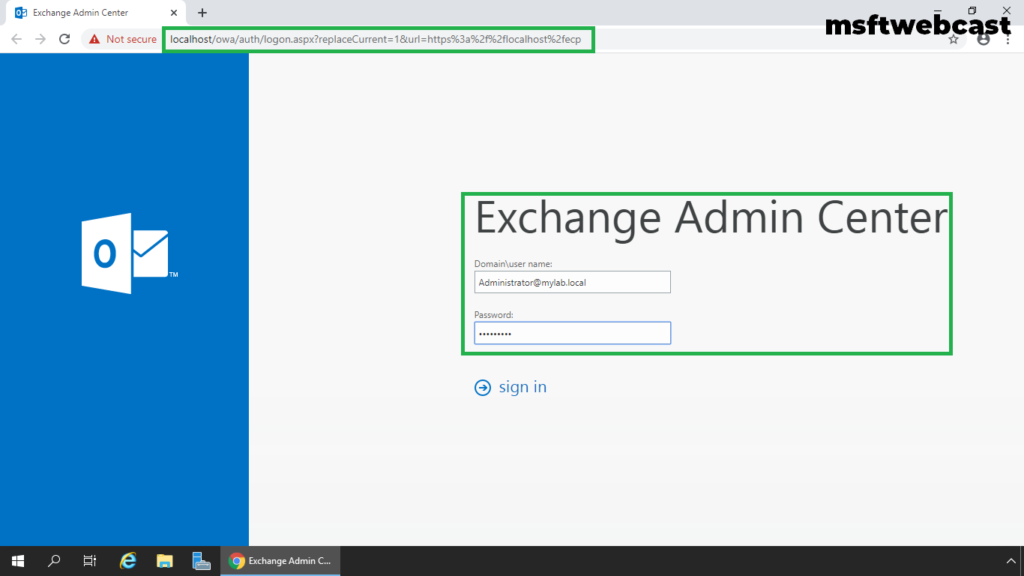
On Exchange 2019 Mailbox Server. Open Internet Explorer and type https://localhost/ecp, and then press Enter.
1. Sign in as an Administrator with the password.

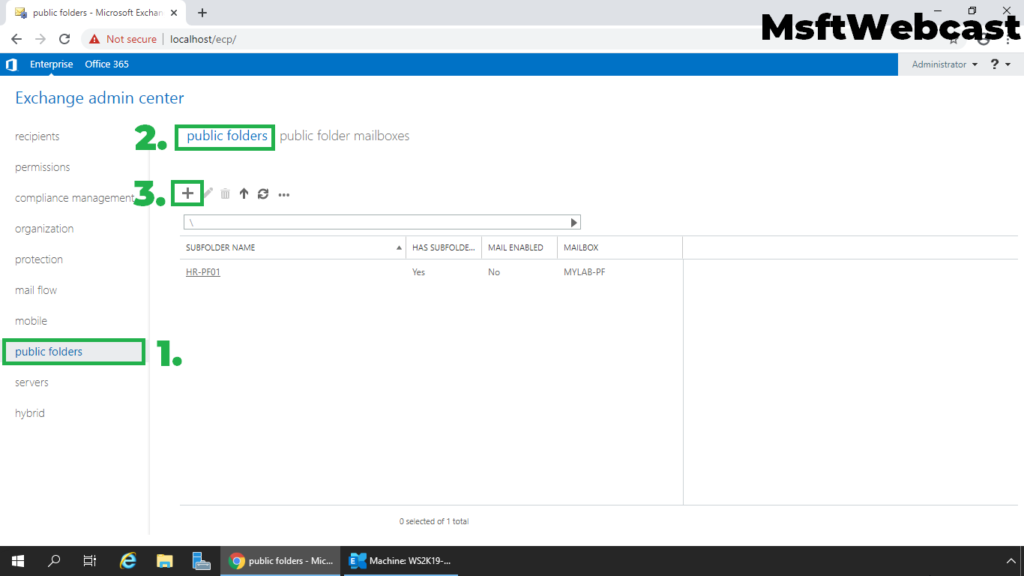
2. In the Exchange Admin Center web interface, navigate to Public Folders. Click on the public folder tab.
3. Click on + (plus) sign to create a new public folder.
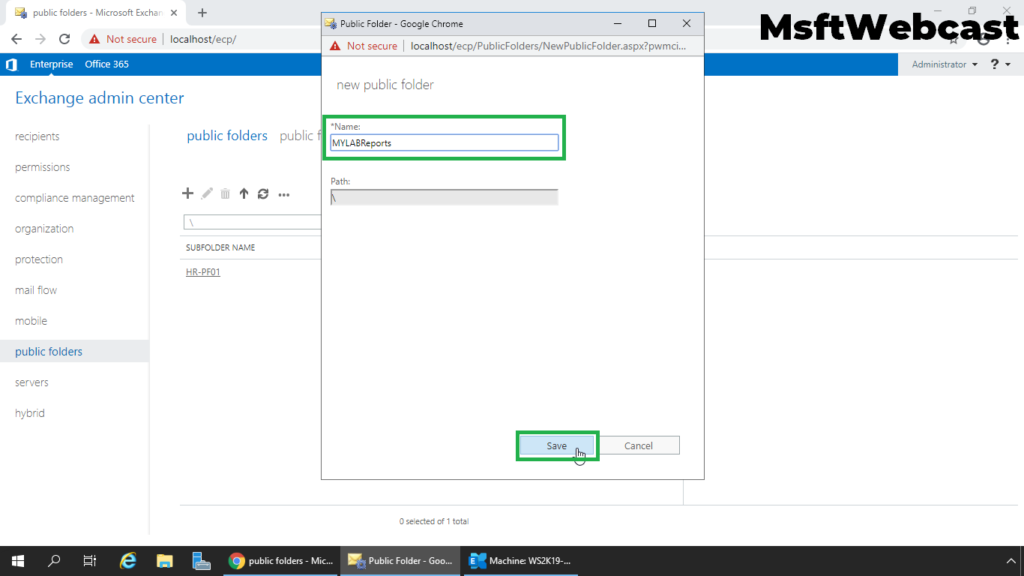
4. Specify a new name to the public folder. Click the Save button.
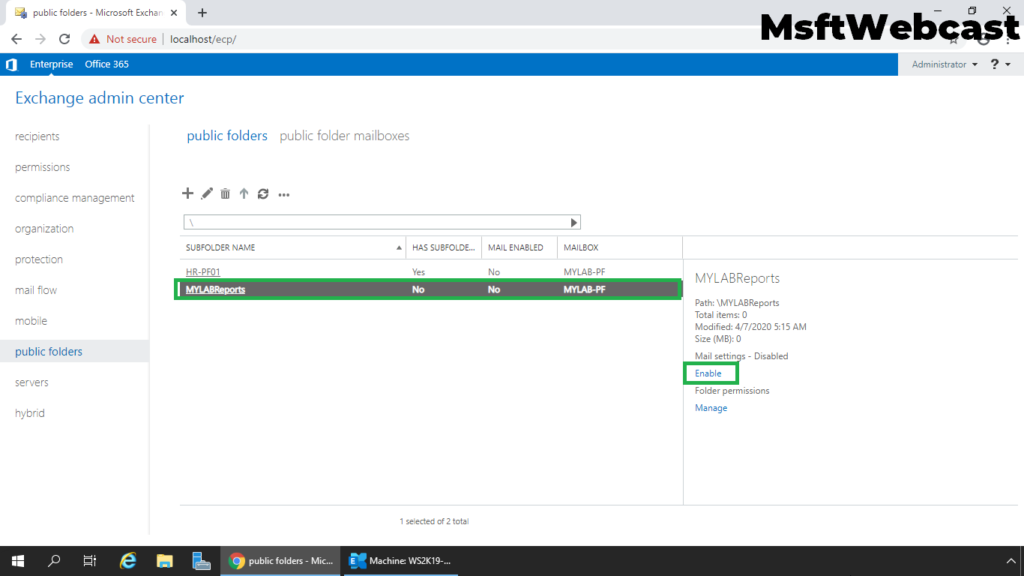
We can verify the public folder in the Exchange Admin Center.
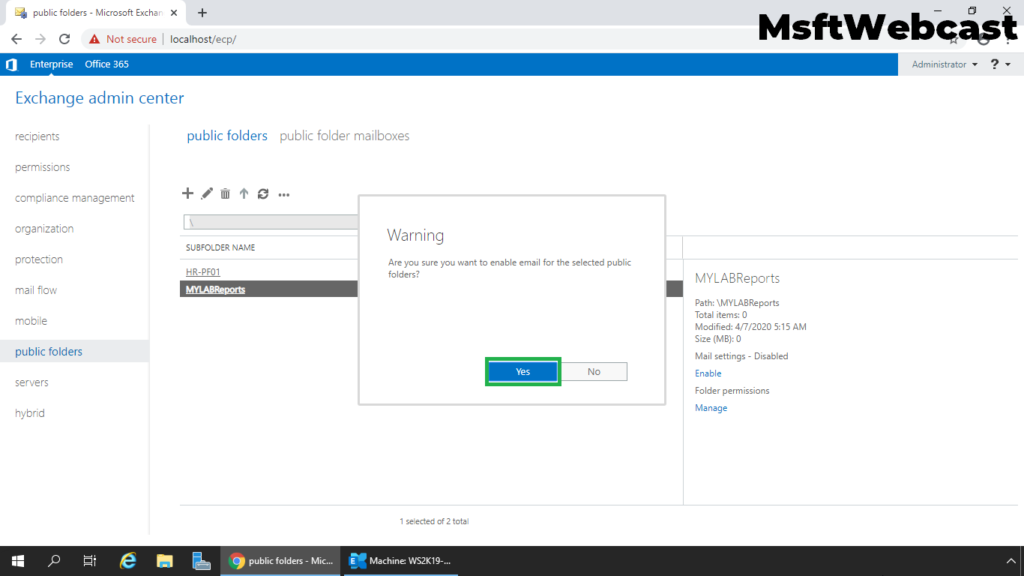
5. Select the public folder that you want to mail-enable. In the details pane, under Mail settings, click Enable link.
6. A warning box displays asking if you’re sure you want to enable or disable email for the public folder. Click Yes to continue.
7. Verify that the public folder is mail-enabled.
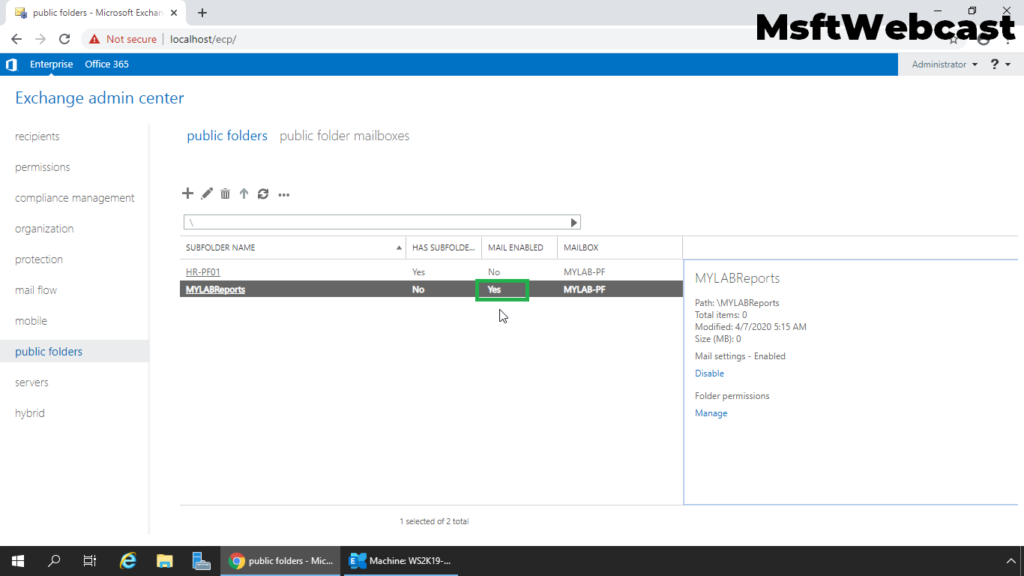
Once we have a mail-enabled public folder, we can see more options related to email settings under the Exchange Admin Center.
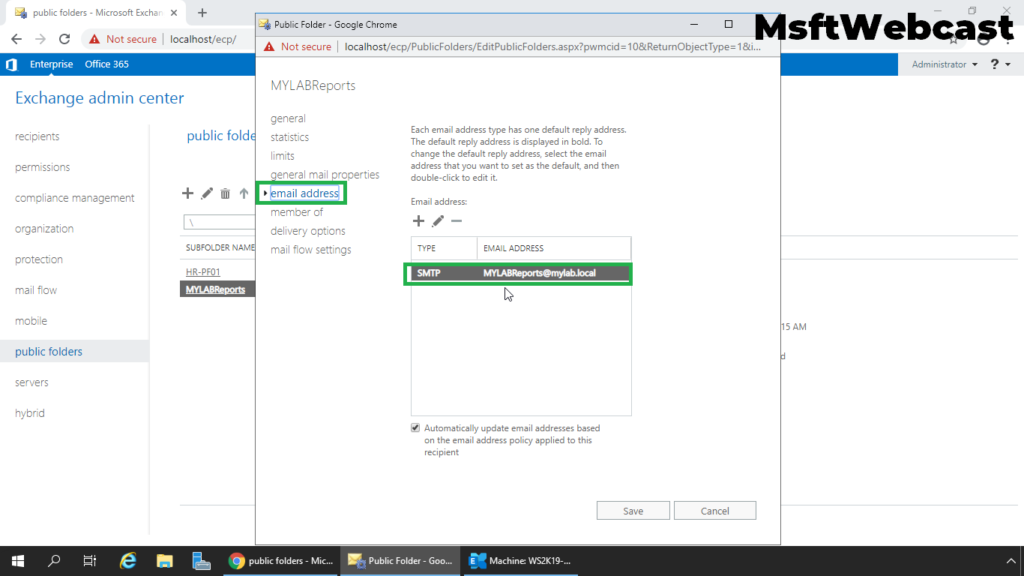
8. Select the public folder and click on edit icon.
9. There we will be the same settings as a normal mailbox like mail flow settings, delivery options, etc. We are not going to cover all the settings as those settings are similar to a user mailbox.
Assign Permissions to Public Folder in Exchange 2019:
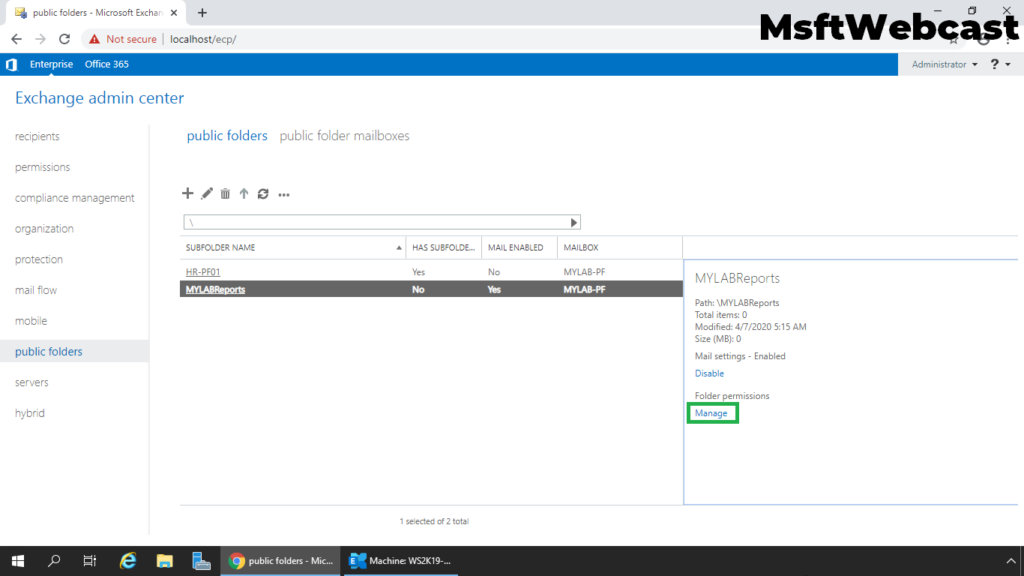
We must assign permission to at least one user to manage the public folder. The permission from the primary public folder will inherit to its sub-folders (secondary public folder).
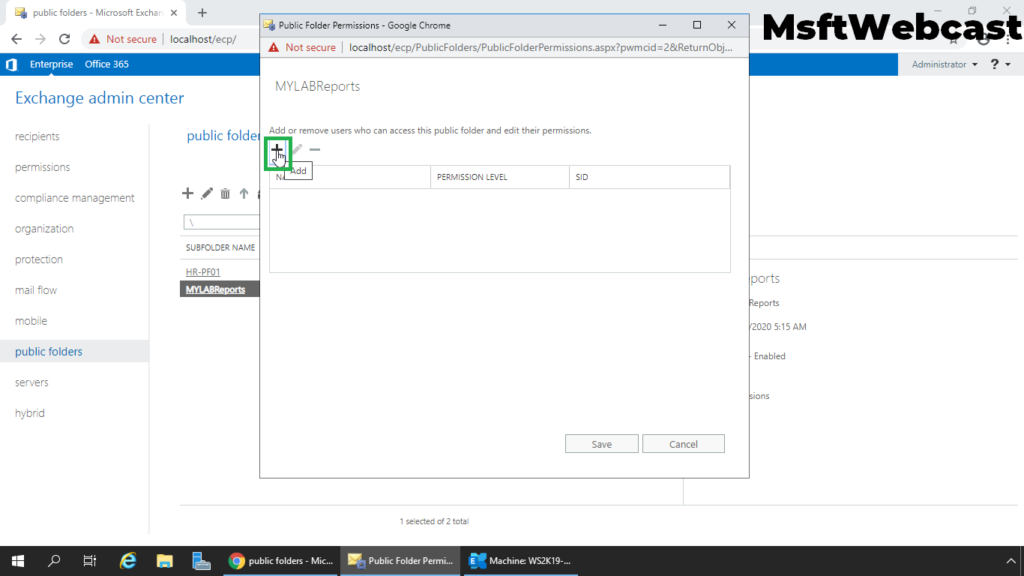
10. Select the public folder in the public folders tab. In the details pane, click on Manage under folder permission.
11. Click + (plus) sign to add the public folder permission.
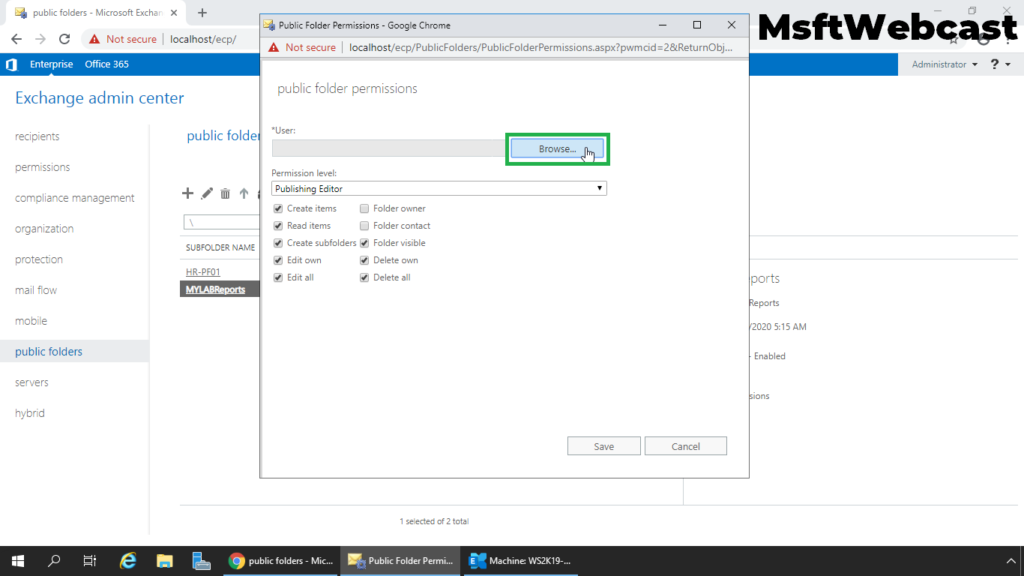
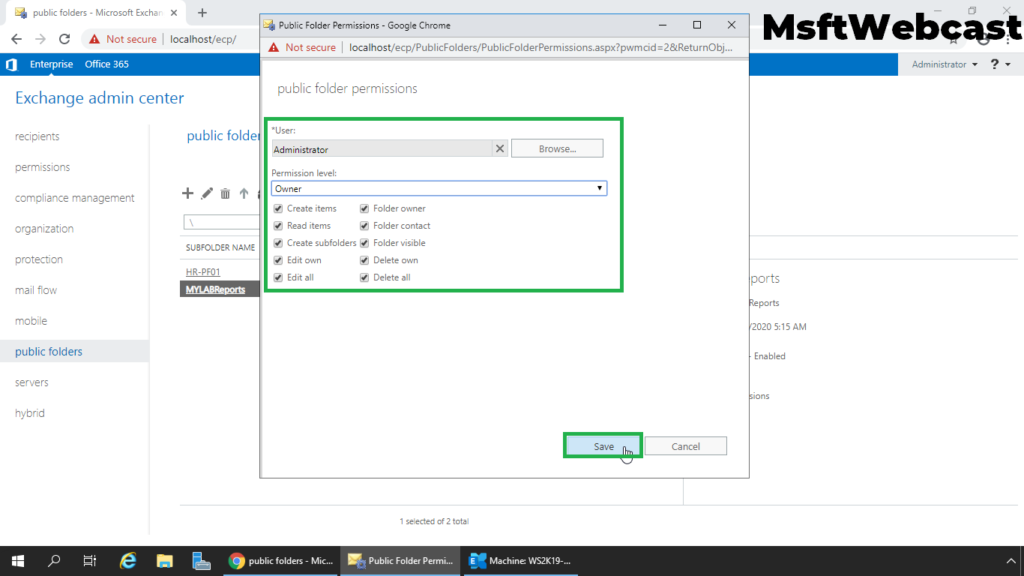
12. The public folder permissions page will open. Click on browse to add the user account.
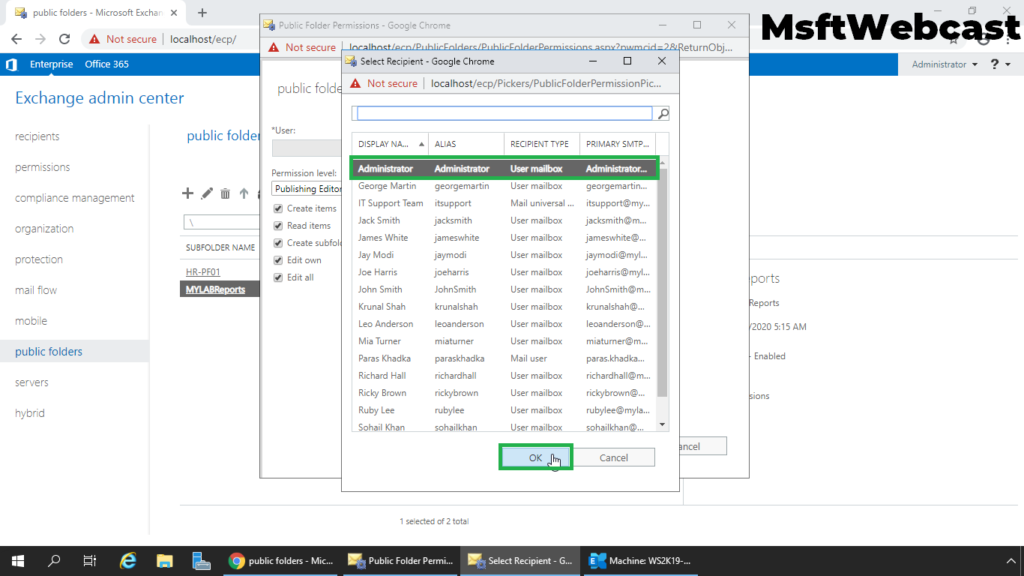
13. Choose the Administrator from the list of users.
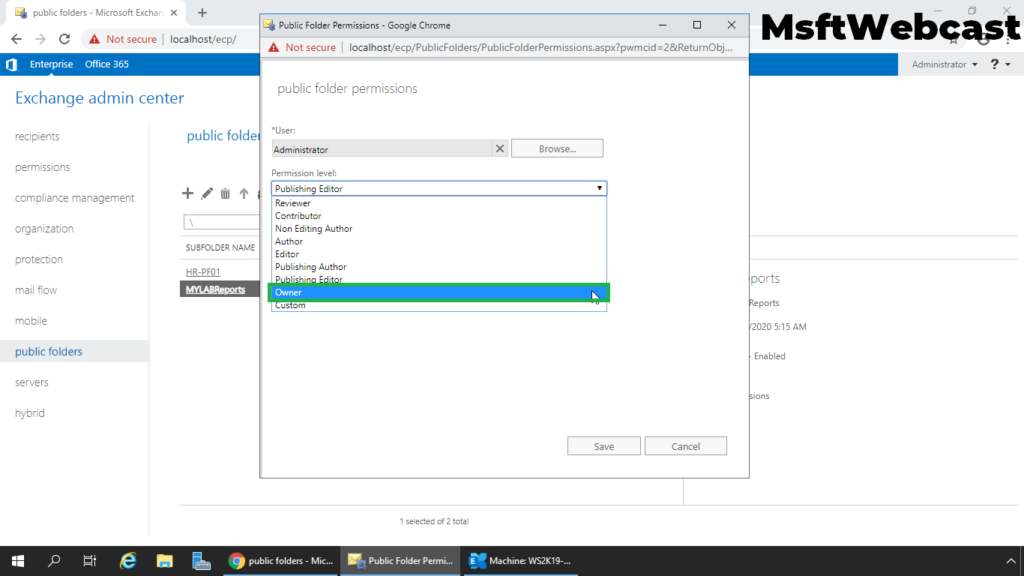
14. Choose the permission level to (owner).
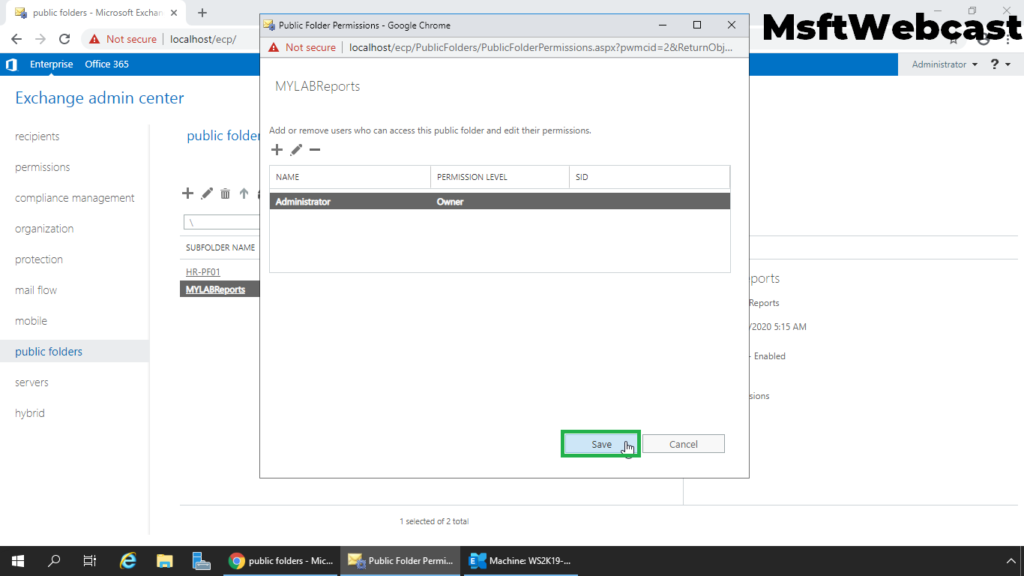
15. Verify the permission levels and then click on Save to setup permission on mail-enabled public folder.
16. Click on Save.
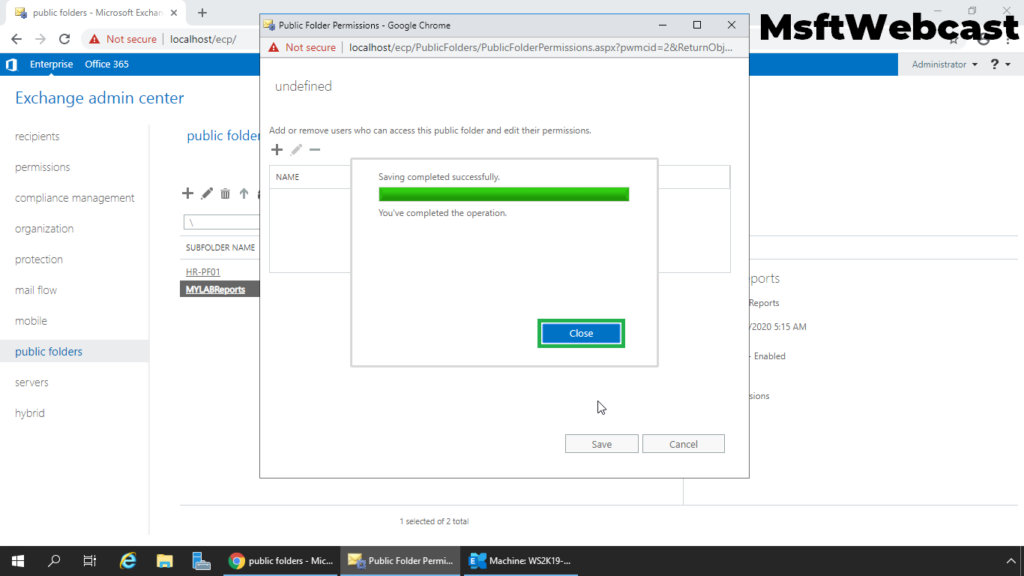
17. A new pop up menu will open, click on Close button to close it.
Send a Test Email for the Mail-enabled Public Folder:
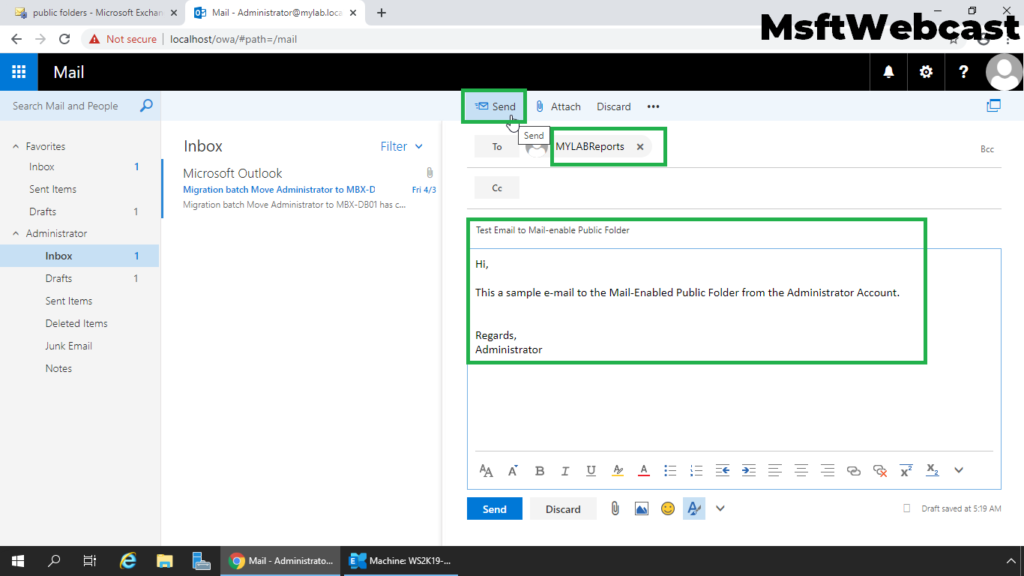
18. Login to outlook on the web using a user account.
19. Try to send an email to the email address of the public folder.
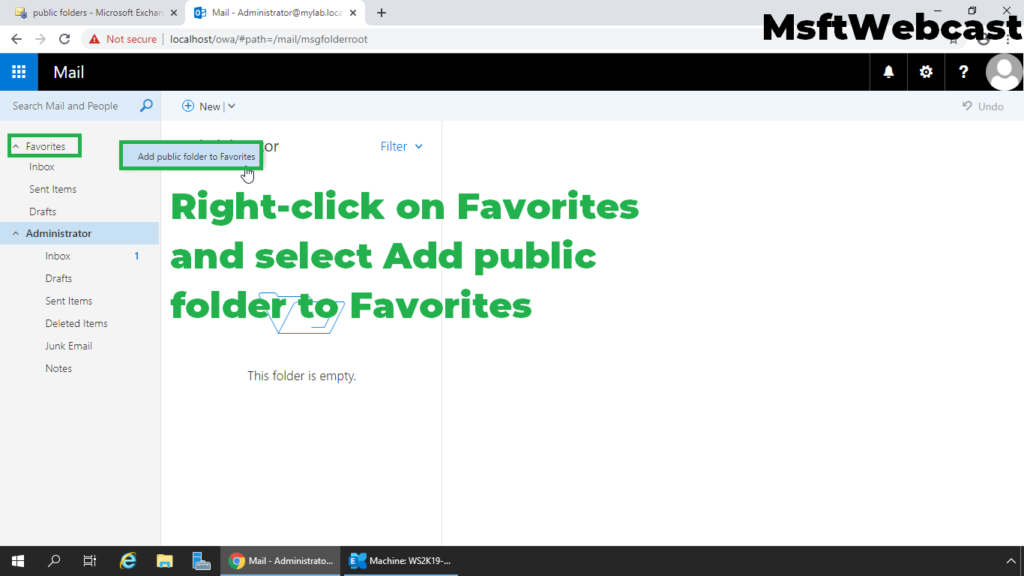
Add Public Folder to the Favorites Menu in OWA:
20. Right-click on Favorites and select Add public folder to favorites.
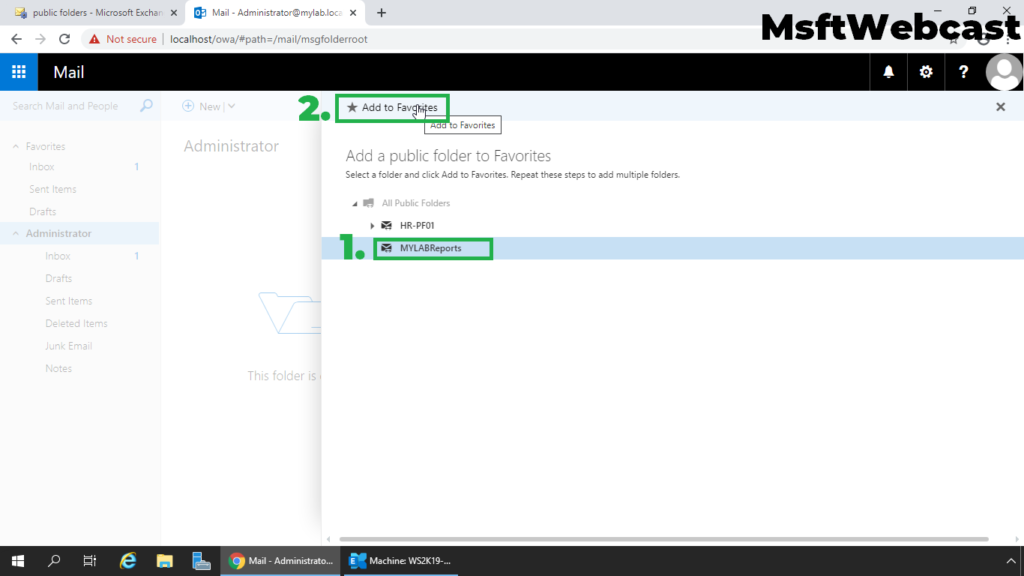
21. Select the public folder and click on Add to favorites.
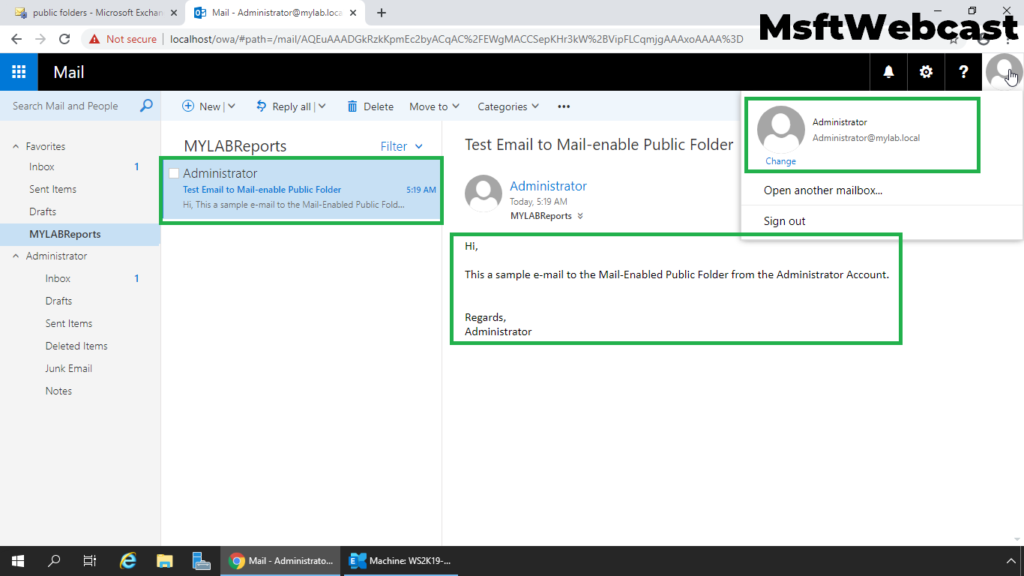
22. Verify the test email sent to the Mail-enabled Public Folder.
That’s all. In this article, we have learned the steps to create a mail-enabled public folder in Exchange Server 2019 with permission.