Introduction:
In this post, we will learn the steps to Sysprep and Capture a Windows 10 Reference Image for WDS Server. Later you can use this captured image to deploy Windows 10 on multiple computers in your organization using WDS.
Windows Deployment Services (WDS) enables you to deploy Windows operating systems over the network, which means that you do not have to install each operating system directly from a CD or DVD.
A reference image is helpful when you want to deploy a similar OS with commonly needed software. It will save lots of administrative efforts and time required for large deployment.
So before capturing Windows 10 reference image, make sure you install all required software and update Windows with the latest updates.
Test Lab Setup:
Note: For this guide, we will use the virtual test lab created in VirtualBox.
- WS2K19-DC01: WDS Server (DC and DNS with DHCP)
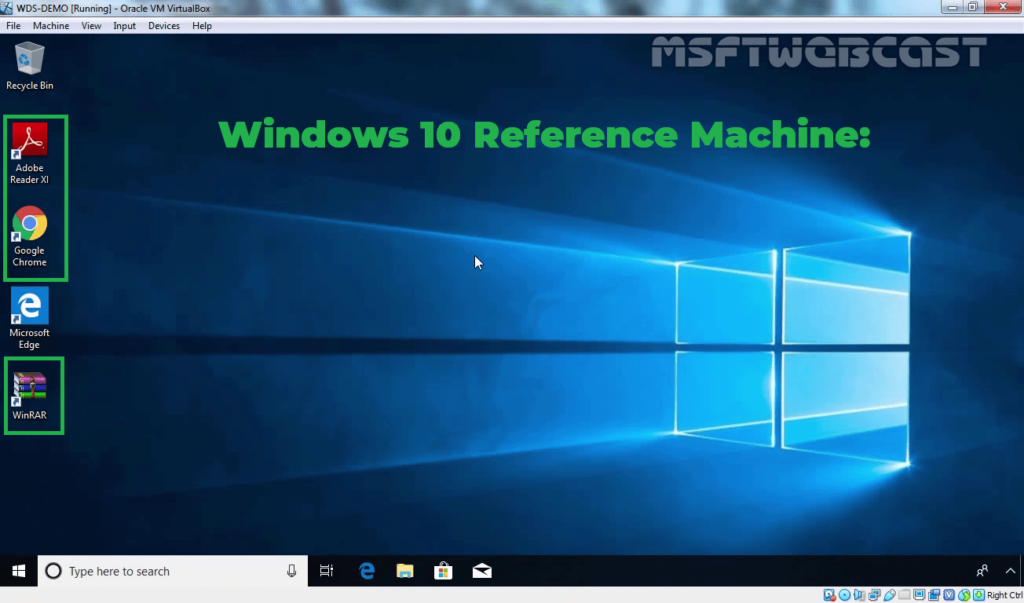
- WDS-DEMO: Windows 10 machine (Updated)
Already I have installed commonly required applications like Adobe Reader, Google Chrome and WinRAR, etc. Install the software as per your requirements.

Follow this guide: Install and Configure WDS on Windows Server 2019.
Steps to Create a Capture Image using the WDS console:
1. On WDS Server, open Server Manager Console.
2. Click on Tools and select Windows Deployment Services.
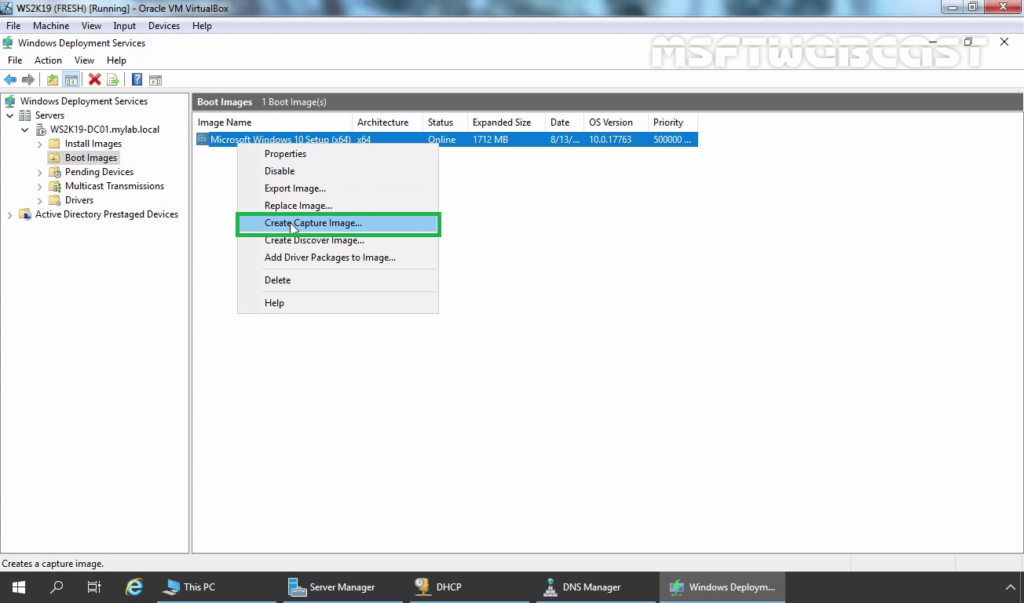
3. Expand the Server name. Expand and click on Boot Images.
4. Right-click on the existing boot image and select Create Capture Image.
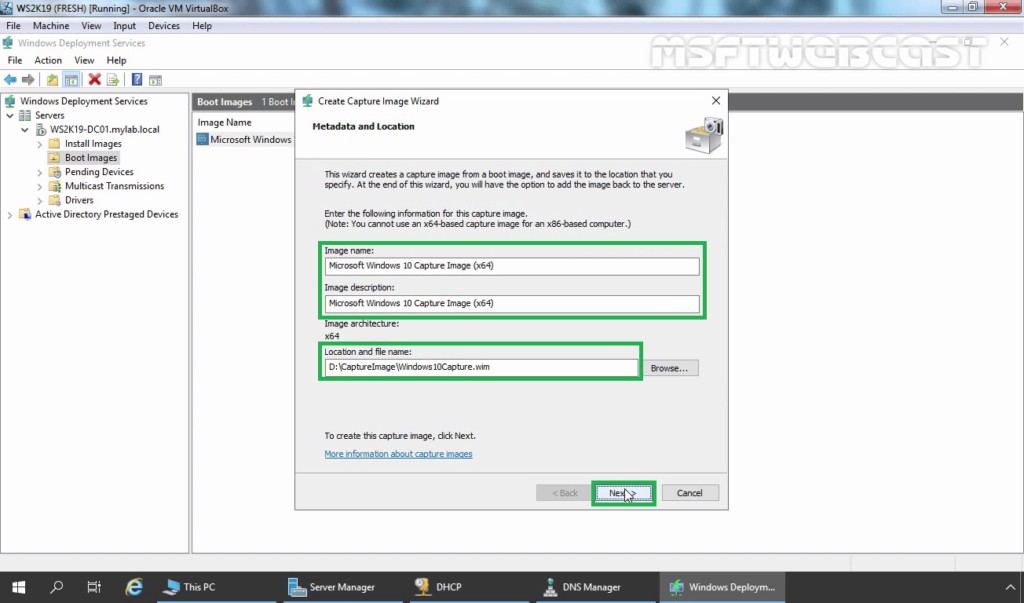
5. Specify the name and description of the image. Click on browse to specify the location to save the reference image. Click on Next.
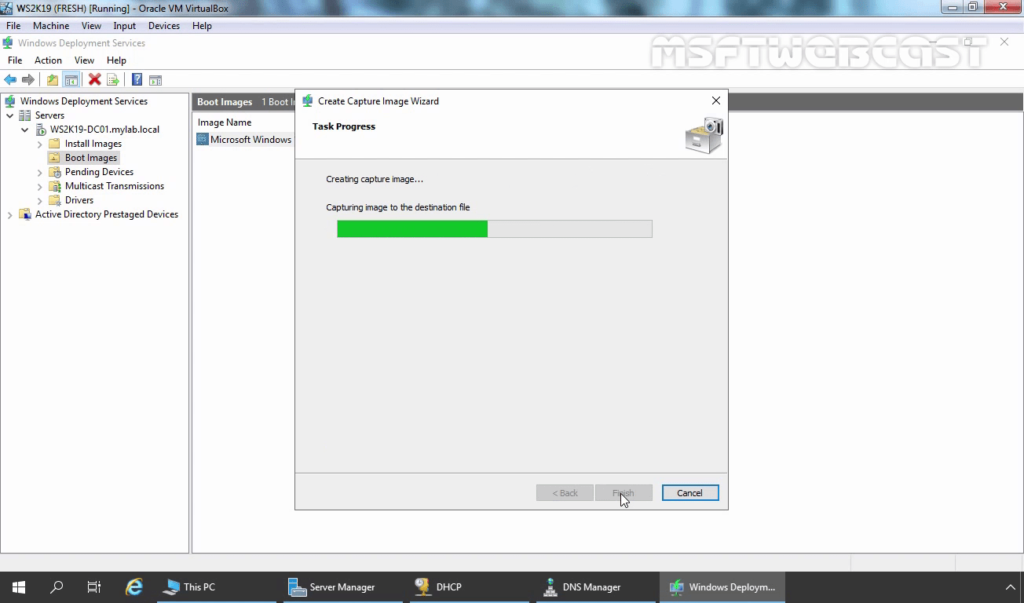
6. The Wizard will begin to capture a Windows 10 reference image.
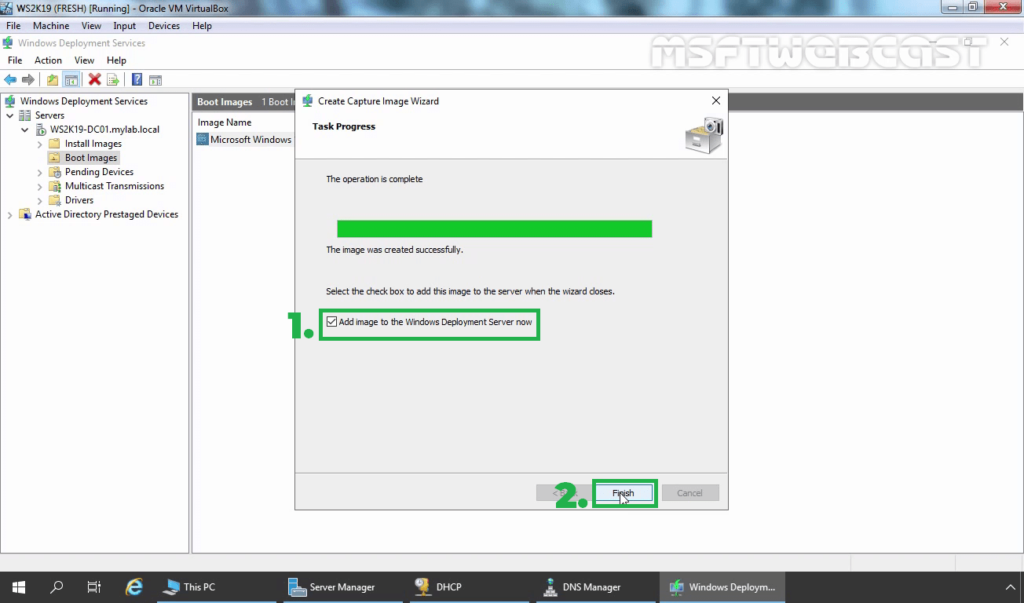
7. Select the Add image checkbox to add a captured image to the WDS server. Click Finish.
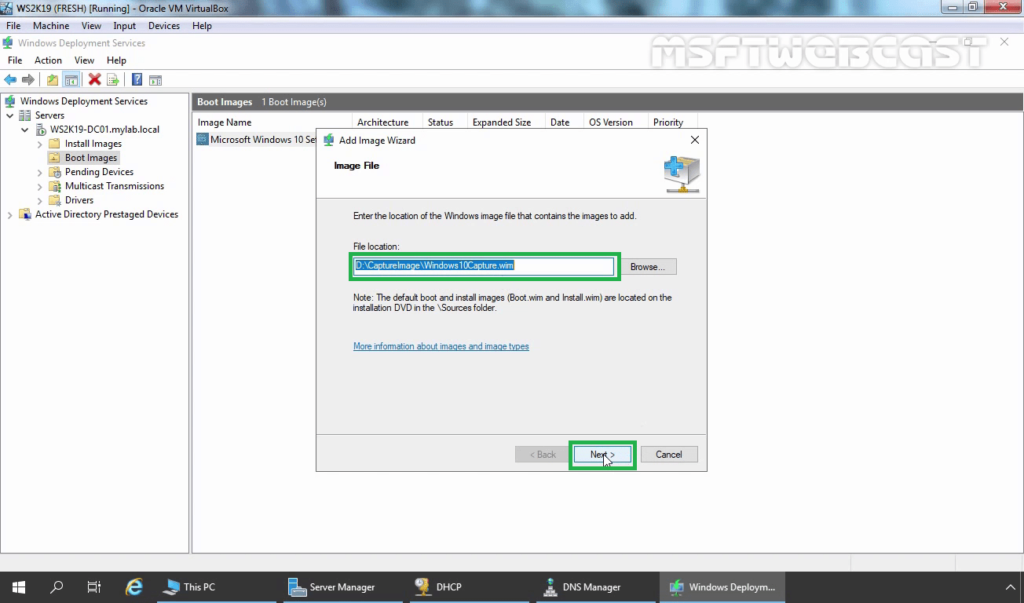
8. The Image file location is pre-filled out. Click Next.
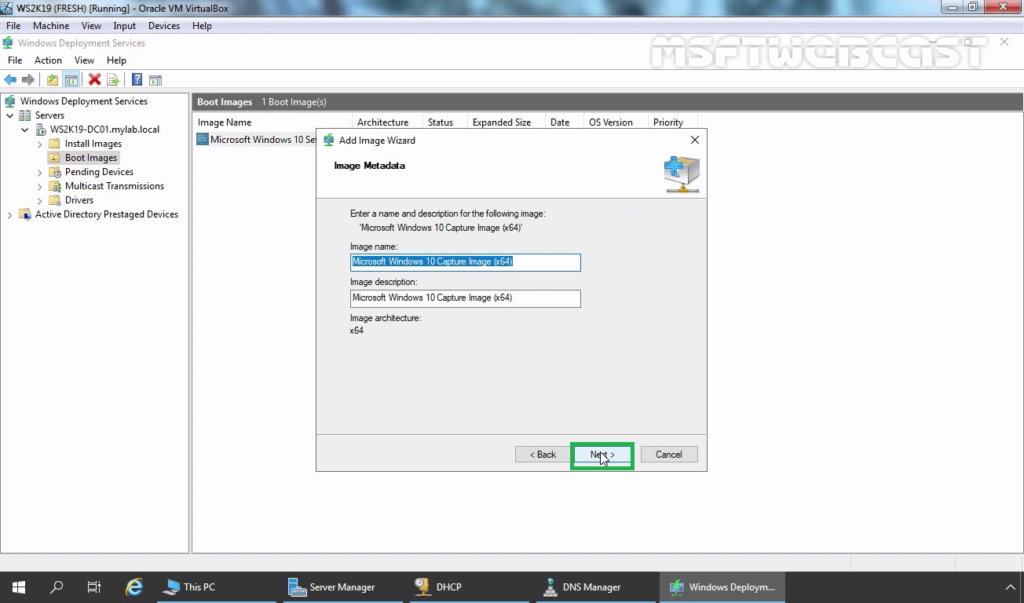
9. Click Next.
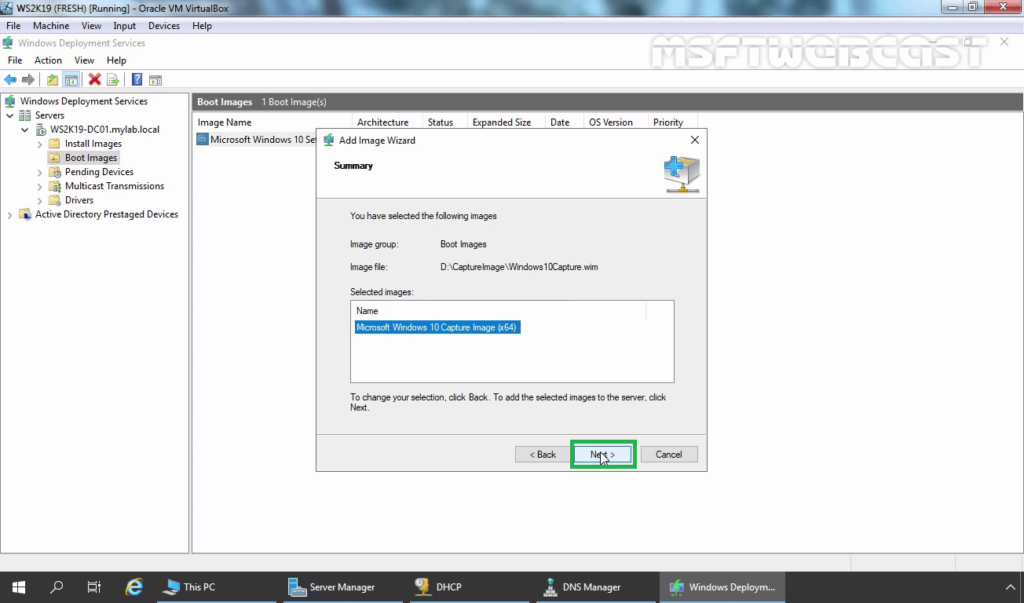
10. View the summary and click Next.
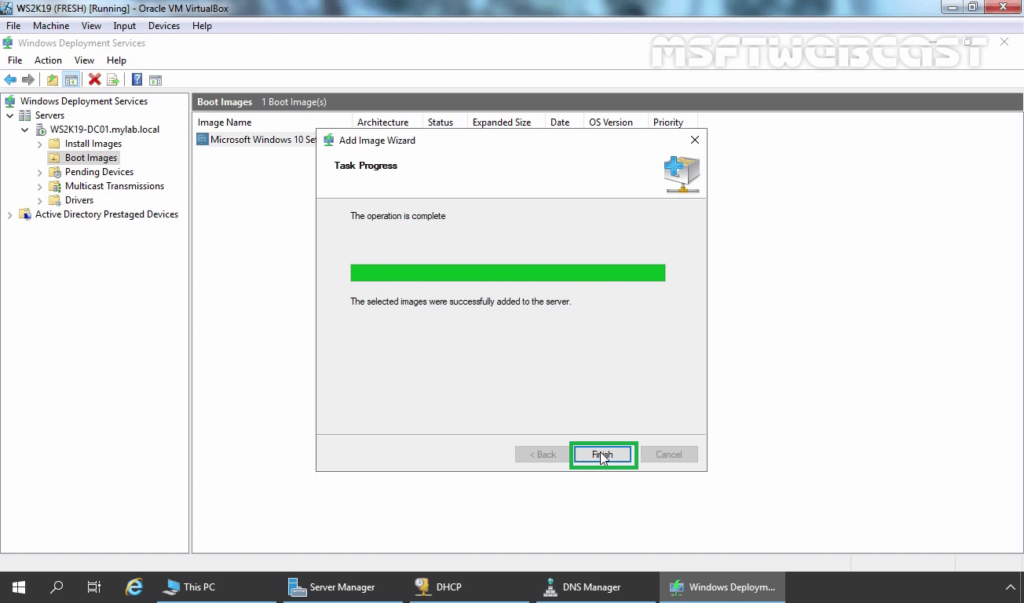
11. Wait for the process to finish. Click on Finish.
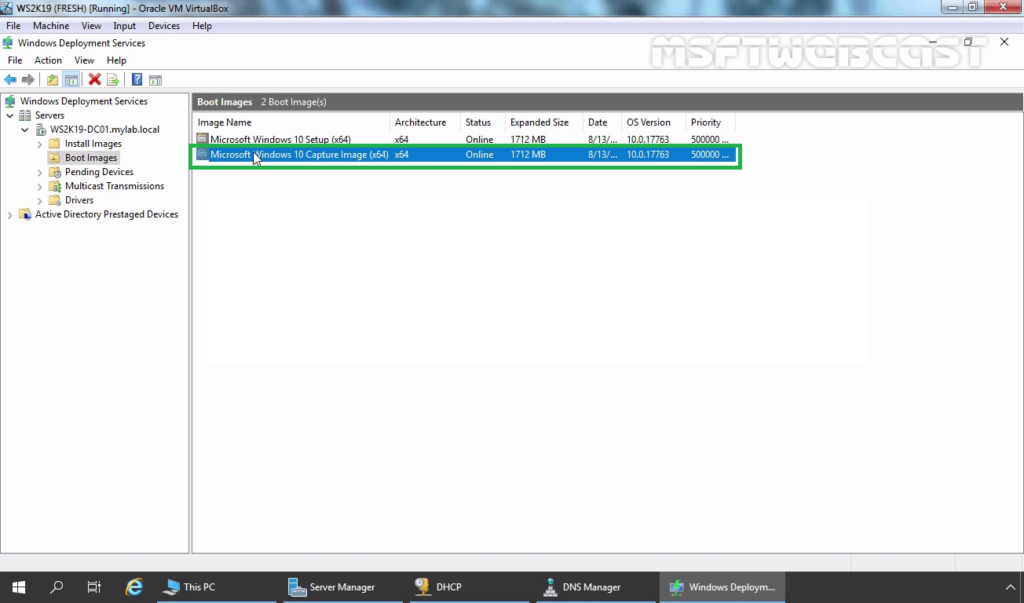
12. Verify the Capture Image under the Boot Images list.
Sysprep Windows 10 to capture a Reference Image:
Every Windows OS has uniquely generated and assigned security identifiers (SIDs). If there’s more than one computer with the same SID on the network, then this could cause problems.
Sysprep tool is used to remove computer-specific information such as installed drivers and the SID from the OS. After that, we can use it to capture the reference image.
We have performed a clean installation of Windows 10. We have also installed some third-party applications on it.
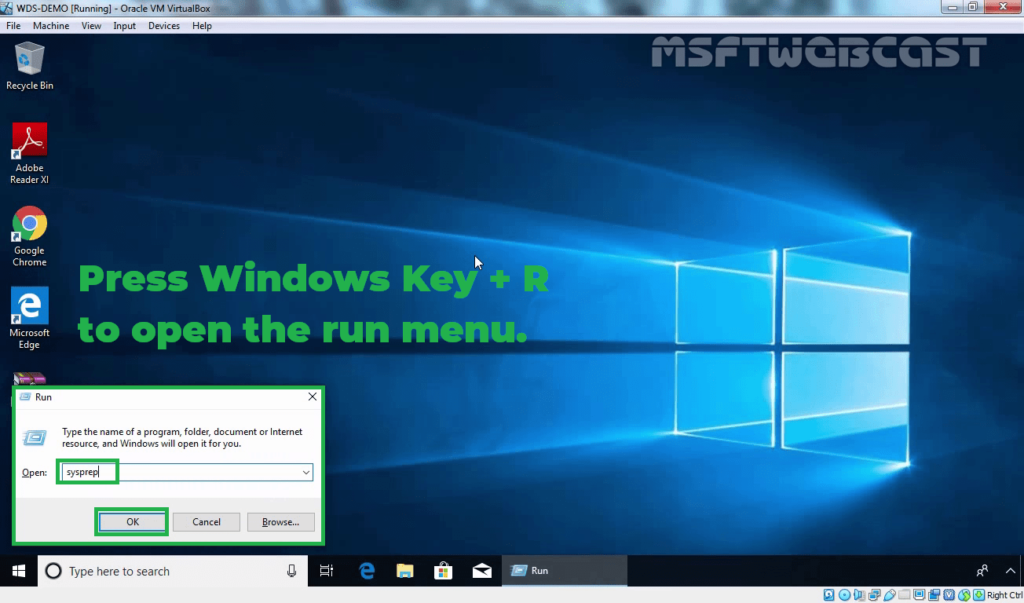
13. On Windows 10, press the Windows key + R to open the run menu.
14. Type sysprep and then press enter key.
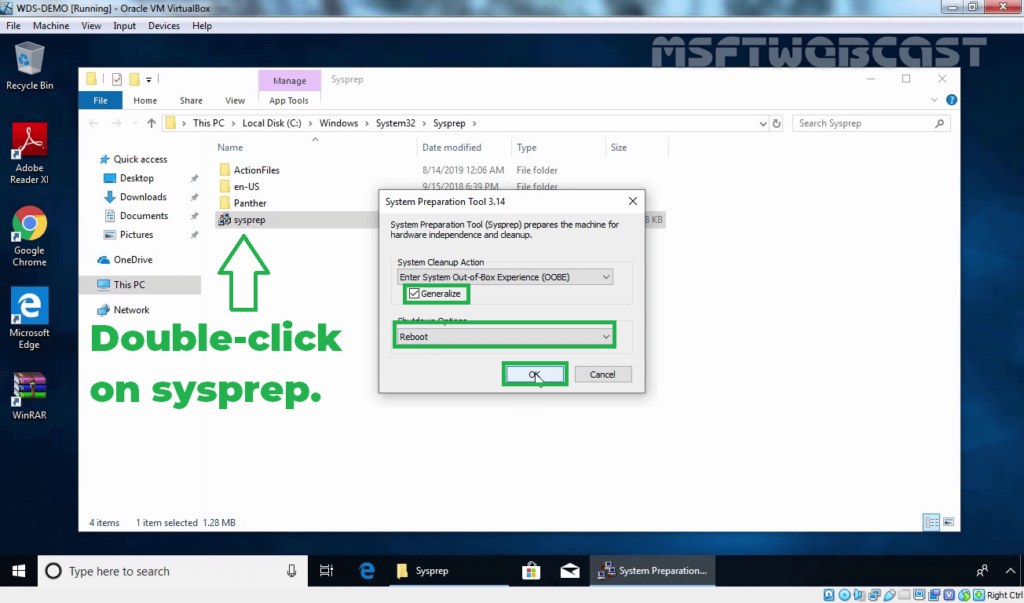
15. Double click on sysprep application.
16. Choose Enter System Out-of-Box Experience (OOBE) and select Generalize. Choose reboot and click OK.
17. Once the sysprep has complete, the system will restart.
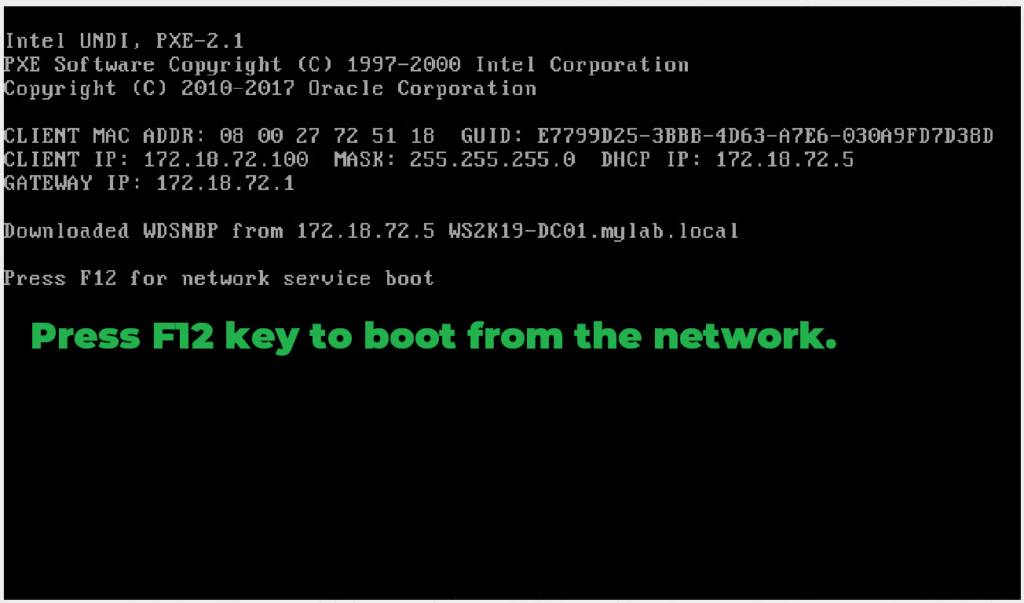
18. Configure your system to boot from the network, when prompted press F12 key to continue.
Capture Windows 10 Reference Image using WDS:
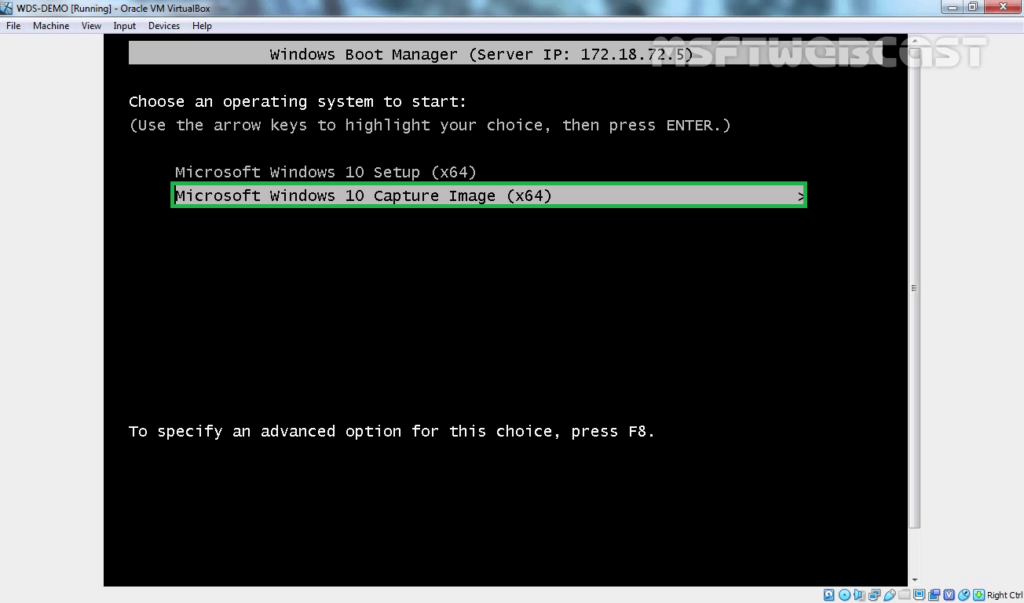
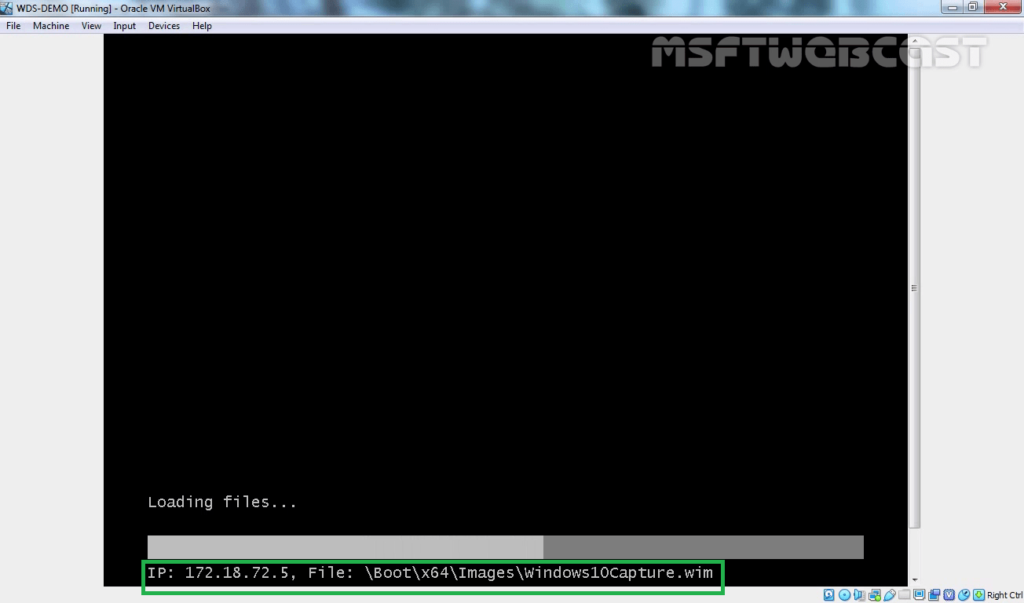
19. Now select Capture Image from the list to capture Windows 10 reference image. You can use arrow keys for navigation.
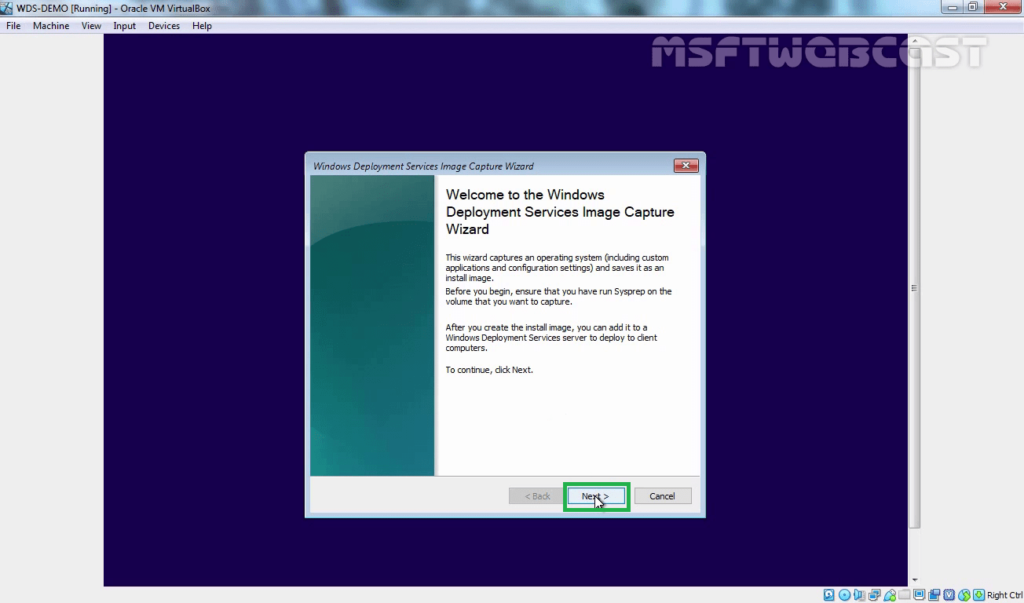
20. Click Next on the Welcome page.
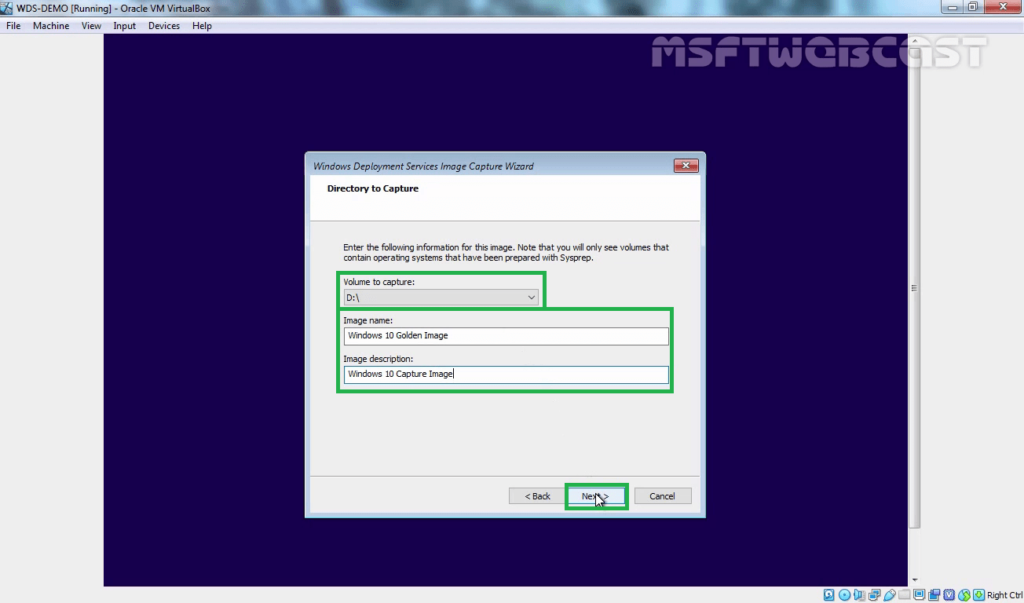
21. Specify the volume to capture. Specify the image name and description then click Next.
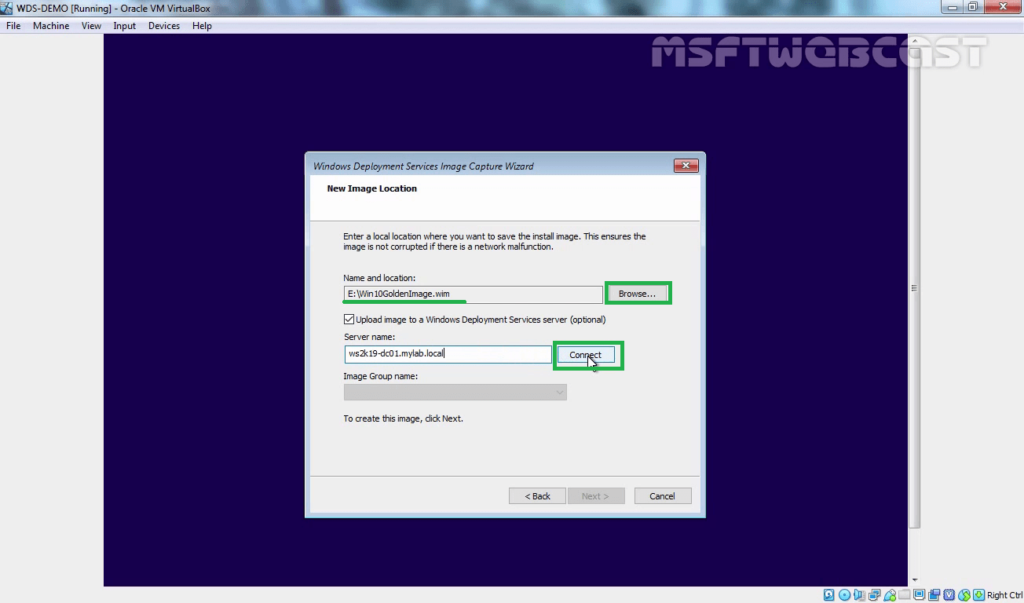
22. Click on browse to specify the location to save this reference image file locally.
Note: If you want to upload the image to the WDS server at the same time, then check on the “Upload image to a Windows Deployment Services Server”.
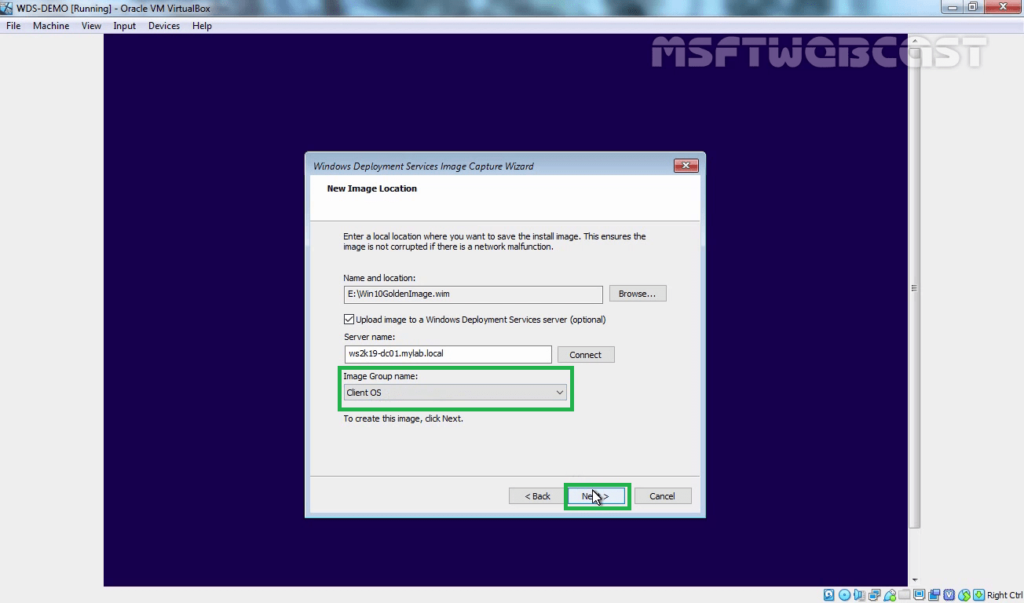
23. If you chose to upload the image to the WDS server, Enter the name of the WDS server in the Server Name field and click on connect.
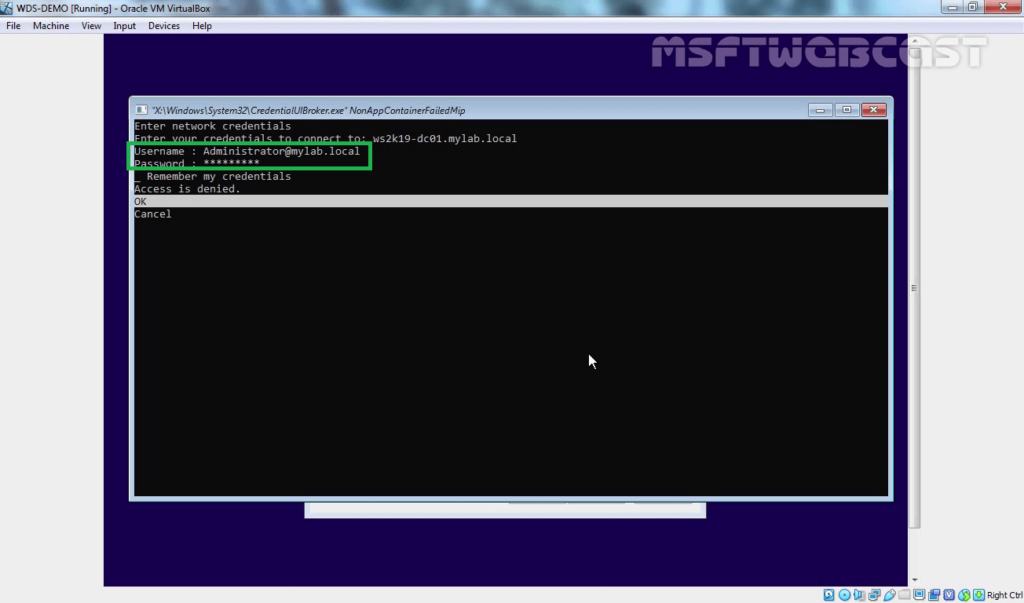
24. Enter the credentials and click on OK.
25. Select the group menu from the drop-down menu and click on Next to start capturing Windows 10 reference image.
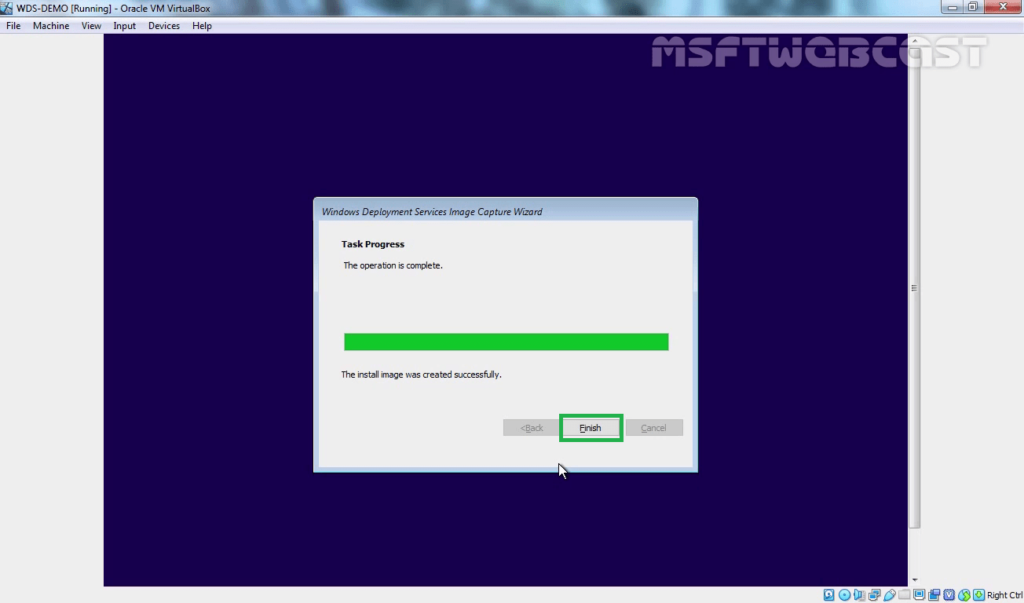
26. Click on Finish to close the wizard.
27. Go to the WDS server and check the result of Windows 10 capturing.
28. Expand Install Images, expand the image group, and verify the reference image is uploaded or not?
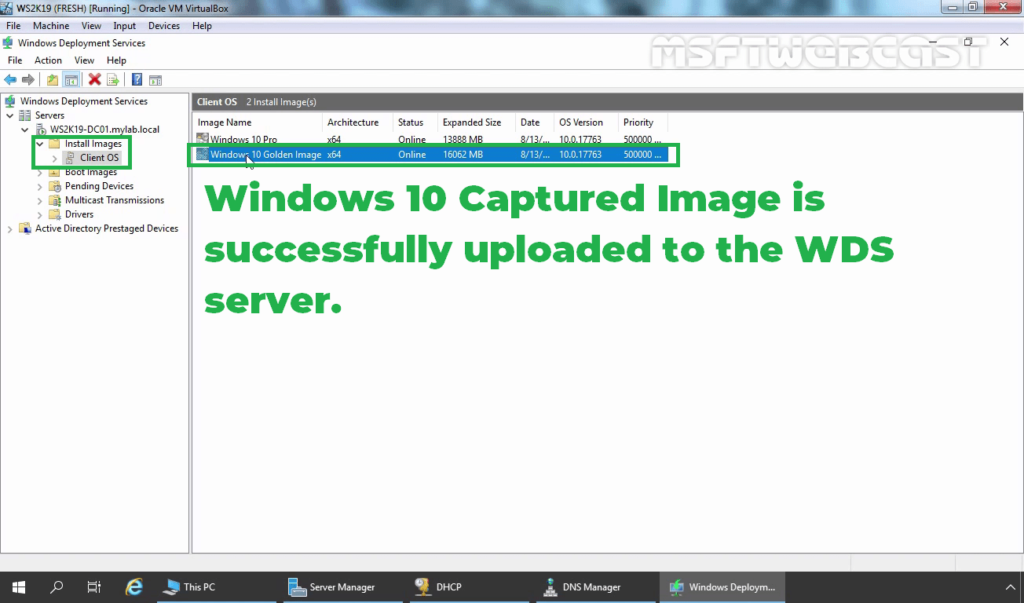
The Windows 10 reference image should be uploaded successfully to the WDS server.
That’s all for steps on how to Sysprep and capture a Windows 10 reference image using the WDS server 2019.
Thank you for reading this post.