Microsoft released the latest version of Exchange Server 2019 on October 22, 2018. We can download it from the Microsoft Volume Licensing Service Center (VLSC).
This blog post series will go over the step by step instructions to install and configure Microsoft Exchange Server 2019 on Windows Server 2019 in test lab created in Oracle VirtualBox.
Before you start, the deployment read the below Microsoft official documentation on Exchange Server 2019 system requirements and Compatibility Requirements.
https://docs.microsoft.com/en-us/exchange/plan-and-deploy/system-requirements?view=exchserver-2019
Note: As we are going for a first installation on Exchange Server 2019 in Active Directory forest, we are not going to discuss compatibility requirements with earlier versions of the exchange server.
Hardware requirements for Exchange Server 2019:
Processor:
- 64-bit processor (Intel or AMD)
Memory:
- Mailbox: 128 GB minimum recommended
- Edge Transport: 64 GB minimum recommended
Disk space:
- At least 30 GB of free space on the drive where you’re installing Exchange.
- At least 200 MB of free space on the system drive.
- At least 500 MB of free space on the drive that contains the message queue database.
Active Directory requirements for Exchange Server 2019:
- Domain Controllers: Windows Server 2012 R2, Windows Server 2016, or Windows Server 2019.
- Forest Functional Level: The minimum required AD forest functional level is Windows Server 2012 R2 or higher.
Note: Microsoft Exchange Server 2019 can be installed on Windows Server 2019 Core or Windows Server 2019 with the desktop experience.
Understanding the Test Lab:
- WS2K19-DC01: Domain Controller and DNS Server for mylab.local domain.
- WS2K19-EX19MBX01: Member Server in mylab.local domain
Microsoft Exchange Mailbox Server 2019 Software Pre-requisites:
It is highly recommended to install Exchange 2019 on a member server 2019 not on a Domain Controller.
Download and install the below software on a member server.
- .NET Framework 4.8
- Visual C++ Redistributable Package for Visual Studio 2013
- Install Unified Communications Managed API 4.0.
Install the Pre-requisites:
We will prepare WS2K19-EX19MBX01 Member Server for Exchange 2019 installation. Let’s install all pre-requisites on a member server.
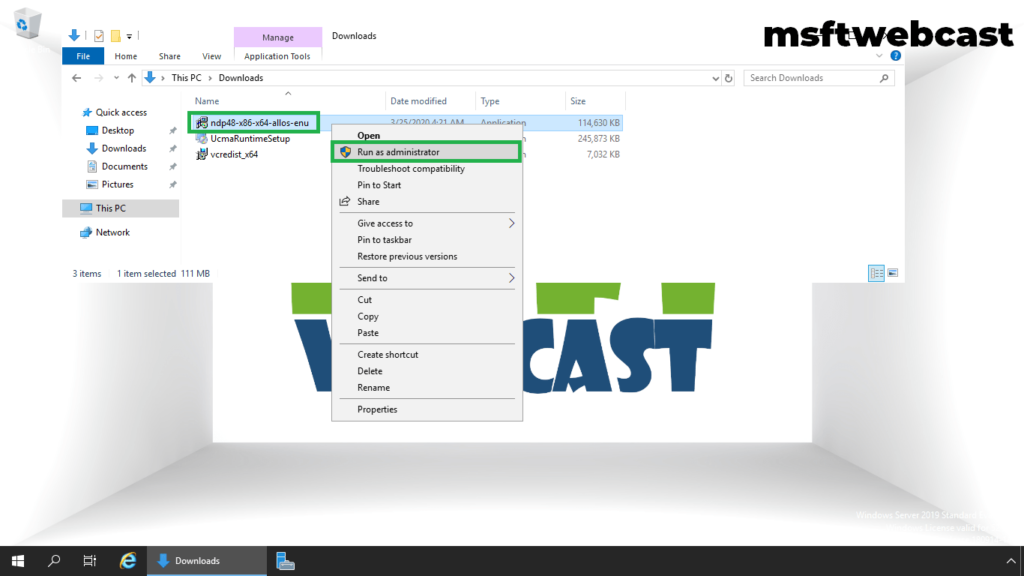
Step:1 Install NET Framework 4.8
1. Right-click on setup and select run as administrator option.

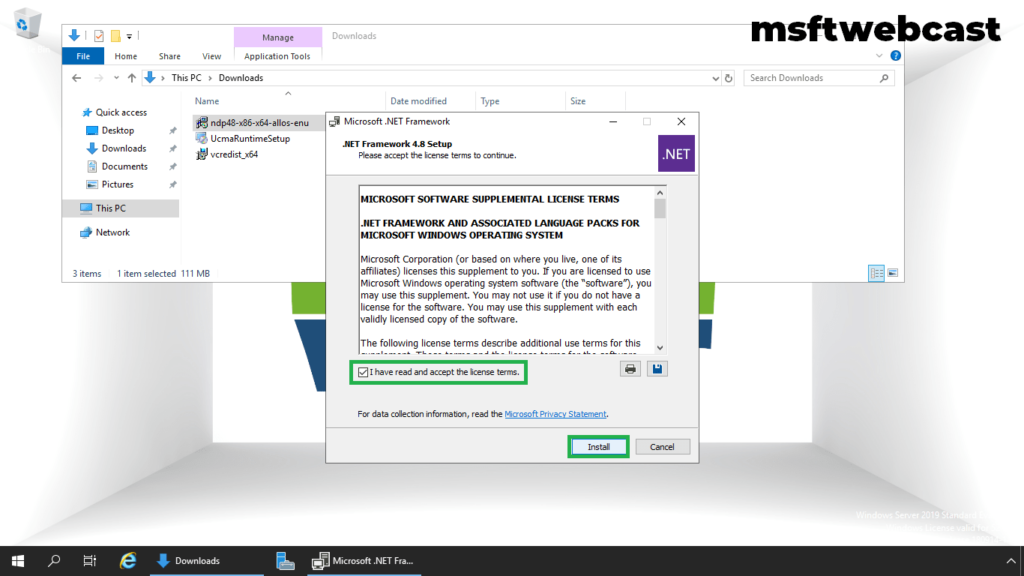
2. Accept license terms and click on the Install button.

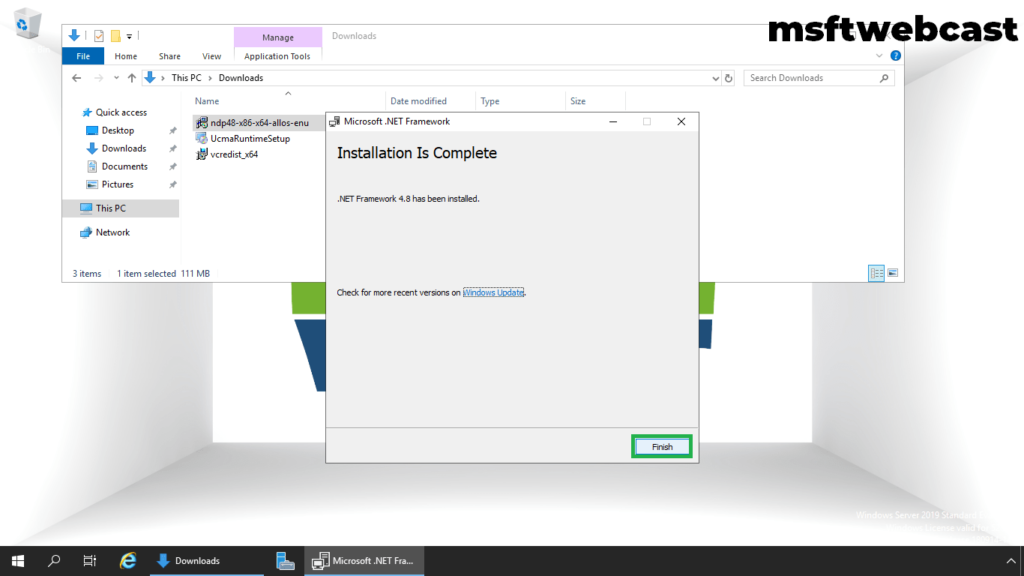
3. Click on Finish.
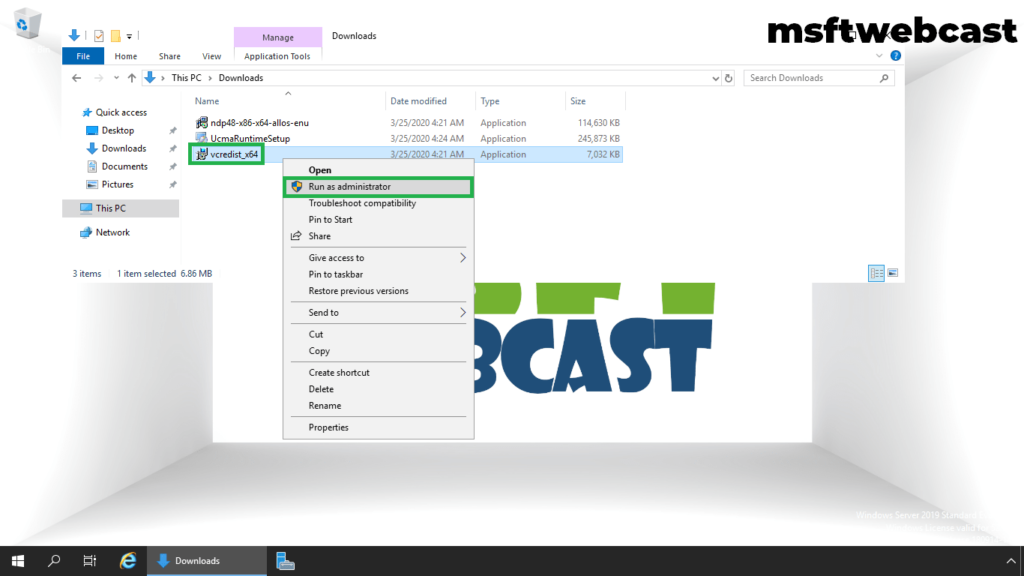
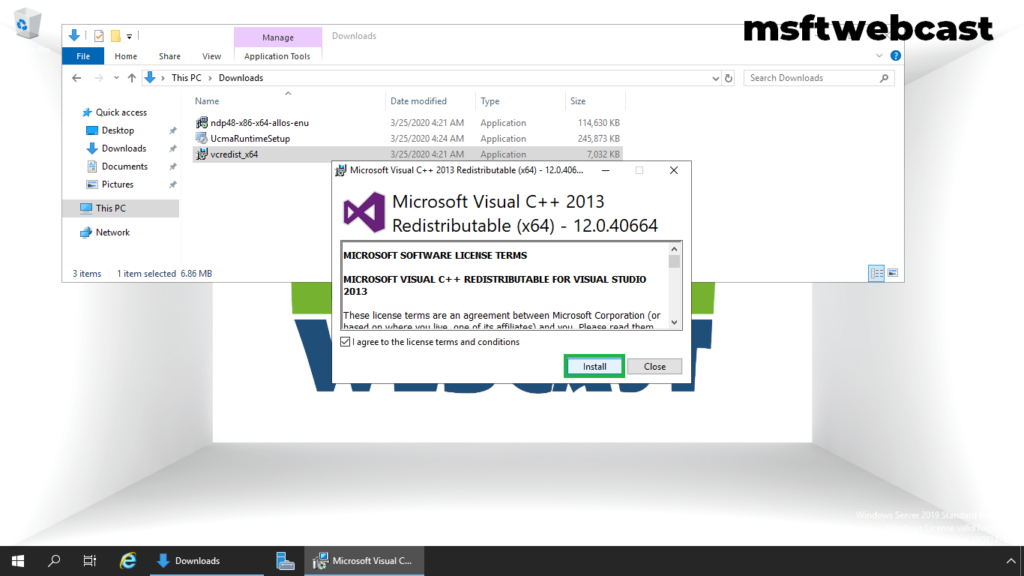
Step:2 Install Visual C++ 2013 package:
4. Right-click on setup and select run as administrator option.
5. Accept license terms and click on the Install button.
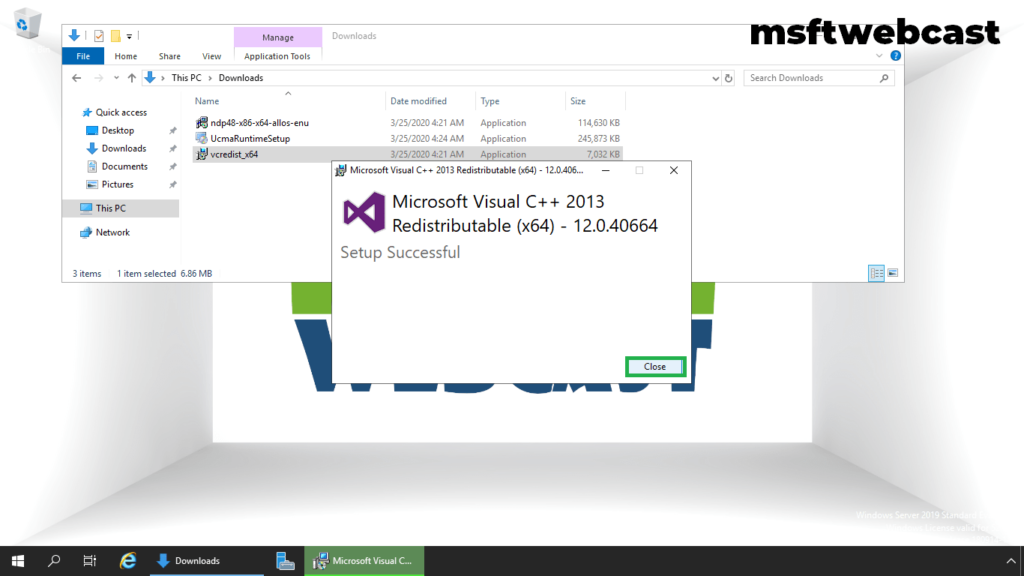
6. Click on Close.
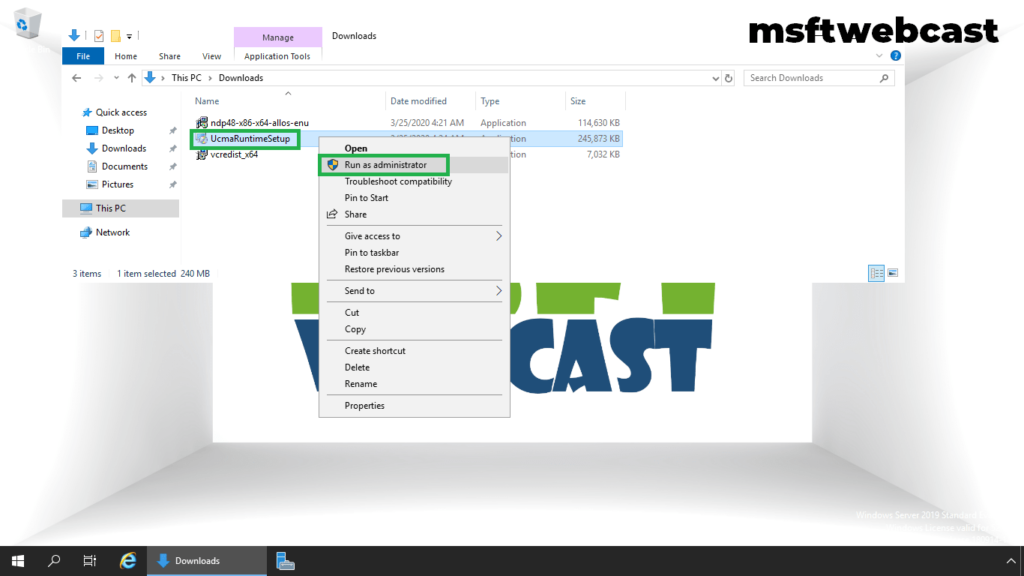
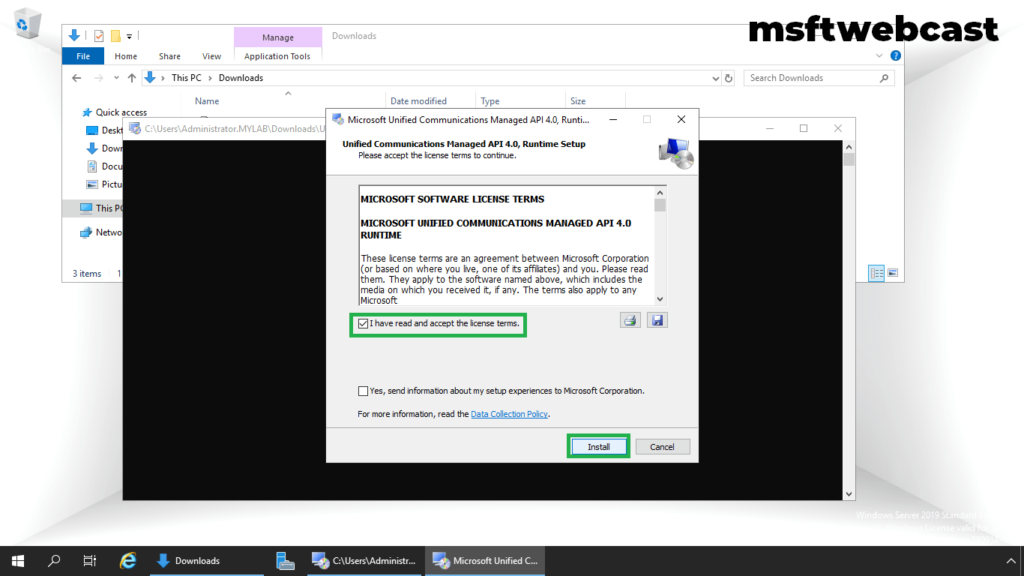
Step:3 Install Unified Communications Managed API 4.0.
7. Right-click on setup and select run as administrator option.
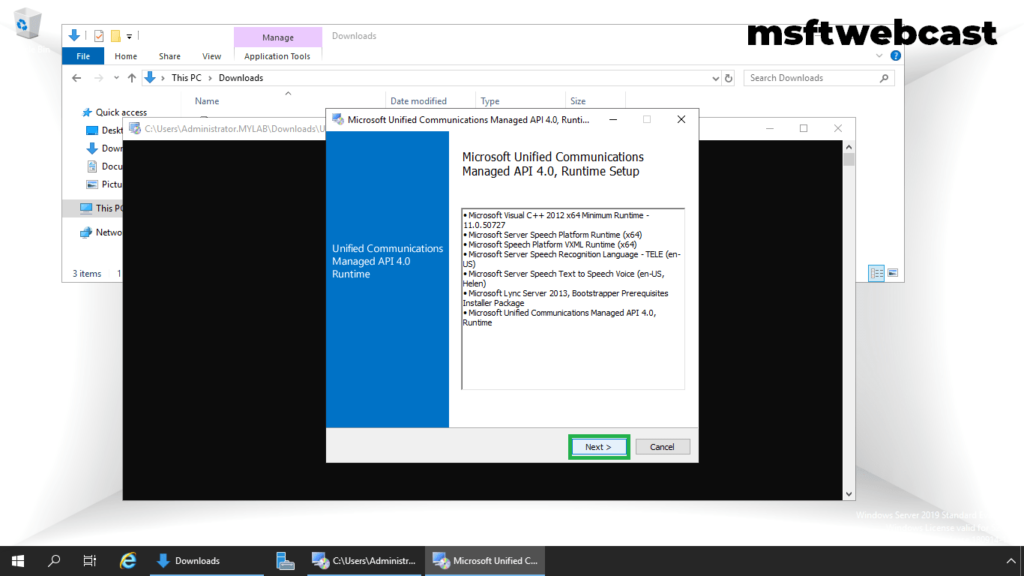
8. Click on the Next button.
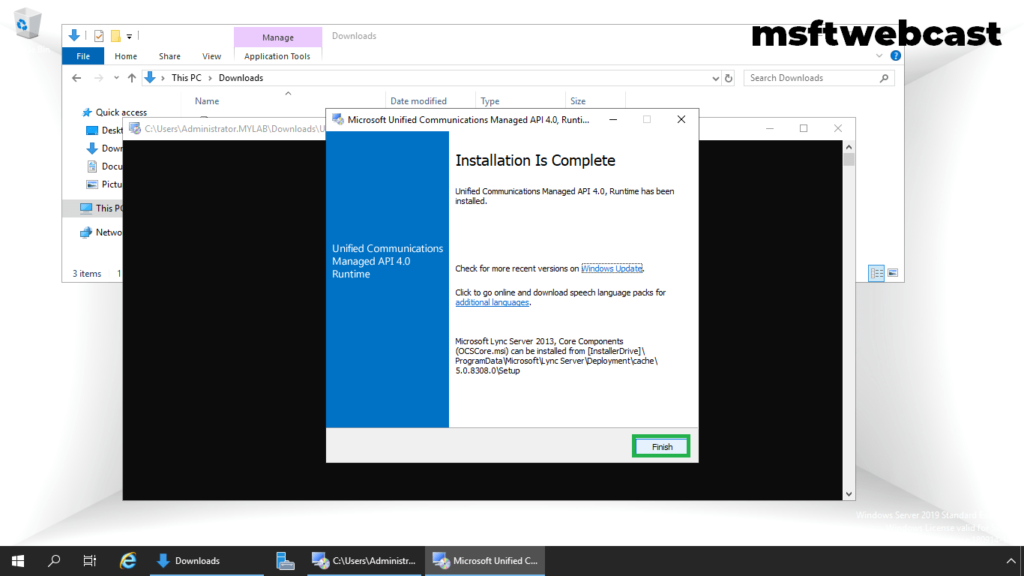
9. Accept license terms and click on the Install button.
10. Click on Finish.
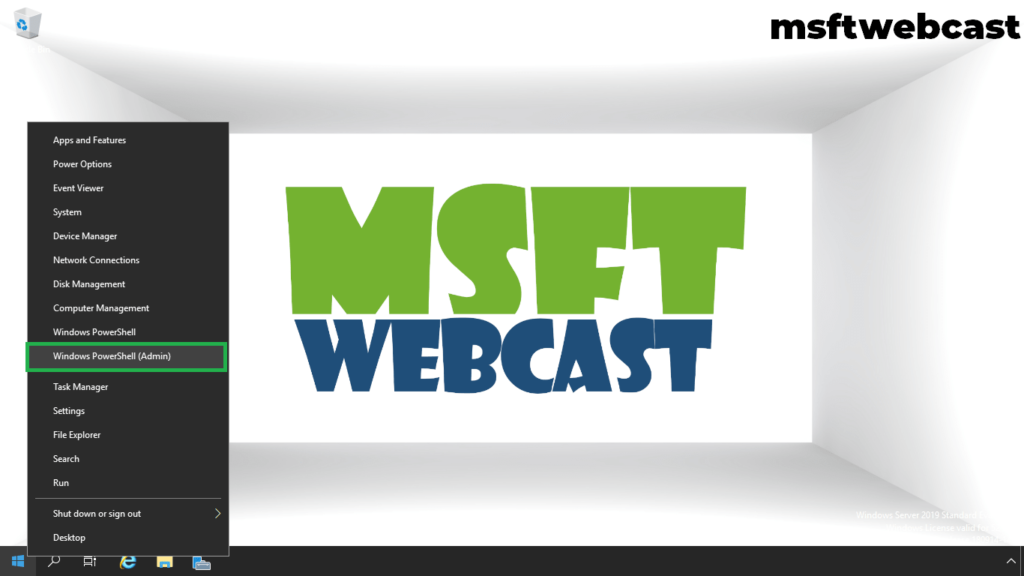
Step:4 Install the required Windows components for Exchange Setup.
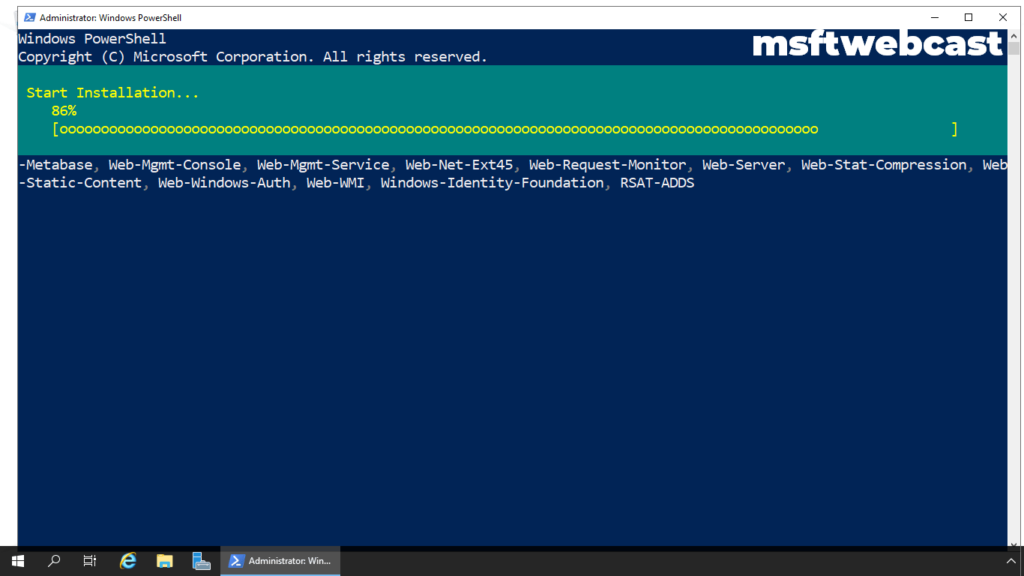
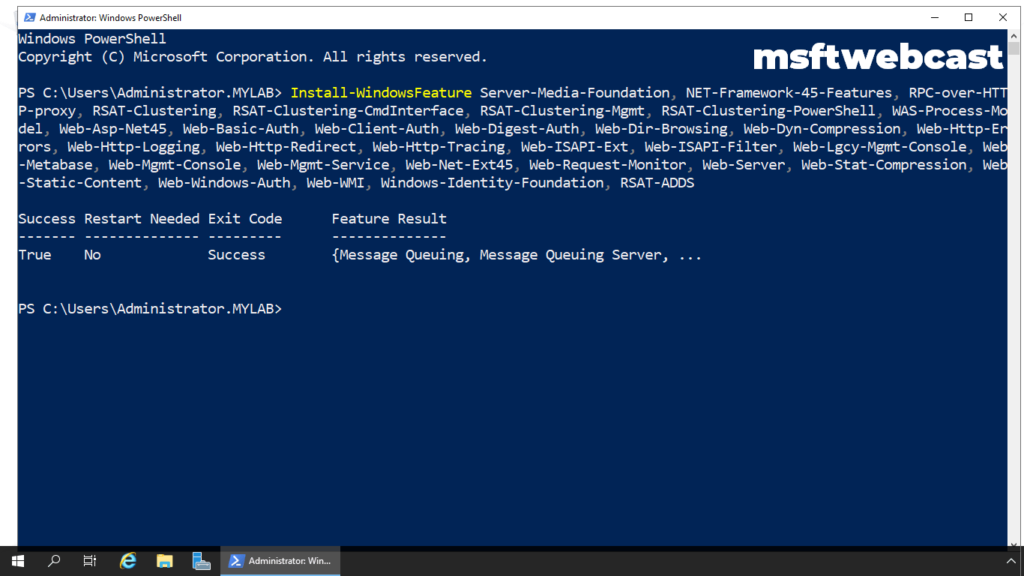
11. Open Windows PowerShell with admin.
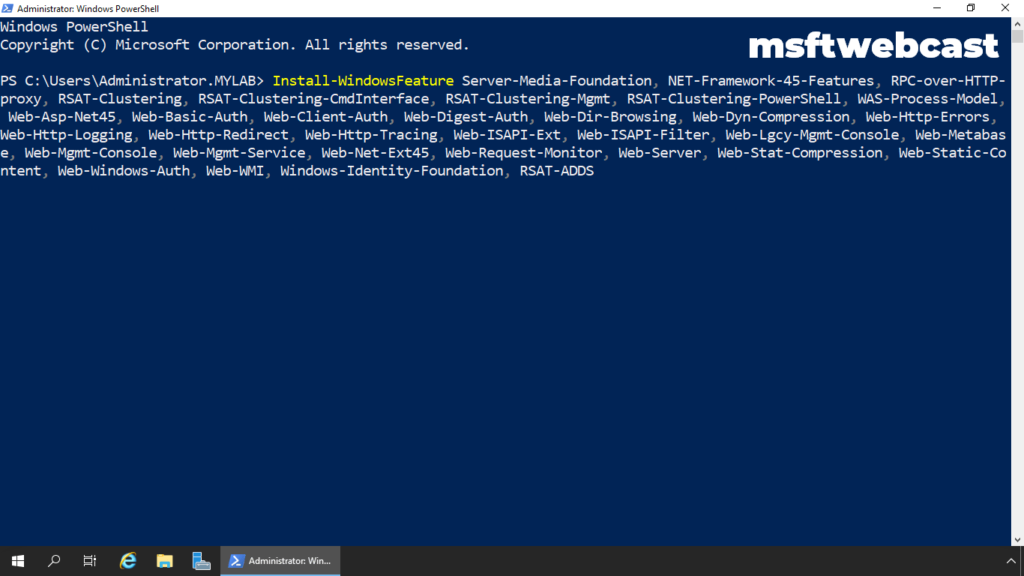
Execute below cmdlet in PowerShell.
Install-WindowsFeature Server-Media-Foundation, NET-Framework-45-Features, RPC-over-HTTP-proxy, RSAT-Clustering, RSAT-Clustering-CmdInterface, RSAT-Clustering-Mgmt, RSAT-Clustering-PowerShell, WAS-Process-Model, Web-Asp-Net45, Web-Basic-Auth, Web-Client-Auth, Web-Digest-Auth, Web-Dir-Browsing, Web-Dyn-Compression, Web-Http-Errors, Web-Http-Logging, Web-Http-Redirect, Web-Http-Tracing, Web-ISAPI-Ext, Web-ISAPI-Filter, Web-Lgcy-Mgmt-Console, Web-Metabase, Web-Mgmt-Console, Web-Mgmt-Service, Web-Net-Ext45, Web-Request-Monitor, Web-Server, Web-Stat-Compression, Web-Static-Content, Web-Windows-Auth, Web-WMI, Windows-Identity-Foundation, RSAT-ADDS
Add the required Lync Server or Skype for Business Server components by installing the Server Media Foundation windows feature
Install-WindowsFeature Server-Media-Foundation
Now we have installed all the required pre-requisites to install Exchange 2019 on Windows Server 2019.
In the next part, we will first prepare Active Directory Forest and schema to install exchange 2019 and then after we will install Microsoft Exchange 2019 on Windows Server 2019.