Blogs on Windows Server By MSFT WebCast
Windows Server 2019

How to Create and Bind a Self Signed Certificate in IIS 10

Introduction:

This article describes the steps to create a Self-Signed Certificate using IIS Manager in Windows Server 2019. This post also covers the steps on how to create and bind an SSL certificate to the default website using the IIS manager.

If you haven’t already installed IIS on the machine that will act as the hosting server, please do so by using Server Manager or Windows PowerShell. Check out my previous post on How to Install IIS 10 on Windows Server 2019.

These instructions assume that you have already installed IIS 10 on the Windows Server 2019.

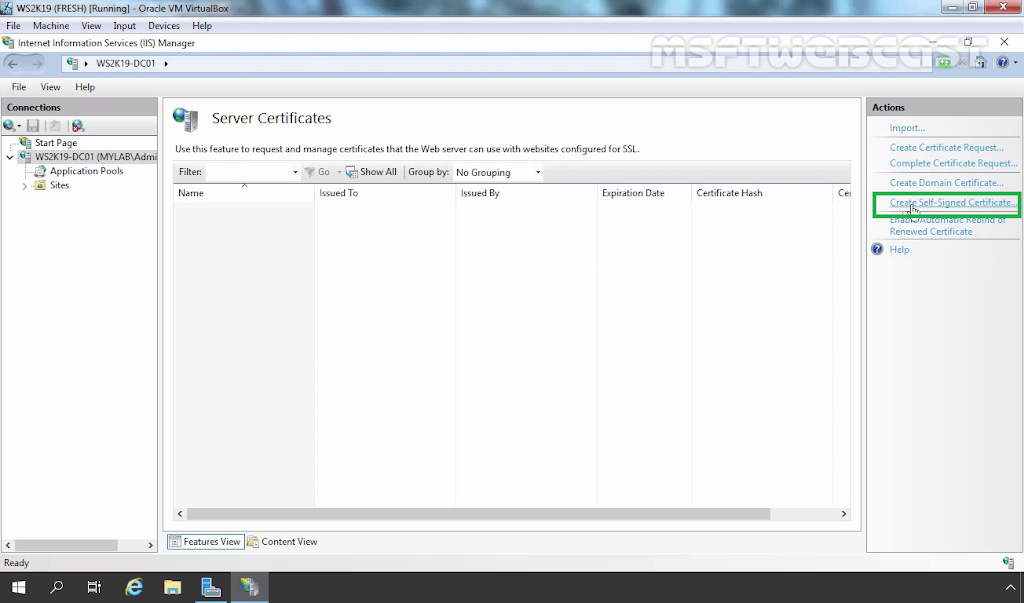
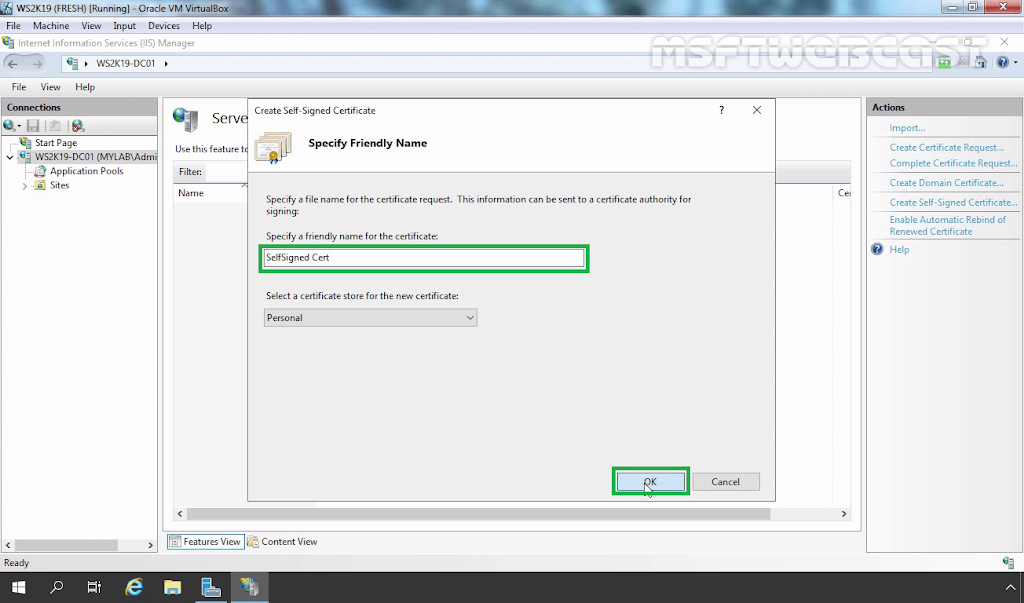
Create the Self Signed Certificate:

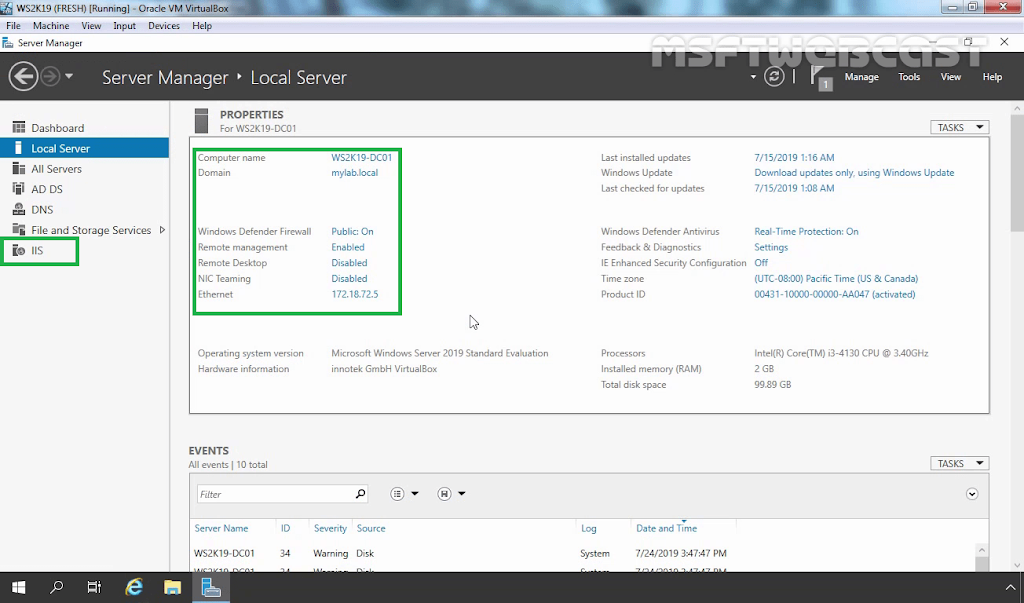
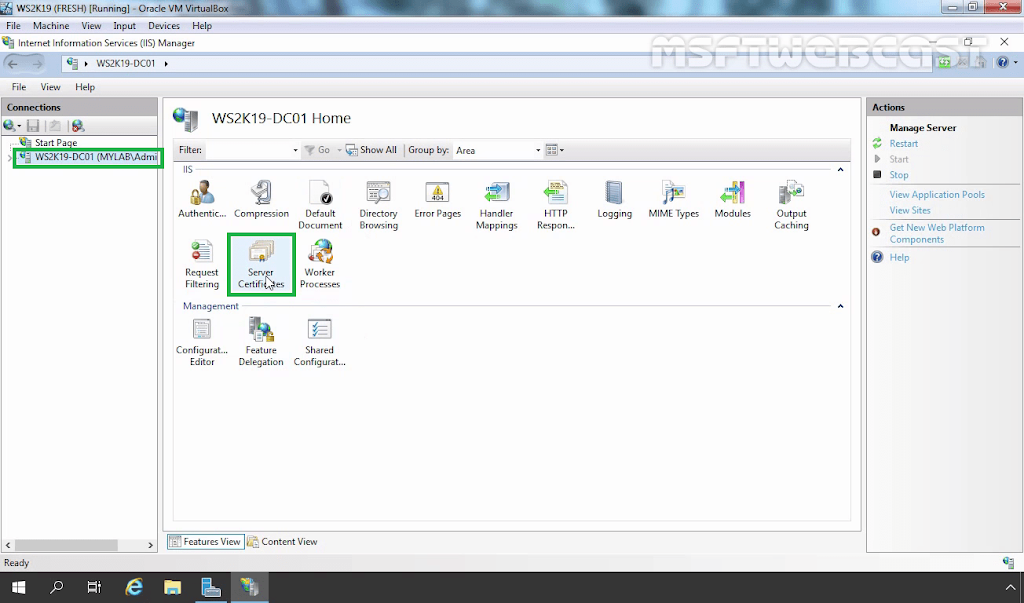
1. We need to open the IIS Manager console. First, open server manager console.

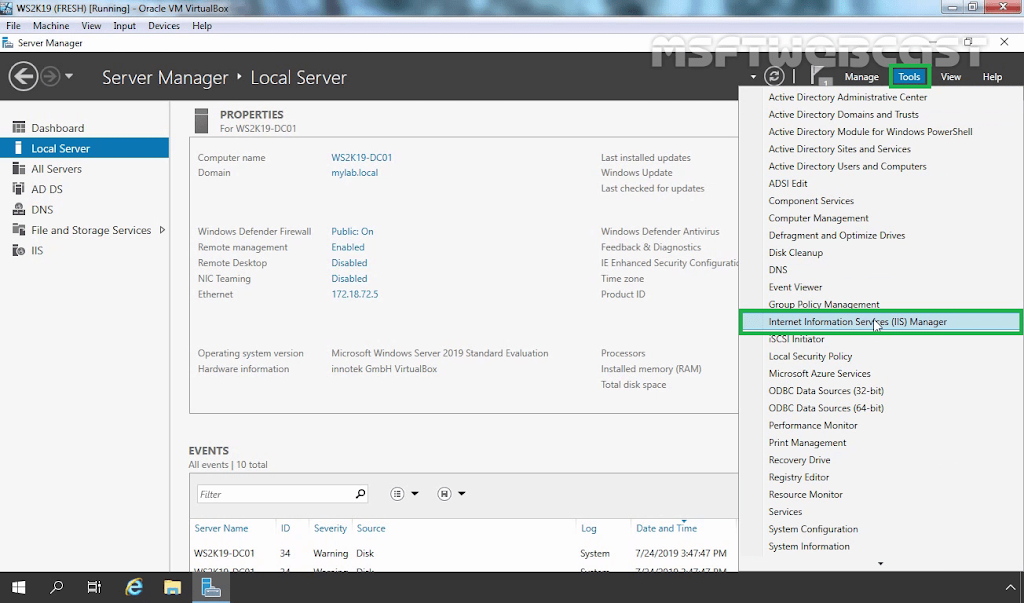
2. Click on tools and select Internet Information Services (IIS) Manager.

3. Click on the server name (ws2k19-dc01) in the Connections column on the left and double-click on Server Certificates.
4. Click on Create Self-Signed Certificate in the Actions column on the right.
5. Enter the friendly name you wish to use to identify the self-signed certificate, and then click OK to complete the process.
6. You now have an IIS Self Signed Certificate listed under Server Certificates. The validity of the Self Signed Certificate is one year.

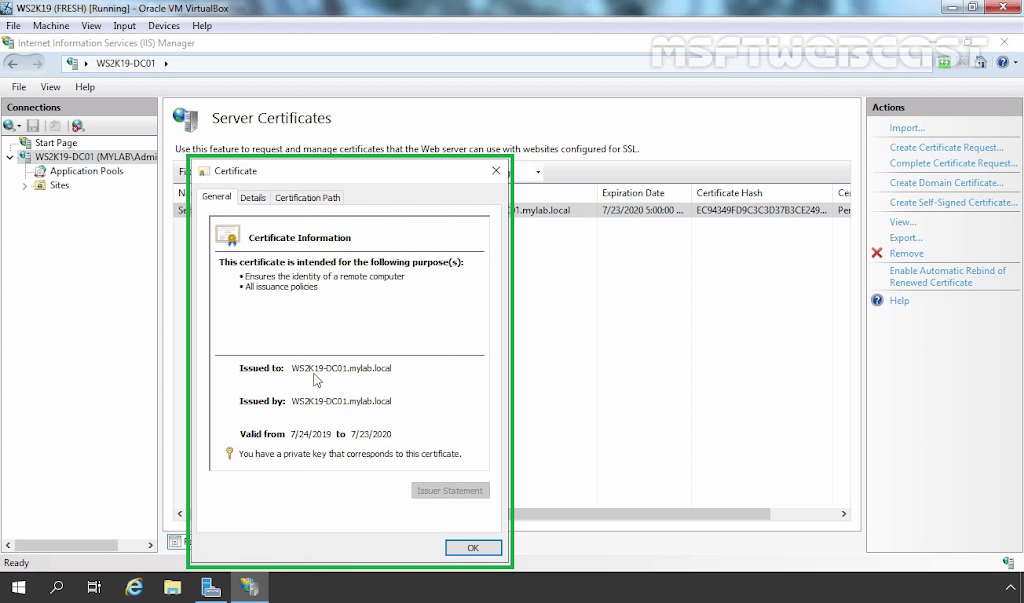
The next step is to bind the certificate to the default web site.

Bind the Self Signed Certificate to the default web site:

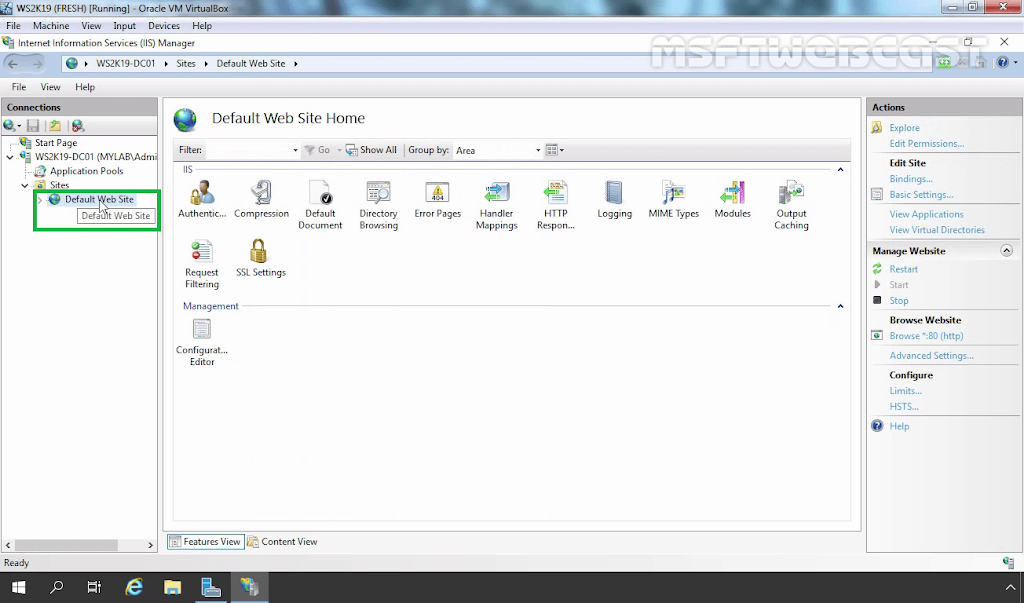
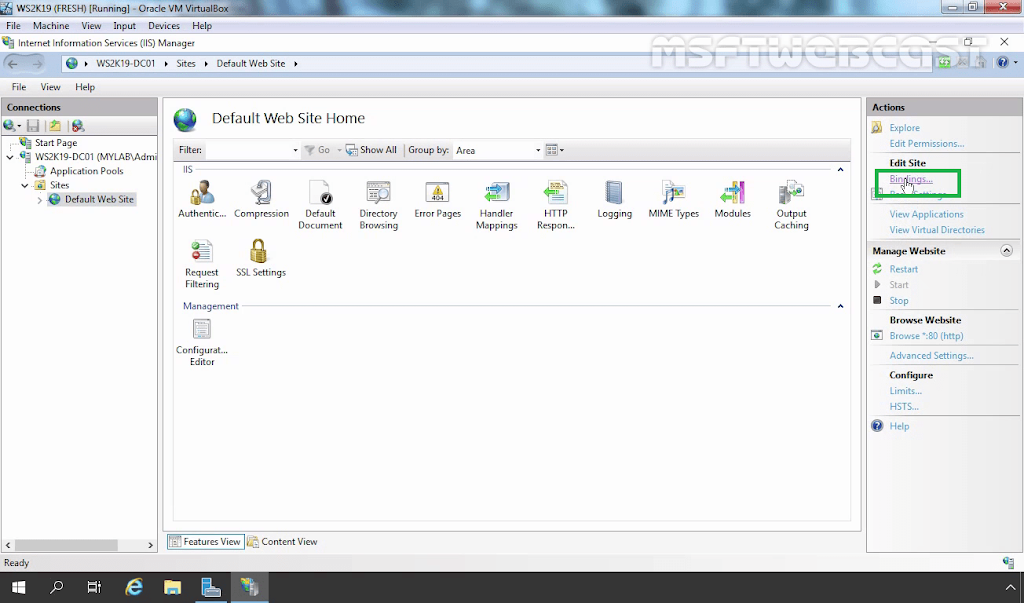
7. Browse to the Connections column on the left-hand side, expand the Sites folder and click on the website you wish to bind the SSL certificate to. In this case, we want to bind the certificate to the default web site.

8. On the right side, click on Bindings under Edit Site section in the Actions column.
9. Click the Add.. button.
10. Click the type drop down menu. Select https.
11. Click on the SSL Certificate drop-down, choose the newly created Self Signed certificate.
12. Click OK.
13. You should now see the bindings for port 443. Click on Close to save the changes.

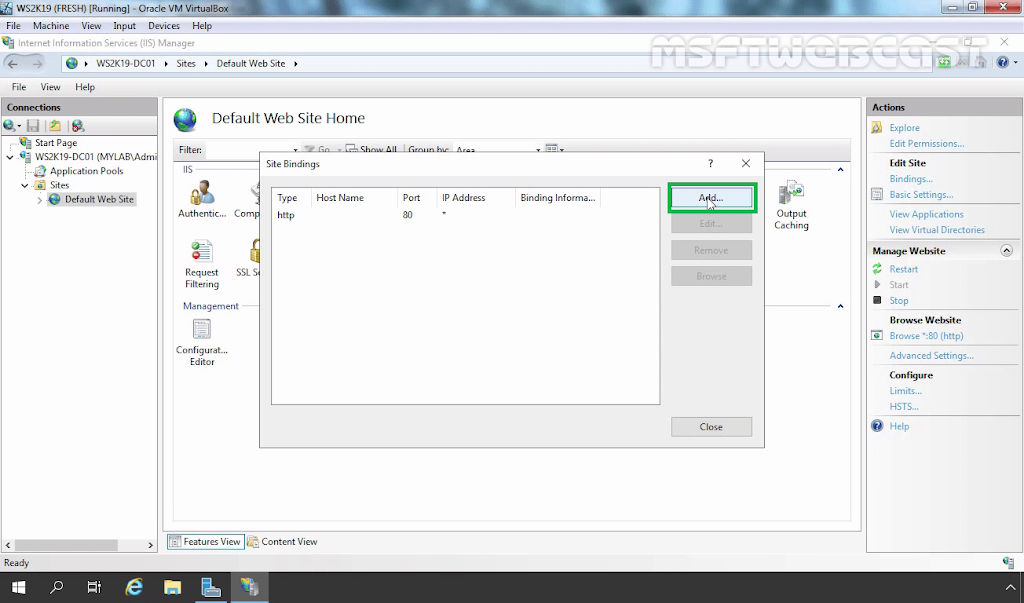
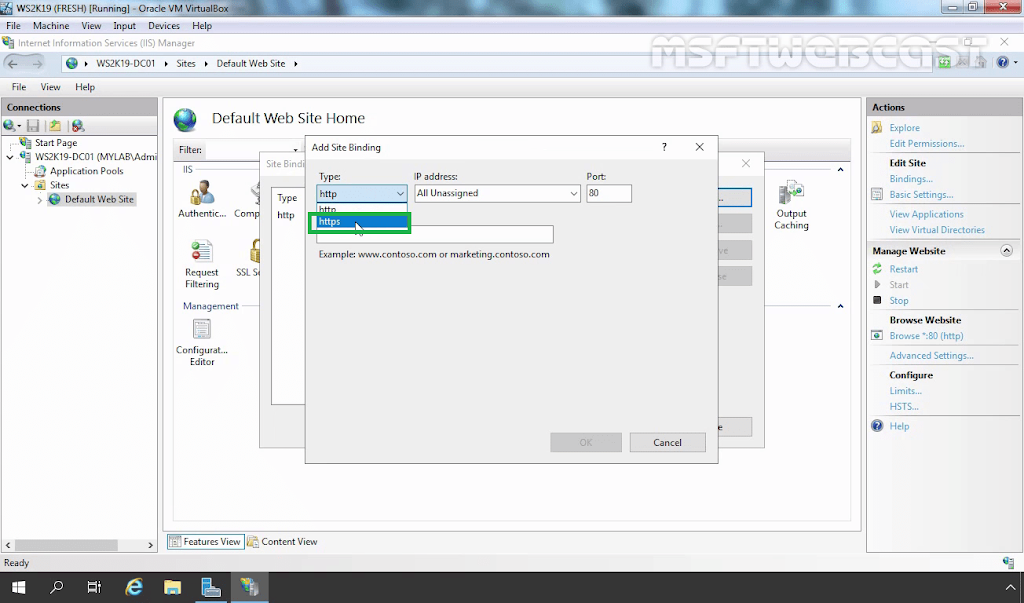
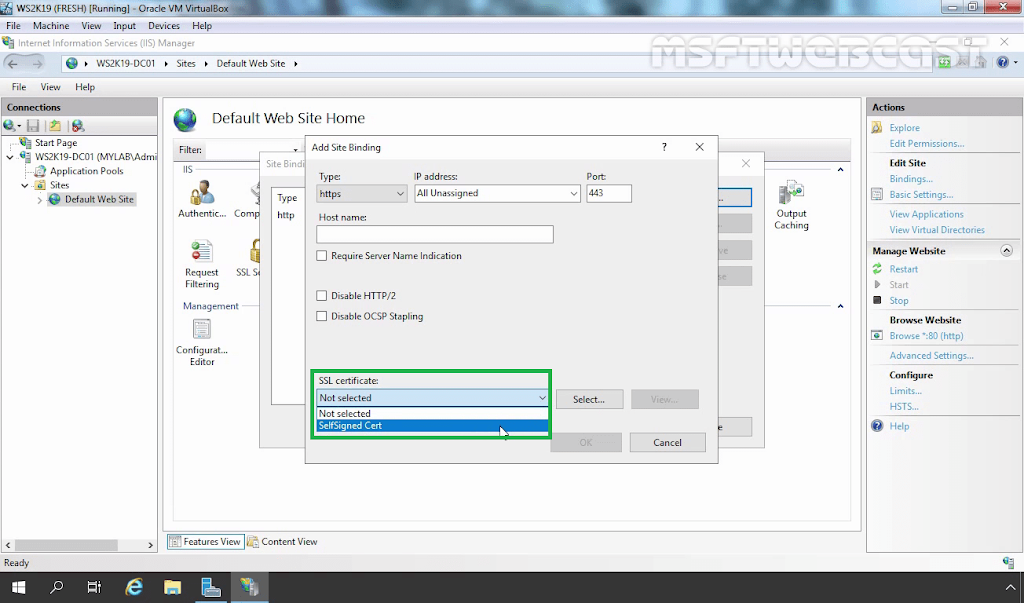
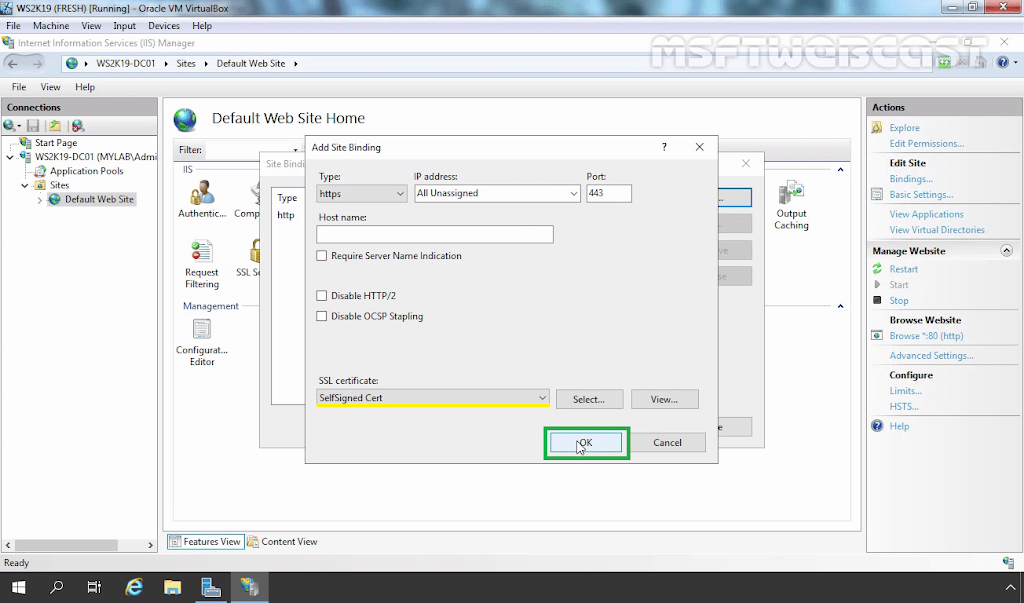
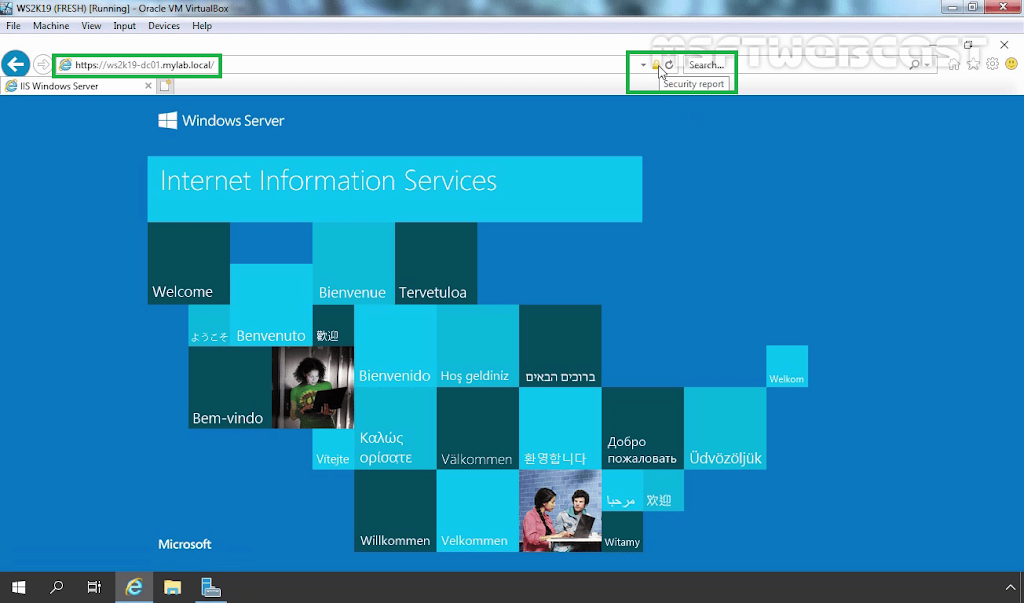
A self-signed certificate is successfully bound to the default website. Now you can access the default website using HTTPS without any issue.

Test SSL connection

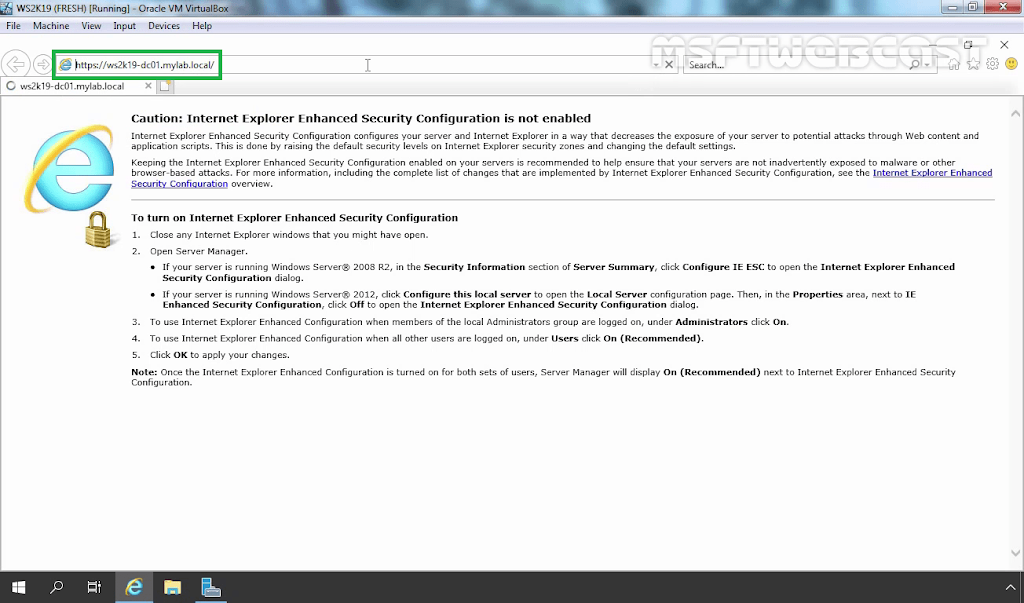
14. To test that, open a web browser. Type the full name of the server with https in the URL bar and press enter key. (In this case, it will be https://ws2k19-dc01.mylab.local)

15. If the certificate has been installed and configured correctly, you will see a lock icon next to the URL. This is an example of how it would look in Internet Explorer.
You have successfully created and configured Self-signed Certificate on IIS 10 in Windows Server 2019. I hope this will help.

Related posts

Install and Configure IPAM in Windows Server 2019

Manhar Rakholiya
4 years ago

How to Install and Setup DNS Service on Windows Server 2019

MSFT WebCast
5 years ago

Configure client-side targeting in WSUS server 2019

Manhar Rakholiya
4 years ago
Exit mobile version