In this post, we will learn the steps to create Resource Mailbox like room mailbox and equipment mailbox in Exchange Server 2019.
What is Resource Mailbox?
A resource mailbox is generally used for objects such as conference rooms or resources such as a projector. We can include resource mailboxes as resources in meeting requests in Exchange 2019.
There are two types of resource mailbox available in Exchange 2019:
- Room Mailbox
- Equipment Mailbox
What is Room Mailbox?
A room mailbox is a resource mailbox that’s assigned to a physical location, such as a conference room or a training room. Using room mailboxes, users can easily reserve these rooms by including room mailboxes in their meeting requests.
By configuring room mailbox options, we can define who can request/book room mailbox and whether the invite should be accepted or denied.
We can use the Exchange Admin Center (EAC) and Exchange Management Shell (EMS) to create the Mailbox Database in Exchange Server 2019.
Create a room mailbox in Exchange 2019 using EAC:
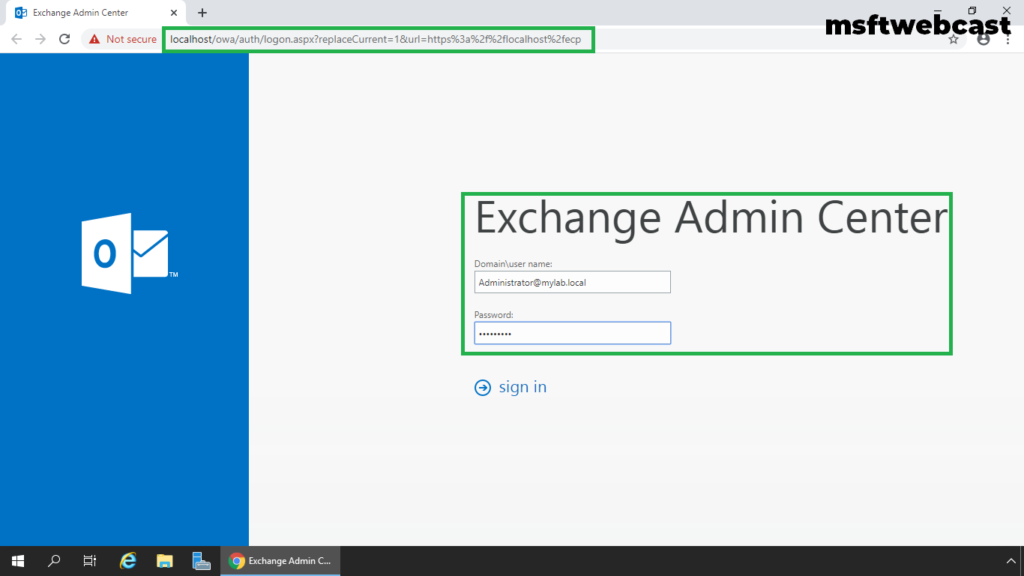
1. On Exchange 2019 Mailbox Server. Open Internet Explorer and type https://localhost/ecp, and then press Enter.
2. Sign in as an Administrator with the password.

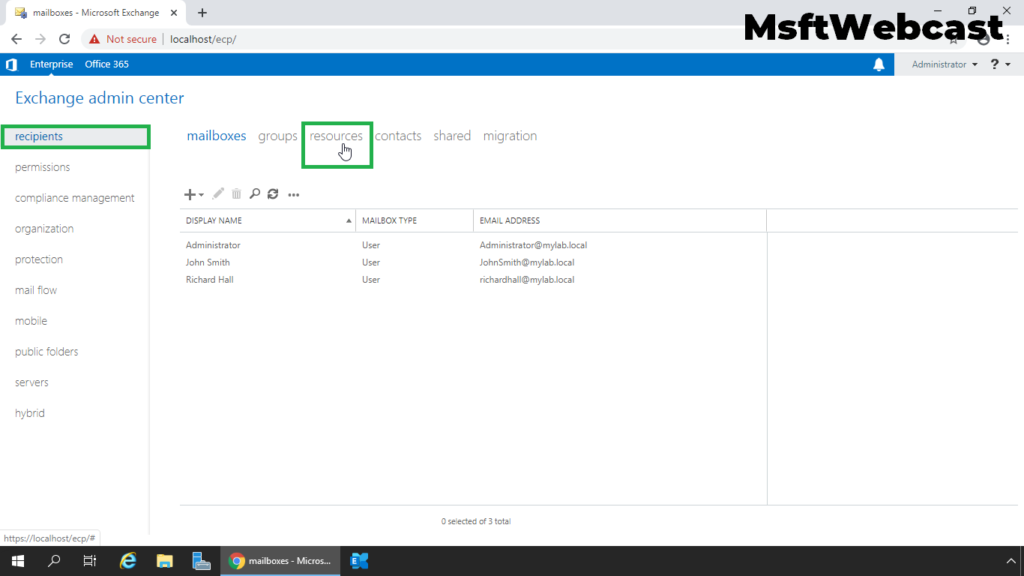
3. In the Exchange Admin Center web interface, navigate to Recipients. Click on the Resources tab.
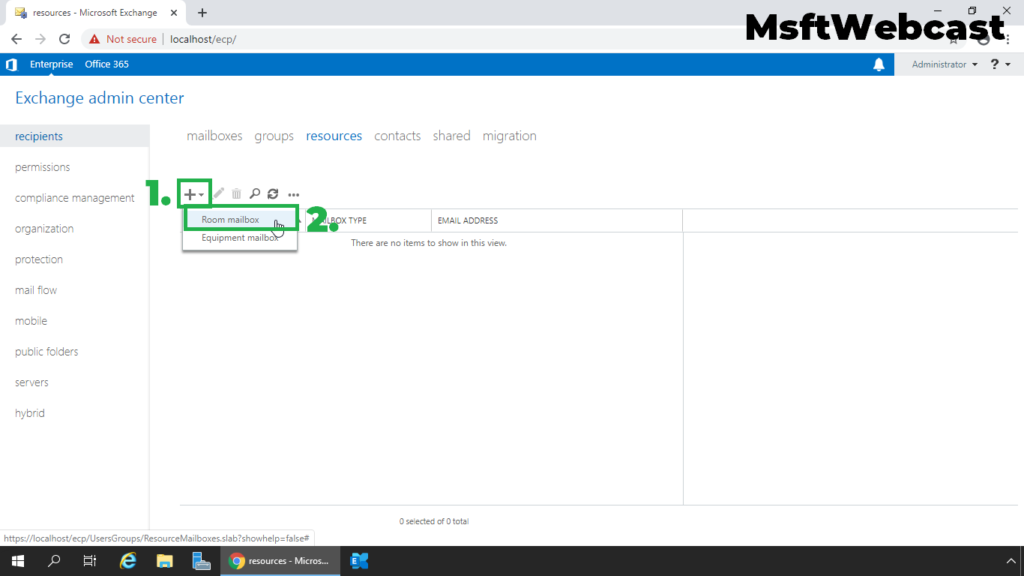
4. To create a room mailbox, click on + (plus) sign and select Room mailbox.
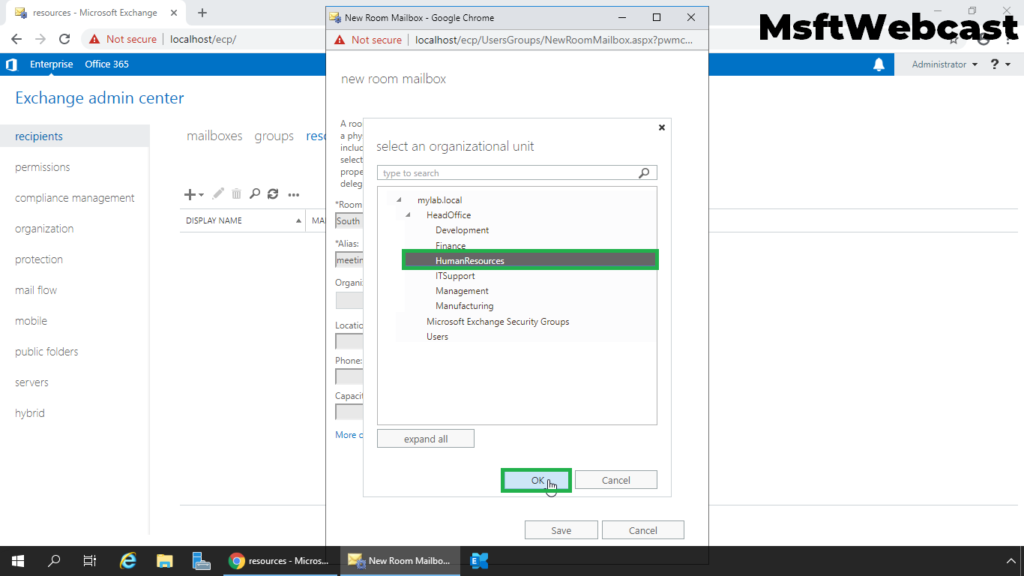
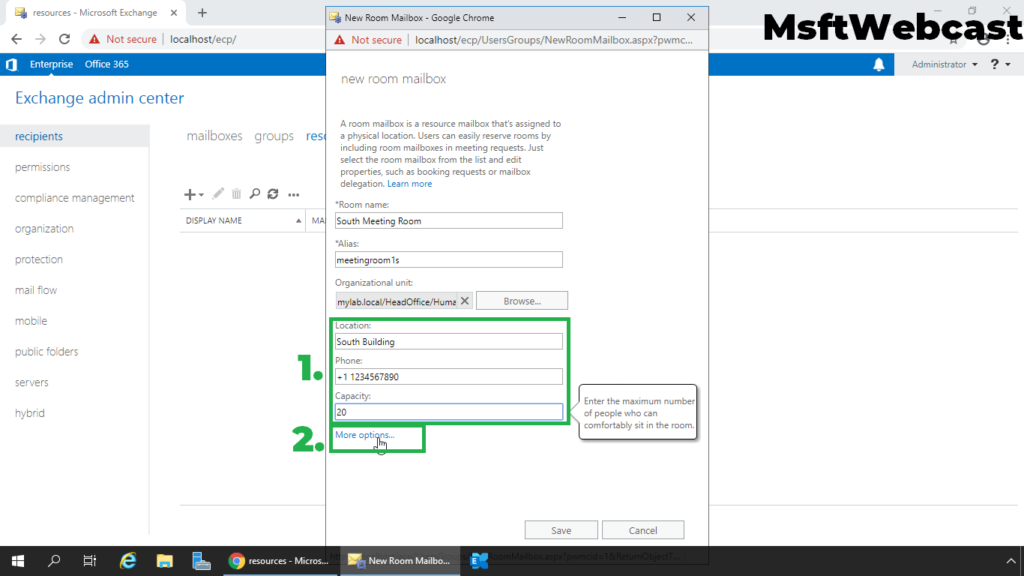
5. New Room Mailbox window will open up, provide the required details to create the room mailbox as per requirement. Click on Browse.
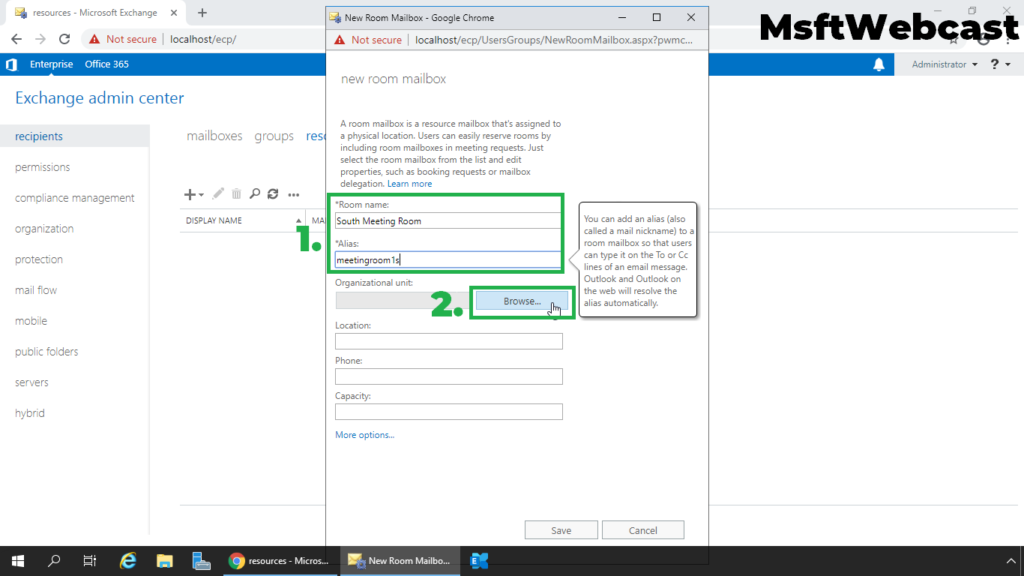
6. Select the container (OU) to store the user account.
7. Click on More Options to select the mailbox database.
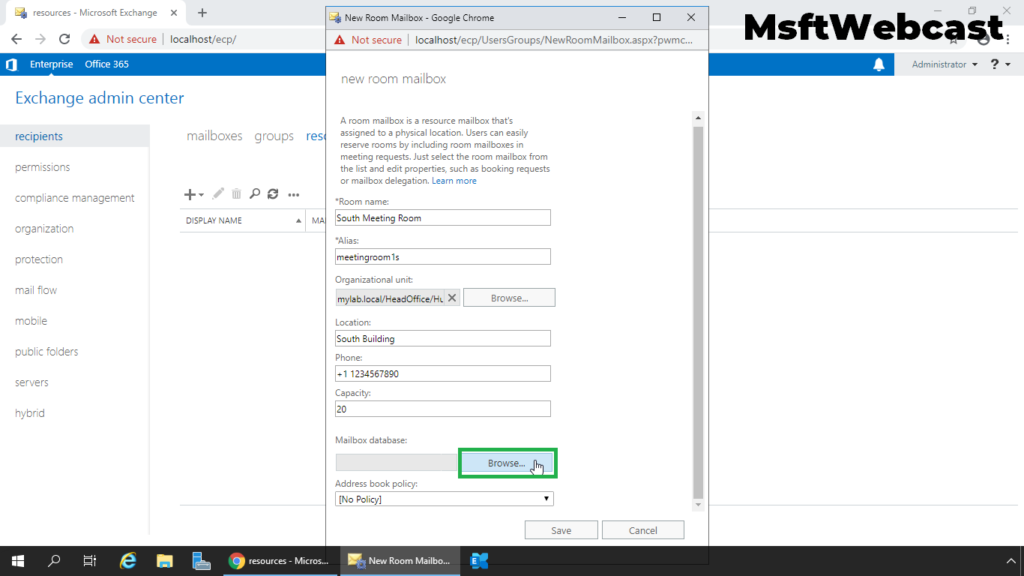
8. Click on browse to select the mailbox database.
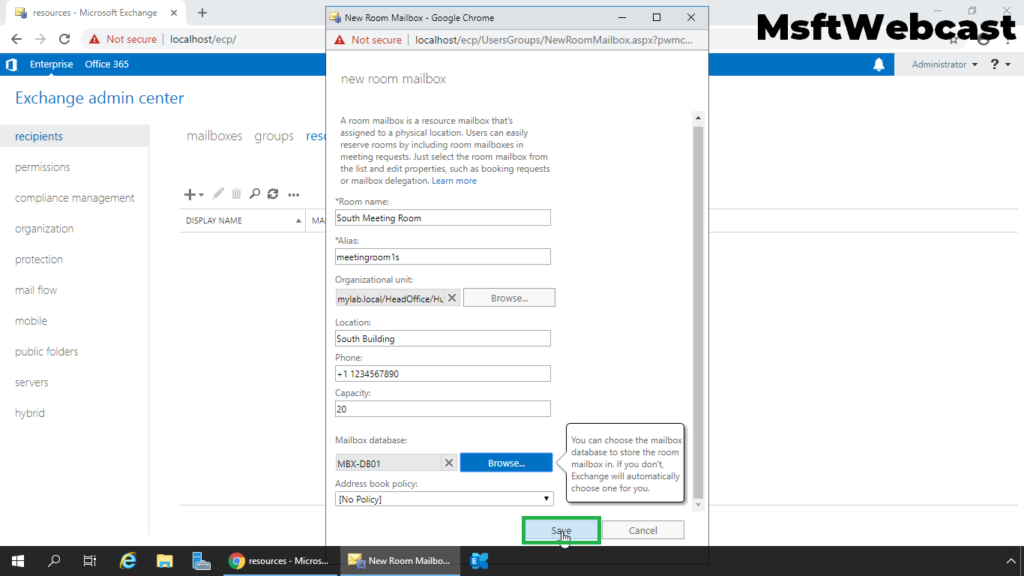
9. Select mailbox database and click OK

10. Click on Save to create a new room mailbox.
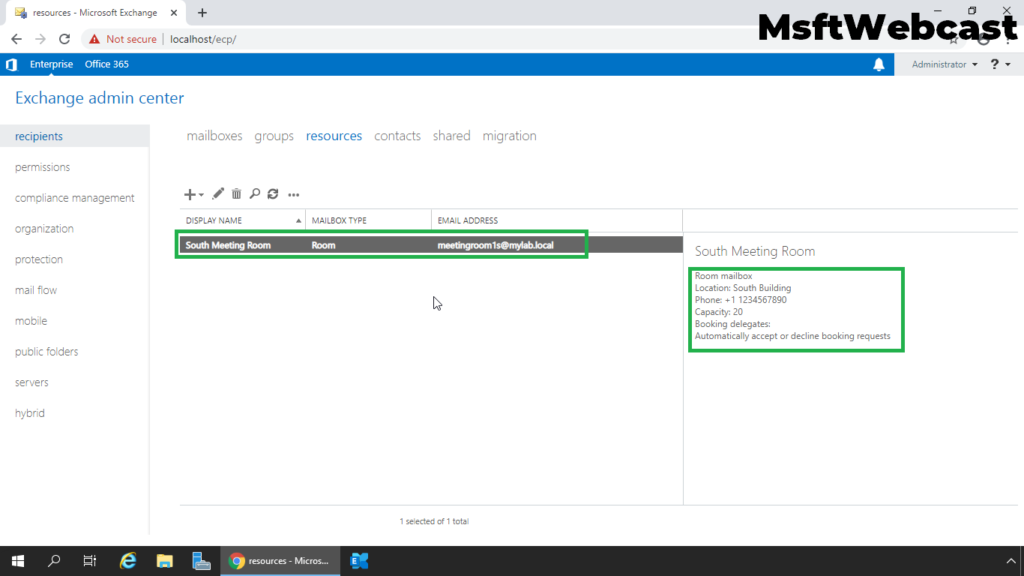
11. Verify room mailbox is created successfully.
Create equipment mailbox in Exchange 2019:
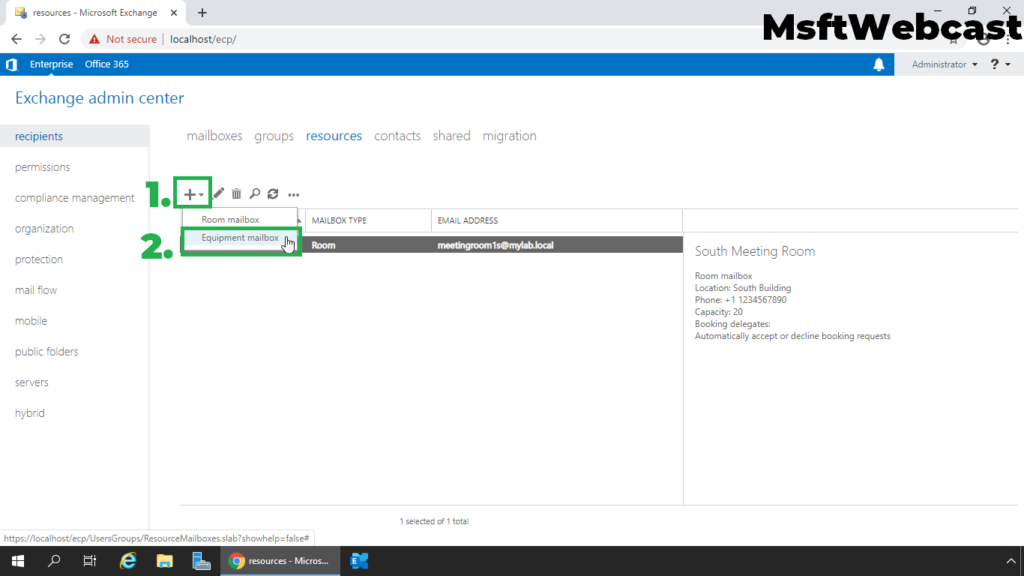
12. To create a room mailbox, click on + (plus) sign and select Equipment mailbox.
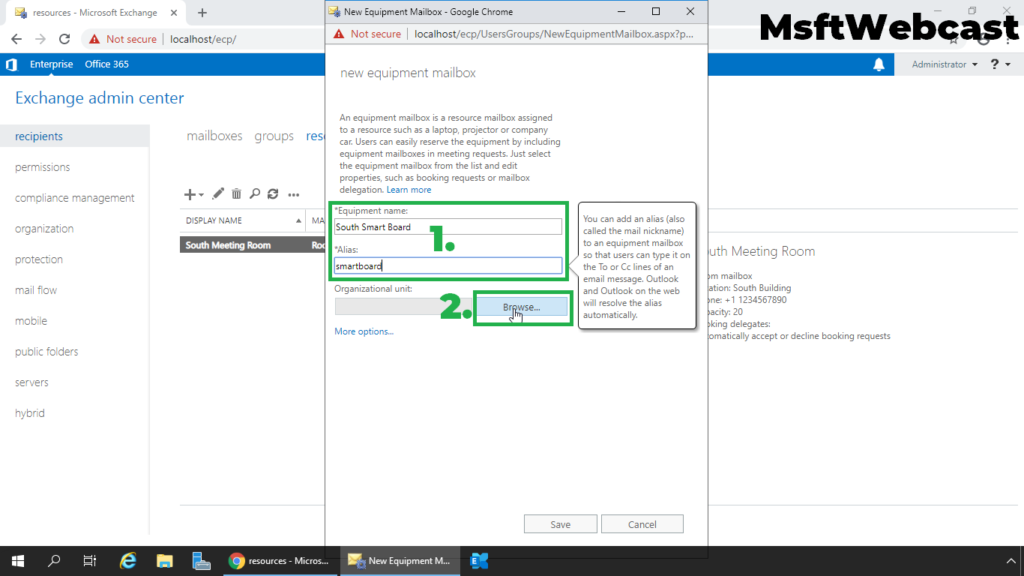
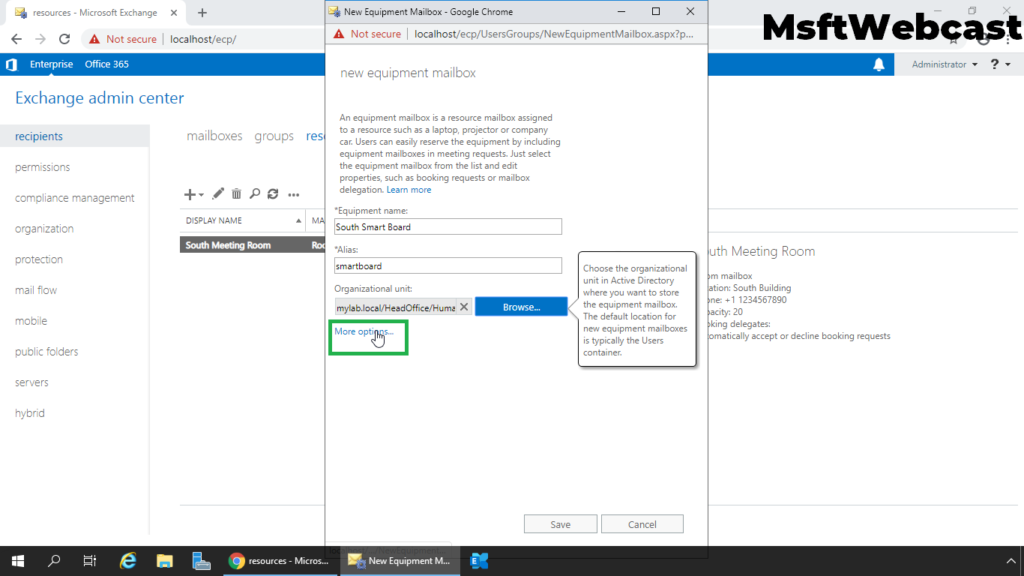
13. New Equipment Mailbox window will open up, provide the required details to create the equipment mailbox as per requirement. Click on Browse.
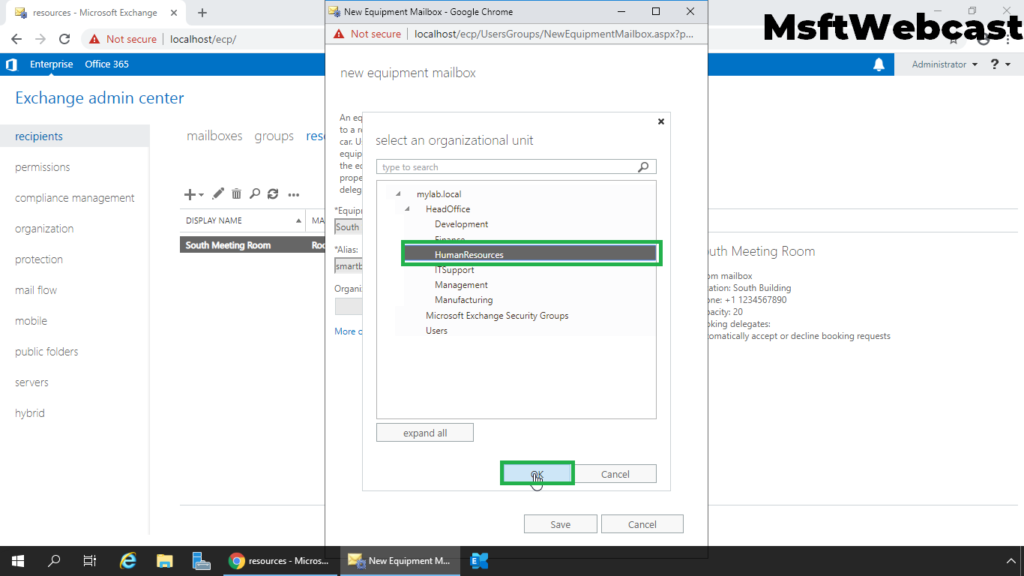
14. Select the container (OU) to store the user account.
15. Click on More Options to select the mailbox database.
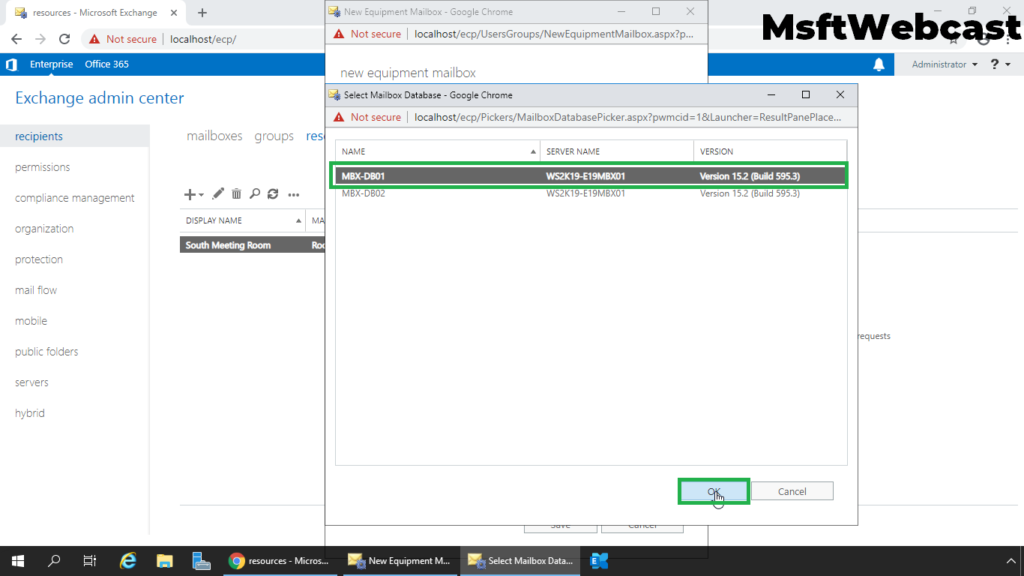
16. Select the mailbox database to store equipment mailbox and click OK.
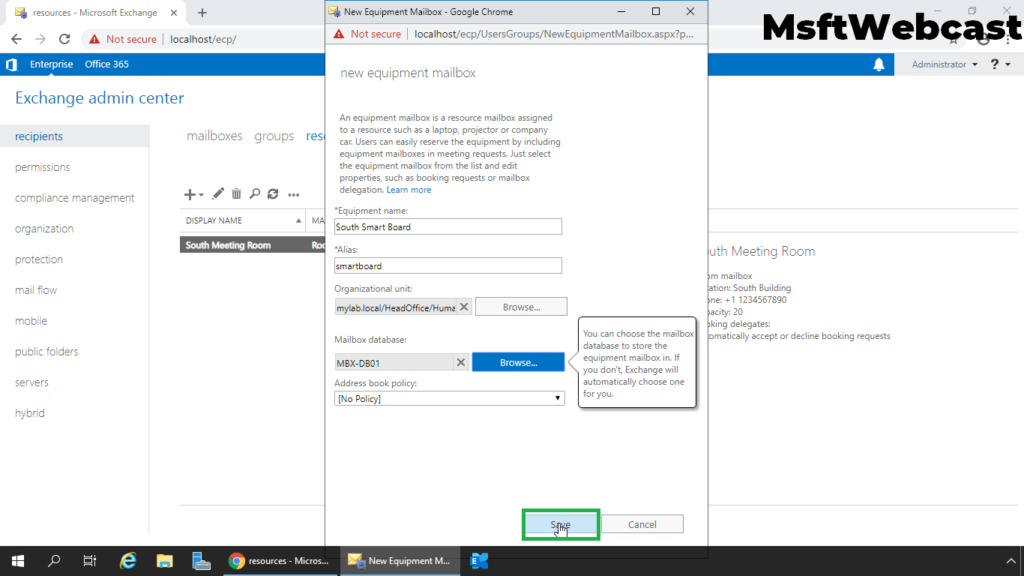
17. Click on Save to create a new equipment mailbox.
17. Verify equipment mailbox is created successfully.
That’s all. In this article, we have learned the steps to create a room mailbox and equipment mailbox in Exchange Server 2019.