In this post, I will cover the steps to install and configure IPAM (IP Address Management) feature on Windows Server 2019.
What is IP Address Management (IPAM)?
IPAM provides highly customizable administrative and monitoring capabilities for the IP address infrastructure on a corporate network. You can monitor, audit, and manage servers running the Dynamic Host Configuration Protocol (DHCP) and Domain Name System (DNS).
Understanding Test Lab:
- WS2K19-DC01: Active Directory Domain Controller with DNS and DHCP server role.
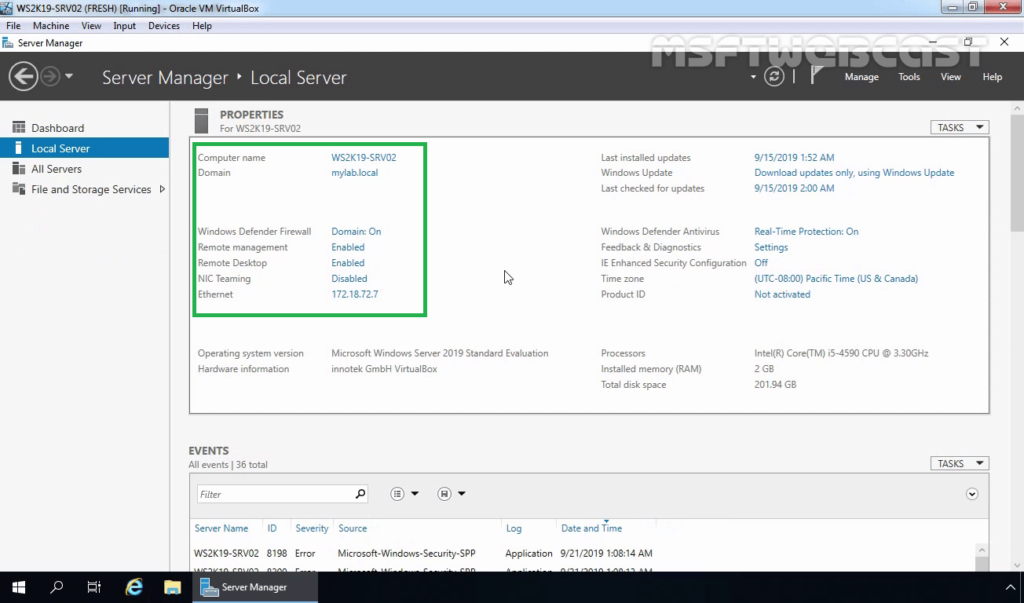
- WS2K19-SRV02: Member Server for mylab.local domain.
Install IPAM Feature in Windows Server 2019:
1. On WS2K19-SRV02, Open Server Manager Console.

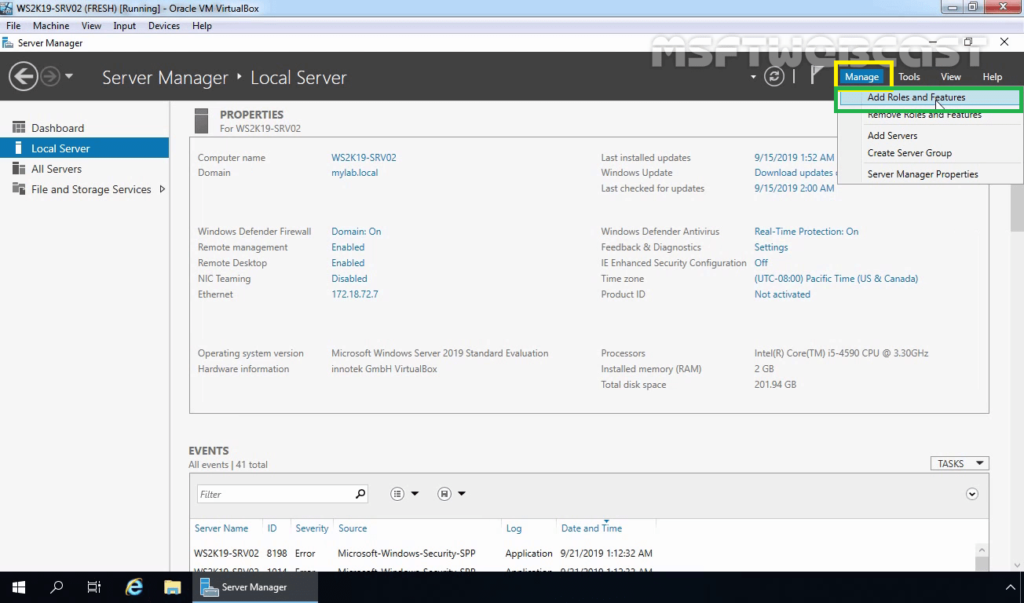
2. At the top of the Server Manager, click on Manage and select Add Roles and Features.
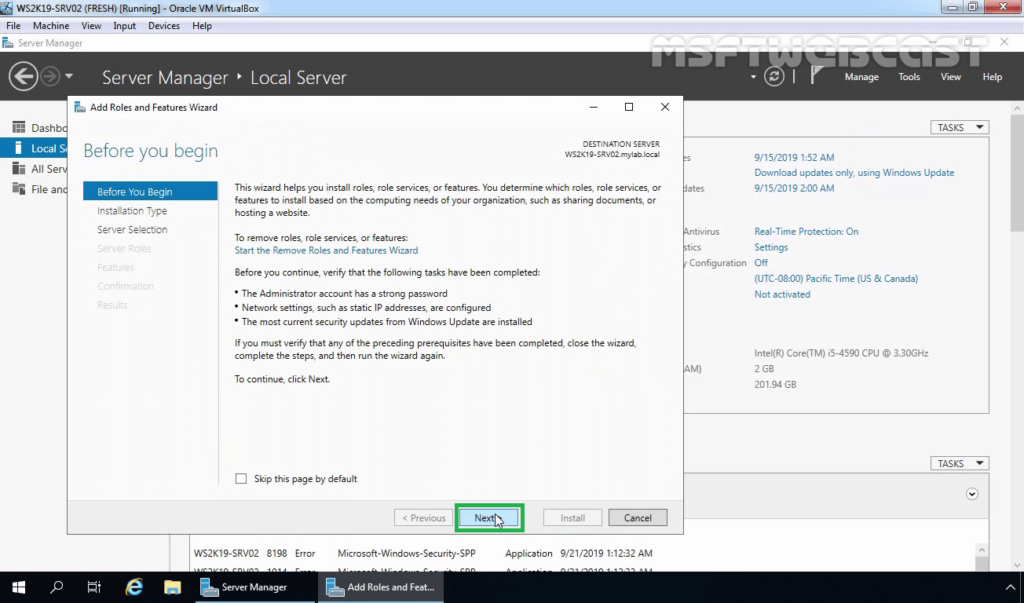
3. On the Before you begin page, click Next.
4. Select Role-based or feature-based installation and then click Next.

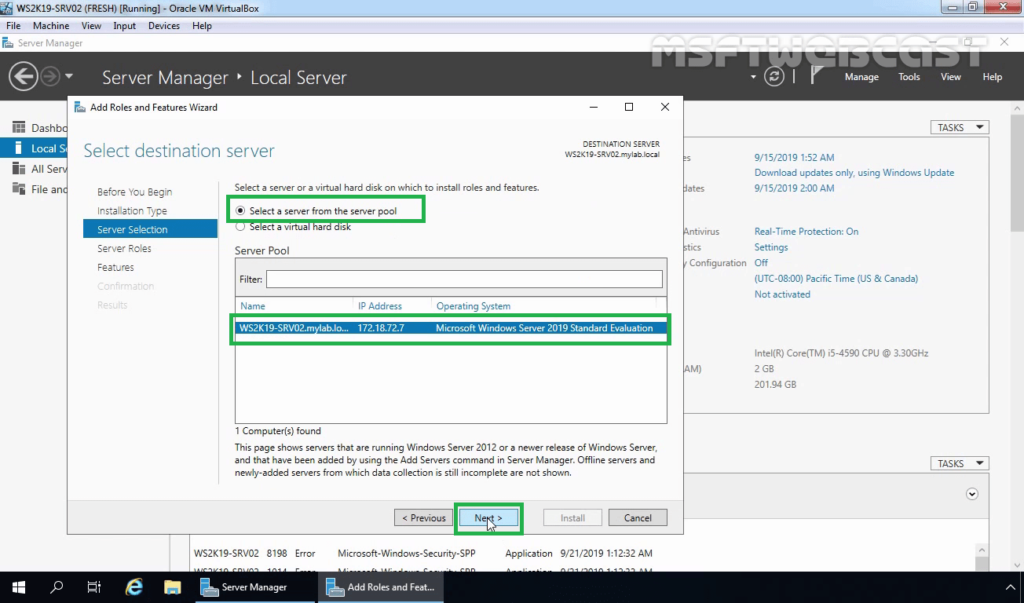
5. Select a server from the server pool on which you want to install the IPAM feature, click Next.
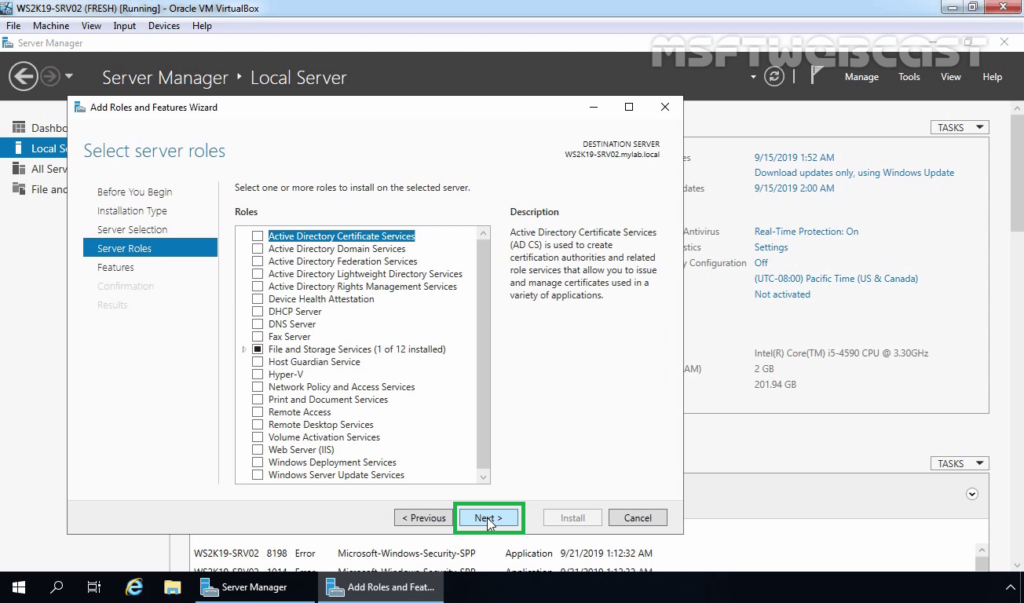
6. On select server roles page, click Next.
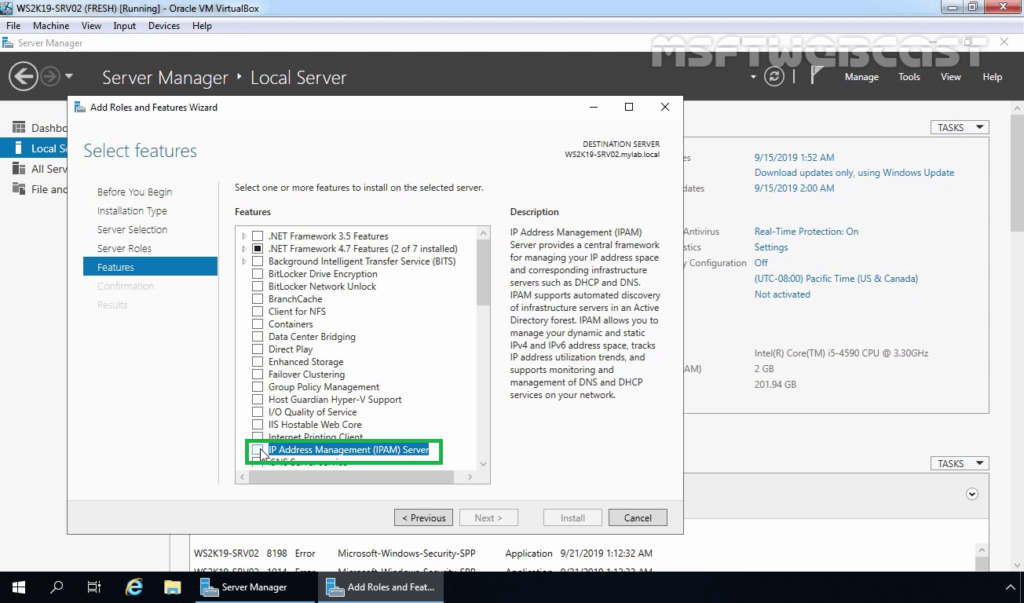
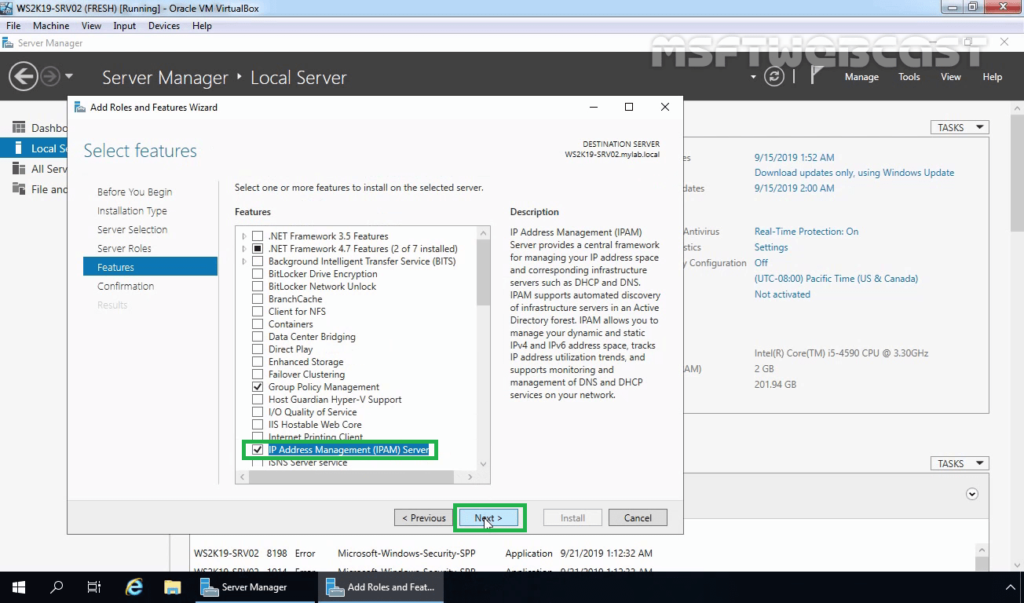
7. On select features page, scroll down and select IP Address Management (IPAM) Server feature.
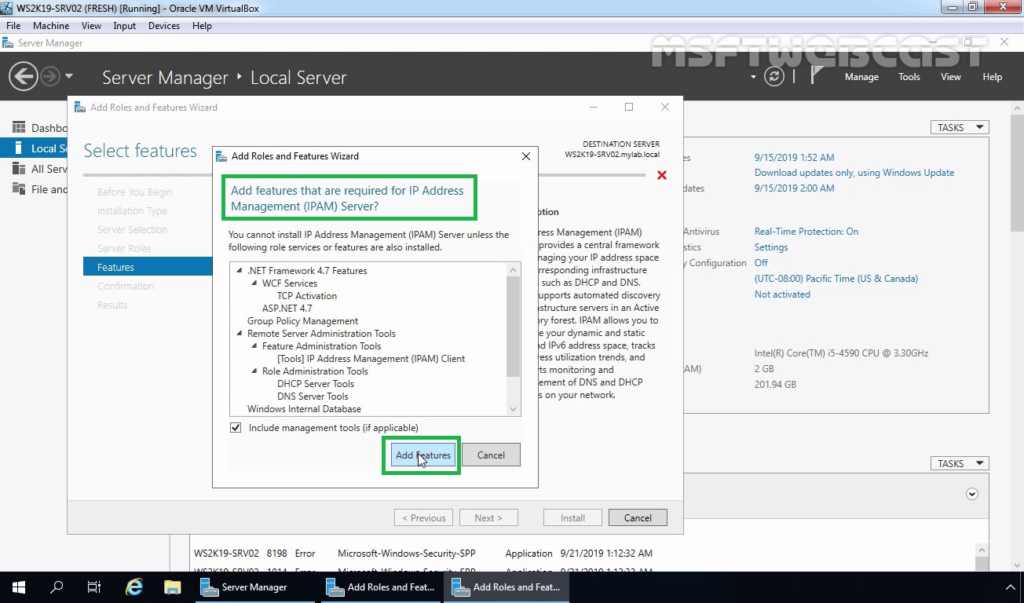
8. A new window will pop up, click on Add Features to include required features and management tools for IPAM.
9. Make sure that the IPAM feature is selected. Click Next.
10. Click on the Install button to start the installation process.
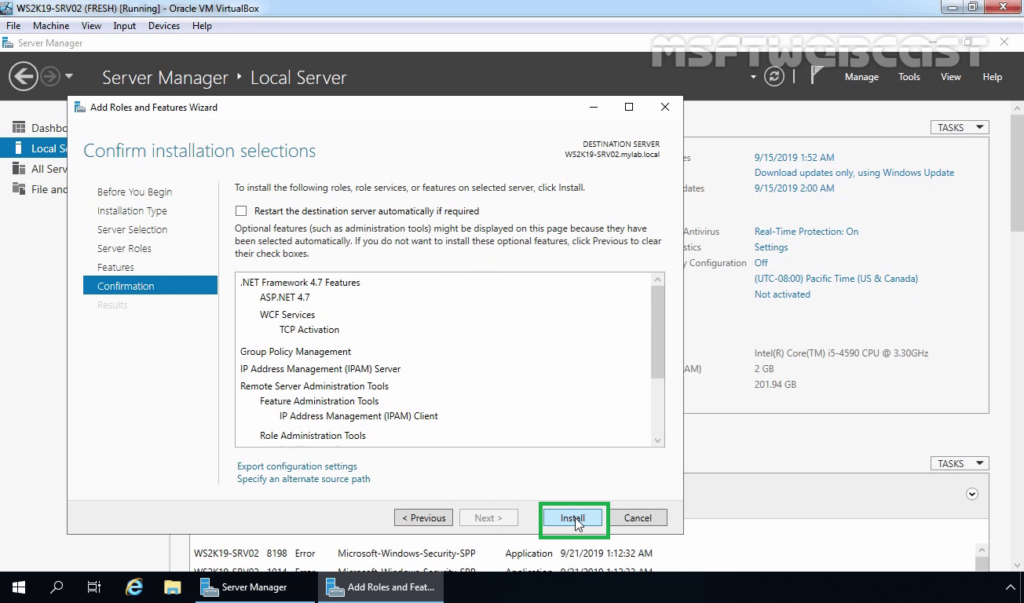
11. When the installation is complete, click the Close button.

After installing the IPAM feature on windows server 2019, the next step is to configure the IPAM server. The IPAM server can manage DHCP, DNS, and Domain Controllers.
Configure IPAM Server in Windows Server 2019:
Step:1 Choose an IPAM Provisioning Method:
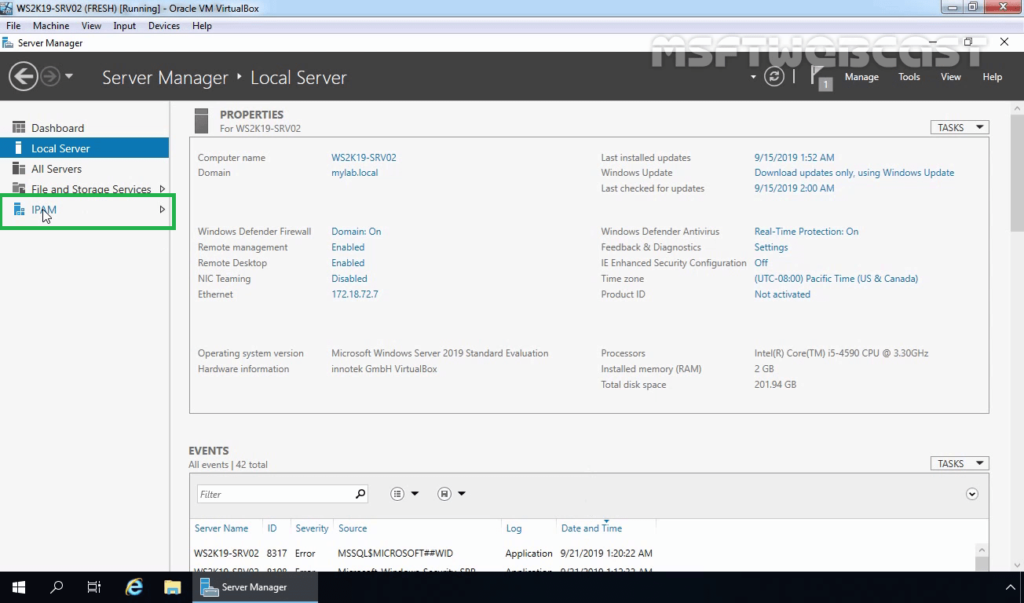
12. On the Server Manager Dashboard page, click on IPAM from the left pane.
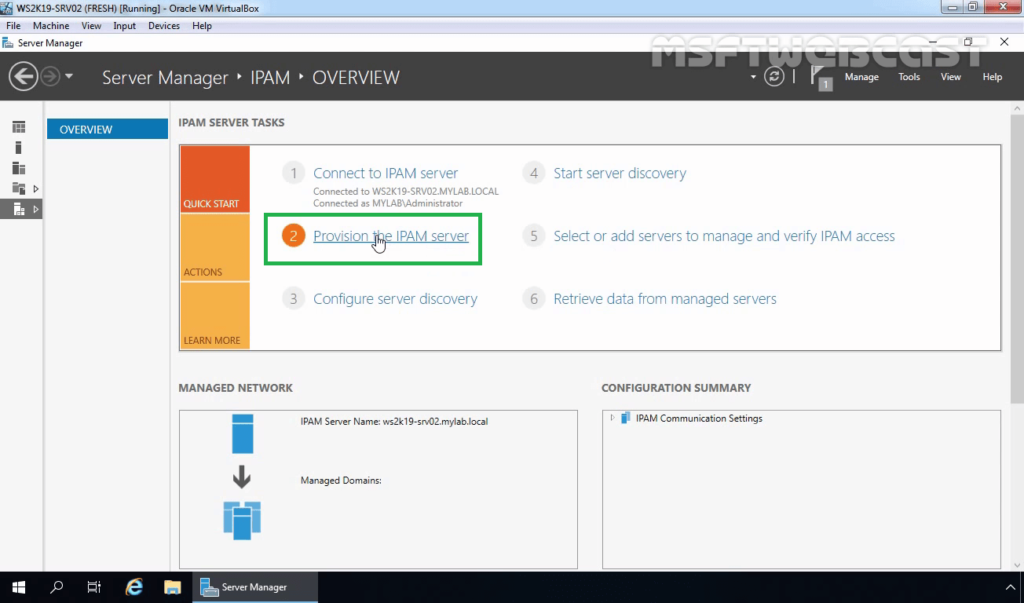
13. On the IPAM Overview page, click on Provision the IPAM server link to start the Provision IPAM wizard.
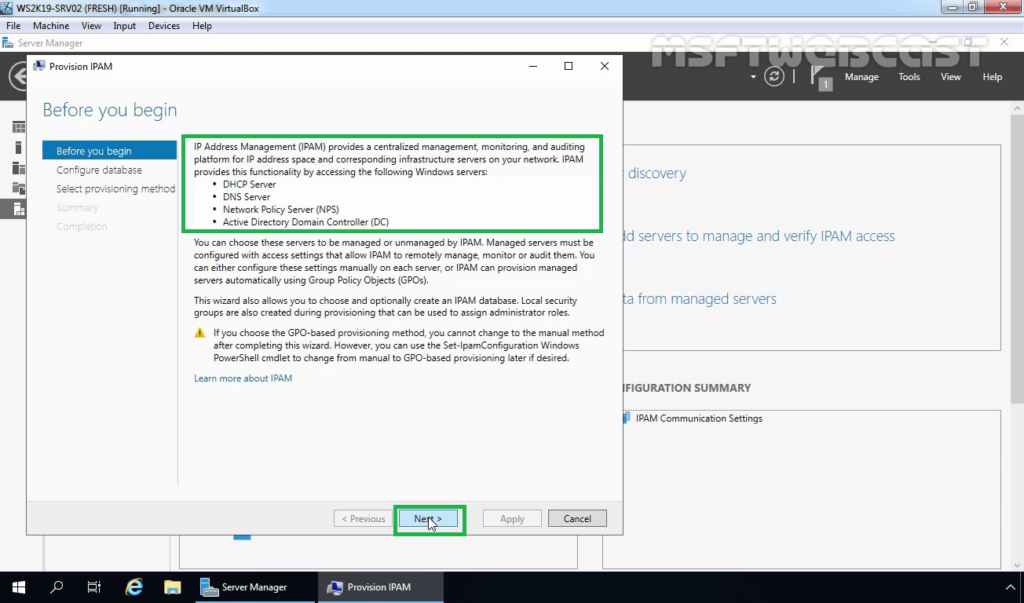
14. Read the information about IPAM server at the start of the Wizard and click Next.
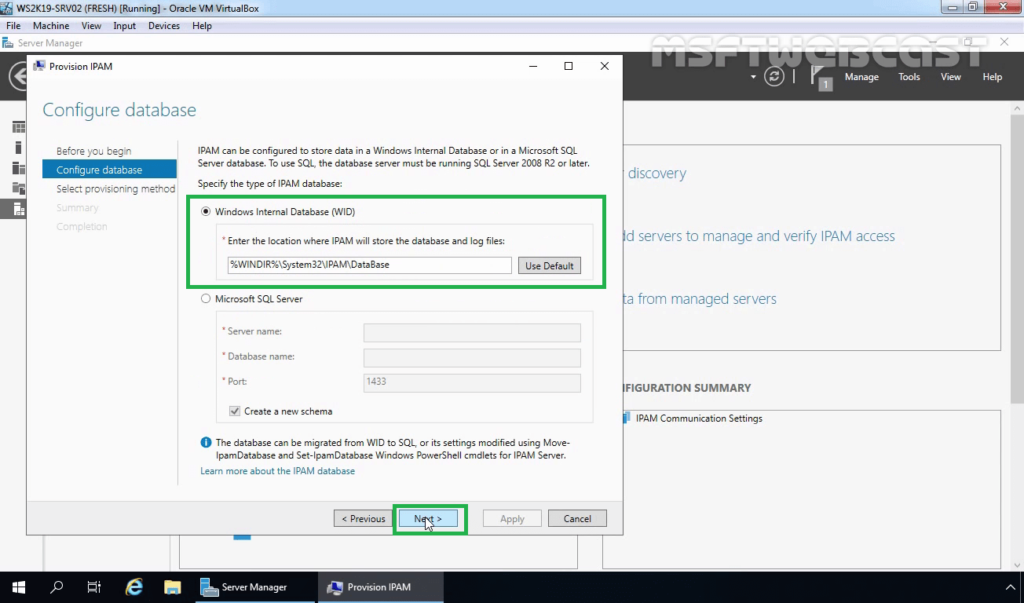
15. Choose the database to store IPAM server data. You can use either the WID or SQL database. For testing purposes, I will go with the Windows Internal Database (WID). Click Next.
Note: The provisioning method is the process of enabling required permissions, files shares, and access settings on managed servers so that the IPAM server can communicate with them.
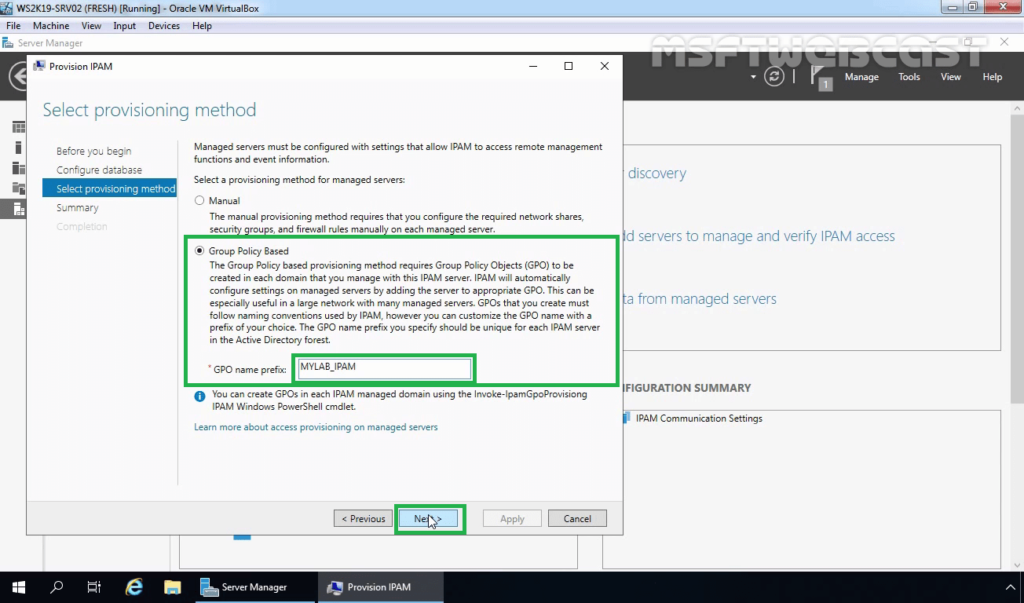
16. On select provisioning method page, choose either the Manual or Group Policy Based radio button. If you select Group Policy Based method, type a GPO prefix next to GPO name prefix to identify the GPOs. Click Next.
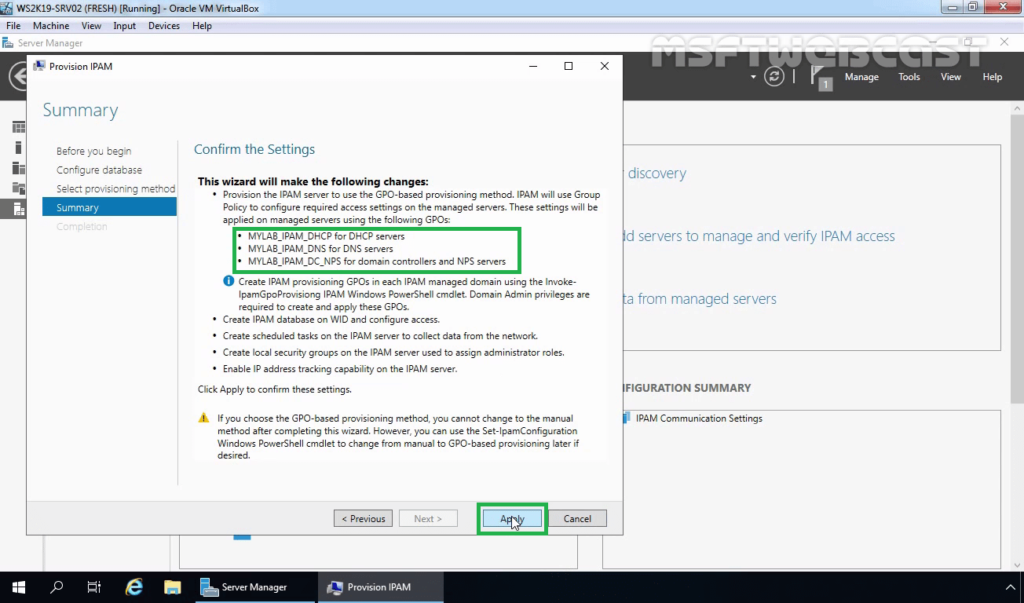
17. Review your selection. When you are ready, click on Apply.
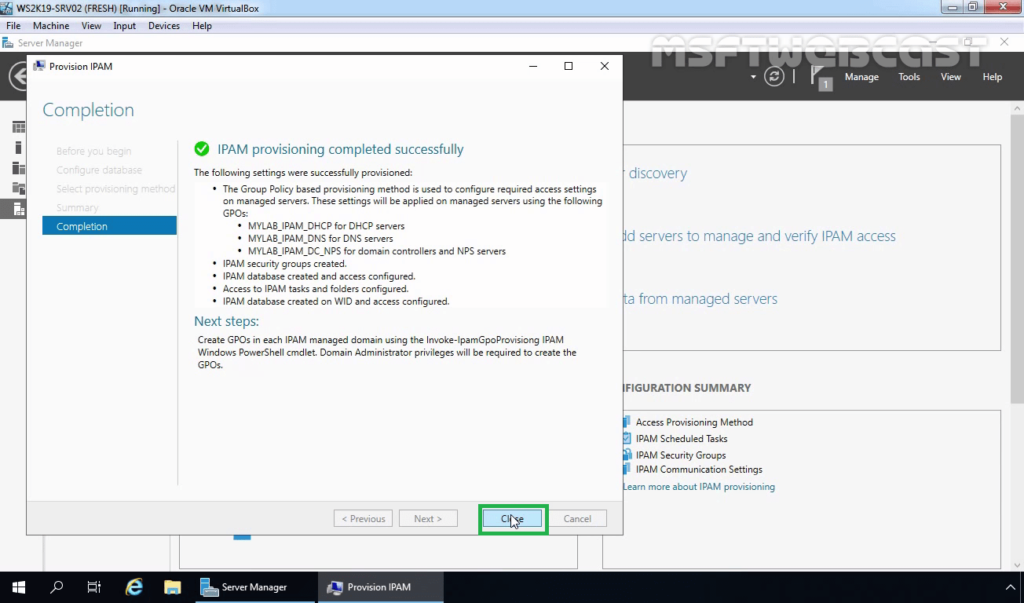
18. Verify that IPAM provisioning completed successfully message is displayed, and then click Close.
Step:2 Configure Server Discovery
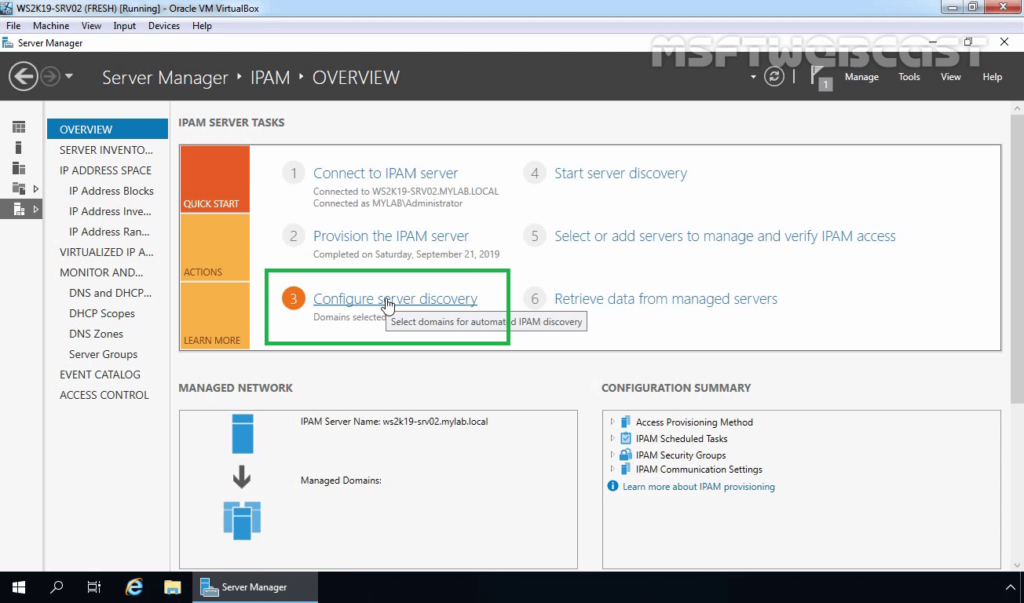
19. On the IPAM Overview page, click on Configure Server Discovery link to start server discovery wizard.
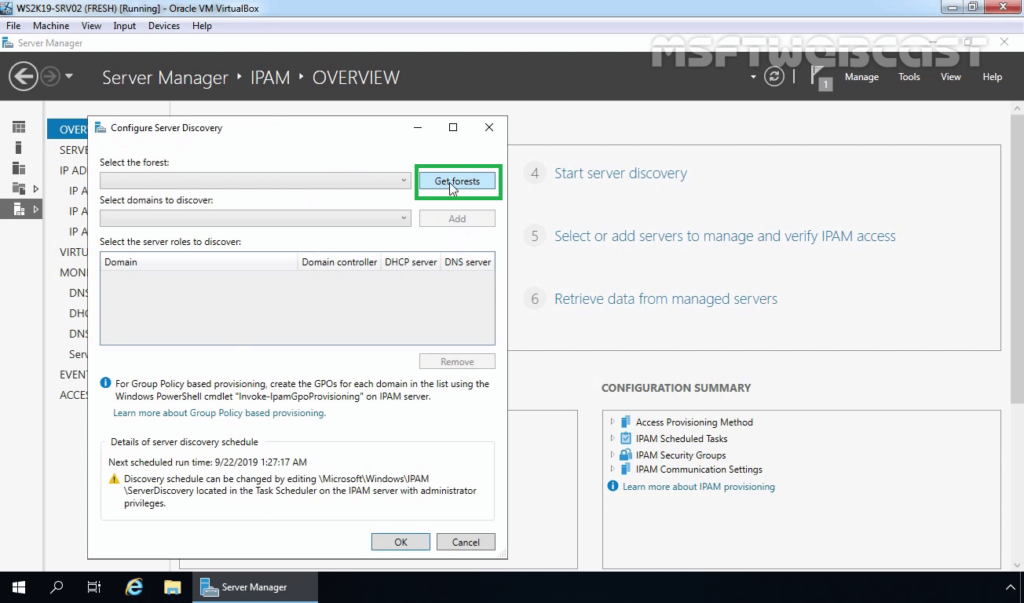
20. Click on the Get Forests button and wait for the background task to finish. A message will appear, click on OK to close it.
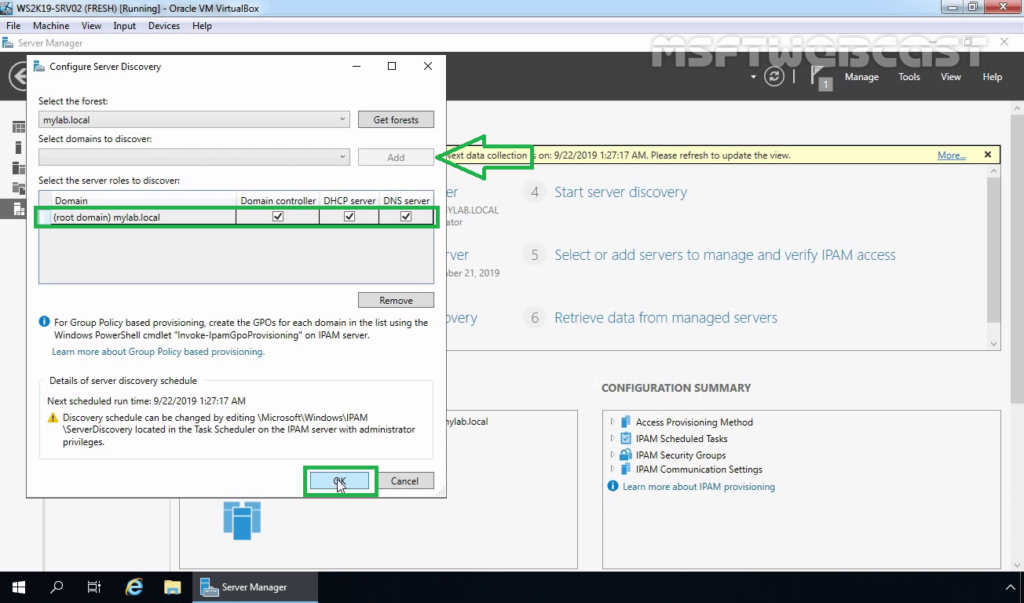
21. Choose each domain that you will manage with the current IPAM server by selecting it from the drop-down list and then click on the Add button to add it. Click on OK.
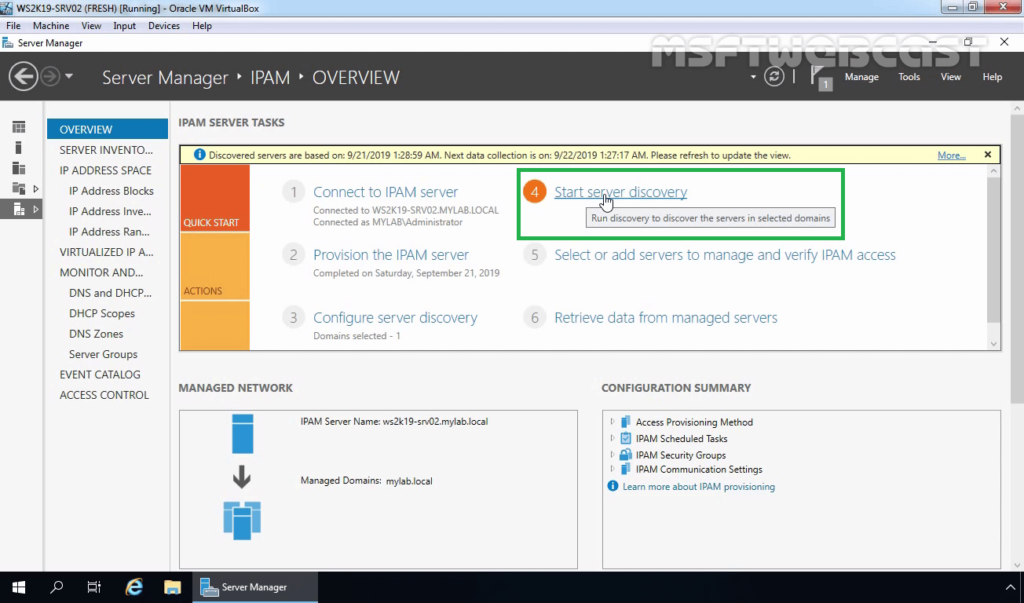
Step:3 Start Server Discovery
22. On the IPAM Overview page, click on the Start server discovery link to start the task to discover the server in the selected domain. It will take some time to finish.
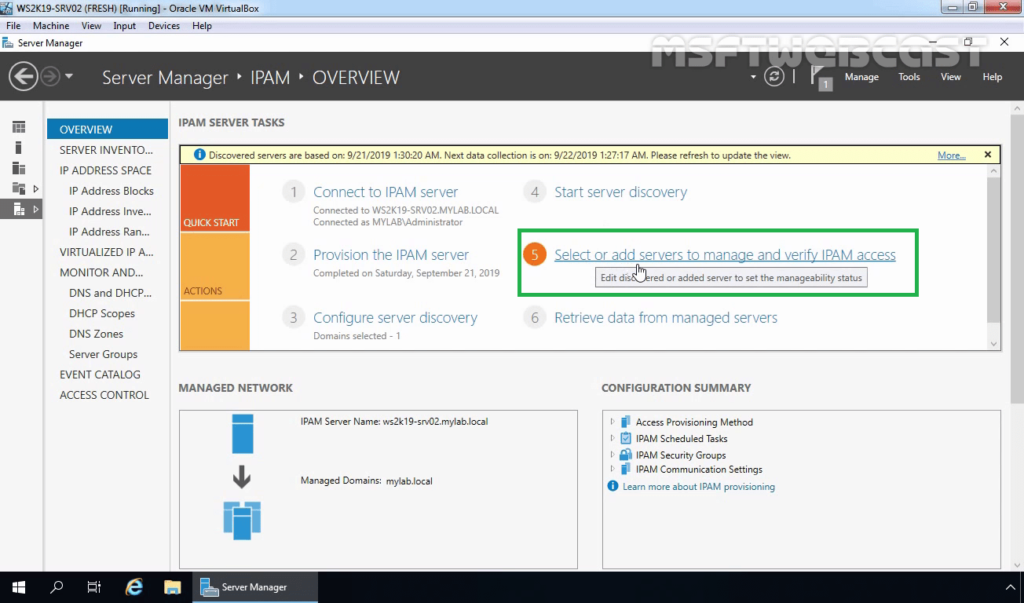
Step:4 Select or add servers to manage and verify the IPAM access
23. After the discovery process, click on the Select or add servers to manage and verify the IPAM access link to add servers that you want to manage using the IPAM.
24. Notice that IPAM Access Status is Blocked for the server.
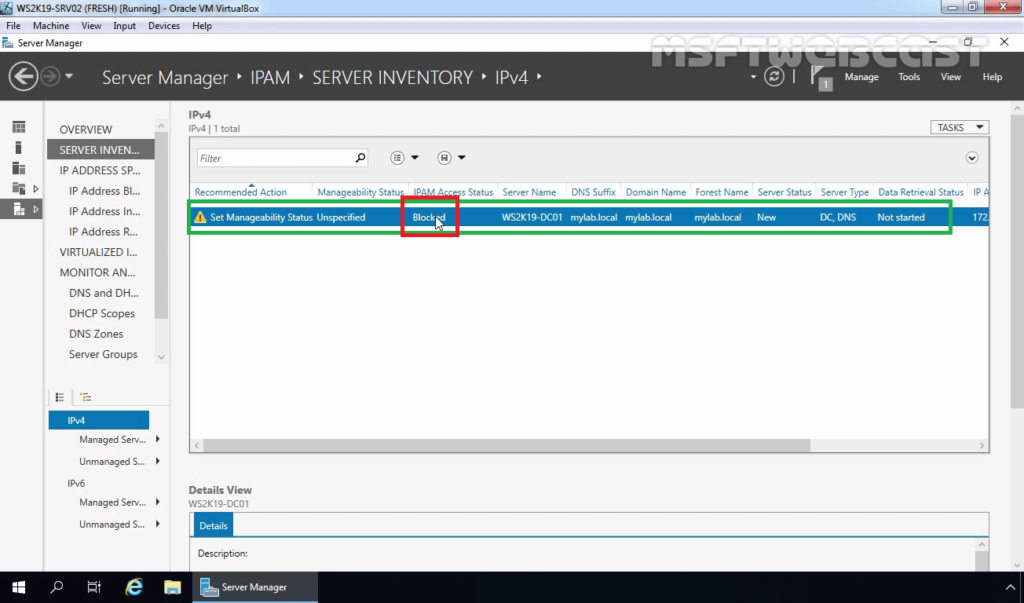
To fix this, we need to run the Invoke-IpamGpoProvisioning cmdlet at an elevated Windows PowerShell prompt.
25. On the IPAM server, open Windows PowerShell as administrator.
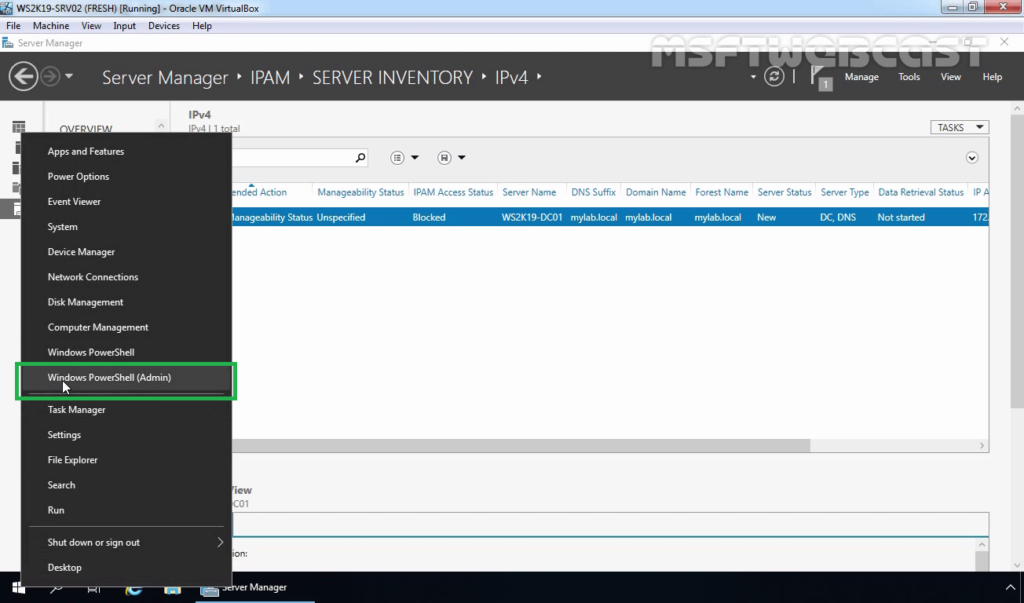
26. Run the below cmdlet at the PowerShell.
Invoke-IpamGpoProvisioning –Domain mylab.local –GpoPrefixName MYLAB_IPAM –IpamServerFqdn WS2K19-SRV02.mylab.local -DelegatedGpoUser Administrator@mylab.local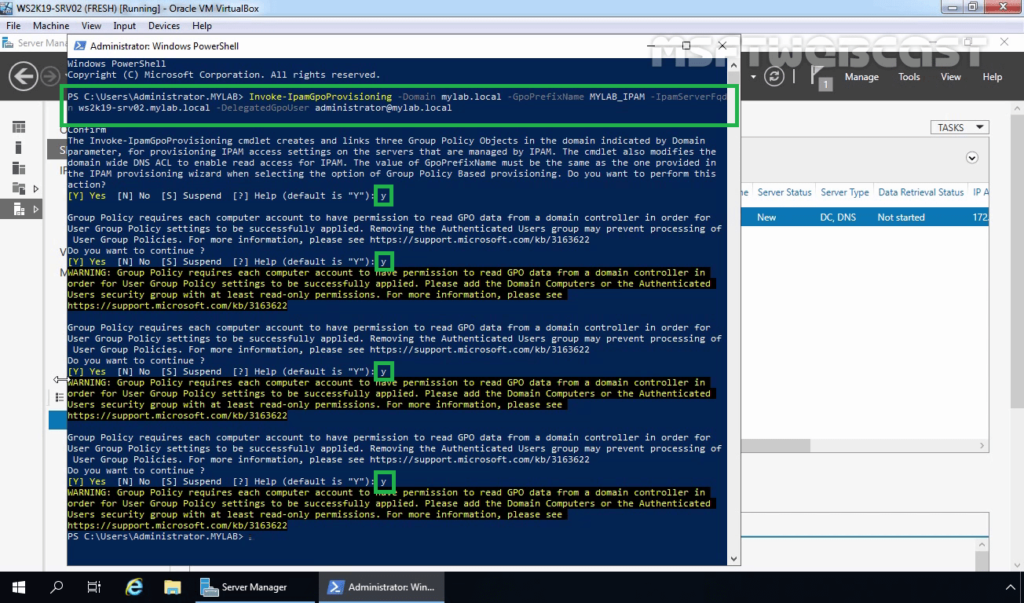
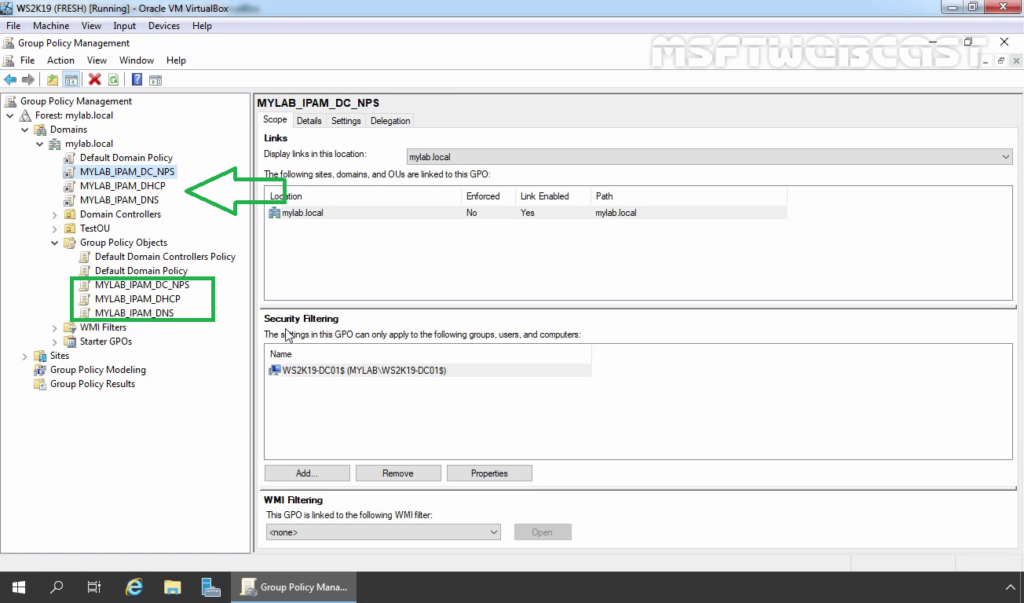
27. On Domain Controller, check the IPAM GPO’s.
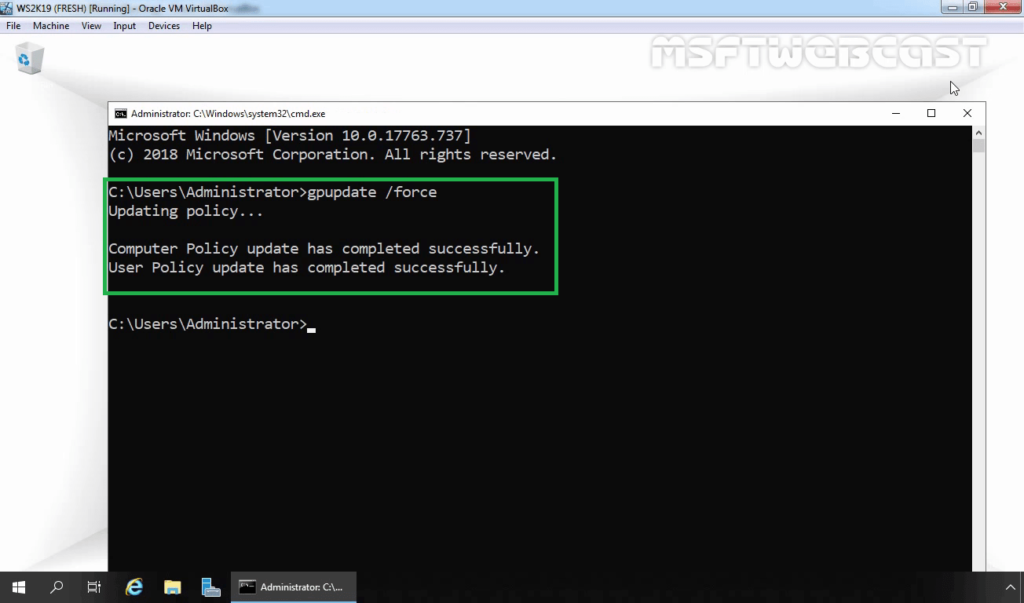
28. We need to update the group policy on our domain controller. Open a command prompt and run command gpupdate /force.
Step:5 Managed Server Access Settings:
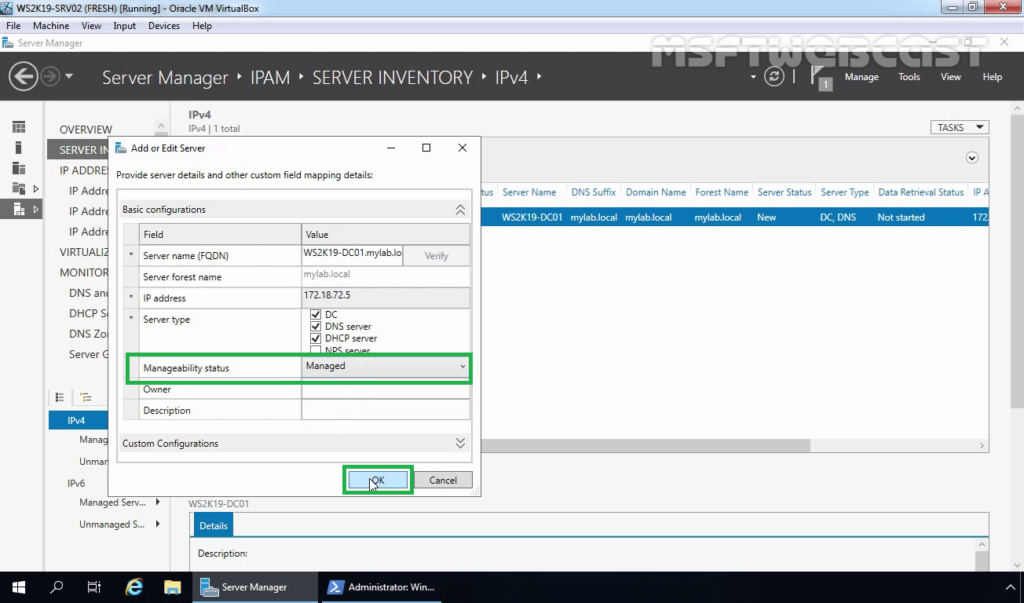
29. Right-click on the server and then click on Edit Server.
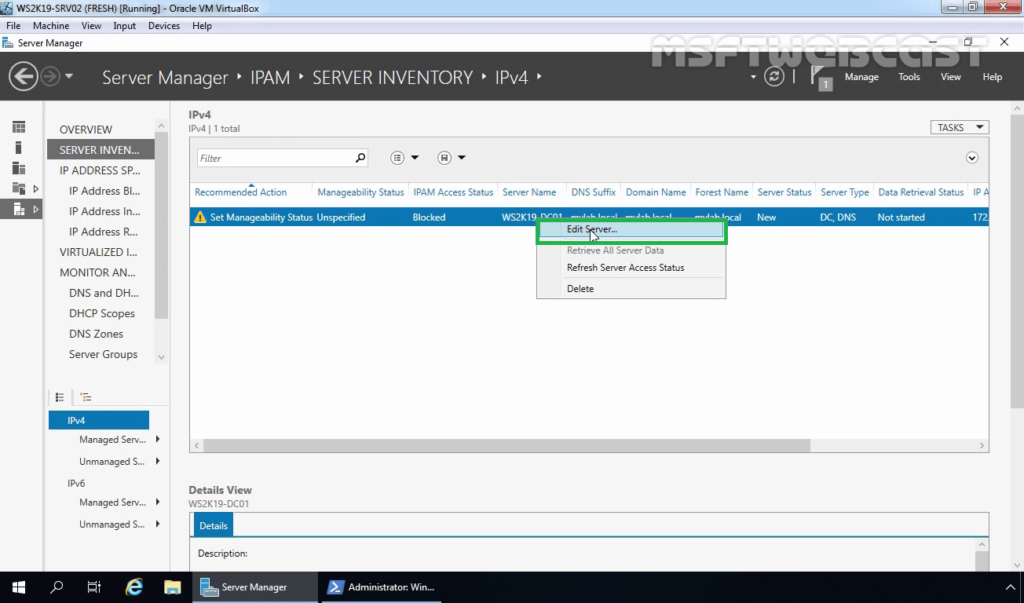
30. Select Managed from the drop-down list to manage the server by the IPAM server. Click on OK.
Step:6 Retrieve Data from Managed Servers
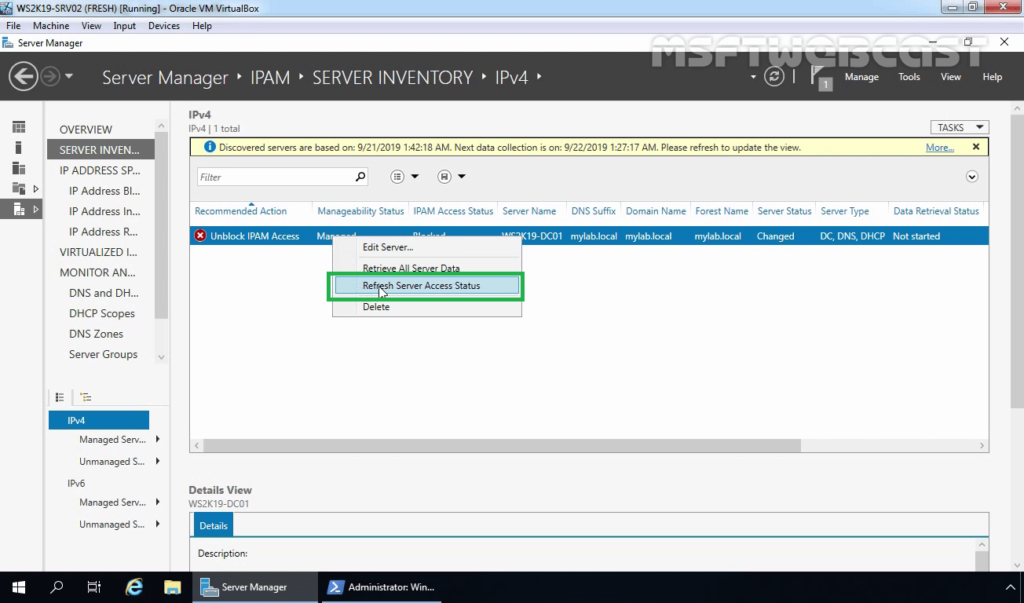
31. Right-click the servers that are selected, and then click Retrieve Server Access Status. This action also will take a few minutes to complete.
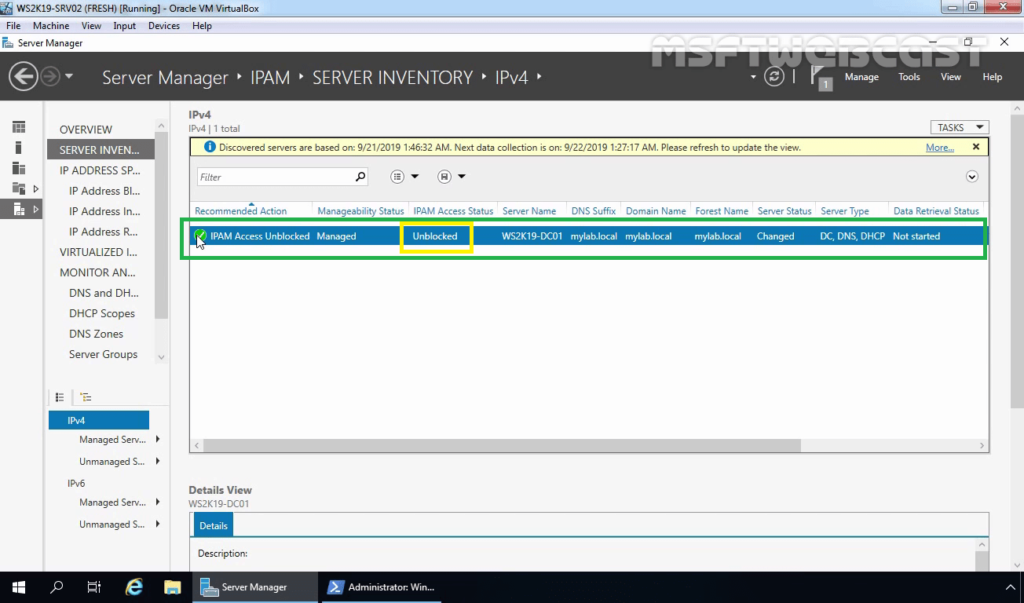
32. Verify the IPAM server access status to Unblocked.
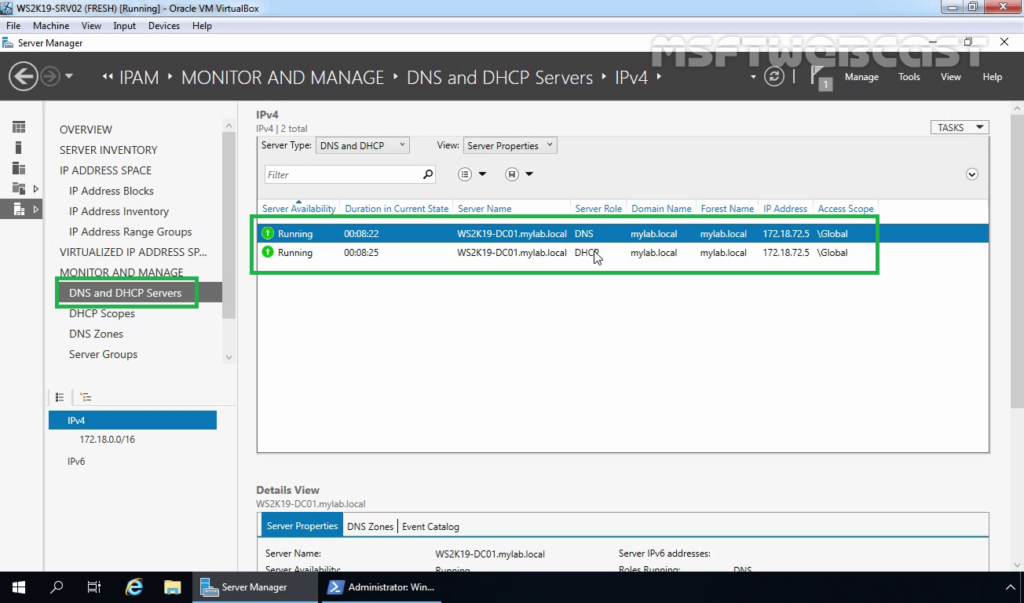
33. Right-click the servers that are selected, and then click Retrieve All Server Data.
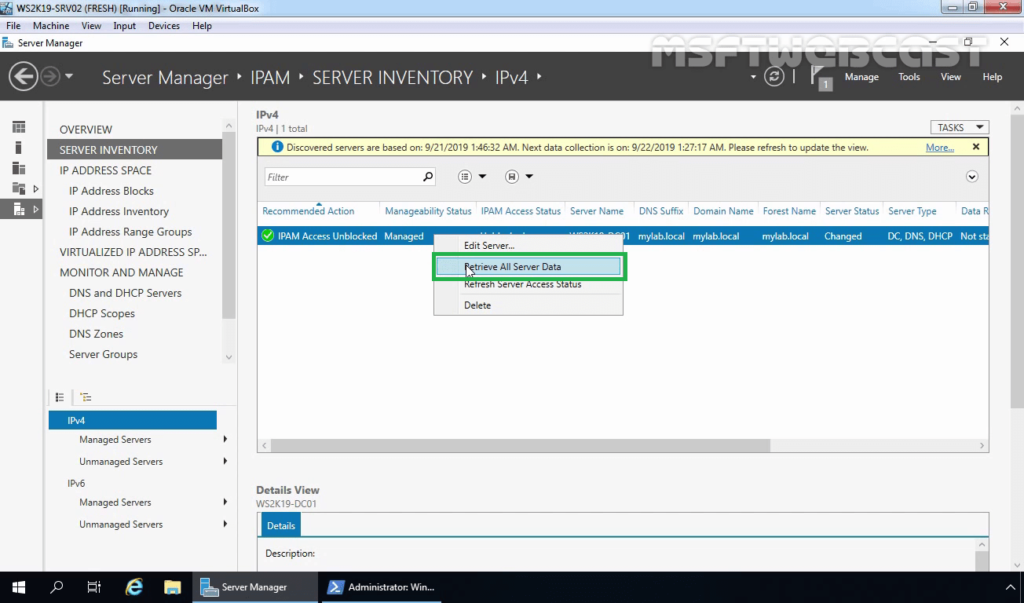
34. Wait for the data collection tasks to complete. Verify All the DHCP and DNS Data in IPAM Console.
In this post, we have learned the steps to install and configure IPAM (IP Address Management) server in Windows Server 2019.
Hope this will be helpful. Thank you for reading.